Posted on Leave a comment

TODAY IS MONDAY & IT’S TIME TO SHARE A MEMORY KEEPING IDEA

Mondays are for memories and memory keeping. I haven’t chosen photos for this layout yet, but I do have some ideas.

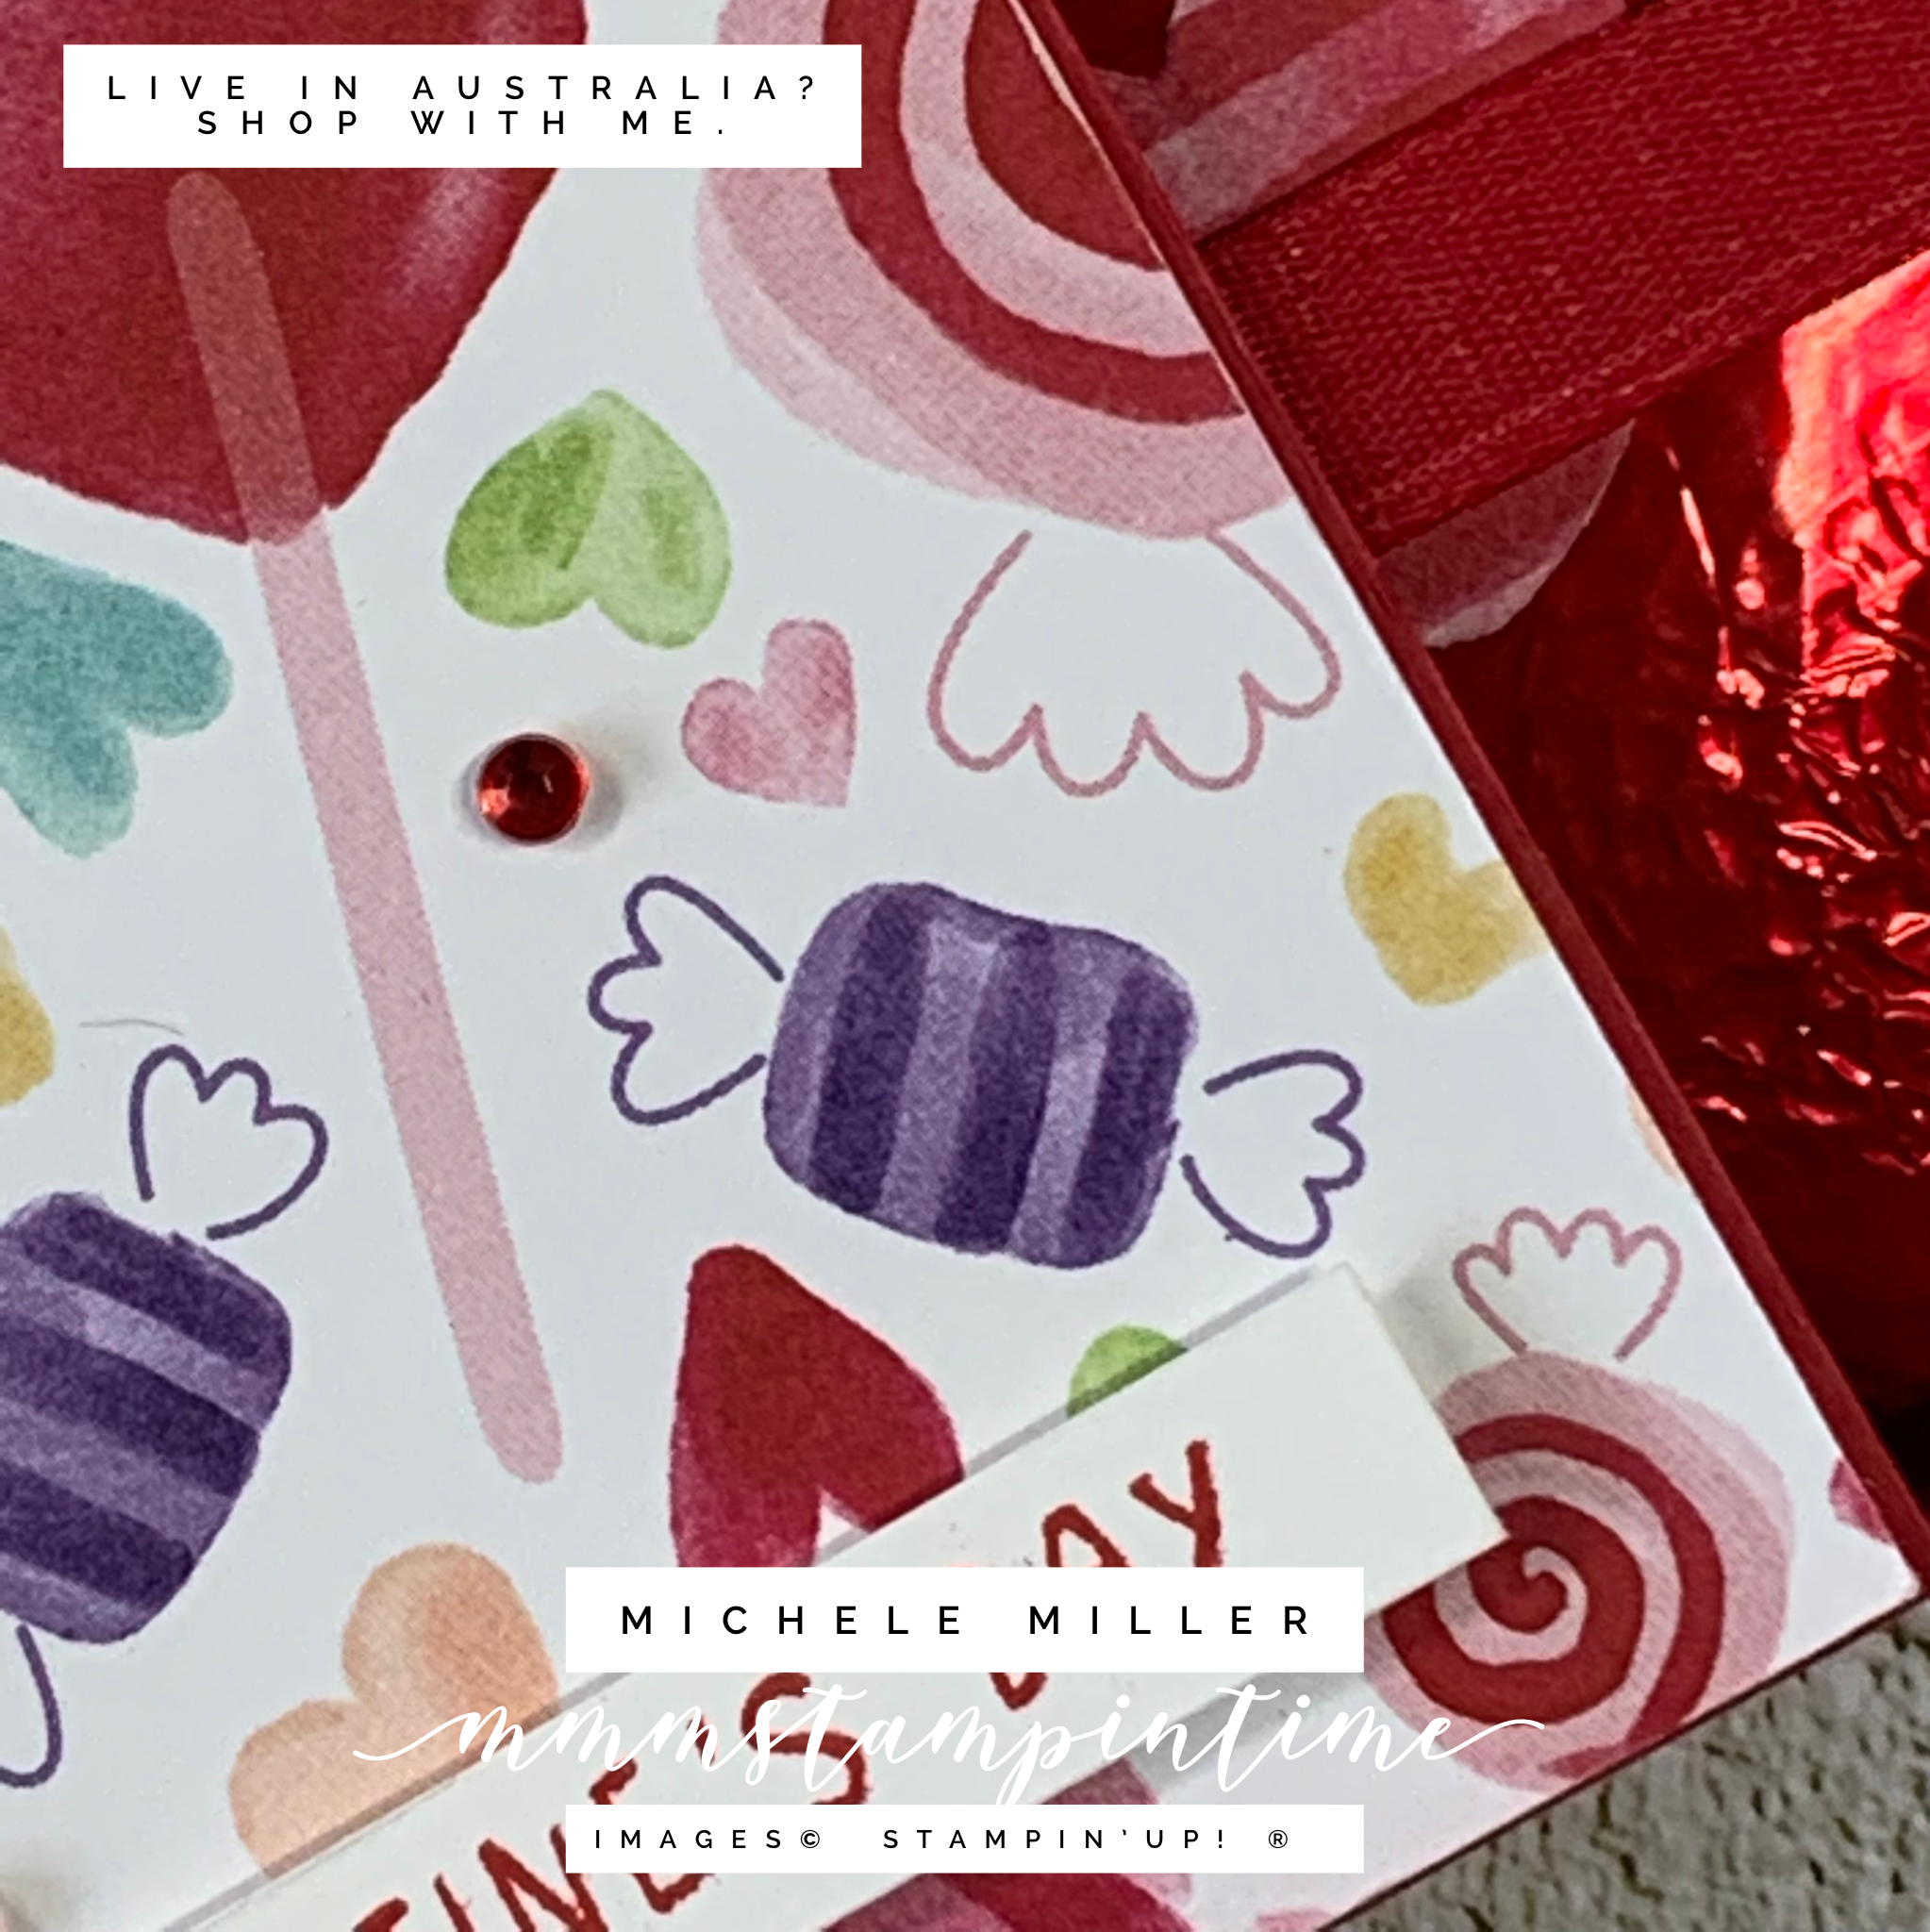
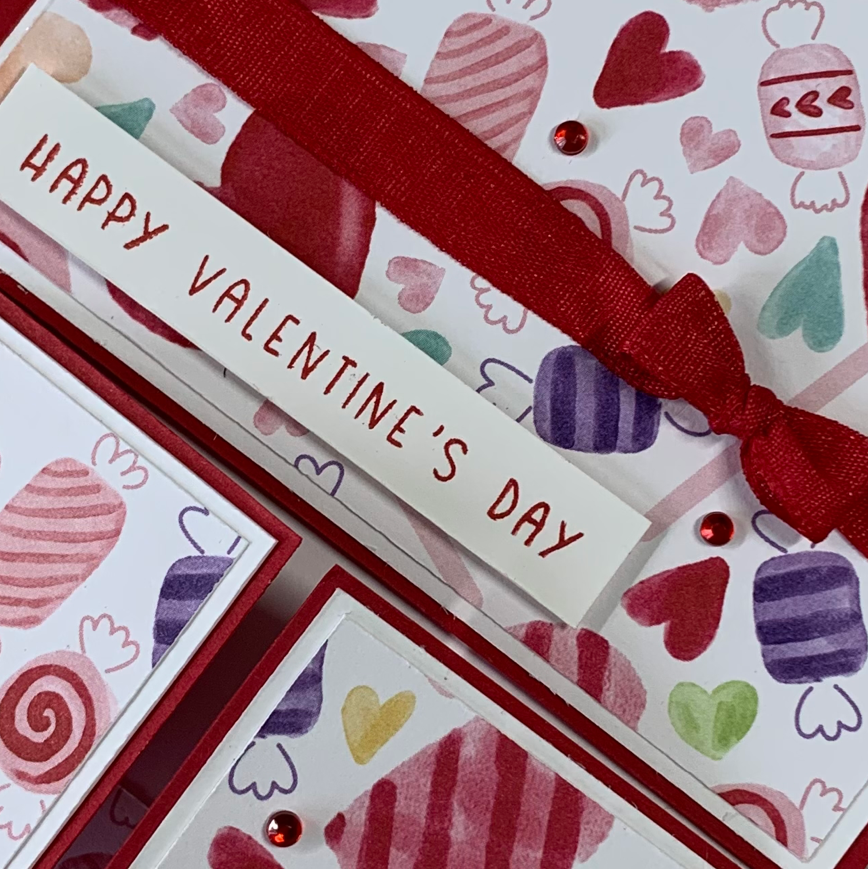
My layout today features the Gumball Greetings Bundle, along with some of the Sweet Talk 12″x 12″ Designer Series Paper.

The base layer is Highland Heather. I cut a 4-1/2″ strip of this DSP design and centred it on the base layer.

Then I added two Basic White photo matts – one is for a 6″x 4″ photo and the other is for a 4″x 4″ photo.

The title for this layout may be the last time I use my favourite Playful Alphabet Dies. Adding Adhesive Sheets to the back of the cardstock makes it so easy to secure the title to the page.

I stamped and die cut several large and small gumball machines. One large machine and three smaller ones were added to the first page.

The second page is close to being a mirror image.

This page has the same base layer, a 4-1/2″ strip of DSP and two Basic White photo matts.

I added a second layer of coordinating DSP measuring 9-1/2″x 4-1/2″.

Finally, I added the remaining gumball machines.

Now I just need to find some gorgeous photos of my daughters or nieces to place on the matt layers.

I love the Gumball Greetings Bundle. It is so much fun. It would work well with the Your Biggest Fan Collection.

The Gumball Greetings Bundle and the Sweet Talk DSP worked so well together. Another reason I love creating with Stampin’ Up!® products is that coordination across product bundles and collections is endless.

Tomorrow is Technique Tuesday and I will sharing some ideas using layering and a new product.

Until then, happy stamping.

If you live in Australia, you can order any of the products I used to make this card by going to my online store. Just click on any of the images below.

Product List
Posted on Leave a comment

FUN FOLD FRIDAY

The heading says it all – each Friday, I will share a ‘new’ Fun Fold card. I have been compiling a list of as many card folds as I can and there are lots of them. Some of themI haven’t made before.

Today’s card is a Double Dutch Card and it is the first time I have made one. I looked at several templates and then created my own set of measurements to make sure that my card would fit well in a C6 envelope.

When the card goes into the envelope it measures 5-3/4″x 4-1/4″ or 14.7cm x 10.7cm.

I started with a piece of 12″x 12″ Real Red cardstock. Here is a diagram to illustrate how to cut and score the cardstock.

After cutting and burnishing the card base, I cut the Basic White layers and Designer Series Paper layers.

Before attaching the main panel, I tied a bow and wrapped a length of Real Red Faux Linen Ribbon around it. I used Tear & Tape to secure the ribbon in place.

The sentiment was stamped using Real Red ink and was cut into a thin strip. I used a number of Stampin’ Dimensionals to pop the greeting up.

I added a strip of DSP to the card insert and added a second sentiment to the inside of the card.

The finishing touch for this card was to add some Red Rhinestone Basic Jewels.

The card looks great opened out fully.

It has been a fun week making projects using the Sweet Talk Product Suite.

I wonder which new products I will use for next week’s projects?

Until then, happy stamping.

If you live in Australia, you can order any of the products I used to make this card by going to my online store. Just click on any of the images below.

Product List
Paper Snips
[103579]
$17.00
Posted on Leave a comment

3D THURSDAY – SHARING GIFT BAG, GIFT BOX & HOME DECOR PROJECTS

Welcome to my first 3D Thursday post of 2022. I plan to share a gift bag, gift box or home decor 3D project each Thursday during 2022.

If there is a project idea that you would like to know how to create, make sure you contact me so that I can include it in a future Thursday post.

Today I have a Valentine’s Day 3D sliding gift box to share. I am still using the Sweet Talk Suite and I am so pleased with the gift box I have for you.

The Sweet Talk Product Suite is perfect for any Valentine’s project.

This project started with two red foil wrapped chocolate hearts I found at a local store. I decided to create a gift box to present them in, as a special Valentine’s Day gift.

I created a double-fold gift box base and added a divided insert. I was able to secure each of the heart chocolates to the base using a Mini Glue Dot.

I die cut two hearts, from the Designer Series Paper, and attached them to each of the chocolate hearts. Then I wrapped a length of Real Red Faux Linen Ribbon around the gift base.

The outer wrapper, like a matchbox, slides off to reveal the chocolate hearts.

The top of the wrapper is decorated with a piece of the Sweet Talk 12″x 12″ Designer Series Paper. I stamped the sentiment onto a thin piece of Basic Whits cardstock.

The envelope was cut using a die from the Sweet Hearts Dies and then embossed using the splatters folder from the Stripes & Splatters 3D Embossing Folders. The heart was stamped and die cut before popping it inside the folded envelope. I added Stampin’ Dimensionals to the back of the envelope to give it height.

I love the texture that the Splatters 3D Embossing Folder gives the cardstock.

The Real Red cardstock, Faux Linen Ribon and Rhinestone Basic Jewels are perfect for any Valentine’s gift.

The reason I include “Live in Australia? Shop with me.” on each image is to make sure that paper crafters, who live in Australia, know that they can order Stampin’ Up!© products through my online store. This is my little business and I hope that it will grow with the support of people who enjoy the projects I share here, on Facebook and Pinterest.

If I can help you place an order, please contact me.

Until tomorrow’s Fun Fold Friday, happy stamping.

If you live in Australia, you can order any of the products I used to make this card by going to my online store. Just click on any of the images below.

Product List
Paper Snips
[103579]
$17.00