I don’t have a Fun Fold card for you today but two other fun projects to share.
As I mentioned at the beginning of the week, I wanted to highlight the Velvet Meadow Specialty Designer Series Paper.
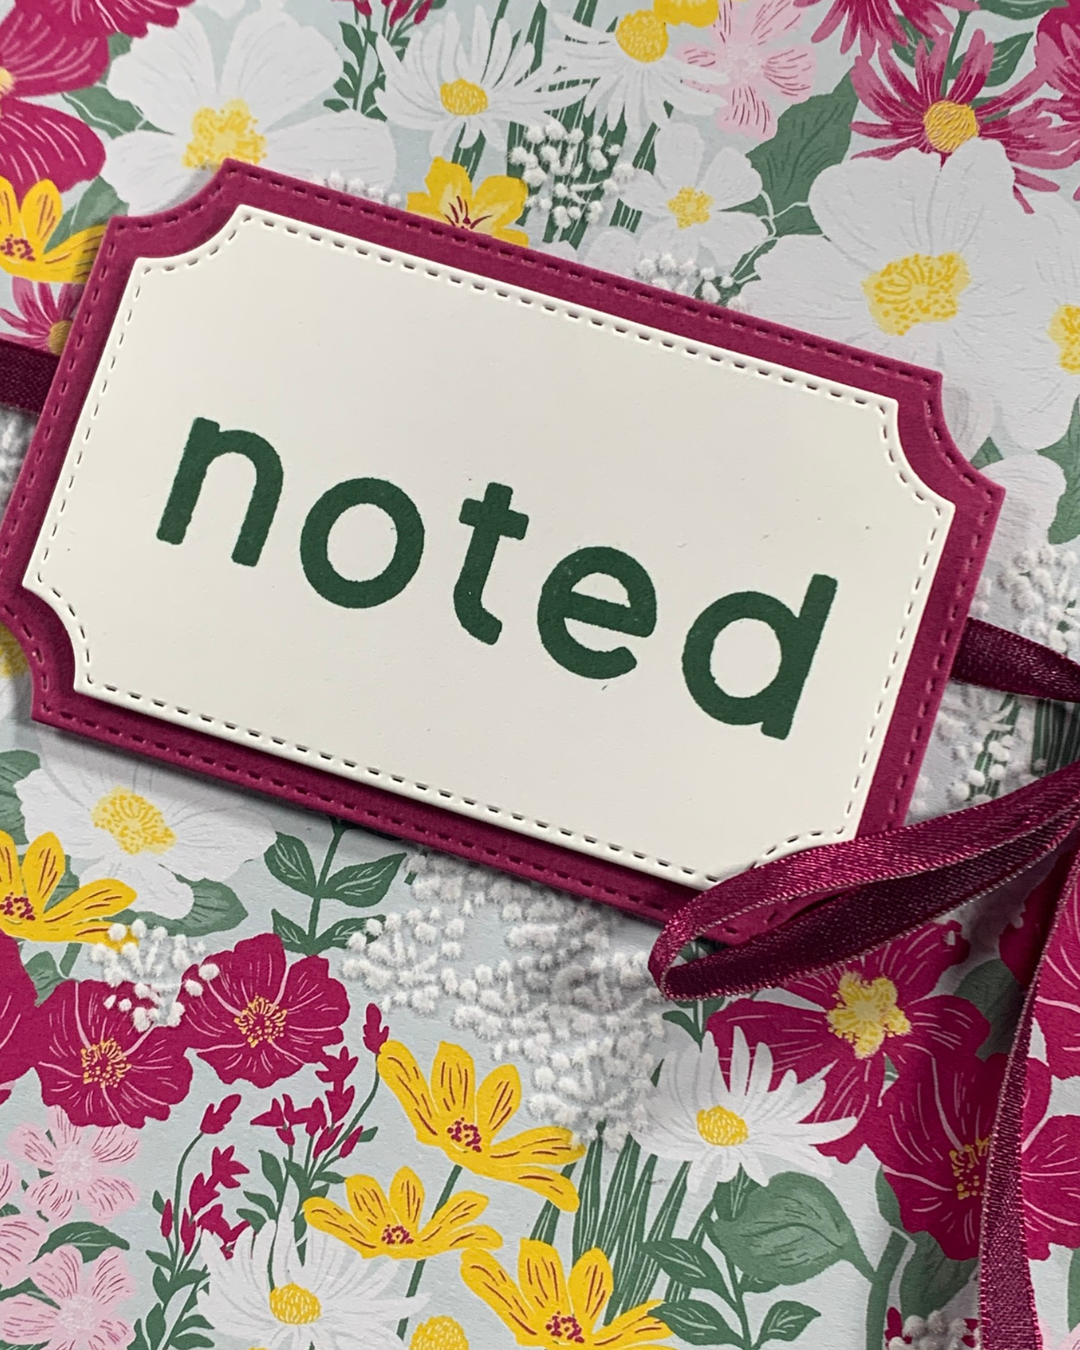
I knew as soon as I saw the DSP that I wanted to cover a notebook and I did!

I bought a two pack of A5 notebooks and used one of them as the base for this project.
The front and back flaps were covered with these DSP panels.
After carefully folding in the overlaps, I adhered them down. Then I added a panel of Berry Burst card inside the front and back notebook flaps.

I used the wonderful new Simple Alphabet Stamp Set to create the title for my notebook – “noted”.
The title was stamped in Peaceful Pine on Basic White card and was then cut using one of the Branching Out Dies.
This was then adhered to a Berry Burst panel that was cut using the next larger die.

A length of Berry Burst Shiny Ribbon was secrued to the back of the notebook and then wrapped around to create a securely tied bow.
The title label was then attached over the ribbon using Stampin’ Dimensionals.
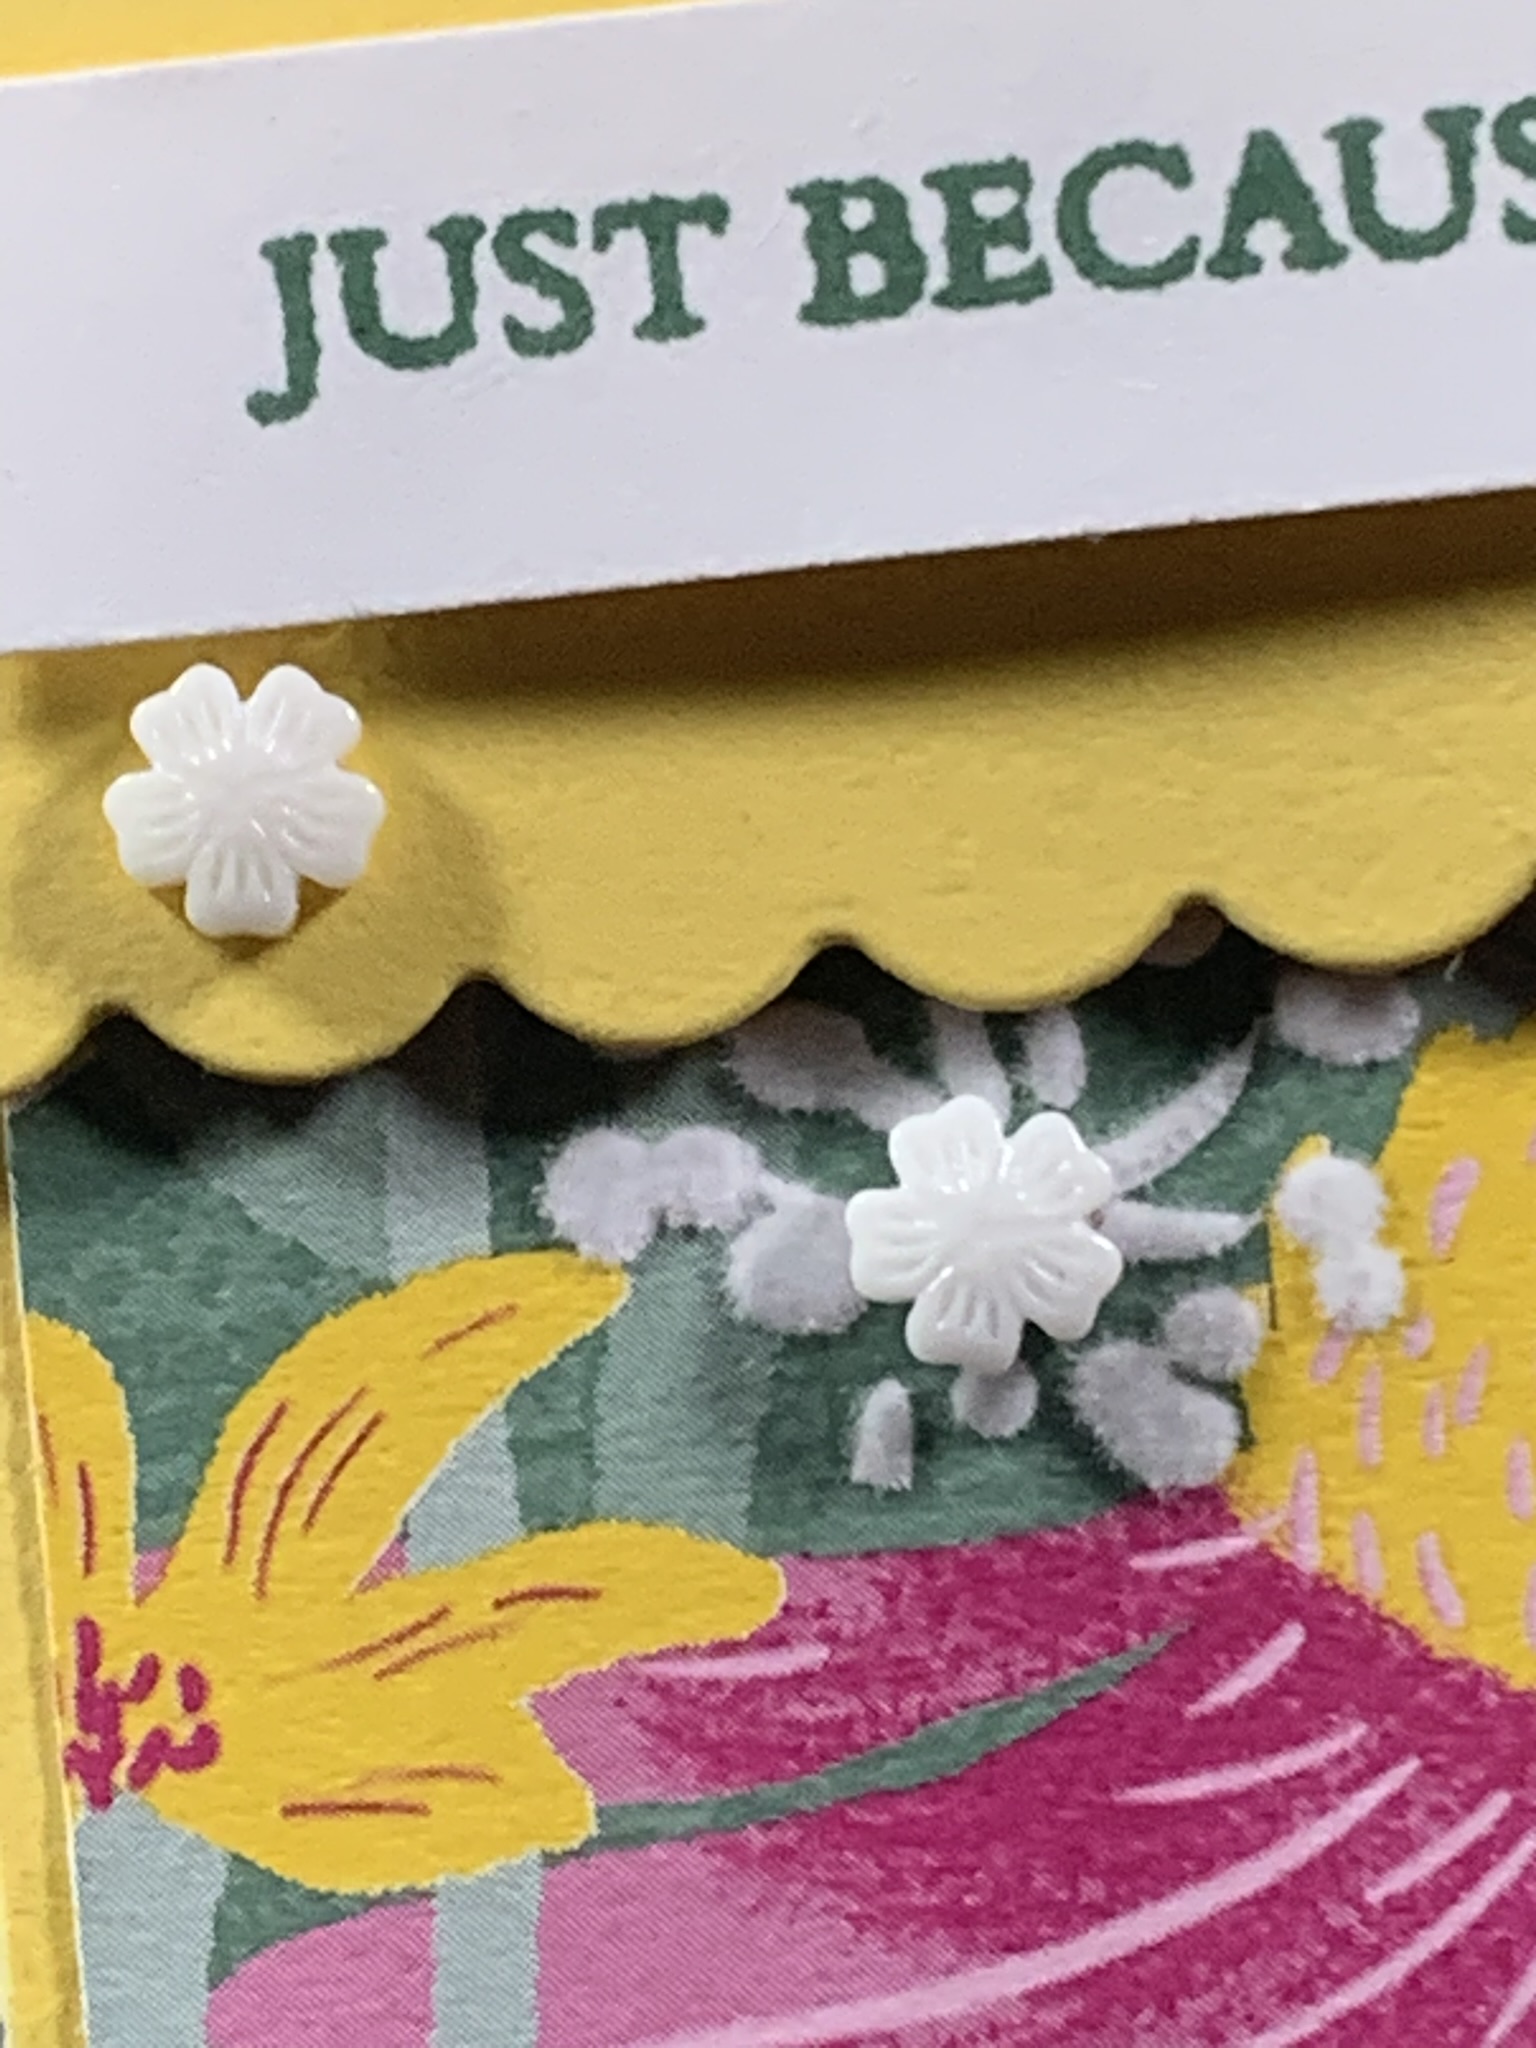
My last project for the week is a decorated scallop window box.

For this project I cut a panel of the flocked DSP and cut out a scallop to coordinate with the window box.
Then I cut a Berry Burst scalloped layer.
After I adhered these layers to the top of the box I began decorating.

I used the Flowering Meadows Dies and the Velveteen Assortment Specialty Paper to create the flowers and leaves to decorate the top of the window box.
After stamping, punching and attaching the greeting I tied a small bow using the Bubble Bath Faux Linen Ribbon.
I hope that you have liked my projects this week – leave a message to let me know.
Next week I will feature another amazing new suite collection.
Until then, happy stamping and memory keeping.

If you live in Australia, you can order any of the products I used to make this card by going to my online store. Just click on any of the images below.

![Flowering Meadow Bundle (English) [ 167912 ]](https://i0.wp.com/assets1.tamsnetwork.com/images/EC042017NF/167912s.jpg?w=140&ssl=1 "Flowering Meadow Bundle (English) [ 167912 ]") | ||||
![Flowering Meadow Dies [ 167911 ]](https://i0.wp.com/assets1.tamsnetwork.com/images/EC042017NF/167911s.jpg?w=140&ssl=1 "Flowering Meadow Dies [ 167911 ]") | ![Scalloped Blooms Dies [ 167646 ]](https://i0.wp.com/assets1.tamsnetwork.com/images/EC042017NF/167646s.jpg?w=140&ssl=1 "Scalloped Blooms Dies [ 167646 ]") | ![Branching Out Dies [ 165775 ]](https://i0.wp.com/assets1.tamsnetwork.com/images/EC042017NF/165775s.jpg?w=140&ssl=1 "Branching Out Dies [ 165775 ]") | ||
![Three Banner Punch [ 167050 ]](https://i0.wp.com/assets1.tamsnetwork.com/images/EC042017NF/167050s.jpg?w=140&ssl=1 "Three Banner Punch [ 167050 ]") | ![Basic White A4 Thick Cardstock [ 159230 ]](https://i0.wp.com/assets1.tamsnetwork.com/images/EC042017NF/159230s.jpg?w=140&ssl=1 "Basic White A4 Thick Cardstock [ 159230 ]") | ![Berry Burst A4 Cardstock [ 144249 ]](https://i0.wp.com/assets1.tamsnetwork.com/images/EC042017NF/144249s.jpg?w=140&ssl=1 "Berry Burst A4 Cardstock [ 144249 ]") | ||
![Peaceful Pine Classic Stampin Pad [ 167679 ]](https://i0.wp.com/assets1.tamsnetwork.com/images/EC042017NF/167679s.jpg?w=140&ssl=1 "Peaceful Pine Classic Stampin Pad [ 167679 ]") | ![Multipurpose Liquid Glue [ 110755 ]](https://i0.wp.com/assets1.tamsnetwork.com/images/EC042017NF/110755s.jpg?w=140&ssl=1 "Multipurpose Liquid Glue [ 110755 ]") | ![Stampin' Dimensionals [ 104430 ]](https://i0.wp.com/assets1.tamsnetwork.com/images/EC042017NF/104430s.jpg?w=140&ssl=1 "Stampin' Dimensionals [ 104430 ]") | ![Stampin' Seal+ [ 149699 ]](https://i0.wp.com/assets1.tamsnetwork.com/images/EC042017NF/149699s.jpg?w=140&ssl=1 "Stampin' Seal+ [ 149699 ]") | ![Paper Snips [ 103579 ]](https://i0.wp.com/assets1.tamsnetwork.com/images/EC042017NF/103579s.jpg?w=140&ssl=1 "Paper Snips [ 103579 ]") |
![Mini Glue Dots [ 103683 ]](https://i0.wp.com/assets1.tamsnetwork.com/images/EC042017NF/103683s.jpg?w=140&ssl=1 "Mini Glue Dots [ 103683 ]") | ![Paper Trimmer [ 152392 ]](https://i0.wp.com/assets1.tamsnetwork.com/images/EC042017NF/152392s.jpg?w=140&ssl=1 "Paper Trimmer [ 152392 ]") | ![Mini Stampin' Cut & Emboss Machine [ 150673 ]](https://i0.wp.com/assets1.tamsnetwork.com/images/EC042017NF/150673s.jpg?w=140&ssl=1 "Mini Stampin' Cut & Emboss Machine [ 150673 ]") |
![Velvet Meadow Suite Collection (English) [ 167917 ]](https://i0.wp.com/assets1.tamsnetwork.com/images/EC042017NF/167917s.jpg?w=140&ssl=1 "Velvet Meadow Suite Collection (English) [ 167917 ]")
![Velvet Meadow 12" X 12" (30.5 X 30.5 Cm) Specialty Designer Series Paper [ 167904 ]](https://i0.wp.com/assets1.tamsnetwork.com/images/EC042017NF/167904s.jpg?w=140&ssl=1 "Velvet Meadow 12\" X 12\" (30.5 X 30.5 Cm) Specialty Designer Series Paper [ 167904 ]")
![Velveteen Assortment 12" X 12" (30.5 X 30.5 Cm) Specialty Paper [ 167915 ]](https://i0.wp.com/assets1.tamsnetwork.com/images/EC042017NF/167915s.jpg?w=140&ssl=1 "Velveteen Assortment 12\" X 12\" (30.5 X 30.5 Cm) Specialty Paper [ 167915 ]")
![Flowering Meadow Photopolymer Stamp Set (English) [ 167906 ]](https://i0.wp.com/assets1.tamsnetwork.com/images/EC042017NF/167906s.jpg?w=140&ssl=1 "Flowering Meadow Photopolymer Stamp Set (English) [ 167906 ]")
![Simple Alphabet Photopolymer Stamp Set [ 167541 ]](https://i0.wp.com/assets1.tamsnetwork.com/images/EC042017NF/167541s.jpg?w=140&ssl=1 "Simple Alphabet Photopolymer Stamp Set [ 167541 ]")
![Bubble Bath 1/8" (3.2 Mm) Faux Linen Ribbon [ 167075 ]](https://i0.wp.com/assets1.tamsnetwork.com/images/EC042017NF/167075s.jpg?w=140&ssl=1 "Bubble Bath 1/8\" (3.2 Mm) Faux Linen Ribbon [ 167075 ]")
![Peaceful Pine 3/8" (1 Cm) Bordered Ribbon [ 167551 ]](https://i0.wp.com/assets1.tamsnetwork.com/images/EC042017NF/167551s.jpg?w=140&ssl=1 "Peaceful Pine 3/8\" (1 Cm) Bordered Ribbon [ 167551 ]")



![Dreamy Flowers [ 167916 ]](https://i0.wp.com/assets1.tamsnetwork.com/images/EC042017NF/167916s.jpg?w=140&ssl=1 "Dreamy Flowers [ 167916 ]")
![Cloud Cover 3/8" (1 Cm) Faux Linen Ribbon [ 165271 ]](https://i0.wp.com/assets1.tamsnetwork.com/images/EC042017NF/165271s.jpg?w=140&ssl=1 "Cloud Cover 3/8\" (1 Cm) Faux Linen Ribbon [ 165271 ]")
![Cloud Cover A4 Cardstock [ 165293 ]](https://i0.wp.com/assets1.tamsnetwork.com/images/EC042017NF/165293s.jpg?w=140&ssl=1 "Cloud Cover A4 Cardstock [ 165293 ]")
![Berry Burst Classic Stampin' Pad [ 147143 ]](https://i0.wp.com/assets1.tamsnetwork.com/images/EC042017NF/147143s.jpg?w=140&ssl=1 "Berry Burst Classic Stampin' Pad [ 147143 ]")
![Cloud Cover Classic Stampin' Ink Refill [ 165279 ]](https://i0.wp.com/assets1.tamsnetwork.com/images/EC042017NF/165279s.jpg?w=140&ssl=1 "Cloud Cover Classic Stampin' Ink Refill [ 165279 ]")



![Basic Black Hybrid Stampin' Pad [ 166648 ]](https://i0.wp.com/assets1.tamsnetwork.com/images/EC042017NF/166648s.jpg?w=140&ssl=1 "Basic Black Hybrid Stampin' Pad [ 166648 ]")




