Posted on Leave a comment

A CANDY CANE KIND OF CHRISTMAS

I was doing some grocery shopping yesterday and found some unusual candy canes – there were orange and pink canes in the packet. Perfect for making another 3D project!

The boxes remind me of the shape of letter boxes I’ve seen in the United States. I was able to make them using a piece of cardstock measuring 8″x 5-1/2″. I scored along both sides of the long edge at 1-1/4″. After burnishing the score lines, I added Stampin’ Seal+ and overlapped the 1-1/4″ wide lengths to form the base.

The Real Cartoon: Red Letter Box Cartoon

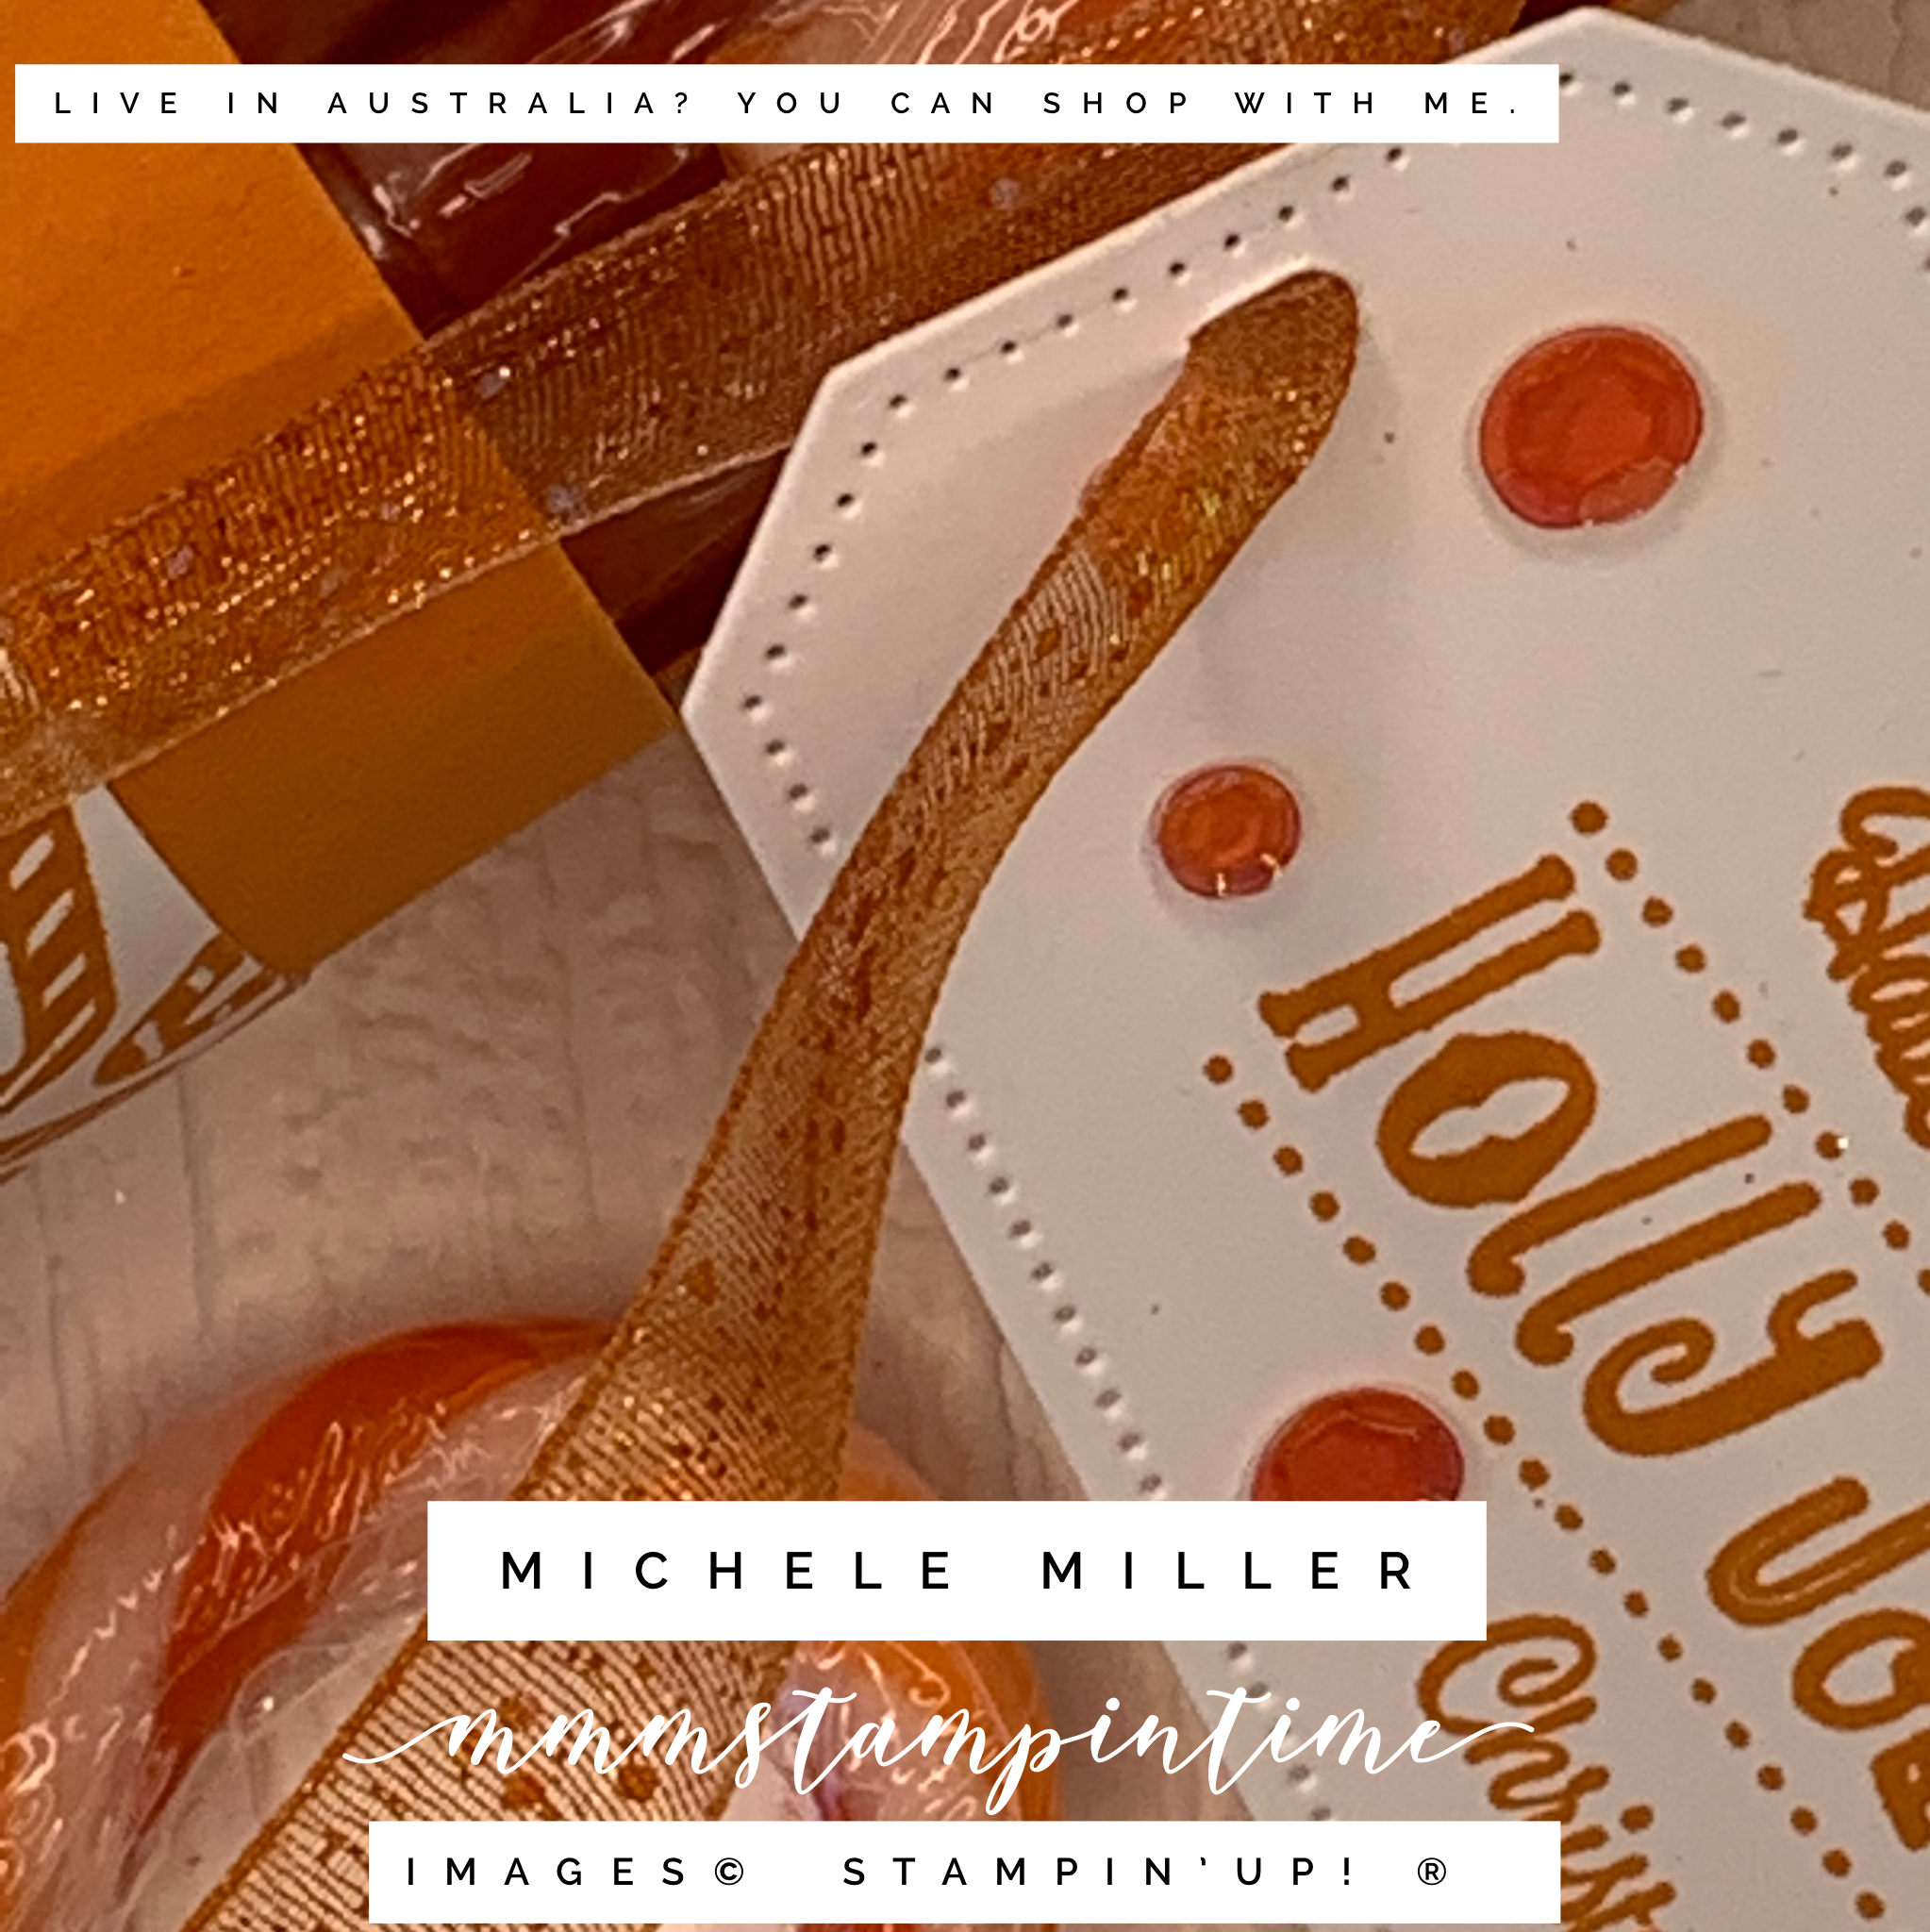
I stamped the Candy Canes image in Melon Mambo and Pumpkin Pie to match the colour of the canes. After trimming the stamped cardstock to 5-1/2″x 4-5/8″, I used Multipurpose Glue to attach it to the gift box.

I coloured a length of White Glittered Organdy Ribbon using the coordinating Stampin’ Blends. After punching Rectangular Postage Stamp pieces of cardstock, I attached the ribbon to it before securing the ribbon to the base of the box.

I made an insert to hold the coloured candy canes and the ribbon ensured that, when tied in a bow, it would not slide out.

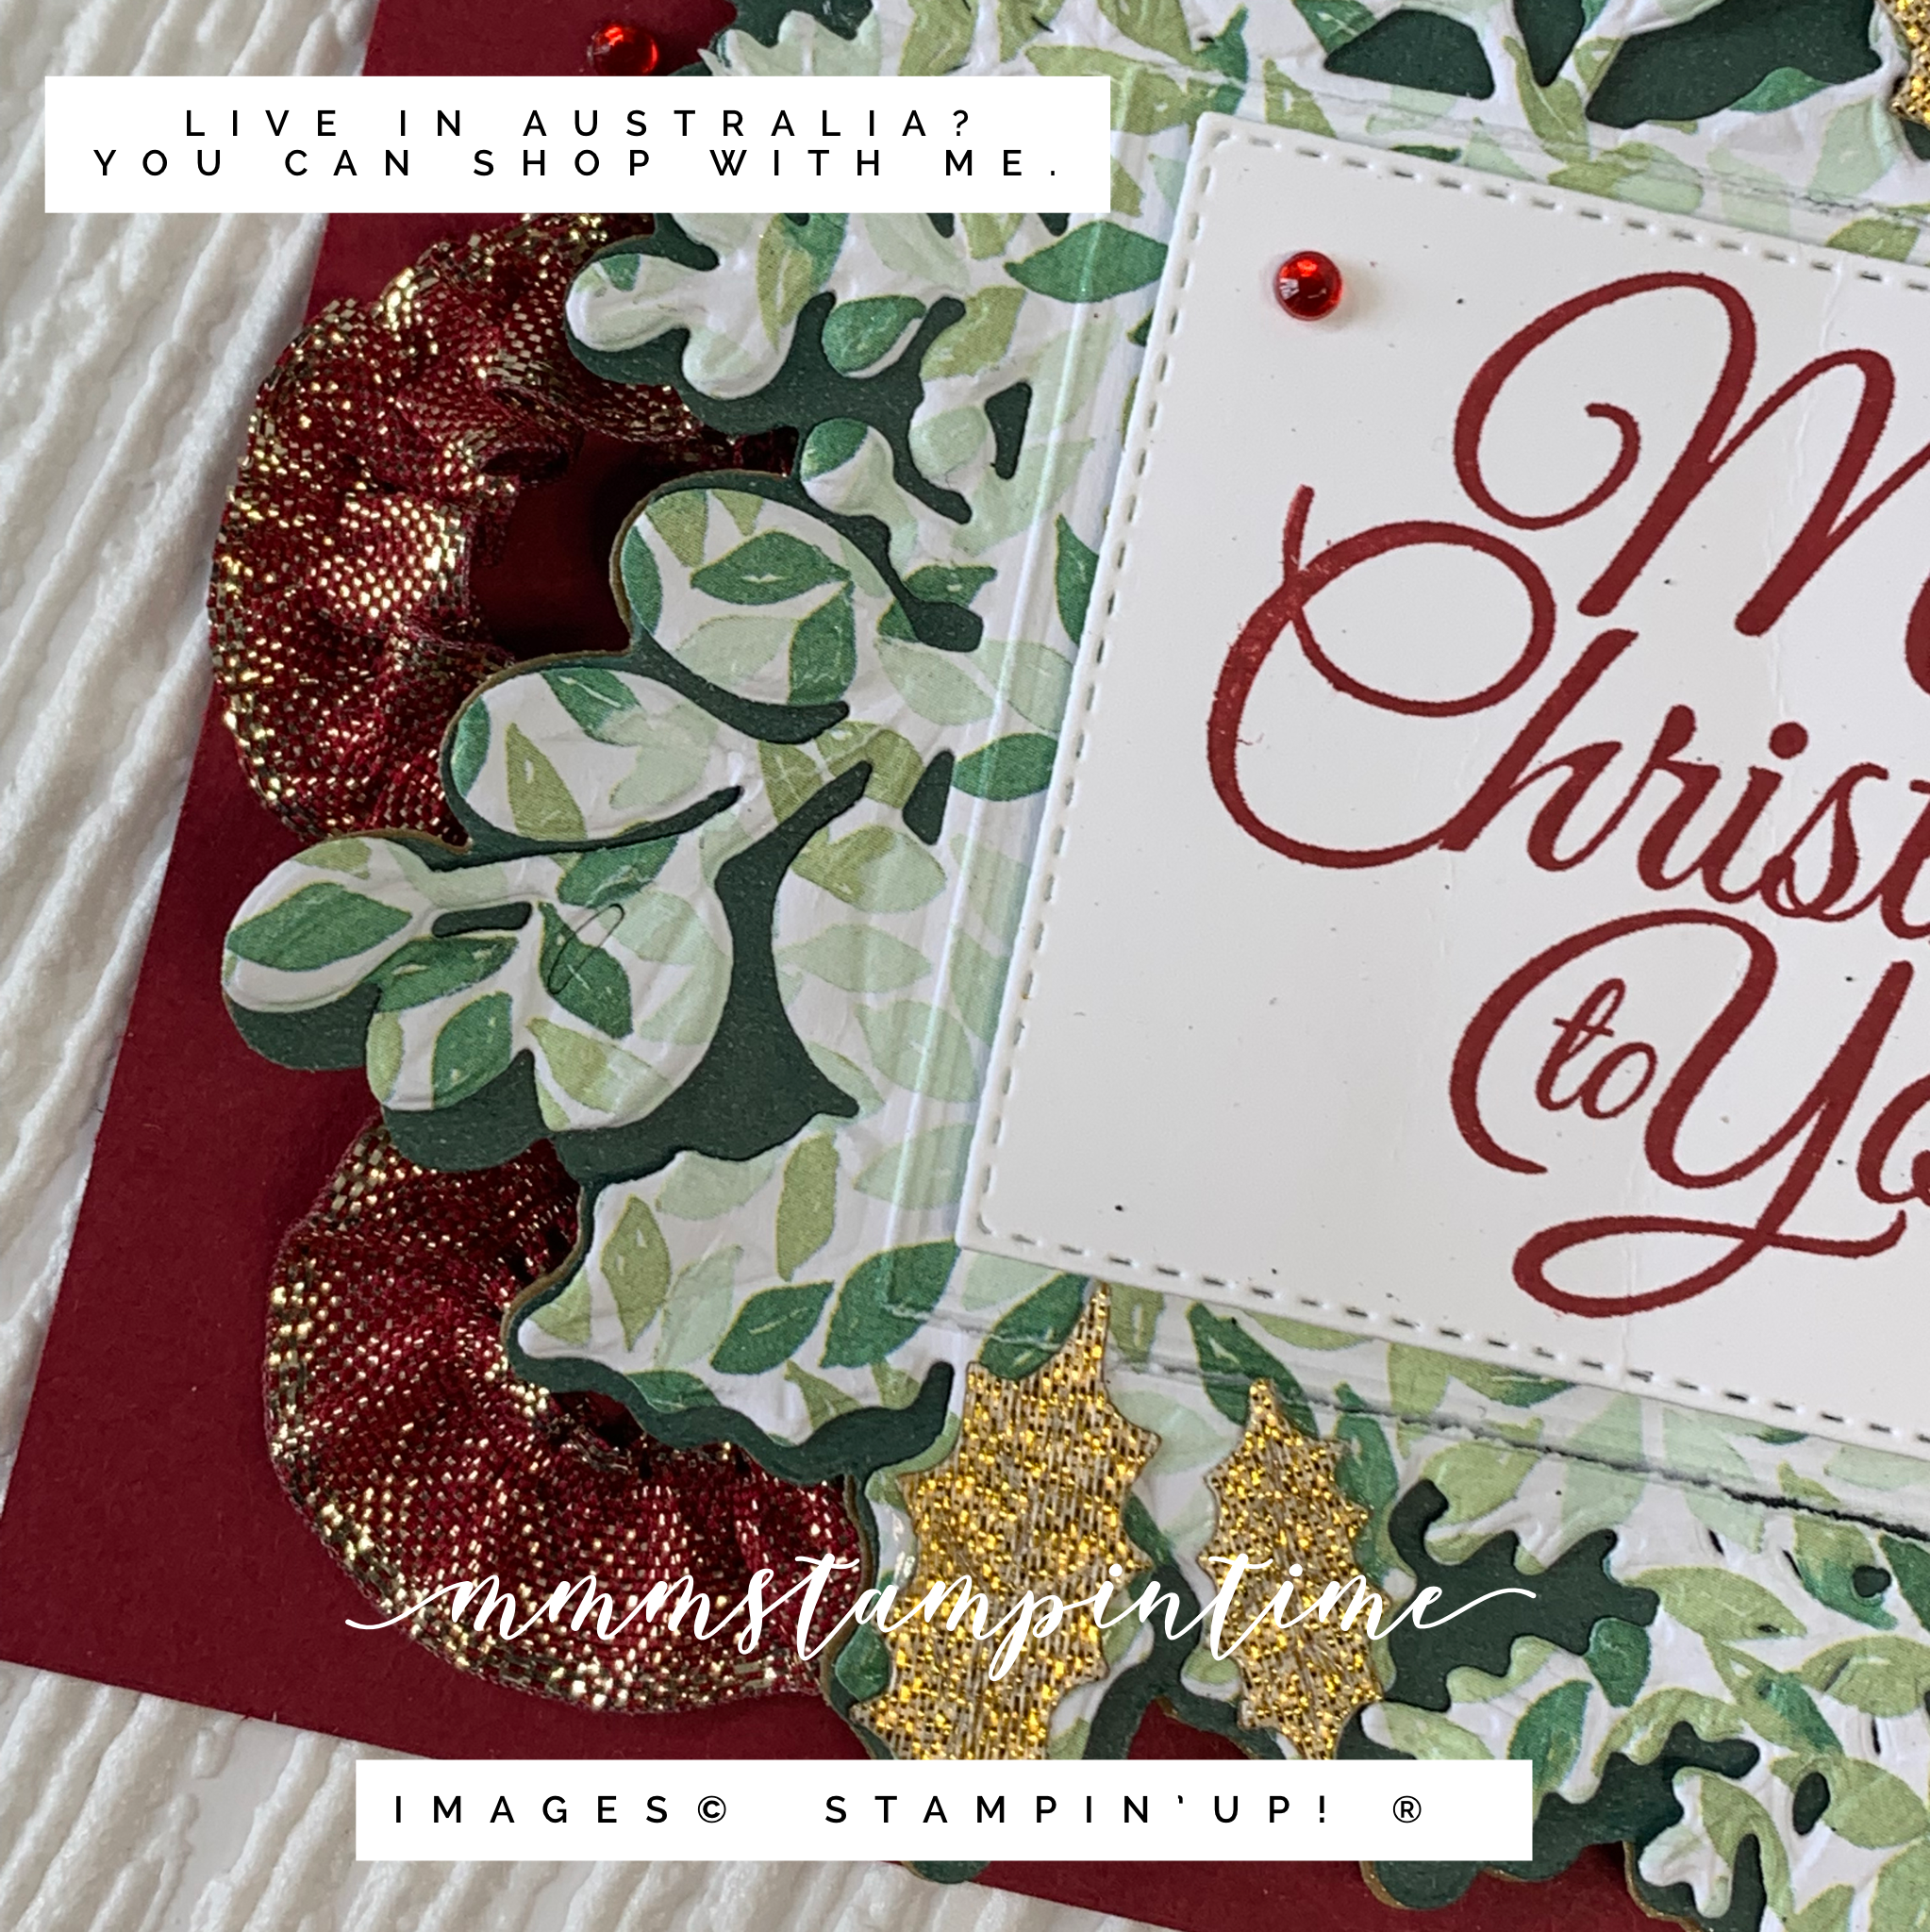
The Christmas greeting is from the Holly Jolly Wishes Stamp Set and the two tags were stamped in the coordinating colour. The tags were cut using the Tailor Made Tags Dies.

The tags were added to the ribbon before the bows were tied.

The final touch was to add some Artistry Blooms Sequins.

I’m still refining the way to use my new ring light when taking photos. Please be patient with me as I work on improving my lighting.

What do you think about my candy cane holders?

Until next time, happy stamping.

If you live in Australia, you can order any of the products I used to make this card by going to my online store. Just click on any of the images below.

Product List
Paper Snips
[103579]
$17.00
Posted on Leave a comment

A TRADITIONAL CHRISTMAS CARD TODAY

The Freshly Brewed Projects Blog Hop theme this week is Traditional Christmas. So we will share projects for Christmas using traditional colours.

For my project I opted for Cherry Cobbler, Evening Evergreen and gold.

I used a few different products from the July – December Mini Catalogue – Holly Jolly Stamp Set, Merriest Frames Hybrid Embossing Folder, Painted Christmas 12″x 12″ Designer Series Paper, Gold Holly Leaves, Gold Shimmer Vellum and the Cherry Cobbler & Gold Metallic Ribbon. I also used some of the Evening Evergreen Cotton Paper from the Eden’s Garden Early Release Collection.

The piece of Designer Series Paper was embossed and cut using the Hybrid Embossing Folder and coordinating detailed die. I also cut two outline pieces using the Gold Shimmer Vellum and Evening Evergreen Cotton Paper. These three pieces were layered and then secured on the card front using Stampin’ Dimensionals.

I gathered up three lengths of the Cherry Cobbler and Gold Metallic Ribbon and created the three ribbon wreaths that I tucked in under the paper layers. The wreaths were secured using Mini Glue Dots.

The Christmas greeting is from the Holly Jolly Stamp Set and was stamped using Cherry Cobbler. The stitched rectangle, from the Hybrid Embossing Folder bundle, was used to cut the greeting.

I took several of the Gold Holly Leaves and placed them over some of the embossed and die cut leaves. One was also added to the envelope and inside the card.

The final step was to add some of the Red Rhinestone Basic Jewels to the card front and inside the card.

Don’t forget to hop arond and see what the rest of the Freshly Brewed crew have created to share with you.

Have you started making your Christmas cards yet? Are you a traditional or more contempory Christmas card maker?

Unti lnext time, happy stamping.

If you live in Australia, you can order any of the products I used to make this card by going to my online store. Just click on any of the images below.

Product List
Paper Snips
[103579]
$17.00
Posted on Leave a comment

FRESHLY BREWED PROJECTS CUTE CHRISTMAS

This week we look forward to sharing some cute Christmas projects with you.

I decided to use Penguin Place and Holly Jolly Stamp Sets with the Whimsy & Wonder 12″x 12″ Specialty Designer Series Paper.

I started with a Misty Moonlight card base and added the trees and stars DSP for my midnight sky. Then I cut the sloping layered hills using a die from the Inspiring Canopy Dies. Each of these layers were popped up using Stampin’ Dimensionals.

For the tree, I added Adhesive Sheet to the back of the pink DSP before cutting this tree from the Christmas Tree Dies. I peeled away the backing paper and postioned the tree on the left hand side.

The penguin was stamped and punched using the Penguin Builder Punch. Then I stamped his scarf and beanie using the Polished Pink Stampin’ Write Marker ™ to colour the images. I used the pen end of the marker to draw around the outline of the scarf.

The greeting was stamped using Misty Moonlight ink and trimmed down before it was tucked in under the front sloping layer.

The same greeting was stamped inside the card and on the envelope. I used some of the pink and white twine that was left over from my Love, Santa Tag Kit to wrap around the top of the card and then tied a bow.

Finally, I added some of the 2021 – 2023 In Colour Jewels.

Make sure you pop across and see the other cute Christmas projects from the Freshly Brewed team.

I hope that these projects have inspired you to create something cute and, perhaps, non-traditional Christmas cards this year.

Until next time, happy stamping.

If you live in Australia, you can order any of the products I used to make this card by going to my online store. Just click on any of the images below.

Product List
Paper Snips
[103579]
$17.00