Posted on Leave a comment

GLOBAL DESIGN PROJECT SUCCESS!!!

I was delighted to check the Global Design Project website last night and discovered that my card design was a WINNER!

If you look at the GDP Design Team members, you will begin to understand why I am so thrilled to have my card design chosen as a winner this week. These women are totally amazing Stampin’ Up!® Demonstrators and card designers. Many of them are, or have been, Artisan Team members. This is such a creative and impressive group of paper crafters.

This is the card I ‘entered’.

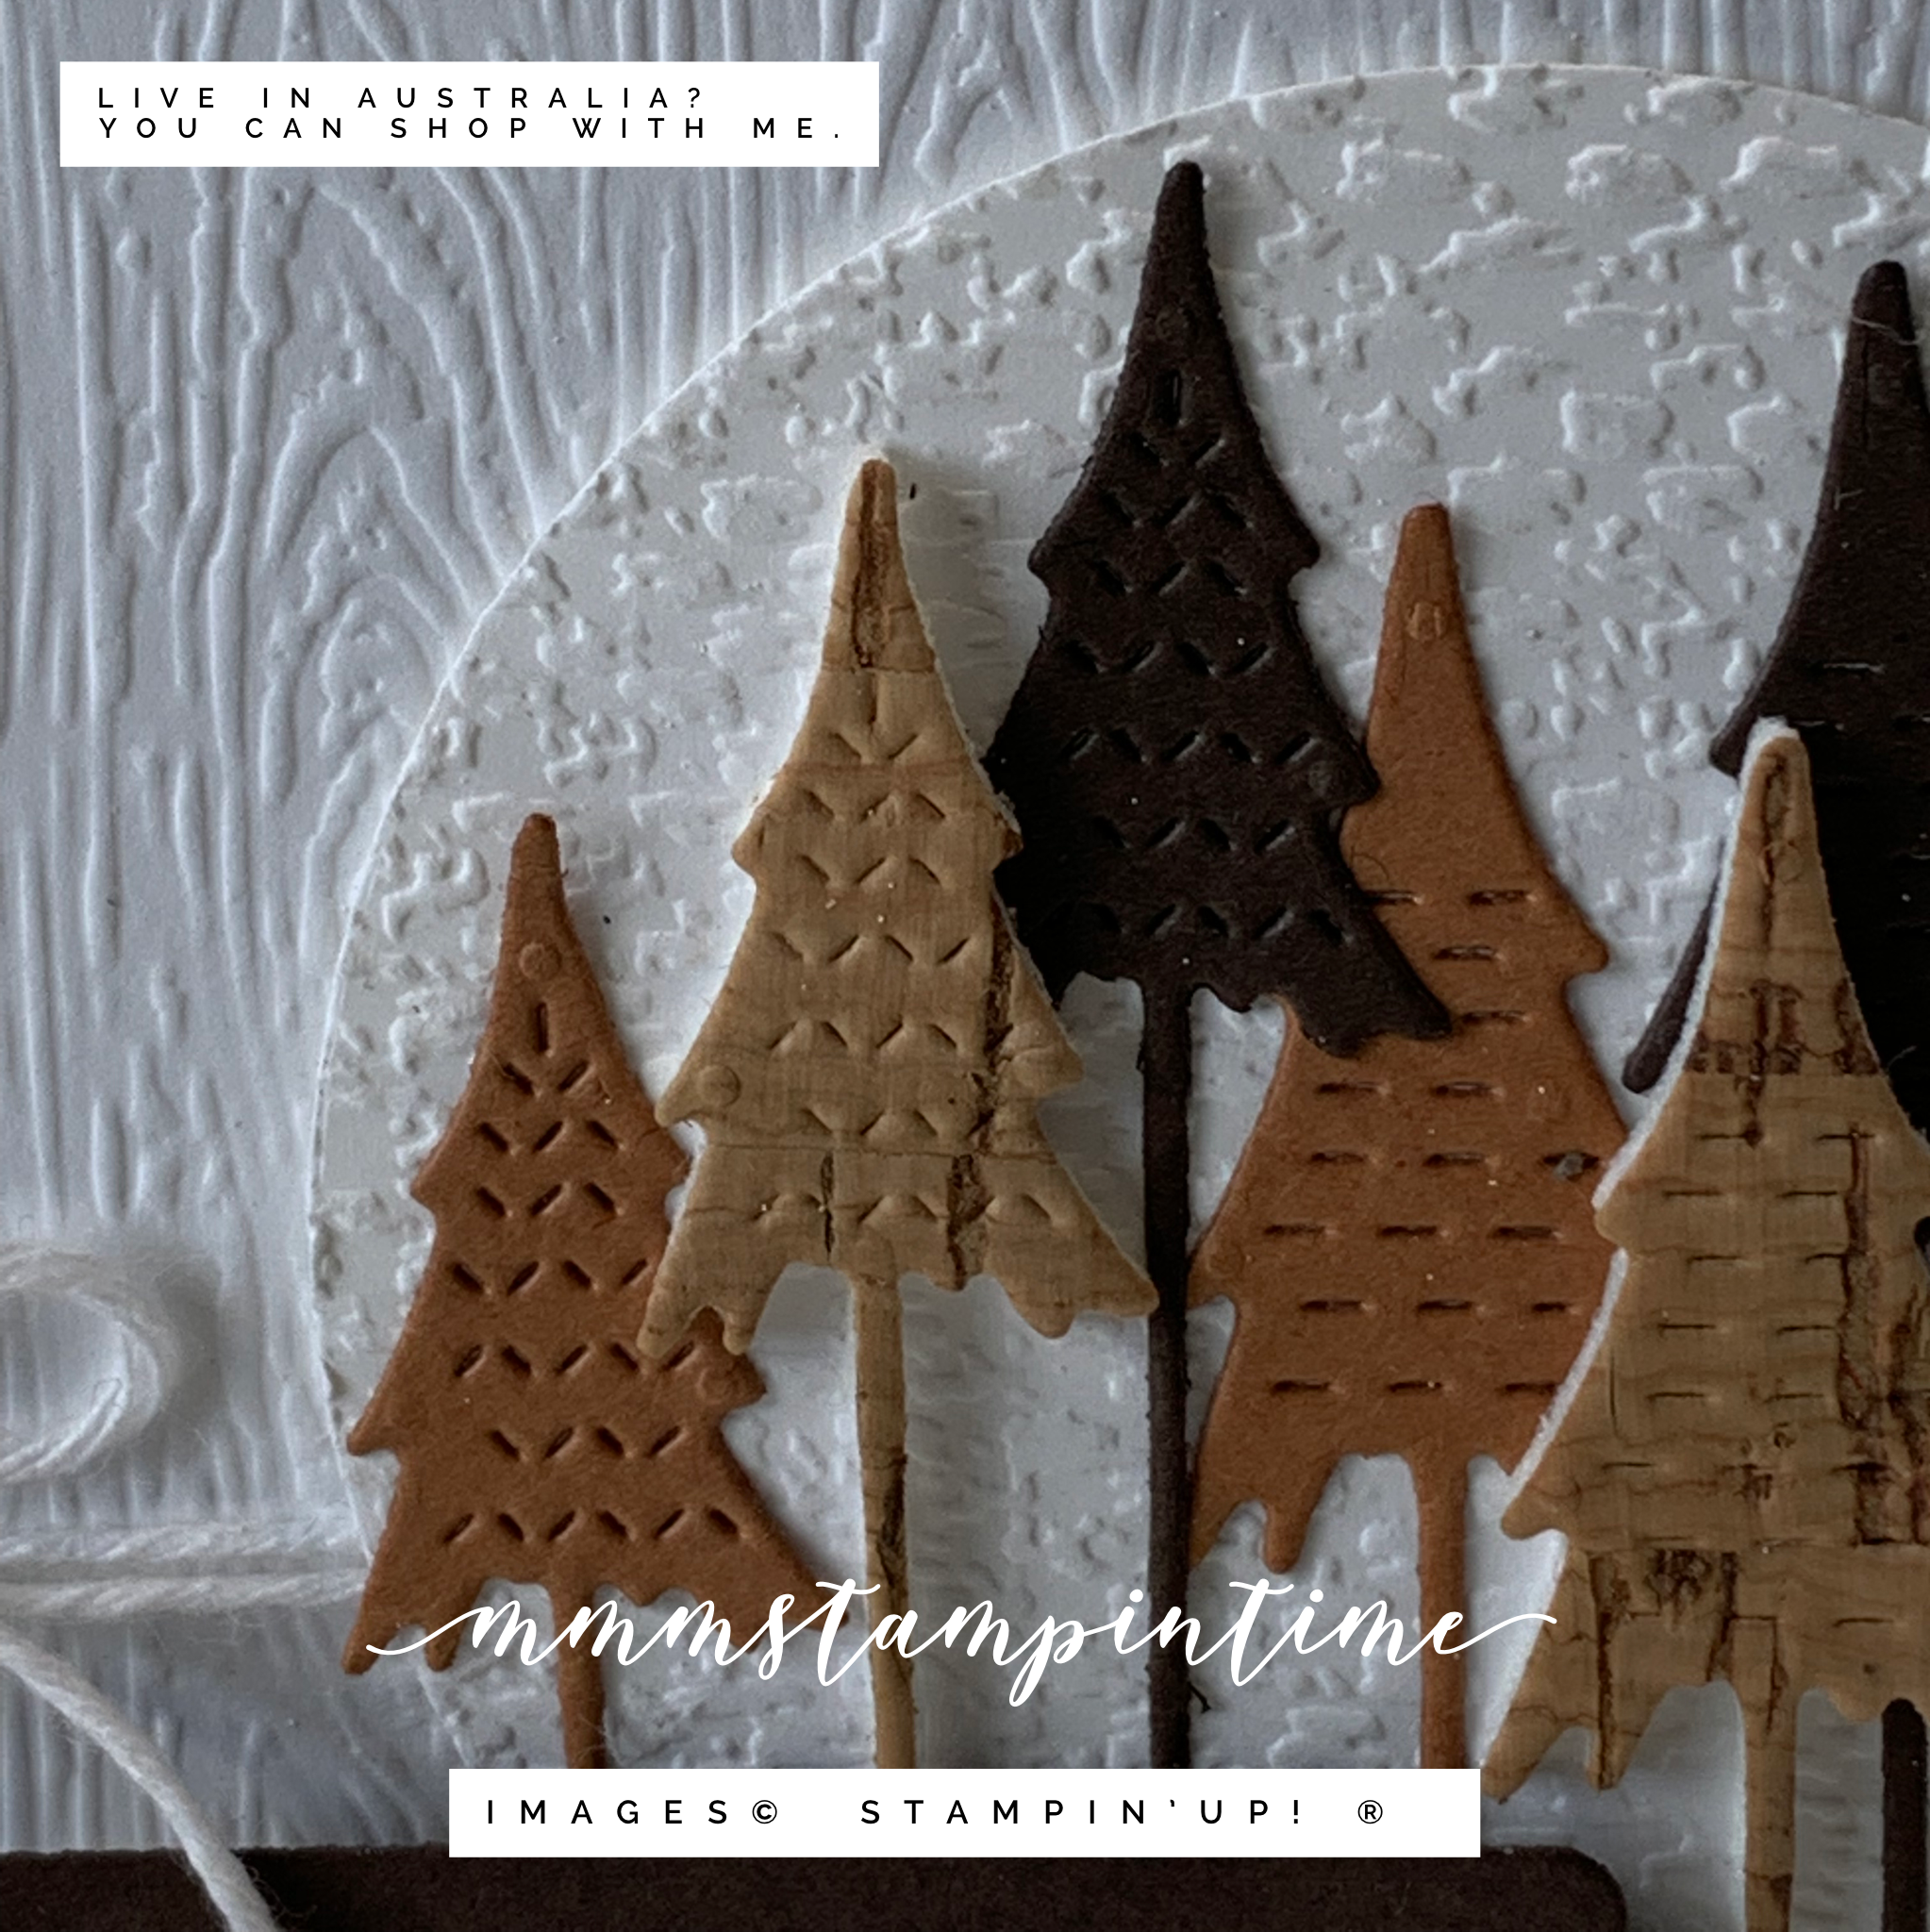
I do not often make predominently white cards but I am enjoying working outside my comfort zone. The little hint of Early Espresso popping out from behind the Timber 3D embossed and distressed layer of Basic White provides a subtle colour element.

Then. of course, there is the trimmed back circle of Tasteful Textile embossed Basic White circle that hosts the totally cute trees from the Christmas Tree Dies.

It was a total delight having my card chosen, from this broad array of card makers’ ‘entries’. as one of this week’s winners.

Until next time, happy stamping.

Posted on Leave a comment

FRESHLY BREWED PROJECTS CUTE CHRISTMAS

This week we look forward to sharing some cute Christmas projects with you.

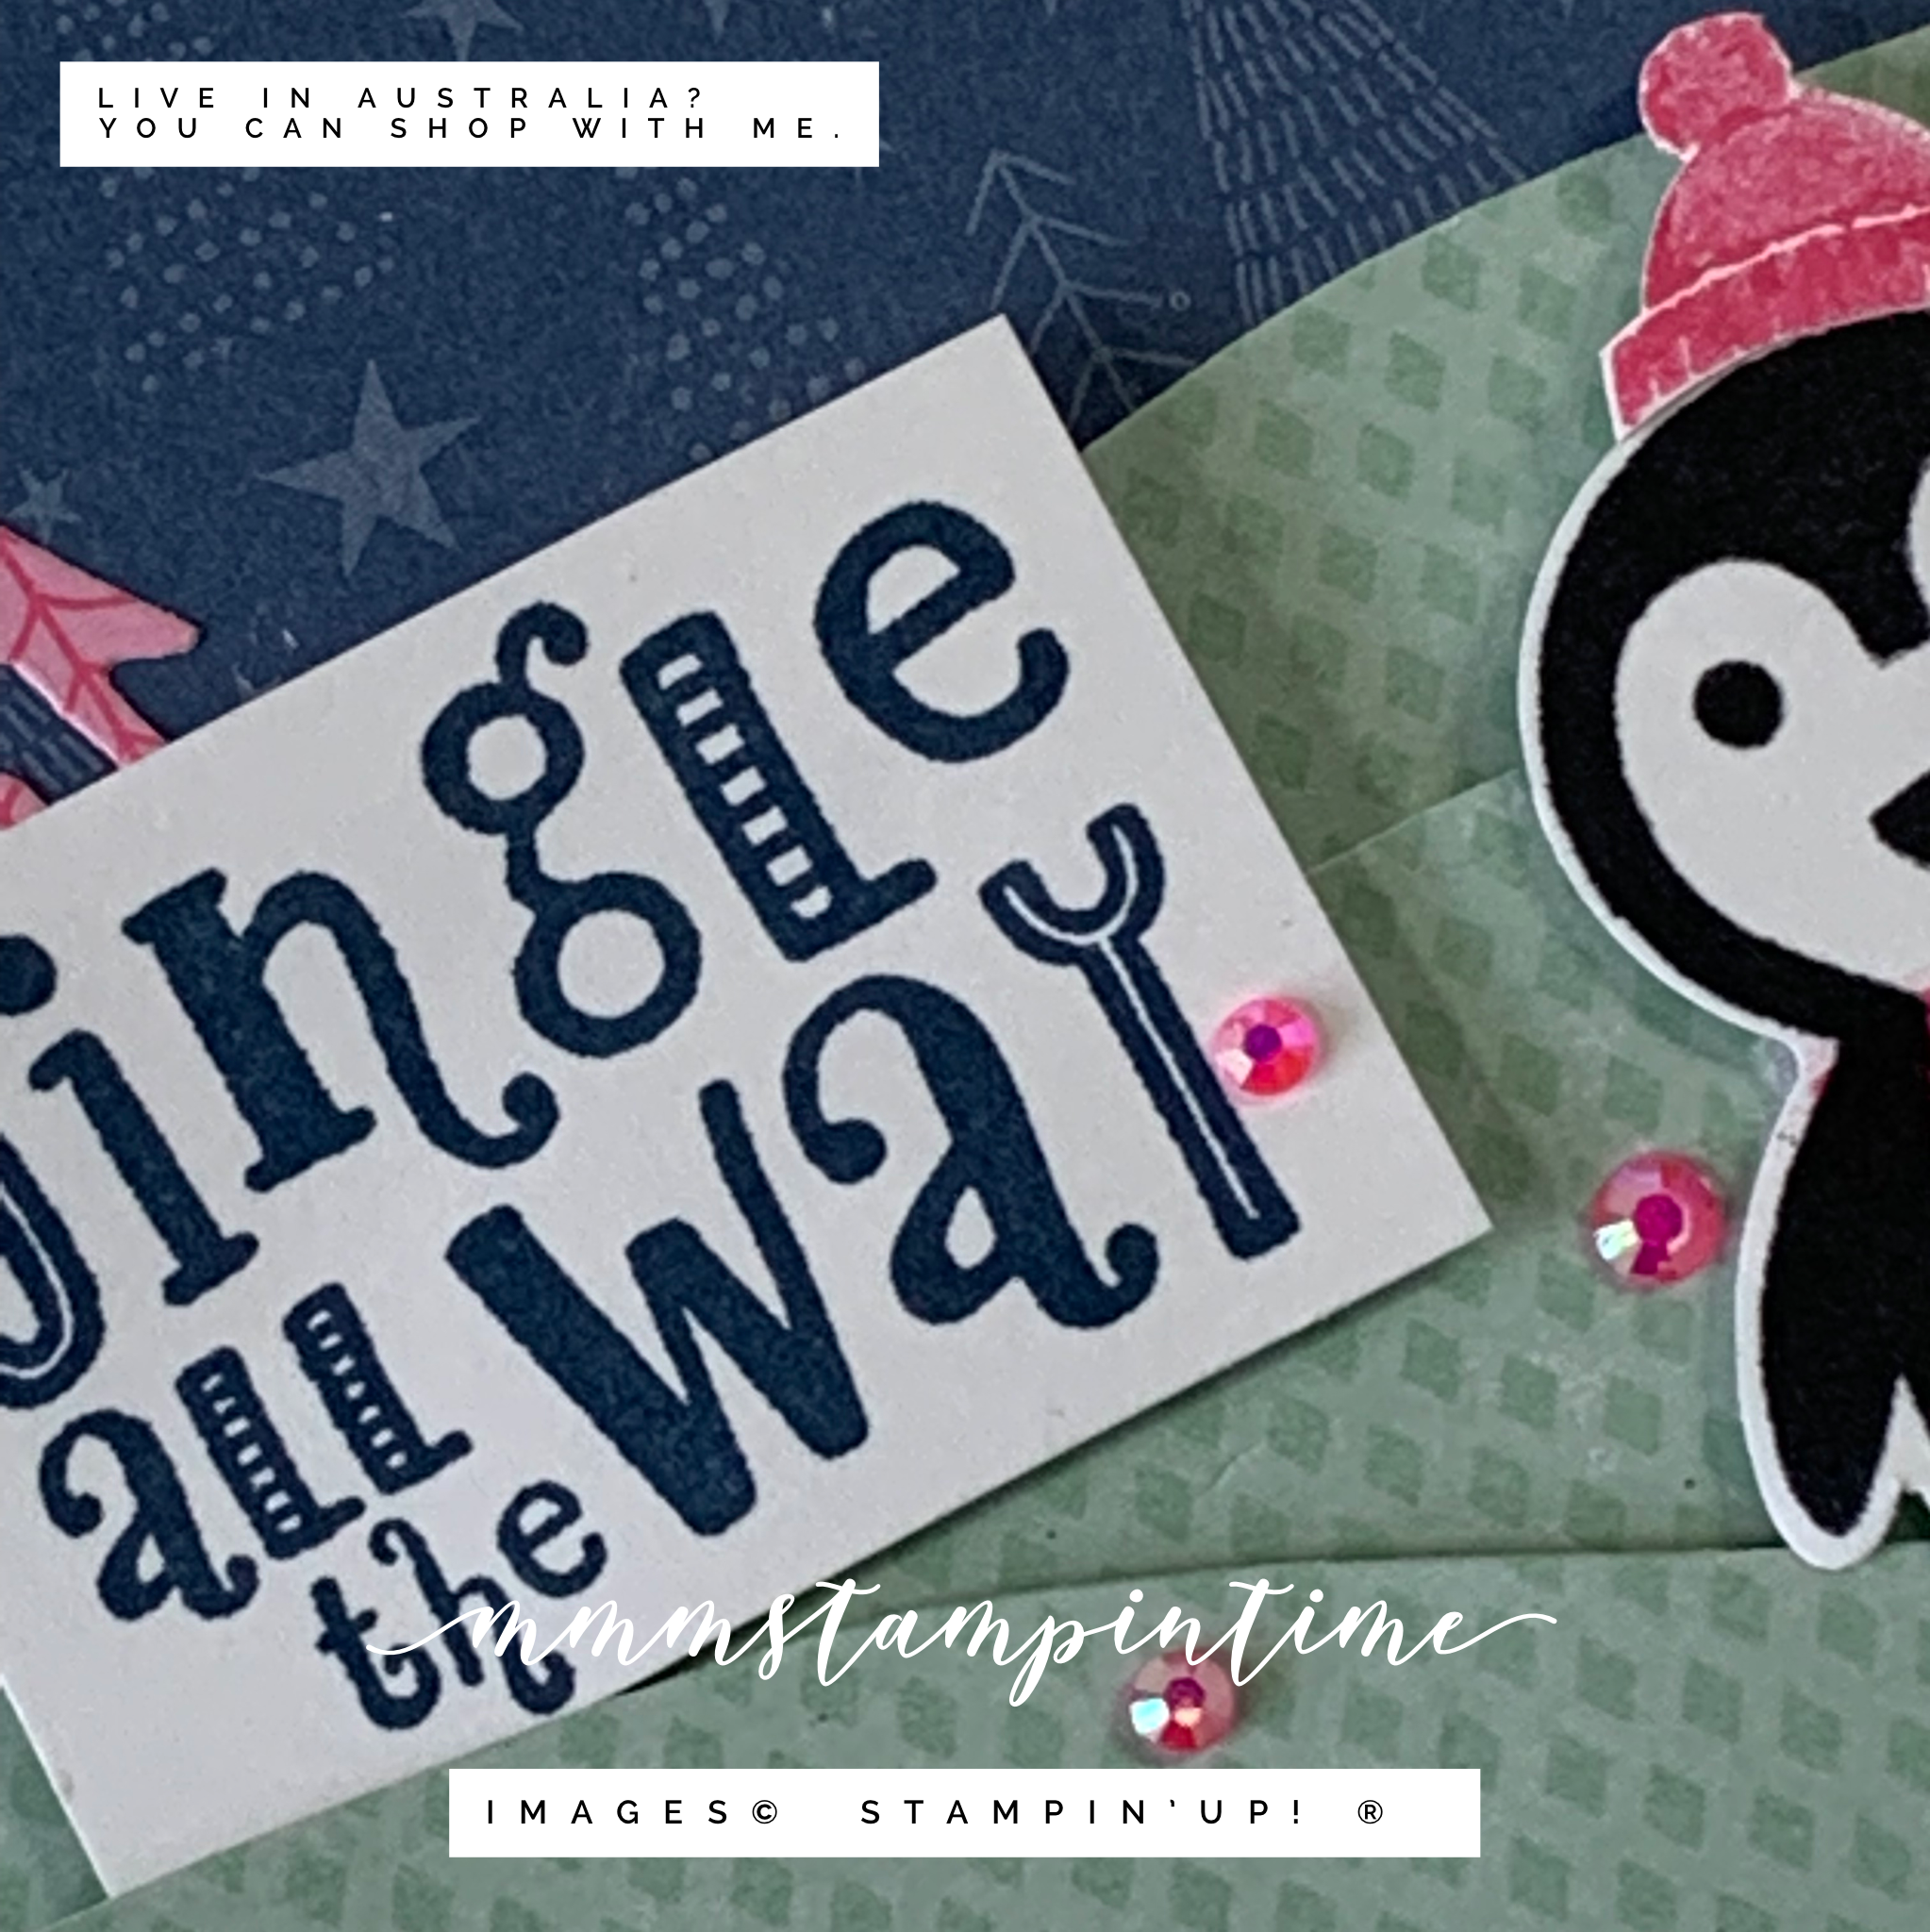
I decided to use Penguin Place and Holly Jolly Stamp Sets with the Whimsy & Wonder 12″x 12″ Specialty Designer Series Paper.

I started with a Misty Moonlight card base and added the trees and stars DSP for my midnight sky. Then I cut the sloping layered hills using a die from the Inspiring Canopy Dies. Each of these layers were popped up using Stampin’ Dimensionals.

For the tree, I added Adhesive Sheet to the back of the pink DSP before cutting this tree from the Christmas Tree Dies. I peeled away the backing paper and postioned the tree on the left hand side.

The penguin was stamped and punched using the Penguin Builder Punch. Then I stamped his scarf and beanie using the Polished Pink Stampin’ Write Marker ™ to colour the images. I used the pen end of the marker to draw around the outline of the scarf.

The greeting was stamped using Misty Moonlight ink and trimmed down before it was tucked in under the front sloping layer.

The same greeting was stamped inside the card and on the envelope. I used some of the pink and white twine that was left over from my Love, Santa Tag Kit to wrap around the top of the card and then tied a bow.

Finally, I added some of the 2021 – 2023 In Colour Jewels.

Make sure you pop across and see the other cute Christmas projects from the Freshly Brewed team.

I hope that these projects have inspired you to create something cute and, perhaps, non-traditional Christmas cards this year.

Until next time, happy stamping.

If you live in Australia, you can order any of the products I used to make this card by going to my online store. Just click on any of the images below.

Product List
Paper Snips
[103579]
$17.00
Posted on Leave a comment

GLOBAL DESIGN PROJECT CHALLENGE #316

Another week and another GDP Challenge. I look forward to these each week.

I think the GDP team has shared a great explanation for CASEing – Remember that when you CASE (Copy And Selectively Edit) a project you can take what you like from the design and make it your own. It might be the stamp set – the colors, the layout, the theme, the images – whatever you like that has inspired you to make a card of your own.

For my card I chose the layout and Christmas greeting theme as inspiration.

Using a Basic White card base, I then added an Early Espresso layer with the distressed and embossed Basic White feature panel. I used the Timber 3D Embossing Folder for this layer.

After wrapping and tying some white Baker’s Twine, from the Essentials Pack, I added a Basic White embossed circle. I used the Tasteful Textile 3D Embossing Folder and then one of the Layering Circles Dies to cut this layer.

The trees, from the Christmas Trees Dies, have been cut from Cinnamon Cider, Early Espresso and Cork Specialty Paper. The cork has Foam Adhesive Sheet attached and the other trees have Adhesive Sheet. This certainly makes securing the trees so easy.

The tree trunks were trimmed back to the edge of the circle to keep them within that focal point.

The greeting is from the Heartfelt Wishes Stamp Set and was heat embossed in white from the Basics Stampin’ Emboss Powders. It was cut using one of the Seasonal Labels Dies (I forgot to add this in my product photo).

I think that I have been a bit late to the lots of white trend but I do like the way this card looks.

Until next time, happy stamping.

If you live in Australia, you can order any of the products I used to make this card by going to my online store. Just click on any of the images below.

Product List
Heat Tool
[129056]
$50.00
Paper Snips
[103579]
$17.00