This week I am sharing a host of cards that I have made using the products below.
The Ephemera Packs are an amazing collection of printed and precut images and greetings that you can use to create lots of projects with minimal effort. That doesn’t mean that they will lack creativity because you are only limited by your own imagination. The possibilities really are unlimited.cards & Envelopes.
I have paired the ephemera elements with the Embossed Designs Mix & Match Specialty Cards & Envelopes as well as the Textured Stripes Mix & Match.
My plan for this week is to make a large gift box that will holds lots of cards. This box will be given to someone special as a thank you for something they have done. Inside the box will be avariety of cards for many and varied occasions throughout the year.
TECHNIQUE: The “Rule of Three” is a principle that suggests that things presented in groups of three are more memorable, effective, and satisfying than other numbers.
I have used the rule of three in the following image – three cards and each card has an element repeated three times.
These cards are each comprised of precut images from the ephemera packs and are adhered to the front of cards from the Cards & Envelopes Packs. I used multipurpose glue and Stampin’ Dimensionals to adhere them to the card fronts.
For all 25 cards this week, I opened two each of the the three ephemera packs and I have so many images left to make equally as many more cards. An ephemera pack does go a long way!
The ‘sending hugs’ card also introduces the Party Banners Dies that I am using this week.
I know that I used most of the heart cups for the ‘thinking of you’ card but I love the way they look stacked inside each other – the rule of three became five (anything under ten that is an unvene number works pretty well with this principle).
TIP: I took one of the Real Red Textured Stripes cards and cut it down to create two card front layers. This a great way to stretch this unique design to create more cards.
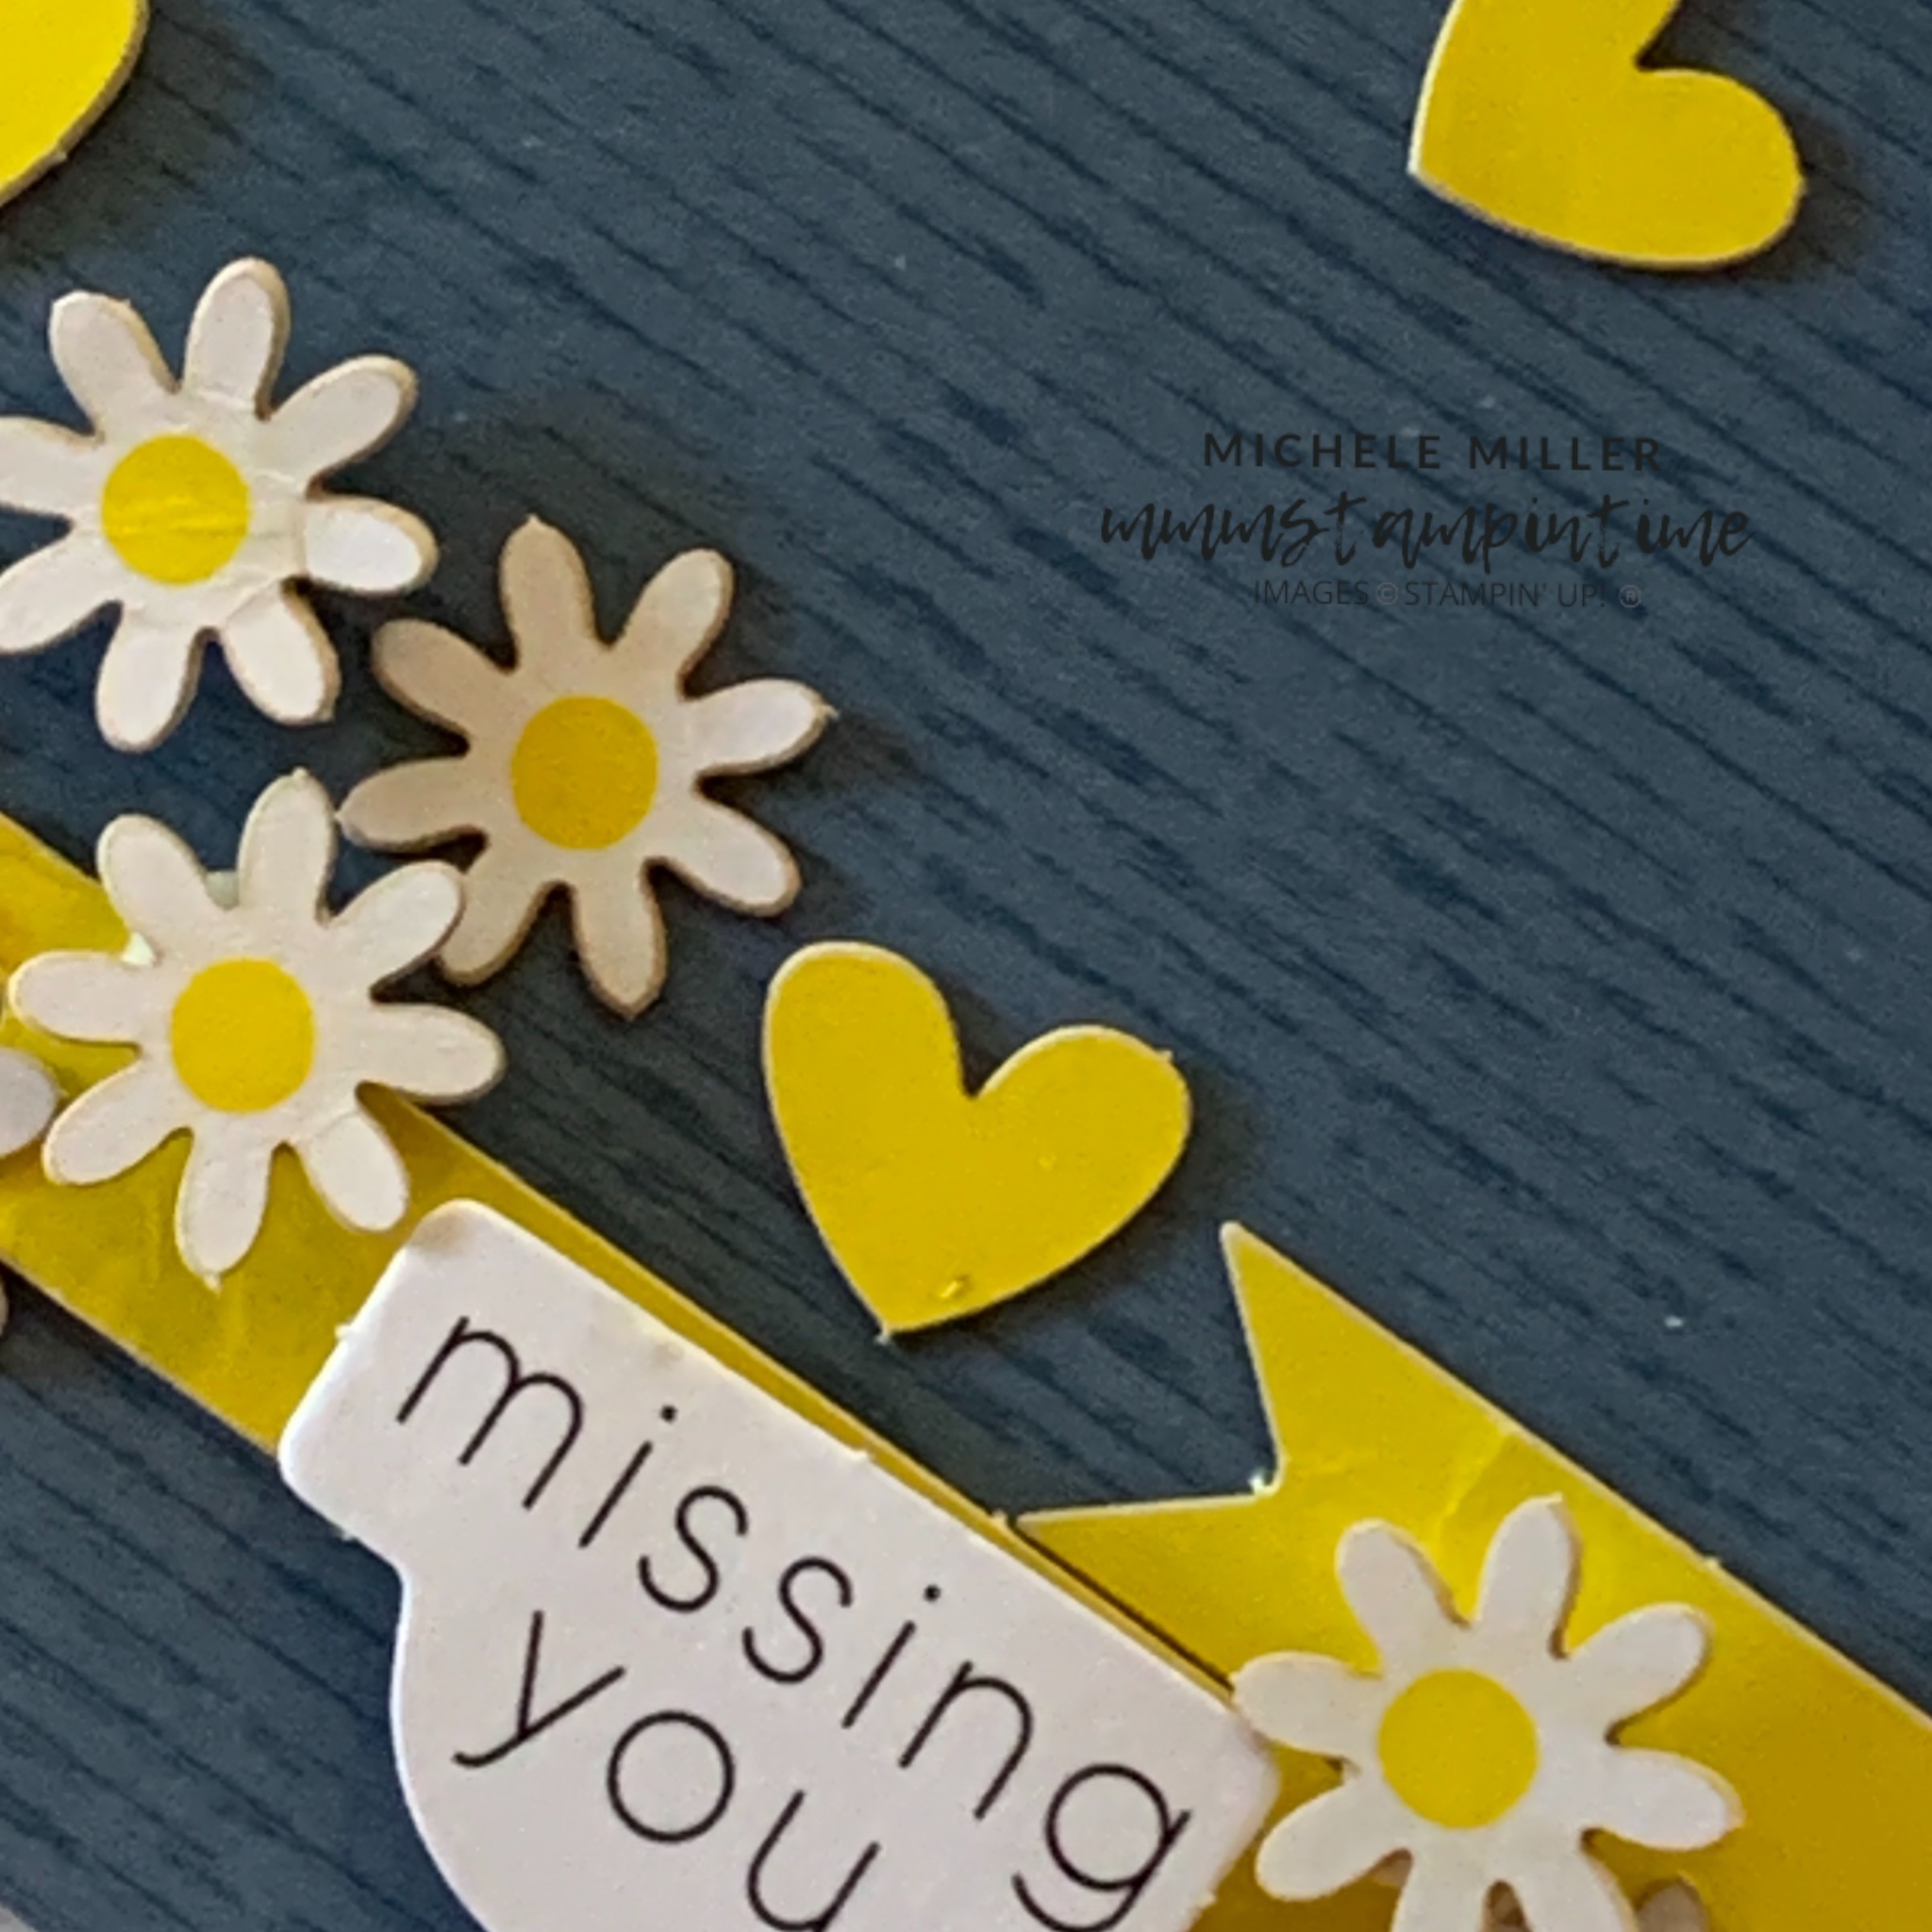
The vase, in the ‘sending sunshine’ card does not have daisies as the flower. However, I decided to use the precut daisies to create a fuller looking bunch of flowers with the help of the Mini Stampin’ Dimensionals.
I also used the Party Banner Dies for this card and added the yellow banner strips and yellow hearts to reinforce the idea of sunshine.
Each envelope has an ephemera image attached to coordinate with the card.
The ephemera packs also include great images that are perfect to use for Father’s Day cards.
Now, moving on to Mother’s Days cards.
Again, there are many image options for you to choose from for your card for your mum.
Tomorrow I will have another eight cards to share with you.
Until then, happy stamping.
If you live in Australia, you can order any of the products I used to make this card by going to my online store. Just click on any of the images below.
Product List


![Good Times Mix & Match Ephemera Pack [ 165353 ]](https://i0.wp.com/assets1.tamsnetwork.com/images/EC042017NF/165353s.jpg?w=140&ssl=1 "Good Times Mix & Match Ephemera Pack [ 165353 ]")
![Greetings For All Mix & Match Ephemera Pack (English) [ 164862 ]](https://i0.wp.com/assets1.tamsnetwork.com/images/EC042017NF/164862s.jpg?w=140&ssl=1 "Greetings For All Mix & Match Ephemera Pack (English) [ 164862 ]")
![Time For Celebration Mix & Match Ephemera Pack [ 165354 ]](https://i0.wp.com/assets1.tamsnetwork.com/images/EC042017NF/165354s.jpg?w=140&ssl=1 "Time For Celebration Mix & Match Ephemera Pack [ 165354 ]")
![Embossed Designs Mix & Match Specialty Cards & Envelopes [ 165358 ]](https://i0.wp.com/assets1.tamsnetwork.com/images/EC042017NF/165358s.jpg?w=140&ssl=1 "Embossed Designs Mix & Match Specialty Cards & Envelopes [ 165358 ]")
![Textured Stripes Mix & Match Cards & Envelopes [ 165357 ]](https://i0.wp.com/assets1.tamsnetwork.com/images/EC042017NF/165357s.jpg?w=140&ssl=1 "Textured Stripes Mix & Match Cards & Envelopes [ 165357 ]")
![Party Dies Bundle [ 165265 ]](https://i0.wp.com/assets1.tamsnetwork.com/images/EC042017NF/165265s.jpg?w=140&ssl=1 "Party Dies Bundle [ 165265 ]")
![Party Alphabet Dies [ 165263 ]](https://i0.wp.com/assets1.tamsnetwork.com/images/EC042017NF/165263s.jpg?w=140&ssl=1 "Party Alphabet Dies [ 165263 ]")
![Party Banners Dies [ 165264 ]](https://i0.wp.com/assets1.tamsnetwork.com/images/EC042017NF/165264s.jpg?w=140&ssl=1 "Party Banners Dies [ 165264 ]")
![Basic White A4 Cardstock [ 166781 ]](https://i0.wp.com/assets1.tamsnetwork.com/images/EC042017NF/166781s.jpg?w=140&ssl=1 "Basic White A4 Cardstock [ 166781 ]")
![Misty Moonlight A4 Cardstock [ 153086 ]](https://i0.wp.com/assets1.tamsnetwork.com/images/EC042017NF/153086s.jpg?w=140&ssl=1 "Misty Moonlight A4 Cardstock [ 153086 ]")
![Real Red A4 Card Stock [ 106578 ]](https://i0.wp.com/assets1.tamsnetwork.com/images/EC042017NF/106578s.jpg?w=140&ssl=1 "Real Red A4 Card Stock [ 106578 ]")
![Multipurpose Liquid Glue [ 110755 ]](https://i0.wp.com/assets1.tamsnetwork.com/images/EC042017NF/110755s.jpg?w=140&ssl=1 "Multipurpose Liquid Glue [ 110755 ]")
![Mini Stampin' Dimensionals [ 144108 ]](https://i0.wp.com/assets1.tamsnetwork.com/images/EC042017NF/144108s.jpg?w=140&ssl=1 "Mini Stampin' Dimensionals [ 144108 ]")
![Stampin' Dimensionals [ 104430 ]](https://i0.wp.com/assets1.tamsnetwork.com/images/EC042017NF/104430s.jpg?w=140&ssl=1 "Stampin' Dimensionals [ 104430 ]")
![Adhesive Sheets [ 152334 ]](https://i0.wp.com/assets1.tamsnetwork.com/images/EC042017NF/152334s.jpg?w=140&ssl=1 "Adhesive Sheets [ 152334 ]")
![Paper Snips [ 103579 ]](https://i0.wp.com/assets1.tamsnetwork.com/images/EC042017NF/103579s.jpg?w=140&ssl=1 "Paper Snips [ 103579 ]")
![Stampin' Cut & Emboss Machine [ 149653 ]](https://i0.wp.com/assets1.tamsnetwork.com/images/EC042017NF/149653s.jpg?w=140&ssl=1 "Stampin' Cut & Emboss Machine [ 149653 ]")
![Mini Stampin' Cut & Emboss Machine [ 150673 ]](https://i0.wp.com/assets1.tamsnetwork.com/images/EC042017NF/150673s.jpg?w=140&ssl=1 "Mini Stampin' Cut & Emboss Machine [ 150673 ]")
![Basic White C6 Envelopes [ 159235 ]](https://i0.wp.com/assets1.tamsnetwork.com/images/EC042017NF/159235s.jpg?w=140&ssl=1 "Basic White C6 Envelopes [ 159235 ]")



![Keeping Tabs Punch [ 163538 ]](https://i0.wp.com/assets1.tamsnetwork.com/images/EC042017NF/163538s.jpg?w=140&ssl=1 "Keeping Tabs Punch [ 163538 ]")
![Baker's Twine Essentials Pack [ 155475 ]](https://i0.wp.com/assets1.tamsnetwork.com/images/EC042017NF/155475s.jpg?w=140&ssl=1 "Baker's Twine Essentials Pack [ 155475 ]")
![Brights 6" X 6" (15.2 X 15.2 Cm) Designer Series Paper [ 165301 ]](https://i0.wp.com/assets1.tamsnetwork.com/images/EC042017NF/165301s.jpg?w=140&ssl=1 "Brights 6\" X 6\" (15.2 X 15.2 Cm) Designer Series Paper [ 165301 ]")
![Granny Apple Green 12" X 12" (30.5 X 30.5 Cm) Two Tone Cardstock [ 166663 ]](https://i0.wp.com/assets1.tamsnetwork.com/images/EC042017NF/166663s.jpg?w=140&ssl=1 "Granny Apple Green 12\" X 12\" (30.5 X 30.5 Cm) Two Tone Cardstock [ 166663 ]")
![White Willow 12" X 12" (30.5 X 30.5 Cm) Cardstock [ 166703 ]](https://i0.wp.com/assets1.tamsnetwork.com/images/EC042017NF/166703s.jpg?w=140&ssl=1 "White Willow 12\" X 12\" (30.5 X 30.5 Cm) Cardstock [ 166703 ]")
![Tear & Tape Adhesive [ 154031 ]](https://i0.wp.com/assets1.tamsnetwork.com/images/EC042017NF/154031s.jpg?w=140&ssl=1 "Tear & Tape Adhesive [ 154031 ]")
![Take Your Pick [ 144107 ]](https://i0.wp.com/assets1.tamsnetwork.com/images/EC042017NF/144107s.jpg?w=140&ssl=1 "Take Your Pick [ 144107 ]")




