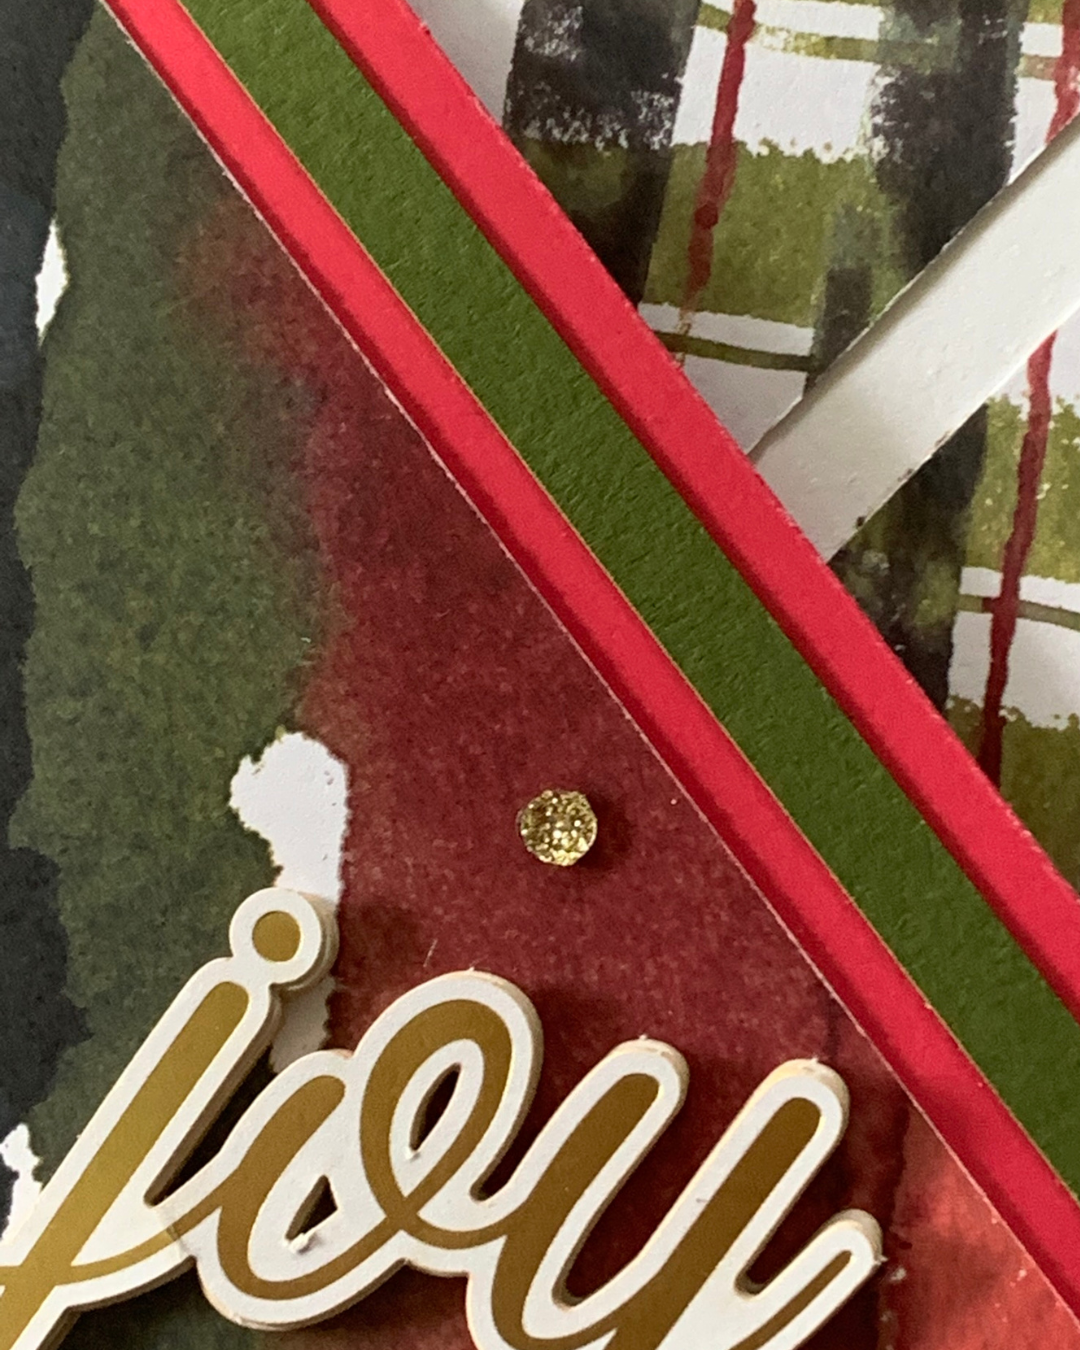
My fun fold card measures 4″x 4″ and folds four triangular sides into a closure.

When you see the card unfolded you will see the two lengths of Two Tone card that I overlapped and adhered together.

Each of triangles fold in to ensure the card closes.
All of the internal panels had white card added for lots of lovely Christmas messages.

The card front, insert and envelope have been decorated with the pre-cut elements.
The next project was inspired by Heather Forgan from Stapin’ Nellie.
This fun fold box uses the Happy Banner Dies for the lid, helping to create an interlocking closure.

After creating the card base and attaching the lid, I created the greeting panel. The opening for the Basic Beige Classic Ribbon was made using one of the Hole Punch Assortment punches.
The ribbon was threaded through and the greeting panel was attached using Stampin’ Dimensionals to the left-hand side of the lid.

Thank you Heather for the inspiration!

Thanks for popping by this week to check out the projects I have shared with you.
Next week, I will have some wonderful new projects to share with you.
Until then, happy stamping and scrapbooking.

If you live in Australia, you can order any of the products I used to make this card by going to my online store. Just click on any of the images below.

![Hole Punch Assortment [ 165409 ]](https://i0.wp.com/assets1.tamsnetwork.com/images/EC042017NF/165409s.jpg?w=140&ssl=1 "Hole Punch Assortment [ 165409 ]") | ![Basic White A4 Thick Cardstock [ 159230 ]](https://i0.wp.com/assets1.tamsnetwork.com/images/EC042017NF/159230s.jpg?w=140&ssl=1 "Basic White A4 Thick Cardstock [ 159230 ]") | |
![Garden Green A4 Card Stock [ 108605 ]](https://i0.wp.com/assets1.tamsnetwork.com/images/EC042017NF/108605s.jpg?w=140&ssl=1 "Garden Green A4 Card Stock [ 108605 ]") | ||
![Multipurpose Liquid Glue [ 110755 ]](https://i0.wp.com/assets1.tamsnetwork.com/images/EC042017NF/110755s.jpg?w=140&ssl=1 "Multipurpose Liquid Glue [ 110755 ]") | ![Stampin' Dimensionals [ 104430 ]](https://i0.wp.com/assets1.tamsnetwork.com/images/EC042017NF/104430s.jpg?w=140&ssl=1 "Stampin' Dimensionals [ 104430 ]") | ![Mini Stampin' Dimensionals [ 144108 ]](https://i0.wp.com/assets1.tamsnetwork.com/images/EC042017NF/144108s.jpg?w=140&ssl=1 "Mini Stampin' Dimensionals [ 144108 ]") |
![Stampin' Seal+ [ 149699 ]](https://i0.wp.com/assets1.tamsnetwork.com/images/EC042017NF/149699s.jpg?w=140&ssl=1 "Stampin' Seal+ [ 149699 ]") | ![Paper Snips [ 103579 ]](https://i0.wp.com/assets1.tamsnetwork.com/images/EC042017NF/103579s.jpg?w=140&ssl=1 "Paper Snips [ 103579 ]") | ![Paper Trimmer [ 152392 ]](https://i0.wp.com/assets1.tamsnetwork.com/images/EC042017NF/152392s.jpg?w=140&ssl=1 "Paper Trimmer [ 152392 ]") |
![Stampin' Cut & Emboss Machine [ 149653 ]](https://i0.wp.com/assets1.tamsnetwork.com/images/EC042017NF/149653s.jpg?w=140&ssl=1 "Stampin' Cut & Emboss Machine [ 149653 ]") | ![Basic White C6 Envelopes [ 159235 ]](https://i0.wp.com/assets1.tamsnetwork.com/images/EC042017NF/159235s.jpg?w=140&ssl=1 "Basic White C6 Envelopes [ 159235 ]") |
![North Pole Delivery Suite Collection (English) [ 165850 ]](https://i0.wp.com/assets1.tamsnetwork.com/images/EC042017NF/165850s.jpg?w=140&ssl=1 "North Pole Delivery Suite Collection (English) [ 165850 ]")
![North Pole Delivery 12" X 12" (30.5 X 30.5 Cm) Specialty Designer Series Paper [ 165837 ]](https://i0.wp.com/assets1.tamsnetwork.com/images/EC042017NF/165837s.jpg?w=140&ssl=1 "North Pole Delivery 12\" X 12\" (30.5 X 30.5 Cm) Specialty Designer Series Paper [ 165837 ]")
![Christmas Words Collage Hybrid Embossing Folder (English) [ 165912 ]](https://i0.wp.com/assets1.tamsnetwork.com/images/EC042017NF/165912s.jpg?w=140&ssl=1 "Christmas Words Collage Hybrid Embossing Folder (English) [ 165912 ]")
![Basic Beige 3/8" (1 Cm) Classic Ribbon [ 165216 ]](https://i0.wp.com/assets1.tamsnetwork.com/images/EC042017NF/165216s.jpg?w=140&ssl=1 "Basic Beige 3/8\" (1 Cm) Classic Ribbon [ 165216 ]")
![Garden Green 12" X 12" (30.5 X 30.5 Cm) Two Tone Cardstock [ 166665 ]](https://i0.wp.com/assets1.tamsnetwork.com/images/EC042017NF/166665s.jpg?w=140&ssl=1 "Garden Green 12\" X 12\" (30.5 X 30.5 Cm) Two Tone Cardstock [ 166665 ]")
![Poppy Parade 12" X 12" (30.5 X 30.5 Cm) Two Tone Cardstock [ 166692 ]](https://i0.wp.com/assets1.tamsnetwork.com/images/EC042017NF/166692s.jpg?w=140&ssl=1 "Poppy Parade 12\" X 12\" (30.5 X 30.5 Cm) Two Tone Cardstock [ 166692 ]")



![Everyday You & Me Photopolymer Stamp Set (English) [ 166629 ]](https://i0.wp.com/assets1.tamsnetwork.com/images/EC042017NF/166629s.jpg?w=140&ssl=1 "Everyday You & Me Photopolymer Stamp Set (English) [ 166629 ]")
![Everyday Happiness 12" X 12" (30.5 X 30.5 Cm) Designer Series Paper [ 166632 ]](https://i0.wp.com/assets1.tamsnetwork.com/images/EC042017NF/166632s.jpg?w=140&ssl=1 "Everyday Happiness 12\" X 12\" (30.5 X 30.5 Cm) Designer Series Paper [ 166632 ]")
![Linen Thread [ 104199 ]](https://i0.wp.com/assets1.tamsnetwork.com/images/EC042017NF/104199s.jpg?w=140&ssl=1 "Linen Thread [ 104199 ]")
![Basic White A4 Cardstock [ 166781 ]](https://i0.wp.com/assets1.tamsnetwork.com/images/EC042017NF/166781s.jpg?w=140&ssl=1 "Basic White A4 Cardstock [ 166781 ]")
![Lost Lagoon A4 Cardstock [ 133686 ]](https://i0.wp.com/assets1.tamsnetwork.com/images/EC042017NF/133686s.jpg?w=140&ssl=1 "Lost Lagoon A4 Cardstock [ 133686 ]")
![Pretty Peacock A4 Cardstock [ 150886 ]](https://i0.wp.com/assets1.tamsnetwork.com/images/EC042017NF/150886s.jpg?w=140&ssl=1 "Pretty Peacock A4 Cardstock [ 150886 ]")
![Lost Lagoon Classic Stampin' Pad [ 161678 ]](https://i0.wp.com/assets1.tamsnetwork.com/images/EC042017NF/161678s.jpg?w=140&ssl=1 "Lost Lagoon Classic Stampin' Pad [ 161678 ]")
![Blending Brushes [ 153611 ]](https://i0.wp.com/assets1.tamsnetwork.com/images/EC042017NF/153611s.jpg?w=140&ssl=1 "Blending Brushes [ 153611 ]")
![Mini Glue Dots [ 103683 ]](https://i0.wp.com/assets1.tamsnetwork.com/images/EC042017NF/103683s.jpg?w=140&ssl=1 "Mini Glue Dots [ 103683 ]")



![Greetings For You Mix & Match Ephemera Pack (English) [ 166208 ]](https://i0.wp.com/assets1.tamsnetwork.com/images/EC042017NF/166208s.jpg?w=140&ssl=1 "Greetings For You Mix & Match Ephemera Pack (English) [ 166208 ]")
![Joyful Days Memories & More Card Pack [ 165822 ]](https://i0.wp.com/assets1.tamsnetwork.com/images/EC042017NF/165822s.jpg?w=140&ssl=1 "Joyful Days Memories & More Card Pack [ 165822 ]")
![Traditional Sparkling Sequins [ 165875 ]](https://i0.wp.com/assets1.tamsnetwork.com/images/EC042017NF/165875s.jpg?w=140&ssl=1 "Traditional Sparkling Sequins [ 165875 ]")
![Real Red 12" X 12" (30.5 X 30.5 Cm) Two Tone Cardstock [ 166696 ]](https://i0.wp.com/assets1.tamsnetwork.com/images/EC042017NF/166696s.jpg?w=140&ssl=1 "Real Red 12\" X 12\" (30.5 X 30.5 Cm) Two Tone Cardstock [ 166696 ]")
![Mossy Meadow A4 Cardstock [ 133683 ]](https://i0.wp.com/assets1.tamsnetwork.com/images/EC042017NF/133683s.jpg?w=140&ssl=1 "Mossy Meadow A4 Cardstock [ 133683 ]")
![Secret Sea A4 Cardstock [ 165296 ]](https://i0.wp.com/assets1.tamsnetwork.com/images/EC042017NF/165296s.jpg?w=140&ssl=1 "Secret Sea A4 Cardstock [ 165296 ]")




