If you love exclusive products, you’re going to love Product of the Month, a promotion centred around a special product release every month. The Product of the Month items are specially designed to be some of the best items Stampin’ Up! has to offer that aren’t available in any Stampin’ Up! catalogues or Online Exclusives. Every month they will release a new item that is only available for purchase once per account. These items will be limited quantity and are likely to sell out quickly—once they’re sold out, they’re gone for good!
The December, and FIRST Product of the Month is … True Blue Florals 12″ x 12″ (30.5 x 30.5 cm) Designer Series Paper.
Feeling blue never felt so good! Whether you’re making a card, a scrapbook spread, or some other kind of paper craft, this monochromatic patterned paper will surely inspire you.
When you place a minimum $125AUD order in December, you can order this DSP for JUST $9 (while stocks last).
AND …
- Free shipping is for three days only. Orders must be opened and closed between 10 and 12 December.
- Free shipping automatically applies to your cart after the qualifying amount has been met, which is $65 AUD | $100 NZD.
Time for another Beach Boardwalk project – available from January 6th, 2026.
I have two versions of a simple fun fold card to share with you today.
I used a Bubble Bath card base for this card.
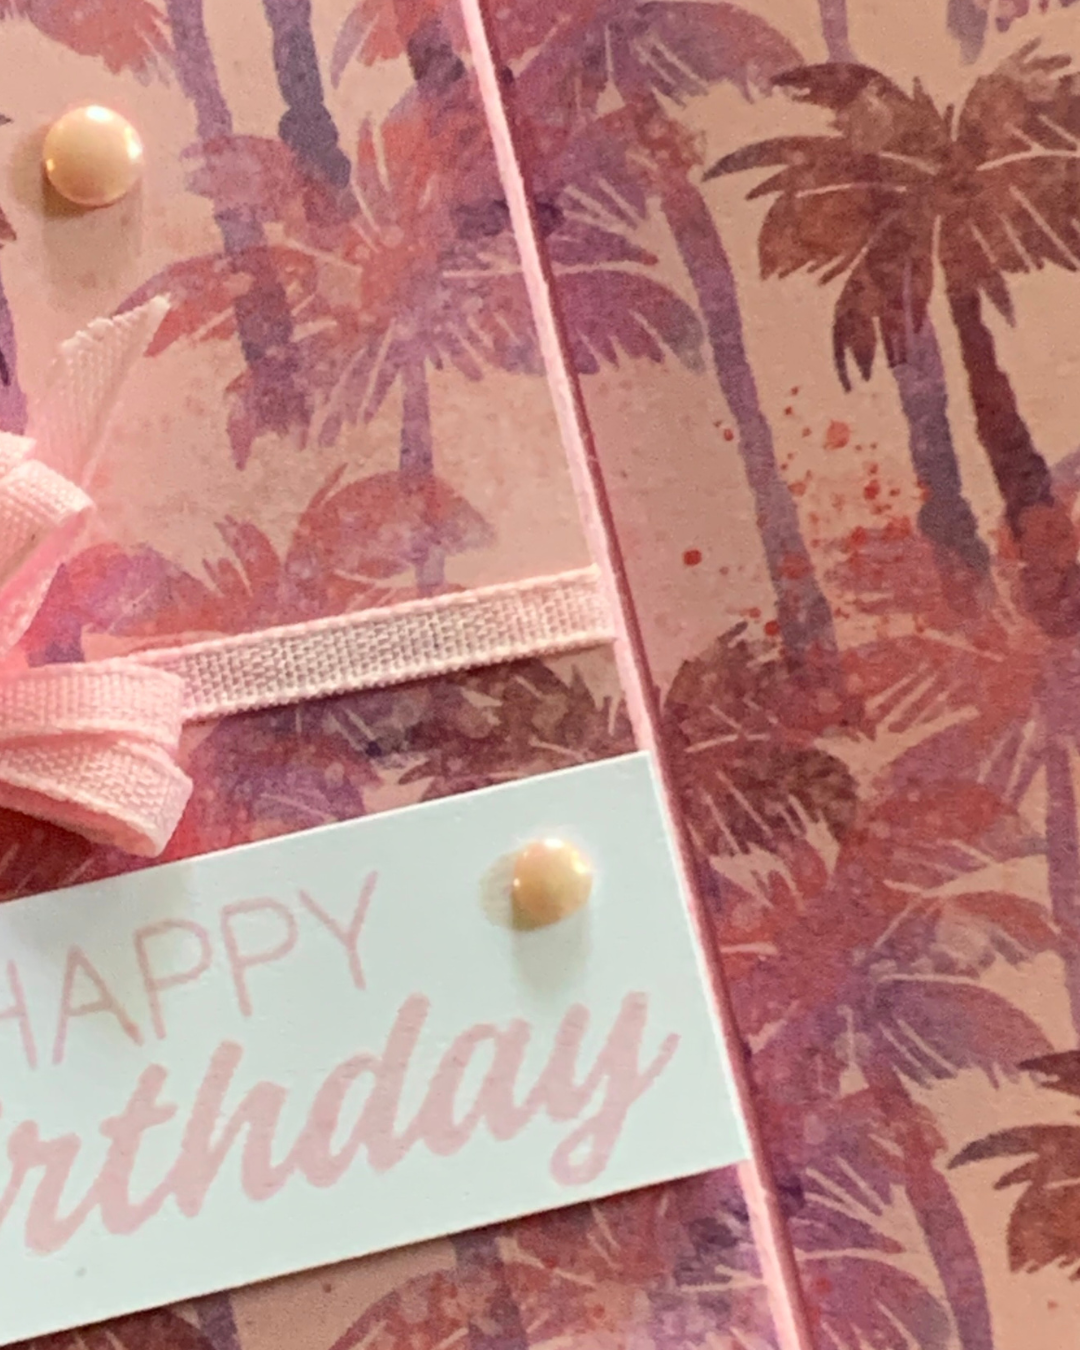
The shades of pink palm trees Designer Series Paper is so gorgeous. I took my time carefully cutting the paper to ensure the pattern aligned perfectly across the card – open and closed.
I wrapped length of Bubble Bath Faux Linen Ribbon around the front DSP panel before creating and attaching two triple bows.
The greeting was stamped onto a Basic White scrap that was trimmed to fit the folded panel.
For the Basic White inside panel I stamped a Bubble Bath palm tree and added splatters of pink to coordinate with the splatters on the DSP.
To finish the card I used the dark Bubble Bath Stampin’ Blend again to colour some Antique Pearls.
For the envelope, I adhered some of the DSP to the back flap.
Now, for a different version of the fun fold card.
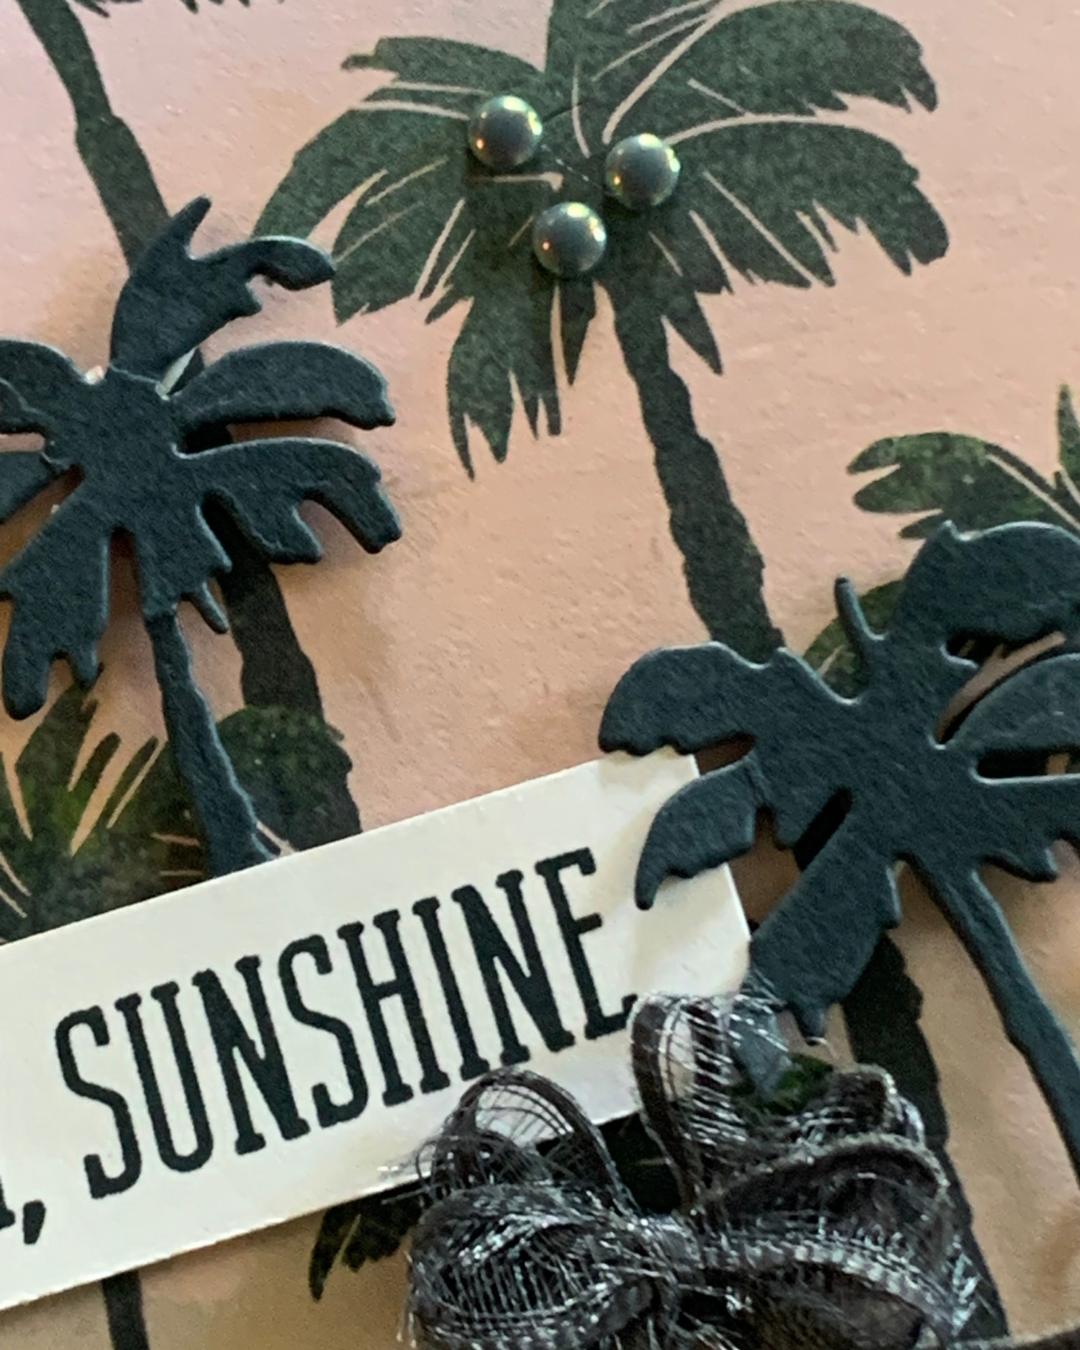
This card started with a Pool Party card base before cutting the DSP in the same way I did for the first card.
A 3 1/4″x 3 1/4″ Pool Party square was attached to the first folded panel and then the die cut ferris wheel. I used Adhesive Sheet on the back of the Basic White card to ensure the intricare die cut has great adhesion.
I used some of the DSP to cut the ferris wheel cages and they were attached using Multipurpose Glue.
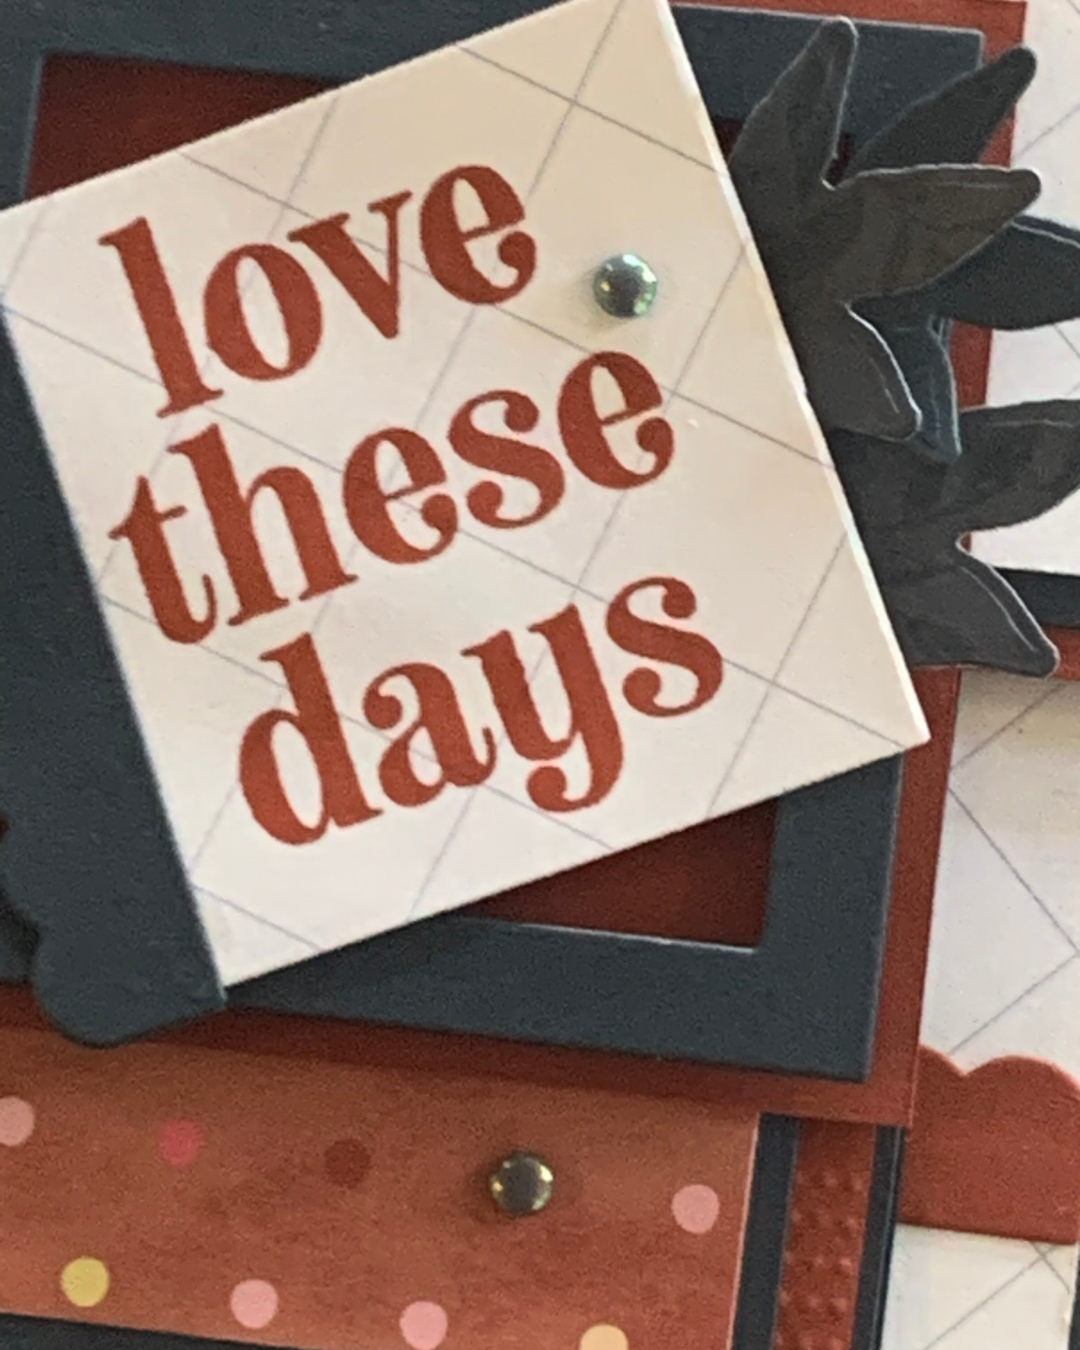
The greeting was stamped on a scrap of white card and then trimmed it down to a small rectangle.
The inside of the card is decorated with fussy and die cut elements.
Finally, I added some Pool Party Rainbow Dots.
Tomorrow I have a 3D project to share with you.
Until then, happy stamping and scrapbooking.
If you live in Australia, you can order any of the products I used to make this card by going to my online store. As you read through this post, you will see the products I used for this project. The new items are available from January 6th.
Product List


![Joyful Squares Bundle (English) [ 166850 ]](https://i0.wp.com/assets1.tamsnetwork.com/images/EC042017NF/166850s.jpg?w=140&ssl=1 "Joyful Squares Bundle (English) [ 166850 ]")
![Joyful Squares Dies [ 166849 ]](https://i0.wp.com/assets1.tamsnetwork.com/images/EC042017NF/166849s.jpg?w=140&ssl=1 "Joyful Squares Dies [ 166849 ]")
![All In A Row Embossing Folder [ 166989 ]](https://i0.wp.com/assets1.tamsnetwork.com/images/EC042017NF/166989s.jpg?w=140&ssl=1 "All In A Row Embossing Folder [ 166989 ]")
![2025–2027 In Color™ Flat Pearls [ 165192 ]](https://i0.wp.com/assets1.tamsnetwork.com/images/EC042017NF/165192s.jpg?w=140&ssl=1 "2025–2027 In Color™ Flat Pearls [ 165192 ]")
![Basic White A4 Cardstock [ 166781 ]](https://i0.wp.com/assets1.tamsnetwork.com/images/EC042017NF/166781s.jpg?w=140&ssl=1 "Basic White A4 Cardstock [ 166781 ]")
![Cajun Craze A4 Card Stock [ 121683 ]](https://i0.wp.com/assets1.tamsnetwork.com/images/EC042017NF/121683s.jpg?w=140&ssl=1 "Cajun Craze A4 Card Stock [ 121683 ]")
![Secret Sea A4 Cardstock [ 165296 ]](https://i0.wp.com/assets1.tamsnetwork.com/images/EC042017NF/165296s.jpg?w=140&ssl=1 "Secret Sea A4 Cardstock [ 165296 ]")
![Cajun Craze Classic Stampin' Pad [ 147085 ]](https://i0.wp.com/assets1.tamsnetwork.com/images/EC042017NF/147085s.jpg?w=140&ssl=1 "Cajun Craze Classic Stampin' Pad [ 147085 ]")
![Multipurpose Liquid Glue [ 110755 ]](https://i0.wp.com/assets1.tamsnetwork.com/images/EC042017NF/110755s.jpg?w=140&ssl=1 "Multipurpose Liquid Glue [ 110755 ]")
![Stampin' Dimensionals [ 104430 ]](https://i0.wp.com/assets1.tamsnetwork.com/images/EC042017NF/104430s.jpg?w=140&ssl=1 "Stampin' Dimensionals [ 104430 ]")
![Paper Snips [ 103579 ]](https://i0.wp.com/assets1.tamsnetwork.com/images/EC042017NF/103579s.jpg?w=140&ssl=1 "Paper Snips [ 103579 ]")
![Paper Trimmer [ 152392 ]](https://i0.wp.com/assets1.tamsnetwork.com/images/EC042017NF/152392s.jpg?w=140&ssl=1 "Paper Trimmer [ 152392 ]")
![Mini Stampin' Cut & Emboss Machine [ 150673 ]](https://i0.wp.com/assets1.tamsnetwork.com/images/EC042017NF/150673s.jpg?w=140&ssl=1 "Mini Stampin' Cut & Emboss Machine [ 150673 ]")
![Stampin' Cut & Emboss Machine [ 149653 ]](https://i0.wp.com/assets1.tamsnetwork.com/images/EC042017NF/149653s.jpg?w=140&ssl=1 "Stampin' Cut & Emboss Machine [ 149653 ]")
![Basic White C6 Envelopes [ 159235 ]](https://i0.wp.com/assets1.tamsnetwork.com/images/EC042017NF/159235s.jpg?w=140&ssl=1 "Basic White C6 Envelopes [ 159235 ]")
![Joyful Squares Photopolymer Stamp Set (English) [ 166847 ]](https://i0.wp.com/assets1.tamsnetwork.com/images/EC042017NF/166847s.jpg?w=140&ssl=1 "Joyful Squares Photopolymer Stamp Set (English) [ 166847 ]")
![Square Snippets 12" X 12" (30.5 X 30.5 Cm) Designer Series Paper [ 166993 ]](https://i0.wp.com/assets1.tamsnetwork.com/images/EC042017NF/166993s.jpg?w=140&ssl=1 "Square Snippets 12\" X 12\" (30.5 X 30.5 Cm) Designer Series Paper [ 166993 ]")
![2025–2027 In Color™ 6" X 6" (15.2 X 15.2 Cm) Designer Series Paper [ 165300 ]](https://i0.wp.com/assets1.tamsnetwork.com/images/EC042017NF/165300s.jpg?w=140&ssl=1 "2025–2027 In Color™ 6\" X 6\" (15.2 X 15.2 Cm) Designer Series Paper [ 165300 ]")



![Antique Pearls [ 164679 ]](https://i0.wp.com/assets1.tamsnetwork.com/images/EC042017NF/164679s.jpg?w=140&ssl=1 "Antique Pearls [ 164679 ]")
![Basic White A4 Thick Cardstock [ 159230 ]](https://i0.wp.com/assets1.tamsnetwork.com/images/EC042017NF/159230s.jpg?w=140&ssl=1 "Basic White A4 Thick Cardstock [ 159230 ]")
![Secret Sea Classic Stampin' Pad [ 165285 ]](https://i0.wp.com/assets1.tamsnetwork.com/images/EC042017NF/165285s.jpg?w=140&ssl=1 "Secret Sea Classic Stampin' Pad [ 165285 ]")
![Secret Sea Stampin’ Blends Combo Pack [ 165289 ]](https://i0.wp.com/assets1.tamsnetwork.com/images/EC042017NF/165289s.jpg?w=140&ssl=1 "Secret Sea Stampin’ Blends Combo Pack [ 165289 ]")
![Mini Glue Dots [ 103683 ]](https://i0.wp.com/assets1.tamsnetwork.com/images/EC042017NF/103683s.jpg?w=140&ssl=1 "Mini Glue Dots [ 103683 ]")


![Rainbow Adhesive Backed Dots [ 162758 ]](https://i0.wp.com/assets1.tamsnetwork.com/images/EC042017NF/162758s.jpg?w=140&ssl=1 "Rainbow Adhesive Backed Dots [ 162758 ]")
![Bubble Bath A4 Cardstock [ 161727 ]](https://i0.wp.com/assets1.tamsnetwork.com/images/EC042017NF/161727s.jpg?w=140&ssl=1 "Bubble Bath A4 Cardstock [ 161727 ]")
![Pool Party A4 Card Stock [ 124391 ]](https://i0.wp.com/assets1.tamsnetwork.com/images/EC042017NF/124391s.jpg?w=140&ssl=1 "Pool Party A4 Card Stock [ 124391 ]")
![Bubble Bath Classic Stampin' Pad [ 161664 ]](https://i0.wp.com/assets1.tamsnetwork.com/images/EC042017NF/161664s.jpg?w=140&ssl=1 "Bubble Bath Classic Stampin' Pad [ 161664 ]")
![Bubble Bath Stampin’ Blends Combo Pack [ 161675 ]](https://i0.wp.com/assets1.tamsnetwork.com/images/EC042017NF/161675s.jpg?w=140&ssl=1 "Bubble Bath Stampin’ Blends Combo Pack [ 161675 ]")
![Adhesive Sheets [ 152334 ]](https://i0.wp.com/assets1.tamsnetwork.com/images/EC042017NF/152334s.jpg?w=140&ssl=1 "Adhesive Sheets [ 152334 ]")




