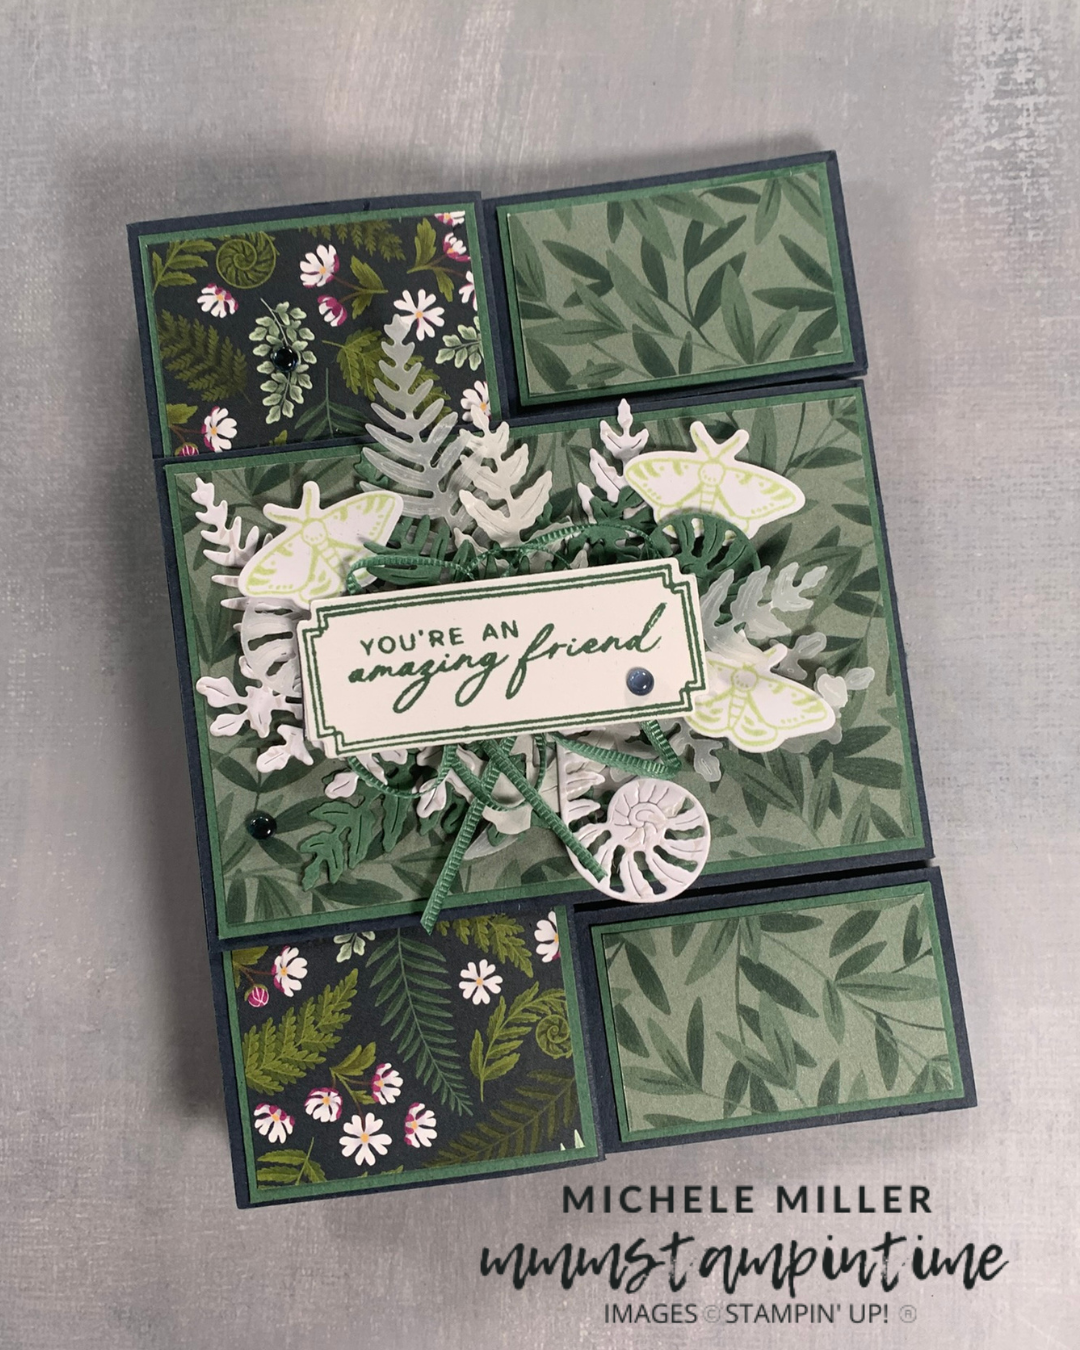
This card was inspired by an amazing new fun fold card that Rose Coleman created – a Funky Diagonal Fun Fold Card.
This is the card that inspired me –

My card uses the Waterside Retreat products and it is similar to Rose’s creation.

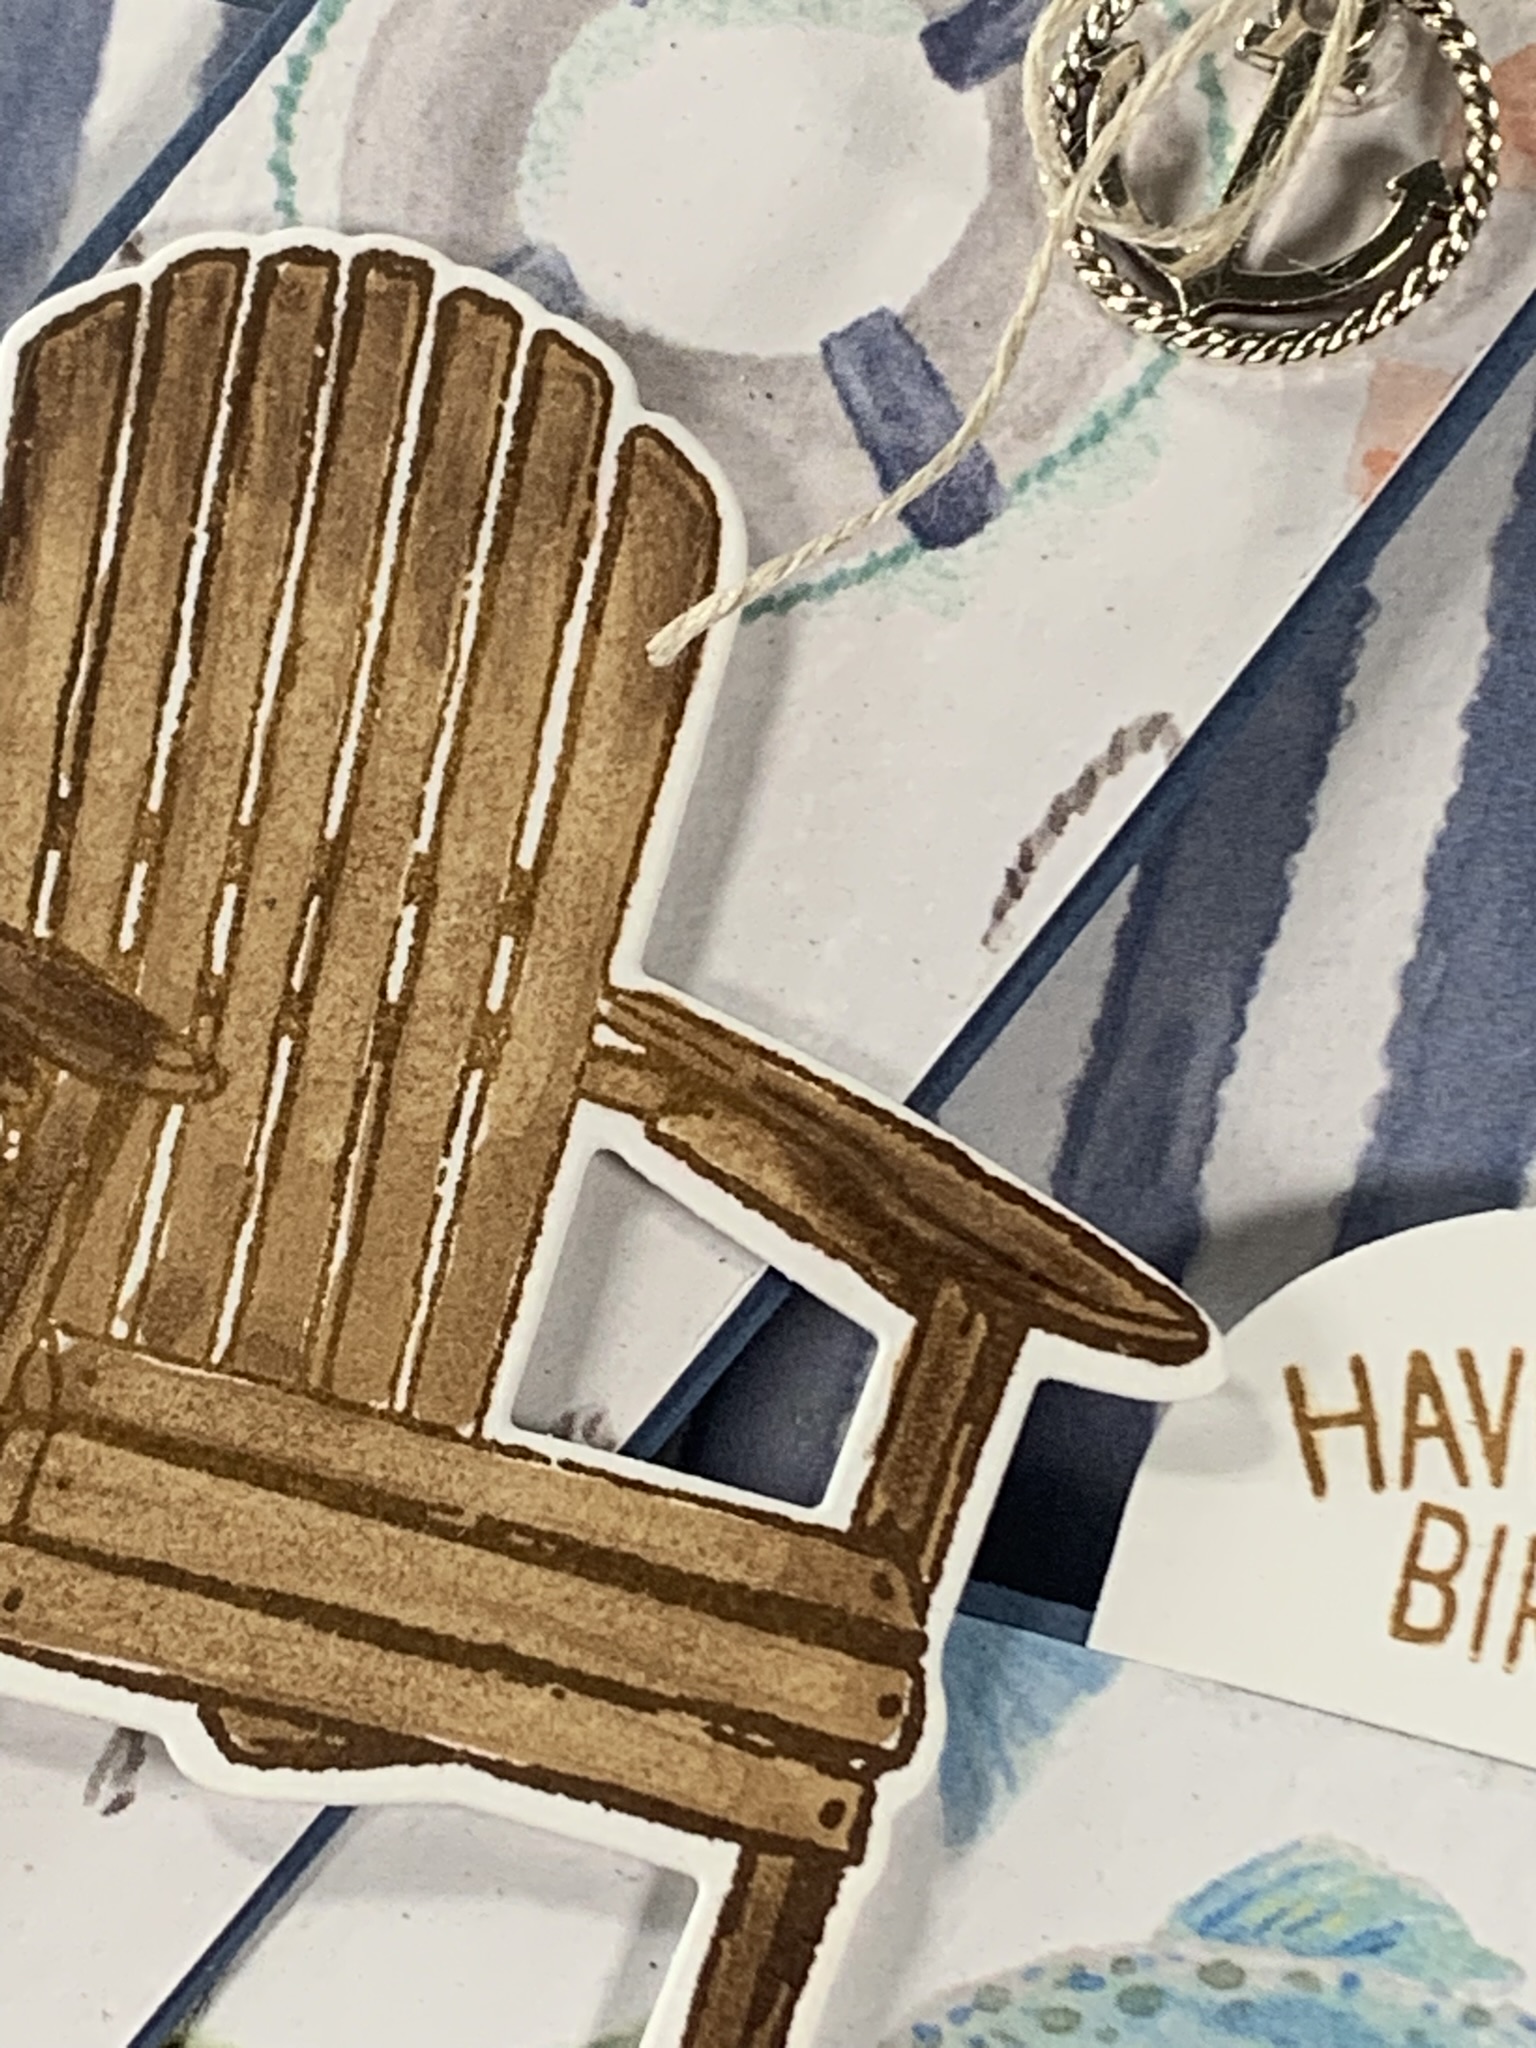
This card gave me an opportunity to stamp, colour and die cut the adironack chair using the Pecan Pie Stampin’ Blends and a Colour Lifter Pen.
I stamped the greeting and used the Modern Oval Punch to cut it out.

Several buoys and liferings were fussy cut and added to the card front.
Finally, I wrapped some Linen Thread around the diagonal element and tied a Loose Anchor Trinket to it.

Huge call out to Rose Coleman for sharing her creation so that other crafters, like me, can be inspired.
Tomorrow I have a gift box to share with you.
Until then, happy stamping and memory keeping.

If you live in Australia, you can order any of the products I used to make this card by going to my online store. Just click on any of the images below.

![Relaxing Waterside Dies [ 167927 ]](https://i0.wp.com/assets1.tamsnetwork.com/images/EC042017NF/167927s.jpg?w=140&ssl=1 "Relaxing Waterside Dies [ 167927 ]") | ![Loose Anchor Trinkets [ 167931 ]](https://i0.wp.com/assets1.tamsnetwork.com/images/EC042017NF/167931s.jpg?w=140&ssl=1 "Loose Anchor Trinkets [ 167931 ]") | |||
![Linen Thread [ 104199 ]](https://i0.wp.com/assets1.tamsnetwork.com/images/EC042017NF/104199s.jpg?w=140&ssl=1 "Linen Thread [ 104199 ]") | ![Modern Oval Punch [ 162234 ]](https://i0.wp.com/assets1.tamsnetwork.com/images/EC042017NF/162234s.jpg?w=140&ssl=1 "Modern Oval Punch [ 162234 ]") | ![Basic White A4 Cardstock [ 166781 ]](https://i0.wp.com/assets1.tamsnetwork.com/images/EC042017NF/166781s.jpg?w=140&ssl=1 "Basic White A4 Cardstock [ 166781 ]") | ![Misty Moonlight A4 Cardstock [ 153086 ]](https://i0.wp.com/assets1.tamsnetwork.com/images/EC042017NF/153086s.jpg?w=140&ssl=1 "Misty Moonlight A4 Cardstock [ 153086 ]") | ![Pecan Pie Classic Stampin' Pad [ 161665 ]](https://i0.wp.com/assets1.tamsnetwork.com/images/EC042017NF/161665s.jpg?w=140&ssl=1 "Pecan Pie Classic Stampin' Pad [ 161665 ]") |
![Stampin' Blends Color Lifter [ 144608 ]](https://i0.wp.com/assets1.tamsnetwork.com/images/EC042017NF/144608s.jpg?w=140&ssl=1 "Stampin' Blends Color Lifter [ 144608 ]") | ![Multipurpose Liquid Glue [ 110755 ]](https://i0.wp.com/assets1.tamsnetwork.com/images/EC042017NF/110755s.jpg?w=140&ssl=1 "Multipurpose Liquid Glue [ 110755 ]") | ![Stampin' Dimensionals [ 104430 ]](https://i0.wp.com/assets1.tamsnetwork.com/images/EC042017NF/104430s.jpg?w=140&ssl=1 "Stampin' Dimensionals [ 104430 ]") | ![Mini Glue Dots [ 103683 ]](https://i0.wp.com/assets1.tamsnetwork.com/images/EC042017NF/103683s.jpg?w=140&ssl=1 "Mini Glue Dots [ 103683 ]") | |
![Paper Trimmer [ 152392 ]](https://i0.wp.com/assets1.tamsnetwork.com/images/EC042017NF/152392s.jpg?w=140&ssl=1 "Paper Trimmer [ 152392 ]") | ![Paper Snips [ 103579 ]](https://i0.wp.com/assets1.tamsnetwork.com/images/EC042017NF/103579s.jpg?w=140&ssl=1 "Paper Snips [ 103579 ]") | ![Mini Stampin' Cut & Emboss Machine [ 150673 ]](https://i0.wp.com/assets1.tamsnetwork.com/images/EC042017NF/150673s.jpg?w=140&ssl=1 "Mini Stampin' Cut & Emboss Machine [ 150673 ]") | ![Basic White C6 Envelopes [ 159235 ]](https://i0.wp.com/assets1.tamsnetwork.com/images/EC042017NF/159235s.jpg?w=140&ssl=1 "Basic White C6 Envelopes [ 159235 ]") |
![Waterside Retreat Suite Collection (English) [ 167932 ]](https://i0.wp.com/assets1.tamsnetwork.com/images/EC042017NF/167932s.jpg?w=140&ssl=1 "Waterside Retreat Suite Collection (English) [ 167932 ]")
![Relaxing Waterside Photopolymer Stamp Set (English) [ 167922 ]](https://i0.wp.com/assets1.tamsnetwork.com/images/EC042017NF/167922s.jpg?w=140&ssl=1 "Relaxing Waterside Photopolymer Stamp Set (English) [ 167922 ]")
![Waterside Retreat 12" X 12" (30.5 X 30.5 Cm) Designer Series Paper [ 167920 ]](https://i0.wp.com/assets1.tamsnetwork.com/images/EC042017NF/167920s.jpg?w=140&ssl=1 "Waterside Retreat 12\" X 12\" (30.5 X 30.5 Cm) Designer Series Paper [ 167920 ]")
![Pecan Pie Stampin’ Blends Combo Pack [ 161674 ]](https://i0.wp.com/assets1.tamsnetwork.com/images/EC042017NF/161674s.jpg?w=140&ssl=1 "Pecan Pie Stampin’ Blends Combo Pack [ 161674 ]")



![Valley In Bloom Suite Collection (English) [ 167951 ]](https://i0.wp.com/assets1.tamsnetwork.com/images/EC042017NF/167951s.jpg?w=140&ssl=1 "Valley In Bloom Suite Collection (English) [ 167951 ]")
![Valley In Bloom 12" X 12" (30.5 X 30.5 Cm) Designer Series Paper [ 167935 ]](https://i0.wp.com/assets1.tamsnetwork.com/images/EC042017NF/167935s.jpg?w=140&ssl=1 "Valley In Bloom 12\" X 12\" (30.5 X 30.5 Cm) Designer Series Paper [ 167935 ]")
![Lily Of The Valley Bundle (English) [ 167943 ]](https://i0.wp.com/assets1.tamsnetwork.com/images/EC042017NF/167943s.jpg?w=140&ssl=1 "Lily Of The Valley Bundle (English) [ 167943 ]")
![Lily Of The Valley Photopolymer Stamp Set (English) [ 167937 ]](https://i0.wp.com/assets1.tamsnetwork.com/images/EC042017NF/167937s.jpg?w=140&ssl=1 "Lily Of The Valley Photopolymer Stamp Set (English) [ 167937 ]")
![Lily Of The Valley Dies [ 167942 ]](https://i0.wp.com/assets1.tamsnetwork.com/images/EC042017NF/167942s.jpg?w=140&ssl=1 "Lily Of The Valley Dies [ 167942 ]")
![Bordered In Beauty Dies [ 167556 ]](https://i0.wp.com/assets1.tamsnetwork.com/images/EC042017NF/167556s.jpg?w=140&ssl=1 "Bordered In Beauty Dies [ 167556 ]")
![Baker's Twine Essentials Pack [ 155475 ]](https://i0.wp.com/assets1.tamsnetwork.com/images/EC042017NF/155475s.jpg?w=140&ssl=1 "Baker's Twine Essentials Pack [ 155475 ]")
![Antique Pearls [ 164679 ]](https://i0.wp.com/assets1.tamsnetwork.com/images/EC042017NF/164679s.jpg?w=140&ssl=1 "Antique Pearls [ 164679 ]")
![White Gel Pens [ 166642 ]](https://i0.wp.com/assets1.tamsnetwork.com/images/EC042017NF/166642s.jpg?w=140&ssl=1 "White Gel Pens [ 166642 ]")
![Basic Beige A4 Cardstock [ 164512 ]](https://i0.wp.com/assets1.tamsnetwork.com/images/EC042017NF/164512s.jpg?w=140&ssl=1 "Basic Beige A4 Cardstock [ 164512 ]")
![Basic White A4 Thick Cardstock [ 159230 ]](https://i0.wp.com/assets1.tamsnetwork.com/images/EC042017NF/159230s.jpg?w=140&ssl=1 "Basic White A4 Thick Cardstock [ 159230 ]")
![Darling Duckling A4 Cardstock [ 165294 ]](https://i0.wp.com/assets1.tamsnetwork.com/images/EC042017NF/165294s.jpg?w=140&ssl=1 "Darling Duckling A4 Cardstock [ 165294 ]")
![Garden Green Classic Stampin' Pad [ 147089 ]](https://i0.wp.com/assets1.tamsnetwork.com/images/EC042017NF/147089s.jpg?w=140&ssl=1 "Garden Green Classic Stampin' Pad [ 147089 ]")
![Lemon Lime Twist Stampin’ Blends Combo Pack [ 161682 ]](https://i0.wp.com/assets1.tamsnetwork.com/images/EC042017NF/161682s.jpg?w=140&ssl=1 "Lemon Lime Twist Stampin’ Blends Combo Pack [ 161682 ]")
![Adhesive Sheets [ 152334 ]](https://i0.wp.com/assets1.tamsnetwork.com/images/EC042017NF/152334s.jpg?w=140&ssl=1 "Adhesive Sheets [ 152334 ]")