Posted on Leave a comment

TIME TO TRY A NEW TECHNIQUE TODAY

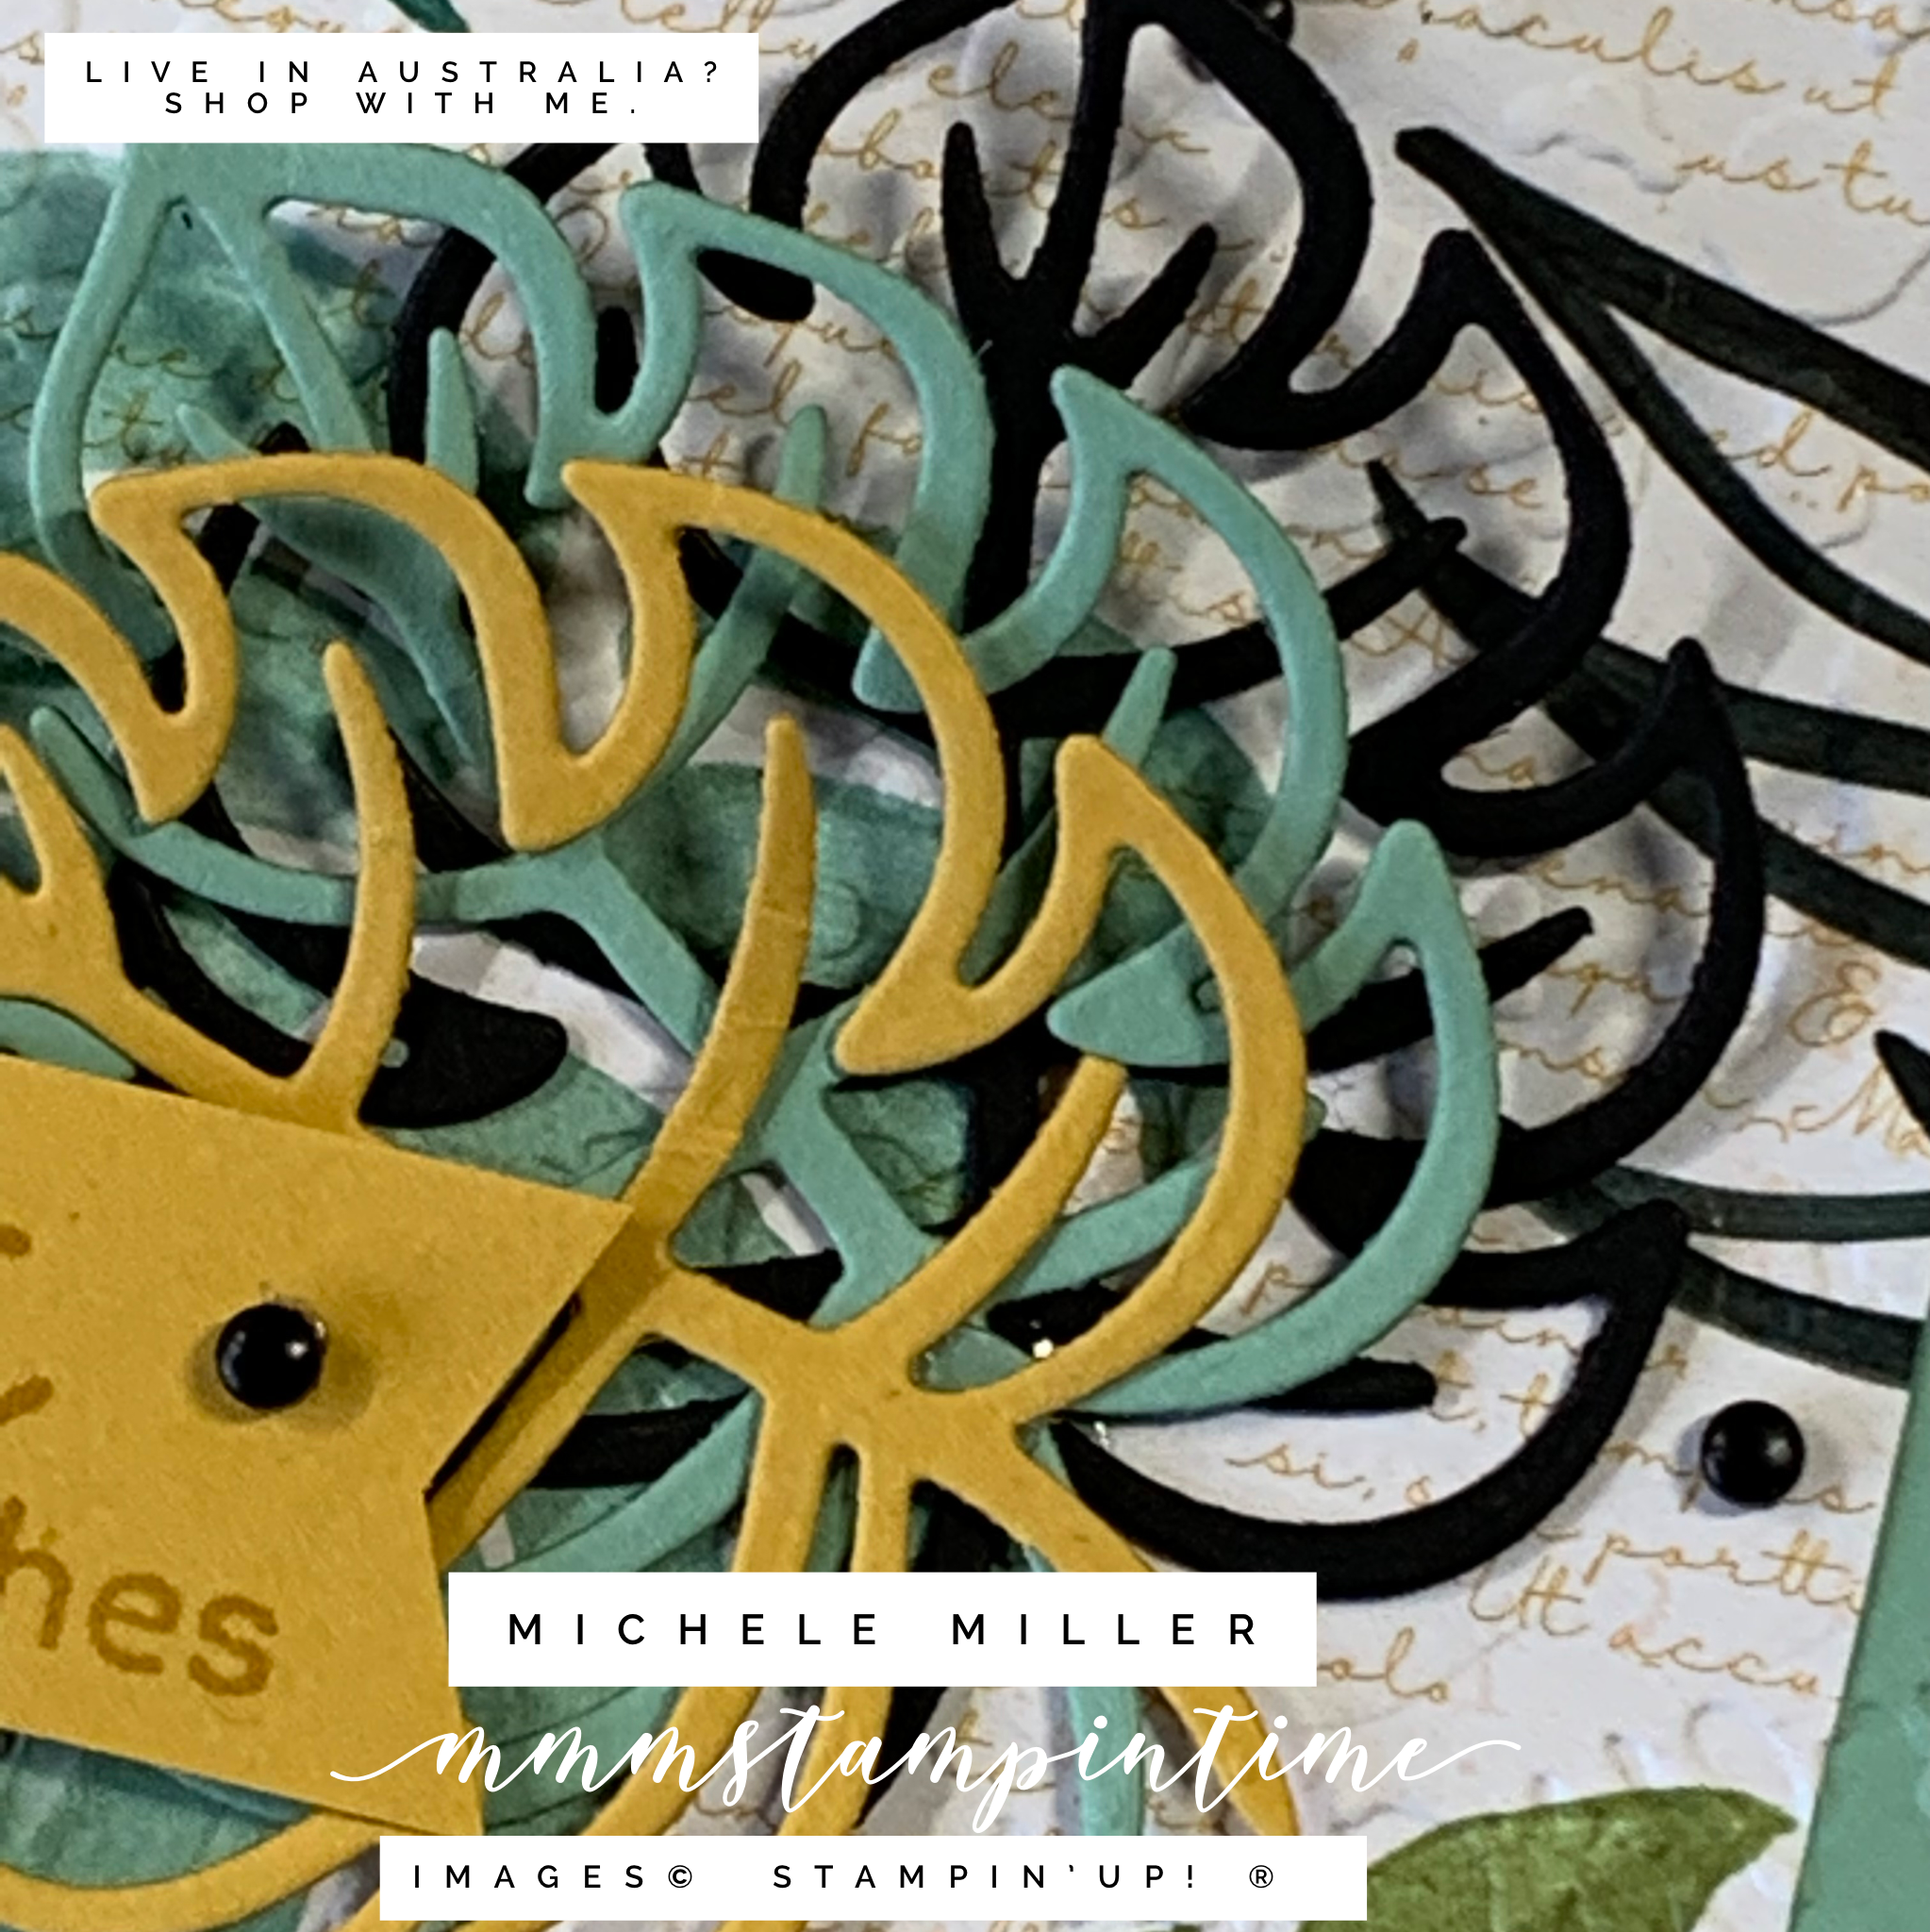
For today’s Technique Tuesday project I have a version of an Iris Fold Card to share with you. Unlike the traditional technique, I have used strips of Designer Series Paper and cardstock not folded strips.

Iris folding is done by arranging and layering strips of paper in a spiral pattern that resembles the iris of a camera lens. This technique can be used for almost any shape.

I started by creating a ‘tempate’ for the shape. The central opening is 1-1/2″x 1-1/2″ and each layer was 1/4″ larger on all sides.

I placed a small piece of Glad Press ‘n’ Seal over the template (sticky side up) and taped it down onto my Silicon Craft Sheet. Starting from the outside, I placed 1/4″ strips of Hey Sports Fan 12″x 12″ DSP and cardstock on the Glad following the pattern. Each strip was held down with small pieces of Sticky Note. I used small drops of Multipurpose Glue to hold each strip in position.

This technique is perfect for those of you who aren’t afraid to get your fingers sticky!

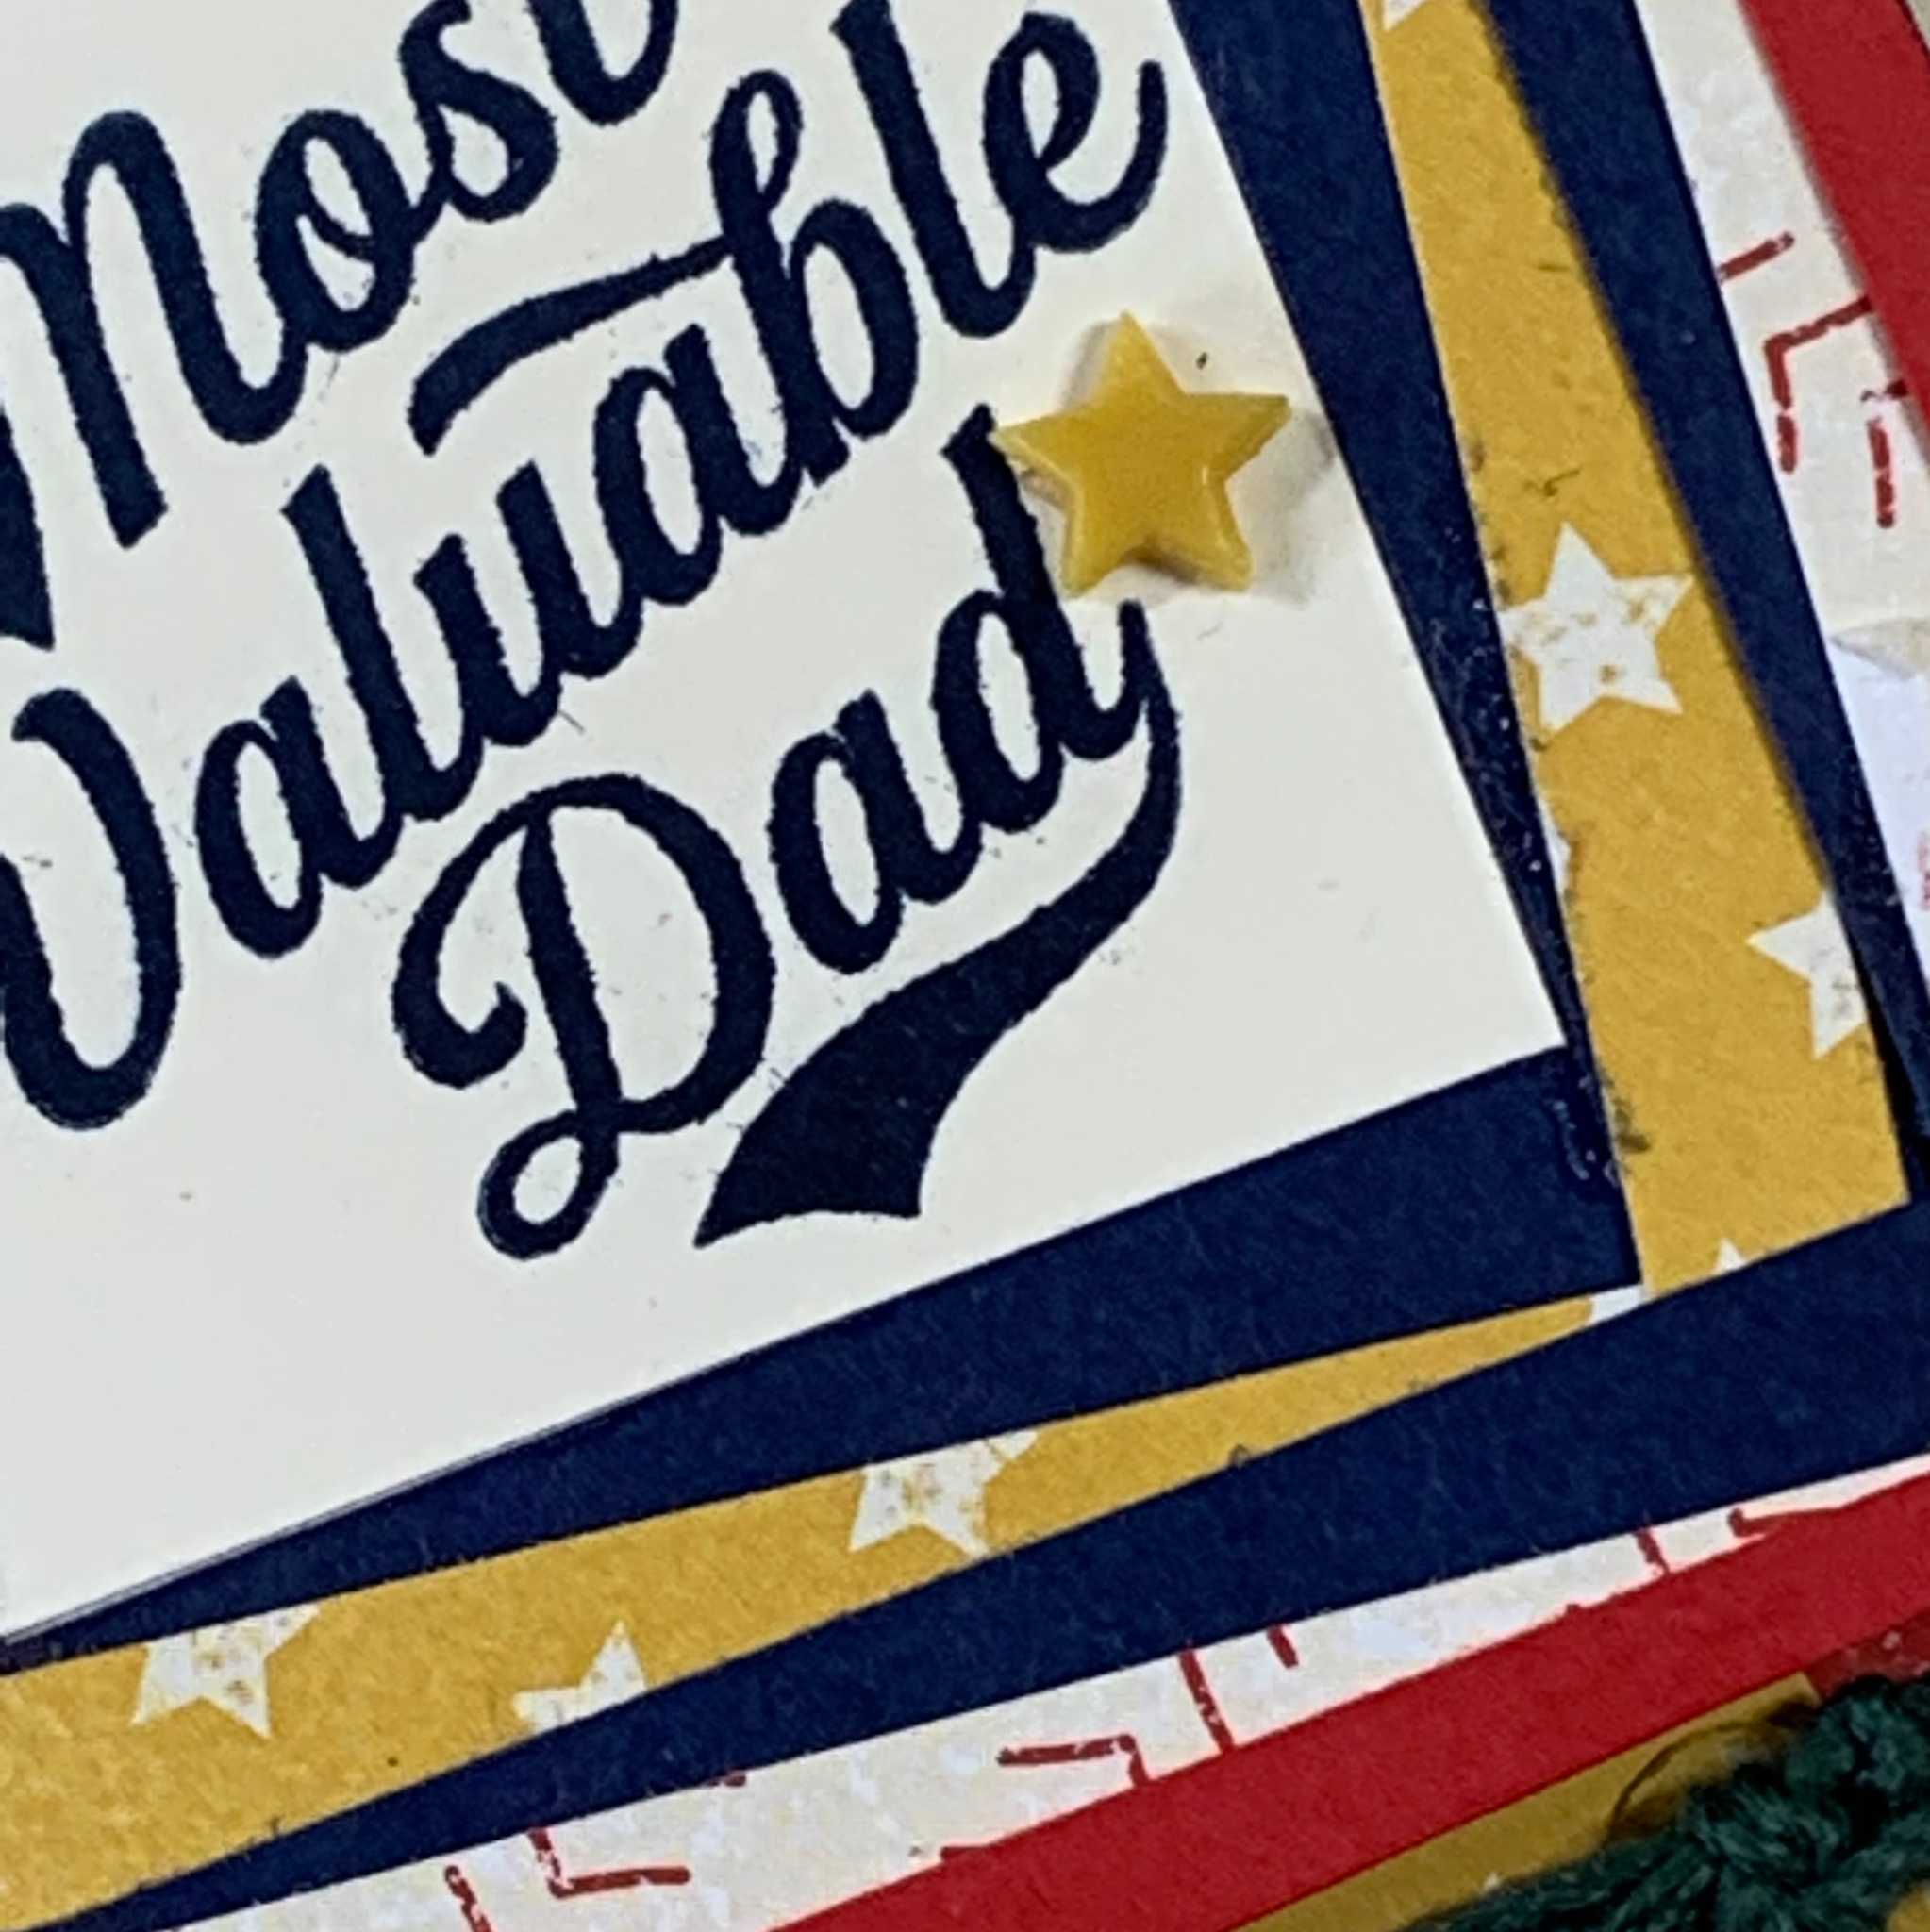
When I had finished the iris frame, I adhered it a piece of Very Vanilla cardstock that was stamped with a sentiment from the Your Biggest Fan stamp set.

I cut three 1″ strips of DSP and Night of Navy cardstock and used the Banner Pick a Punch to create the banners at each end.

The 5-5/8″x 4″ piece of striped DSP was embossed with the Brick & Mortar 3D Embossing Folder. Before attaching it to the Night of Navy card base, I wrapped Evening Evergreen twine, from the Fan Baker’s Twine pack, several times around the DSP and tied it in a double knot. I added two more, shorter, pieces of twine and tied them over the first knot.

To assemble the card, I first adhered the embossed and twine wrapped DSP to the card base. Then I overlapped, angled and attached the banner strips on the embossed DSP.

I added several Stampin’ Dimensionals to the back of the iris layer and popped it up just above the twine.

The #1 was cut using one of the Sports Event Dies. I added it to the front of the card and on the card insert. (And, when my Very Vanilla envelopes arrive, I will also attach one to the front of it.)

I didn’t add anything shiny to the masculine card but the REsin Stars Embellishments were perfect to finish it.

I am always delighted when I can introduce amazing, new products to existing goodies on my shelves. The punch and embossing folder were a perfect match for this project.

Tomorrow I will have two projects to share with you. One is my contribution to the Freshly Brewed Project Team blog hop and the other will be my ‘entry’ for the Global Design Project weekly challenge. I hope that you will pop by and see what I have posted.

Until then, happy stamping.

If you live in Australia, you can order any of the products I used to make this card by going to my online store. Just click on any of the images below.

Product List
Paper Snips
[103579]
$17.00
Bone Folder
[102300]
$12.00
Posted on Leave a comment

STEP IT UP SUNDAY – TAKING A #simplestamping PROJECT & TAKING IT UP A NOTCH OR TWO

Wow – this is my third STEP IT UP SUNDAY. I’m definitely getting into the groove of my new 2022 weekly blog schedule. What do you think? How is it going so far? What else would you like to see?

Yesterday I shared two #simplestamping cards using a small number of the products from the Artfully Composed Suite. Remember, #simpestamping is all about using a limited number of products, primarily stamps-ink-paper, to enjoy successfully creating a card. This type of experience is perfect for those who are new to card making and paper crafting.

After lots of #simplestamping, most people naturally want to move on and try new things. These crafters are also likely to have started building their crafting collection – inkpads, stamps, cardstock, tools and some embellishments.

For my first “stepped up” card I used the Tropical Layers Dies. Normally, I would use a punch at this stage because a cutting and embossing machine is not yet in a casual stampers collection.

I used Mint Macaron and Just Jade inks to stamp the leaf images directly onto the Notecard base.

The next step was to cut three leaf frames from Basic Black, Basic White and Calypso Coral cardstock. These were then secured in place using Mini Glue Dots.

I stamped the birthday greeting onto a strip of the coordinating Designer Series Paper.

The text image was stamped inside the card and on the front of the envelope. This was repeated for all three cards.

Using black Baker’s Twine from the Essentials Pack, I tied a triple bow and attached it to the card front. I finished the cardfront by adding some Pale Papaya 2021 – 2023 In Colour Jewels.

I like sharing some close up images of my projects.

Here is the next stepped up card.

For this card, I used the long stitched zigzag border die to cut the five colour layers that were overlayed and adhered together. I used my Stamparatus to stamp the birthday greeting before trimming these layers.

I took a length of the white Baker’s Twine from the Essentials Pack, wrapped it several times and tied a bow.

A piece of one of the DSP desgns was cut to fir the card front. The multi-coloured zigzag panel was then adhered to the cardfront.

The final card has a few more elements added.

A piece of Just Jade cardstock and a smaller piece of one of the DSP designs were glued together. Then they embossed using the splatter folder from the Strips & Splatters 3D Embossing Folders.

I cut three leaves, one each in Bumblebee, Just Jade and Basic Black. They were attached to the card front using Mini Glue Dots.

After stamping the same sentiment, used for all these projects, I trimmed down the cardstock and used the Banners Pick A Punch to punch the banner. The card was finished with some Classic Matte Dots.

Here are the three “step it up” cards.

I am enjoying my Saturday and Sunday card making projects especially because I am using the Notecards & Envelopes.

Here are some of the other products I used for these projects.

Now it’s time to start thinking about what I photos I will select for tomorrow’s Memories on Monday post. I will be using the Artfully Composed 12″x 12″ Designer Series Paper – so, I will be looking for photos that will suit these designs.

Until then, happy stamping.

If you live in Australia, you can order any of the products I used to make this card by going to my online store. Just click on any of the images below.

Product List
Paper Snips
[103579]
$17.00
Posted on Leave a comment

TIME FOR A LITTLE SCROOGE

It never ceases to surprise me where I can find ‘inspiration’ for my crafting projects.

For this project, I found a pack of aniseed flavoured lollies (candy).

Woolworths Select Humbugs

And, when you see the word HUMBUG what else would you do? Buy the pack and make a Ebenezer Scrooge inspired gift – perfect for Secret Santa, if Santa thinks Christmas is a fraud, perhaps.

The ROUND TINS were the perfect choice for this little treat, as is the BLACK GLITTERED ORGANDY RIBBON.

NOTE – I did try to adhere some Designer Series Paper around the side of the tin but the lid would fit back on – oops!

To be honest, I was disapponted when LETTERS FOR YOU were retired. I used them SO much. Happily, the PLAYFUL ALPHABET DIES are filling that void. Their size is better proportioned for most projects that I make, so I am pleased to have a great replacement.

Before I die cut each of the letters needed, I attached ADHESIVE SHEETS to the back of the card stock.

To coordinate with the sweets, I cut the letters from Basic Black and attached them to a 1″ wide piece of Whisper White. To create the banner, I used the BANNER PICK A PUNCH.

And, in true miserly Scrooge form, I did not add any embellishments.

This was such a fun project to make and so, so simple. I hope whoever receives this has a good laugh.

Who would you give it to? Who do know, who likes aniseed?

Thanks for popping by … happy stamping.

These are the products I used to make this project. If you live in Australia, I would be very pleased to help you with your order.

Product List
Round Tins
[153544]
$21.00
Paper Snips
[103579]
$17.00