Posted on Leave a comment

LET’S MAKE A FUN FOLD CARD

For my Fun Fold Card today, I decided to make a Criss Cross Card. This is the last project featuring the Hey Sports Fan Suite Collection for this week. Tomorrow, I will have a new suite to showcase.

This makes a great birthday invitation. I love the way all the colours and die cut pieces make this so colourful – perfect for an invitation.

The criss cross is very easy to create and I will have a Youtube Video Tutorial to share soon.

I cut the triangular Designer Series Paper to add to the cross over flaps. Tear & Tape Adhesive was used to seal the bottom of the card.

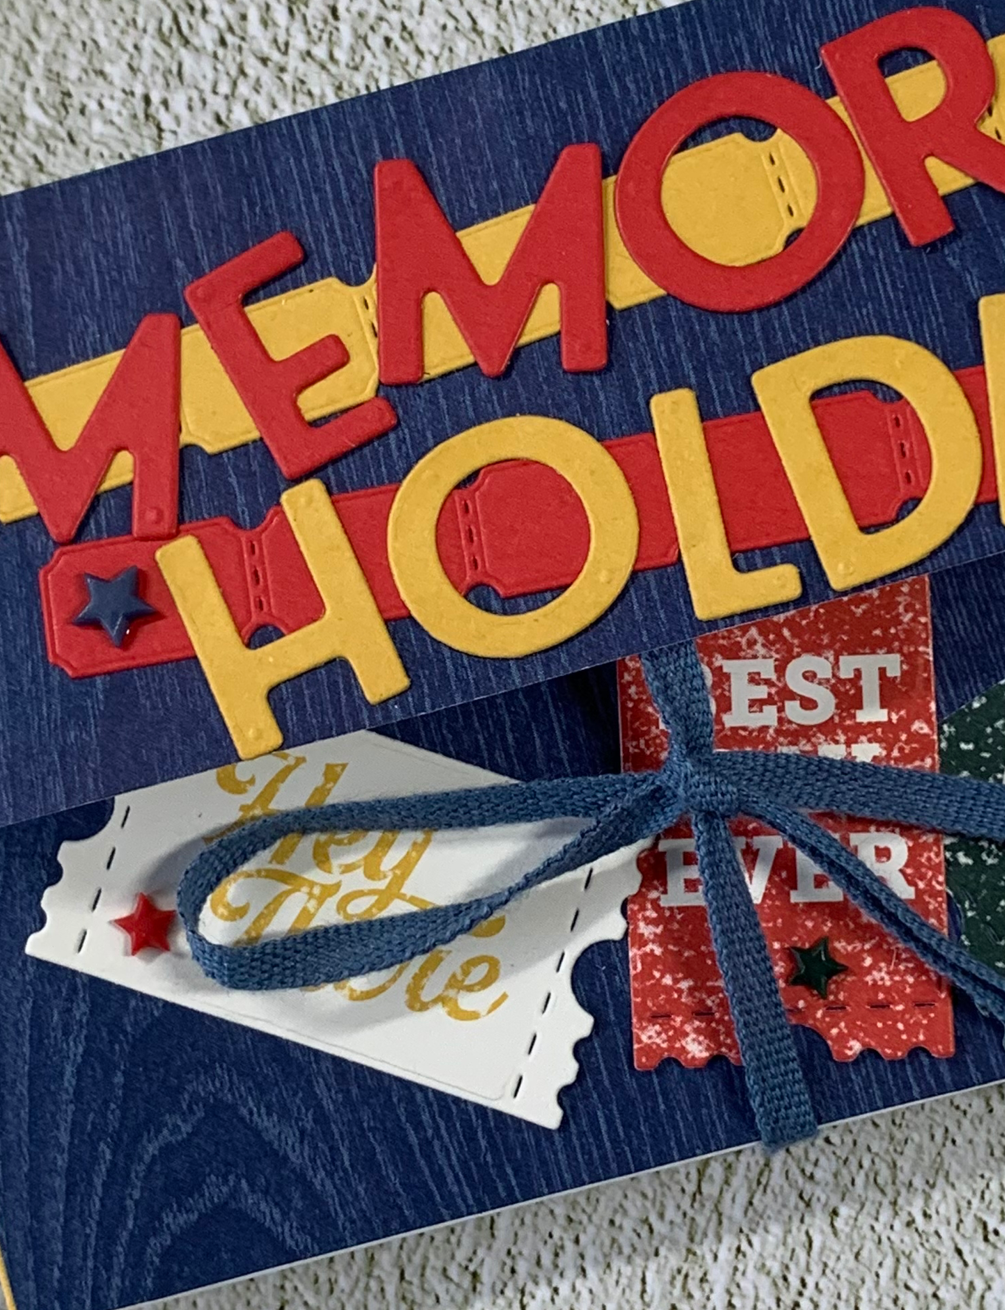
The large ‘You’re Invited” ticket was cut from one of the DSP sheets. I tore the ‘Let’s Get Together & Celebrate’ stub from the top section. All the tickets were then attached to the card front.

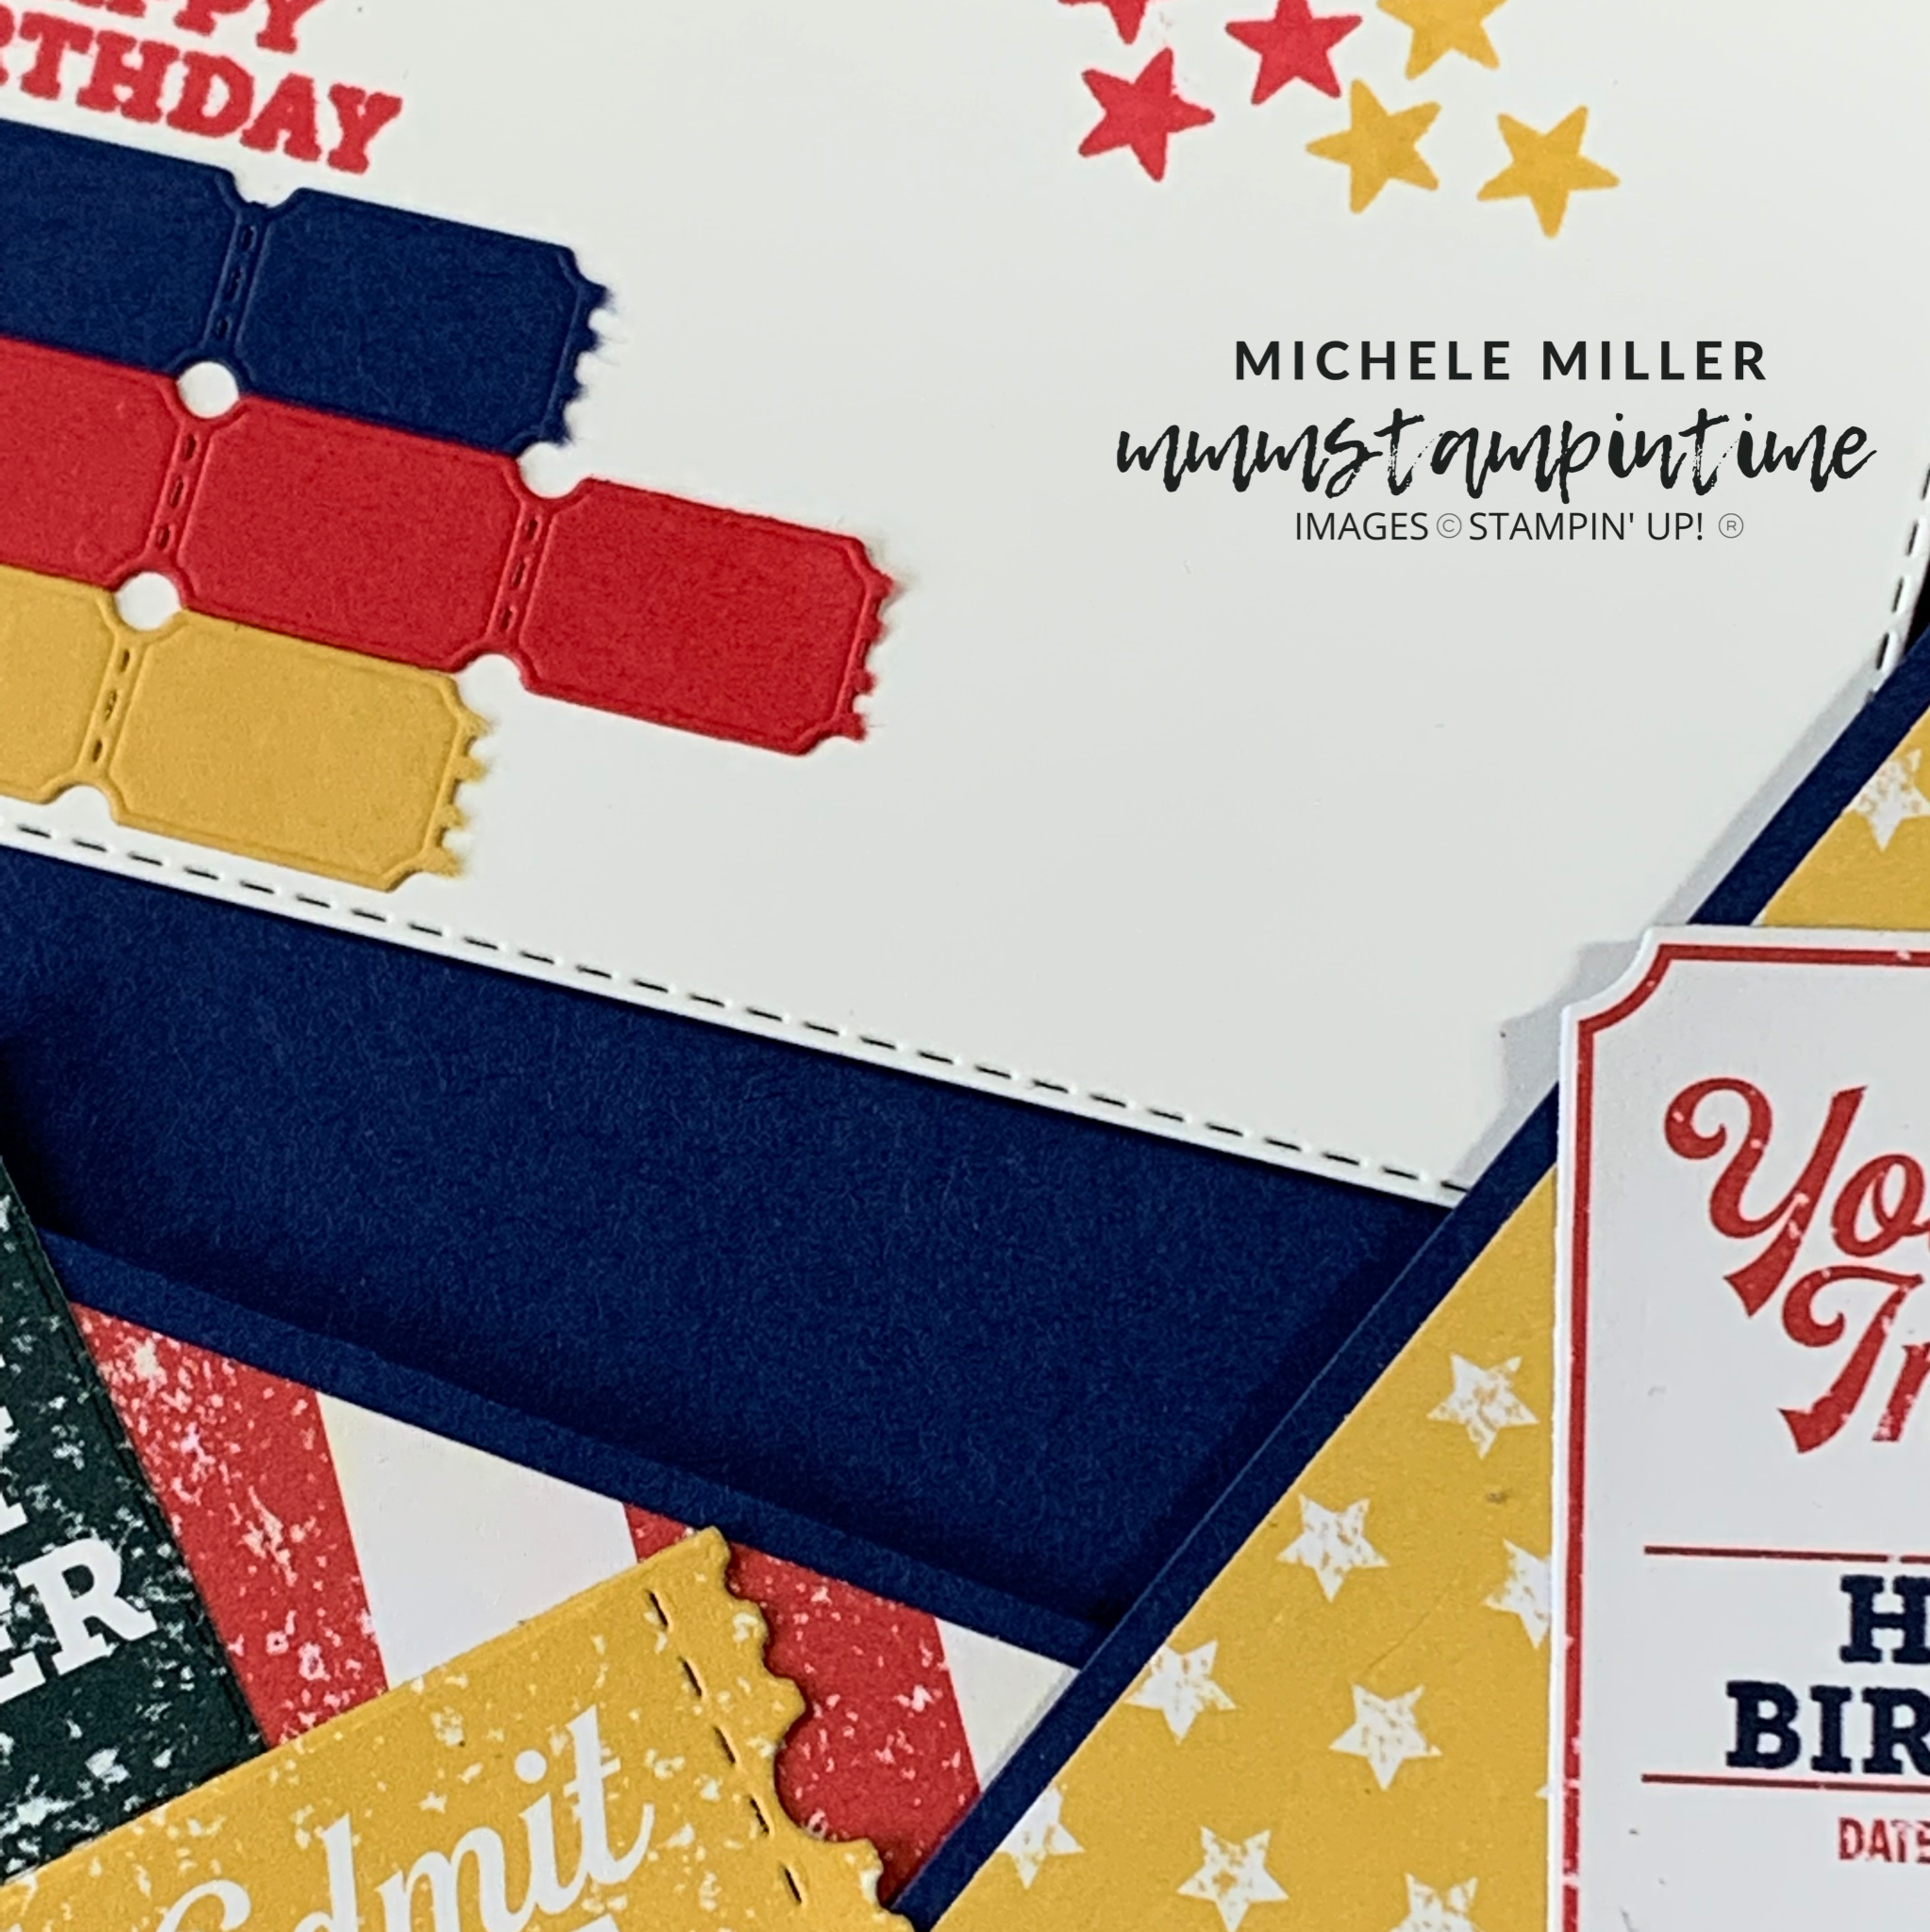
The invitation insert was cut using the second largest Stitched Rectangle Dies.

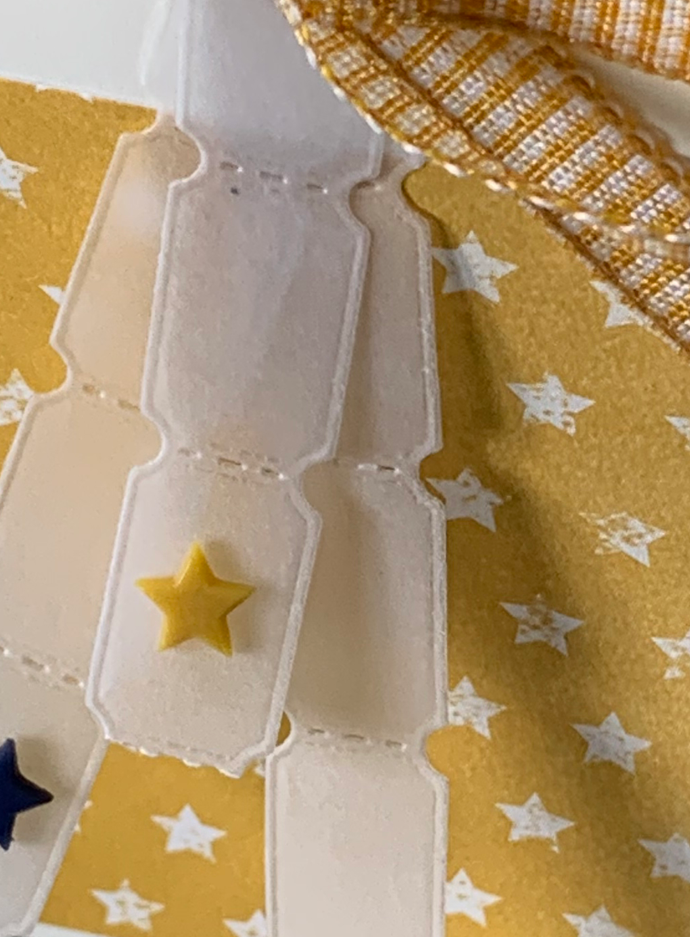
I cut three of the long, small tickets strips in Bumblebee, Night of Navy and Poppy Parade. Two tickets, in all three colours, were torn of and attached to the top corner of the insert. This created a useful way to pull the insert out.

Three tickets , in each of the colours, were then staggered in the opposite corner.

The trio of stars and birthday greeting were stamped on the insert.

The final touch was to add some of the Resin Stars Embellishments to the card front.

Although this collection has a strong baseball theme, this week I was able to make projects that had a more general sporting theme. Baseball is played in Australia but it does not have as a high a profile as other sports.

Tomorrow I will bring a new product collection to feature for the rest of the week.

Until then, happy stamping.

If you live in Australia, you can order any of the products I used to make this card by going to my online store. Just click on any of the images below.

Product List
Paper Snips
[103579]
$17.00
Bone Folder
[102300]
$12.00
Posted on Leave a comment

TODAY’S 3D THURSDAY PROJECT HOLDS A SWEET TREAT

It is so much fun to create a new 3D project each week. This week I found a Salted Caramel treat in a little bag that is similar Bumblebee in colour.

So I decided to buy it and create a little gift bag to put it in.

I spent some time measuring and trialling the design.

The Delightful Tag Topper was perfect for this project. After cutting, scoring and punching the box base, it was time to start decorating.

I cut pieces of the Bumblebee and Very Vanilla stars DSP to cover each of the sides.

When the bow is untied, the front falls open revealing the treat.

To decorate the front panel, I cut three strips of the mini tickets and tore them to have 3,4 and 5 tickets. I overlapped the tickets and used Stampin’ Seal+ to hold them together.

After the tickets were stuck together, they were attached to the panel with a Mini Glue Dot.

Tomorrow I will have a Fun Fold Card ready to share with you and that will wrap up this week’s featured Hey Sports Fan Suite Collection.

Until then, happy stamping.

If you live in Australia, you can order any of the products I used to make this card by going to my online store. Just click on any of the images below.

Product List
Paper Snips
[103579]
$17.00
Bone Folder
[102300]
$12.00
Posted on Leave a comment

WHAT’S HAPPENING THIS WEDNESDAY? #2

Each Wednesday, I will share what I have made for blog hops and challenges. This is my second project for today and it is for the Freshly Brewed Projects blog hop and this week’s theme is NOTECARDS PROJECTS.

May be an image of coffee cup and text that says 'Freshly Brewed PROJEGTS'

I could have made a gift set or just one or maybe even 2 cards to show how you can make super quick and easy projects with them. I could have teamed them up any of the current Memories & More packs. However, I decided to create a 3D project to share with you.

This week, I am featuring the Hey Sports Fan Suite Collection and decided to make something to keep sporting event memorabilia, especially ticket stubs, in.

I created a mini expanding file using five notecards.

Each notecard has two 3″x 2″ panels attached at each end. These pieces were scored at 1/2″, 1″ and 1-1/2″.

When these inserts were secure, I glued the notecards together. This gave me a five pocket, mini expanding file.

I used one more notecard to create the front flap and back panel. Before adhering it in place, I secured a length of Misty Moonlight ribbon from the Cotton Ribbon Combo Pack.

The Detailed Trio Punch was used to round the corners of the front flap.

I cut a 6″x 5″ piece of Night of Navy wood grain piece of DSP to adhere to the outside of the mini file.

I die cut some of the tickets from one of the DSP sheets and added them to the front of the file.

For inside the file, I cut five large ticket shapes using Basic White cardstock. I also cut the joined tickets in Bumblebee, Night of Navy and Poppy Parade several times. For the file inserts, I tore two of the tickets so that I could fold this segment in half and staple it to the top of the Basic White ticket. These five tickets can be used for journaling.

I used a Bumblebee and Poppy Parade ticket strip, on the front flap of the expanding file, to give the file a name – ‘Memory Holder’. The title was created by adding Adhesive Sheet to the back of the two featured colours and cutting the letters using the Playful Alphabet Dies.

I finished the project by adding some of the Resin Stars Embellishments.

This is a project that I am SOOOOO happy with. Everything turned out the way I hoped it would. What do you think? I would love your feedback. I am already thinking of some other ways to use notecards this way.

Make sure that you hop along and see what the rest of the team have created.

Tomorrow is 3D Thursday – time to start thinking about what to create.

Until then, happy stamping.

If you live in Australia, you can order any of the products I used to make this card by going to my online store. Just click on any of the images below.

Product List
Paper Snips
[103579]
$17.00
Bone Folder
[102300]
$12.00