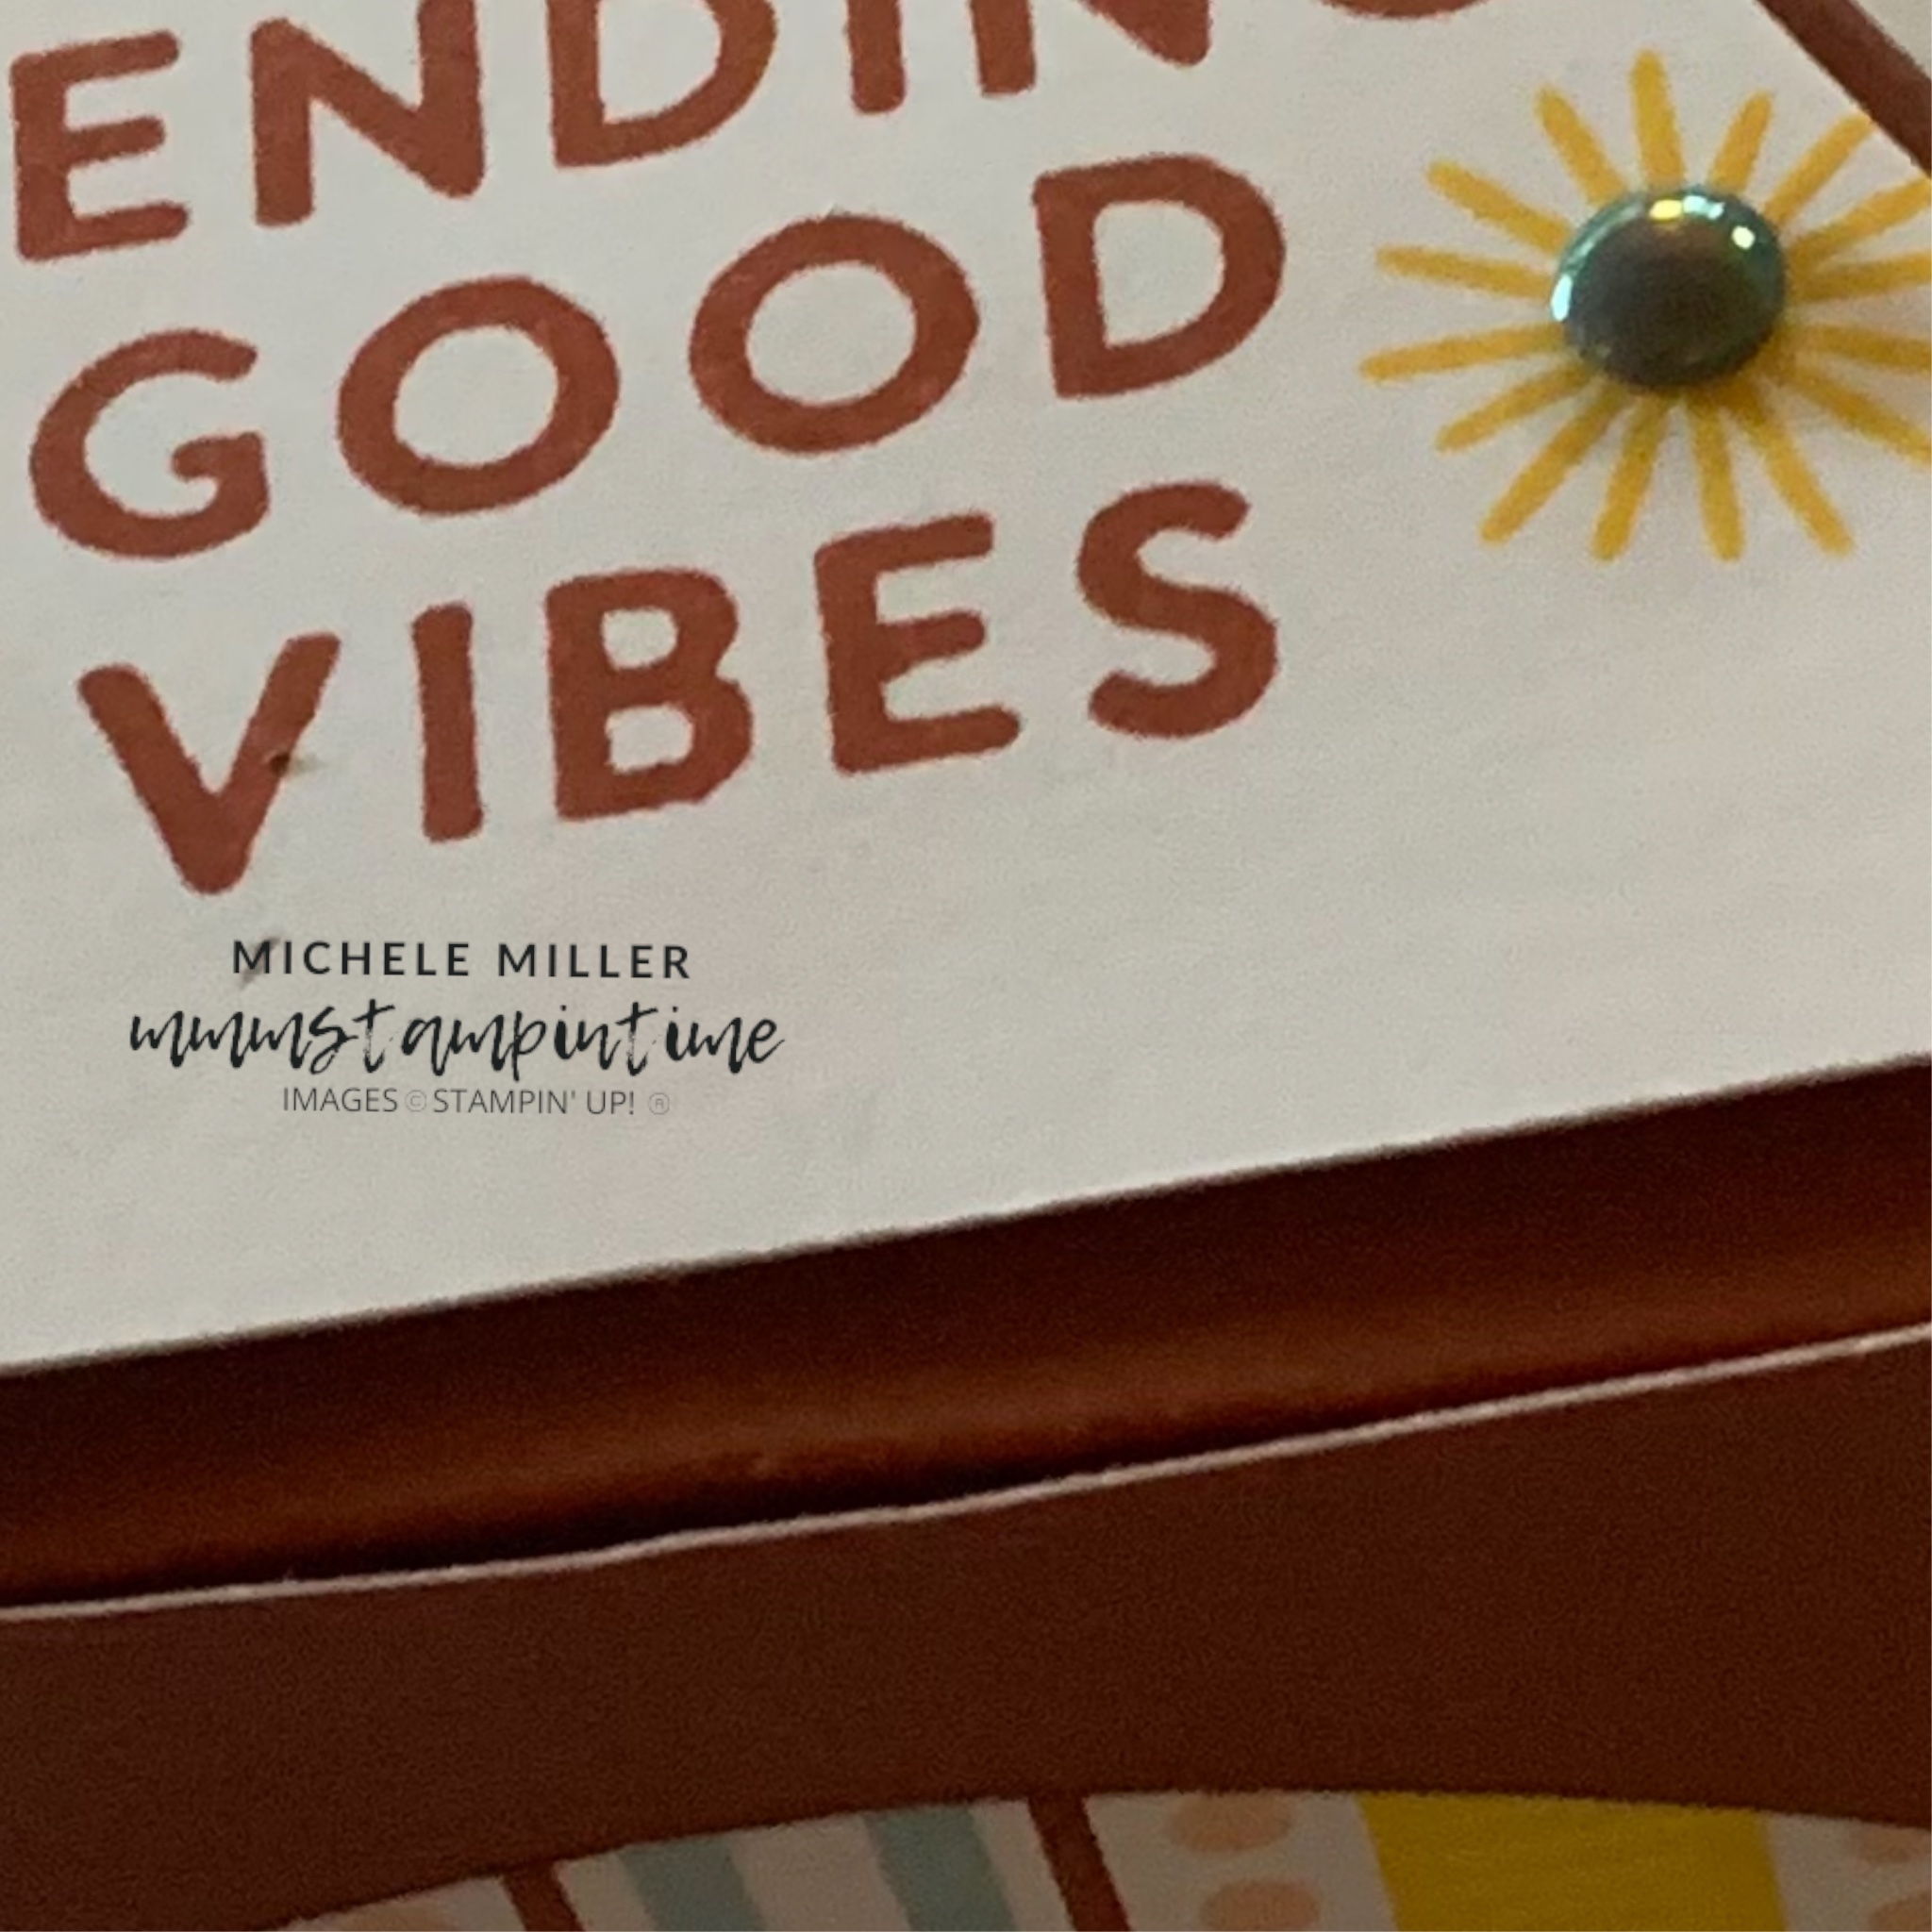
For today’s 3D project I wanted to create a triangular gift box.
Each of the sides measures 3 3/4″x 3 3/4″. The base and lid triangles are 3 1/4″ with half inch flaps on each side.
A small note about two-tone card – when it is cut you can see the white core.

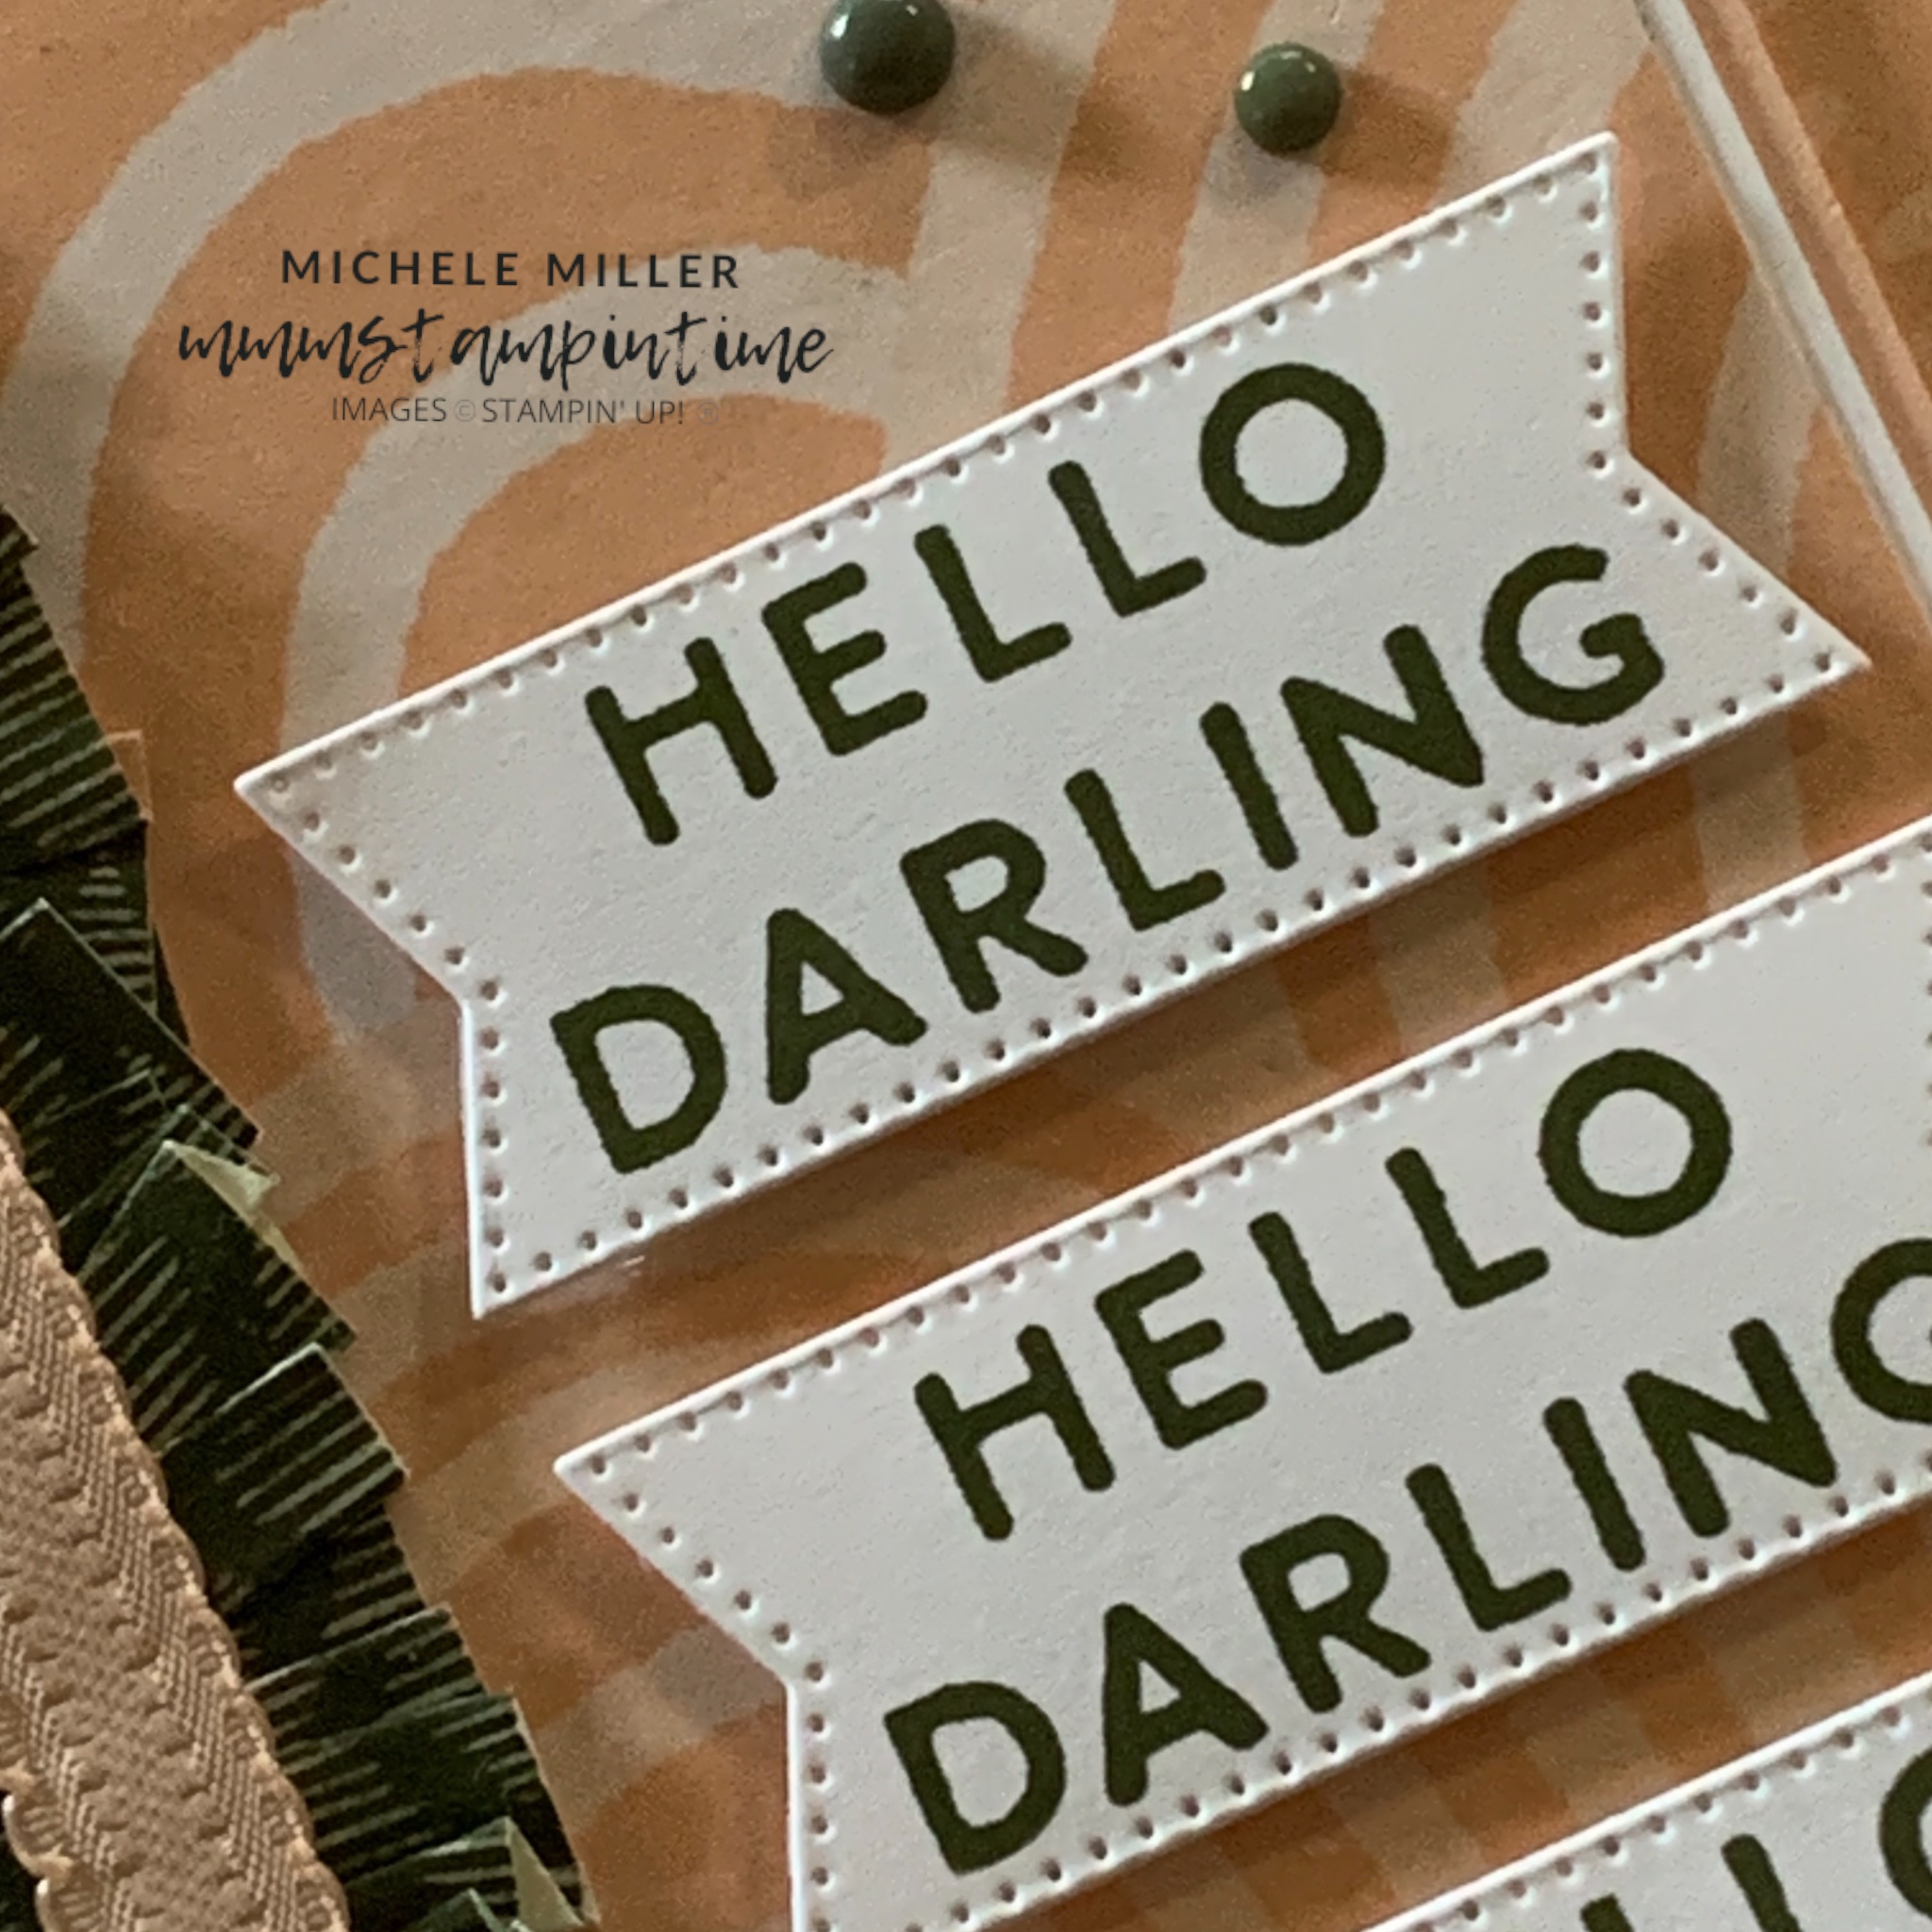
I cut three of the outline arched shaped from another of the DSP designs.
Using a paper piercing tool, I made two small holes to thread some white baker’s twine through so that I could secure the lid.
I cut a slightly smaller triangle for the lid and stamped the greeting and decoration.

The 2025-2027 In Colour Flat Pearls were popped on top of the small sunburst.

I’m not sure what I will pop inside the box yet but it will be tasty!
Tomorrow I have three more cards to share with you.
Until then, happy stamping and scrapbooking.

If you live in Australia, you can order any of the products I used to make this card by going to my online store. Just click on any of the images below.

![Boho Vibes Suite Collection (English) [ 165156 ]](https://i0.wp.com/assets1.tamsnetwork.com/images/EC042017NF/165156s.jpg?w=140&ssl=1 "Boho Vibes Suite Collection (English) [ 165156 ]") | ![Baker's Twine Essentials Pack [ 155475 ]](https://i0.wp.com/assets1.tamsnetwork.com/images/EC042017NF/155475s.jpg?w=140&ssl=1 "Baker's Twine Essentials Pack [ 155475 ]") | ![2025–2027 In Color™ Flat Pearls [ 165192 ]](https://i0.wp.com/assets1.tamsnetwork.com/images/EC042017NF/165192s.jpg?w=140&ssl=1 "2025–2027 In Color™ Flat Pearls [ 165192 ]") | |
![Basic White A4 Cardstock [ 166781 ]](https://i0.wp.com/assets1.tamsnetwork.com/images/EC042017NF/166781s.jpg?w=140&ssl=1 "Basic White A4 Cardstock [ 166781 ]") | ![Multipurpose Liquid Glue [ 110755 ]](https://i0.wp.com/assets1.tamsnetwork.com/images/EC042017NF/110755s.jpg?w=140&ssl=1 "Multipurpose Liquid Glue [ 110755 ]") | ![Mini Stampin' Cut & Emboss Machine [ 150673 ]](https://i0.wp.com/assets1.tamsnetwork.com/images/EC042017NF/150673s.jpg?w=140&ssl=1 "Mini Stampin' Cut & Emboss Machine [ 150673 ]") |
![Boho Vibes 6" X 6" (15.2 X 15.2 Cm) Designer Series Paper [ 165144 ]](https://i0.wp.com/assets1.tamsnetwork.com/images/EC042017NF/165144s.jpg?w=140&ssl=1 "Boho Vibes 6\" X 6\" (15.2 X 15.2 Cm) Designer Series Paper [ 165144 ]")
![Cajun Craze 12" X 12" (30.5 X 30.5 Cm) Two Tone Cardstock [ 166675 ]](https://i0.wp.com/assets1.tamsnetwork.com/images/EC042017NF/166675s.jpg?w=140&ssl=1 "Cajun Craze 12\" X 12\" (30.5 X 30.5 Cm) Two Tone Cardstock [ 166675 ]")



![Rainbow Adhesive Backed Dots [ 162758 ]](https://i0.wp.com/assets1.tamsnetwork.com/images/EC042017NF/162758s.jpg?w=140&ssl=1 "Rainbow Adhesive Backed Dots [ 162758 ]")
![Petal Pink 3/8” (1 Cm) Scalloped Ribbon [ 164680 ]](https://i0.wp.com/assets1.tamsnetwork.com/images/EC042017NF/164680s.jpg?w=140&ssl=1 "Petal Pink 3/8” (1 Cm) Scalloped Ribbon [ 164680 ]")
![Stylish Shapes Dies [ 159183 ]](https://i0.wp.com/assets1.tamsnetwork.com/images/EC042017NF/159183s.jpg?w=140&ssl=1 "Stylish Shapes Dies [ 159183 ]")
![Petal Pink A4 Cardstock [ 147009 ]](https://i0.wp.com/assets1.tamsnetwork.com/images/EC042017NF/147009s.jpg?w=140&ssl=1 "Petal Pink A4 Cardstock [ 147009 ]")
![Tear & Tape Adhesive [ 154031 ]](https://i0.wp.com/assets1.tamsnetwork.com/images/EC042017NF/154031s.jpg?w=140&ssl=1 "Tear & Tape Adhesive [ 154031 ]")
![Stampin' Dimensionals [ 104430 ]](https://i0.wp.com/assets1.tamsnetwork.com/images/EC042017NF/104430s.jpg?w=140&ssl=1 "Stampin' Dimensionals [ 104430 ]")



![Trusty Tools Photopolymer Stamp Set (English) [ 163274 ]](https://i0.wp.com/assets1.tamsnetwork.com/images/EC042017NF/163274s.jpg?w=140&ssl=1 "Trusty Tools Photopolymer Stamp Set (English) [ 163274 ]")
![Sunrise Sailing Hybrid Embossing Folder [ 165496 ]](https://i0.wp.com/assets1.tamsnetwork.com/images/EC042017NF/165496s.jpg?w=140&ssl=1 "Sunrise Sailing Hybrid Embossing Folder [ 165496 ]")
![Playful Alphabet Dies [ 152706 ]](https://i0.wp.com/assets1.tamsnetwork.com/images/EC042017NF/152706s.jpg?w=140&ssl=1 "Playful Alphabet Dies [ 152706 ]")
![Cloud Cover 3/8" (1 Cm) Faux Linen Ribbon [ 165271 ]](https://i0.wp.com/assets1.tamsnetwork.com/images/EC042017NF/165271s.jpg?w=140&ssl=1 "Cloud Cover 3/8\" (1 Cm) Faux Linen Ribbon [ 165271 ]")
![Cloud Cover A4 Cardstock [ 165293 ]](https://i0.wp.com/assets1.tamsnetwork.com/images/EC042017NF/165293s.jpg?w=140&ssl=1 "Cloud Cover A4 Cardstock [ 165293 ]")
![Night Of Navy A4 Card Stock [ 106577 ]](https://i0.wp.com/assets1.tamsnetwork.com/images/EC042017NF/106577s.jpg?w=140&ssl=1 "Night Of Navy A4 Card Stock [ 106577 ]")
![Adhesive Sheets [ 152334 ]](https://i0.wp.com/assets1.tamsnetwork.com/images/EC042017NF/152334s.jpg?w=140&ssl=1 "Adhesive Sheets [ 152334 ]")
![Paper Trimmer [ 152392 ]](https://i0.wp.com/assets1.tamsnetwork.com/images/EC042017NF/152392s.jpg?w=140&ssl=1 "Paper Trimmer [ 152392 ]")
![Stampin' Cut & Emboss Machine [ 149653 ]](https://i0.wp.com/assets1.tamsnetwork.com/images/EC042017NF/149653s.jpg?w=140&ssl=1 "Stampin' Cut & Emboss Machine [ 149653 ]")




