Today I have three Father’s Day cards that I have made. In Australia, Father’s Day is celebrated on the first Saturday in September.
I am featuring the Playful Alphabet Dies and Boho Vibes, as well as the Sunrise Sailing Dies.
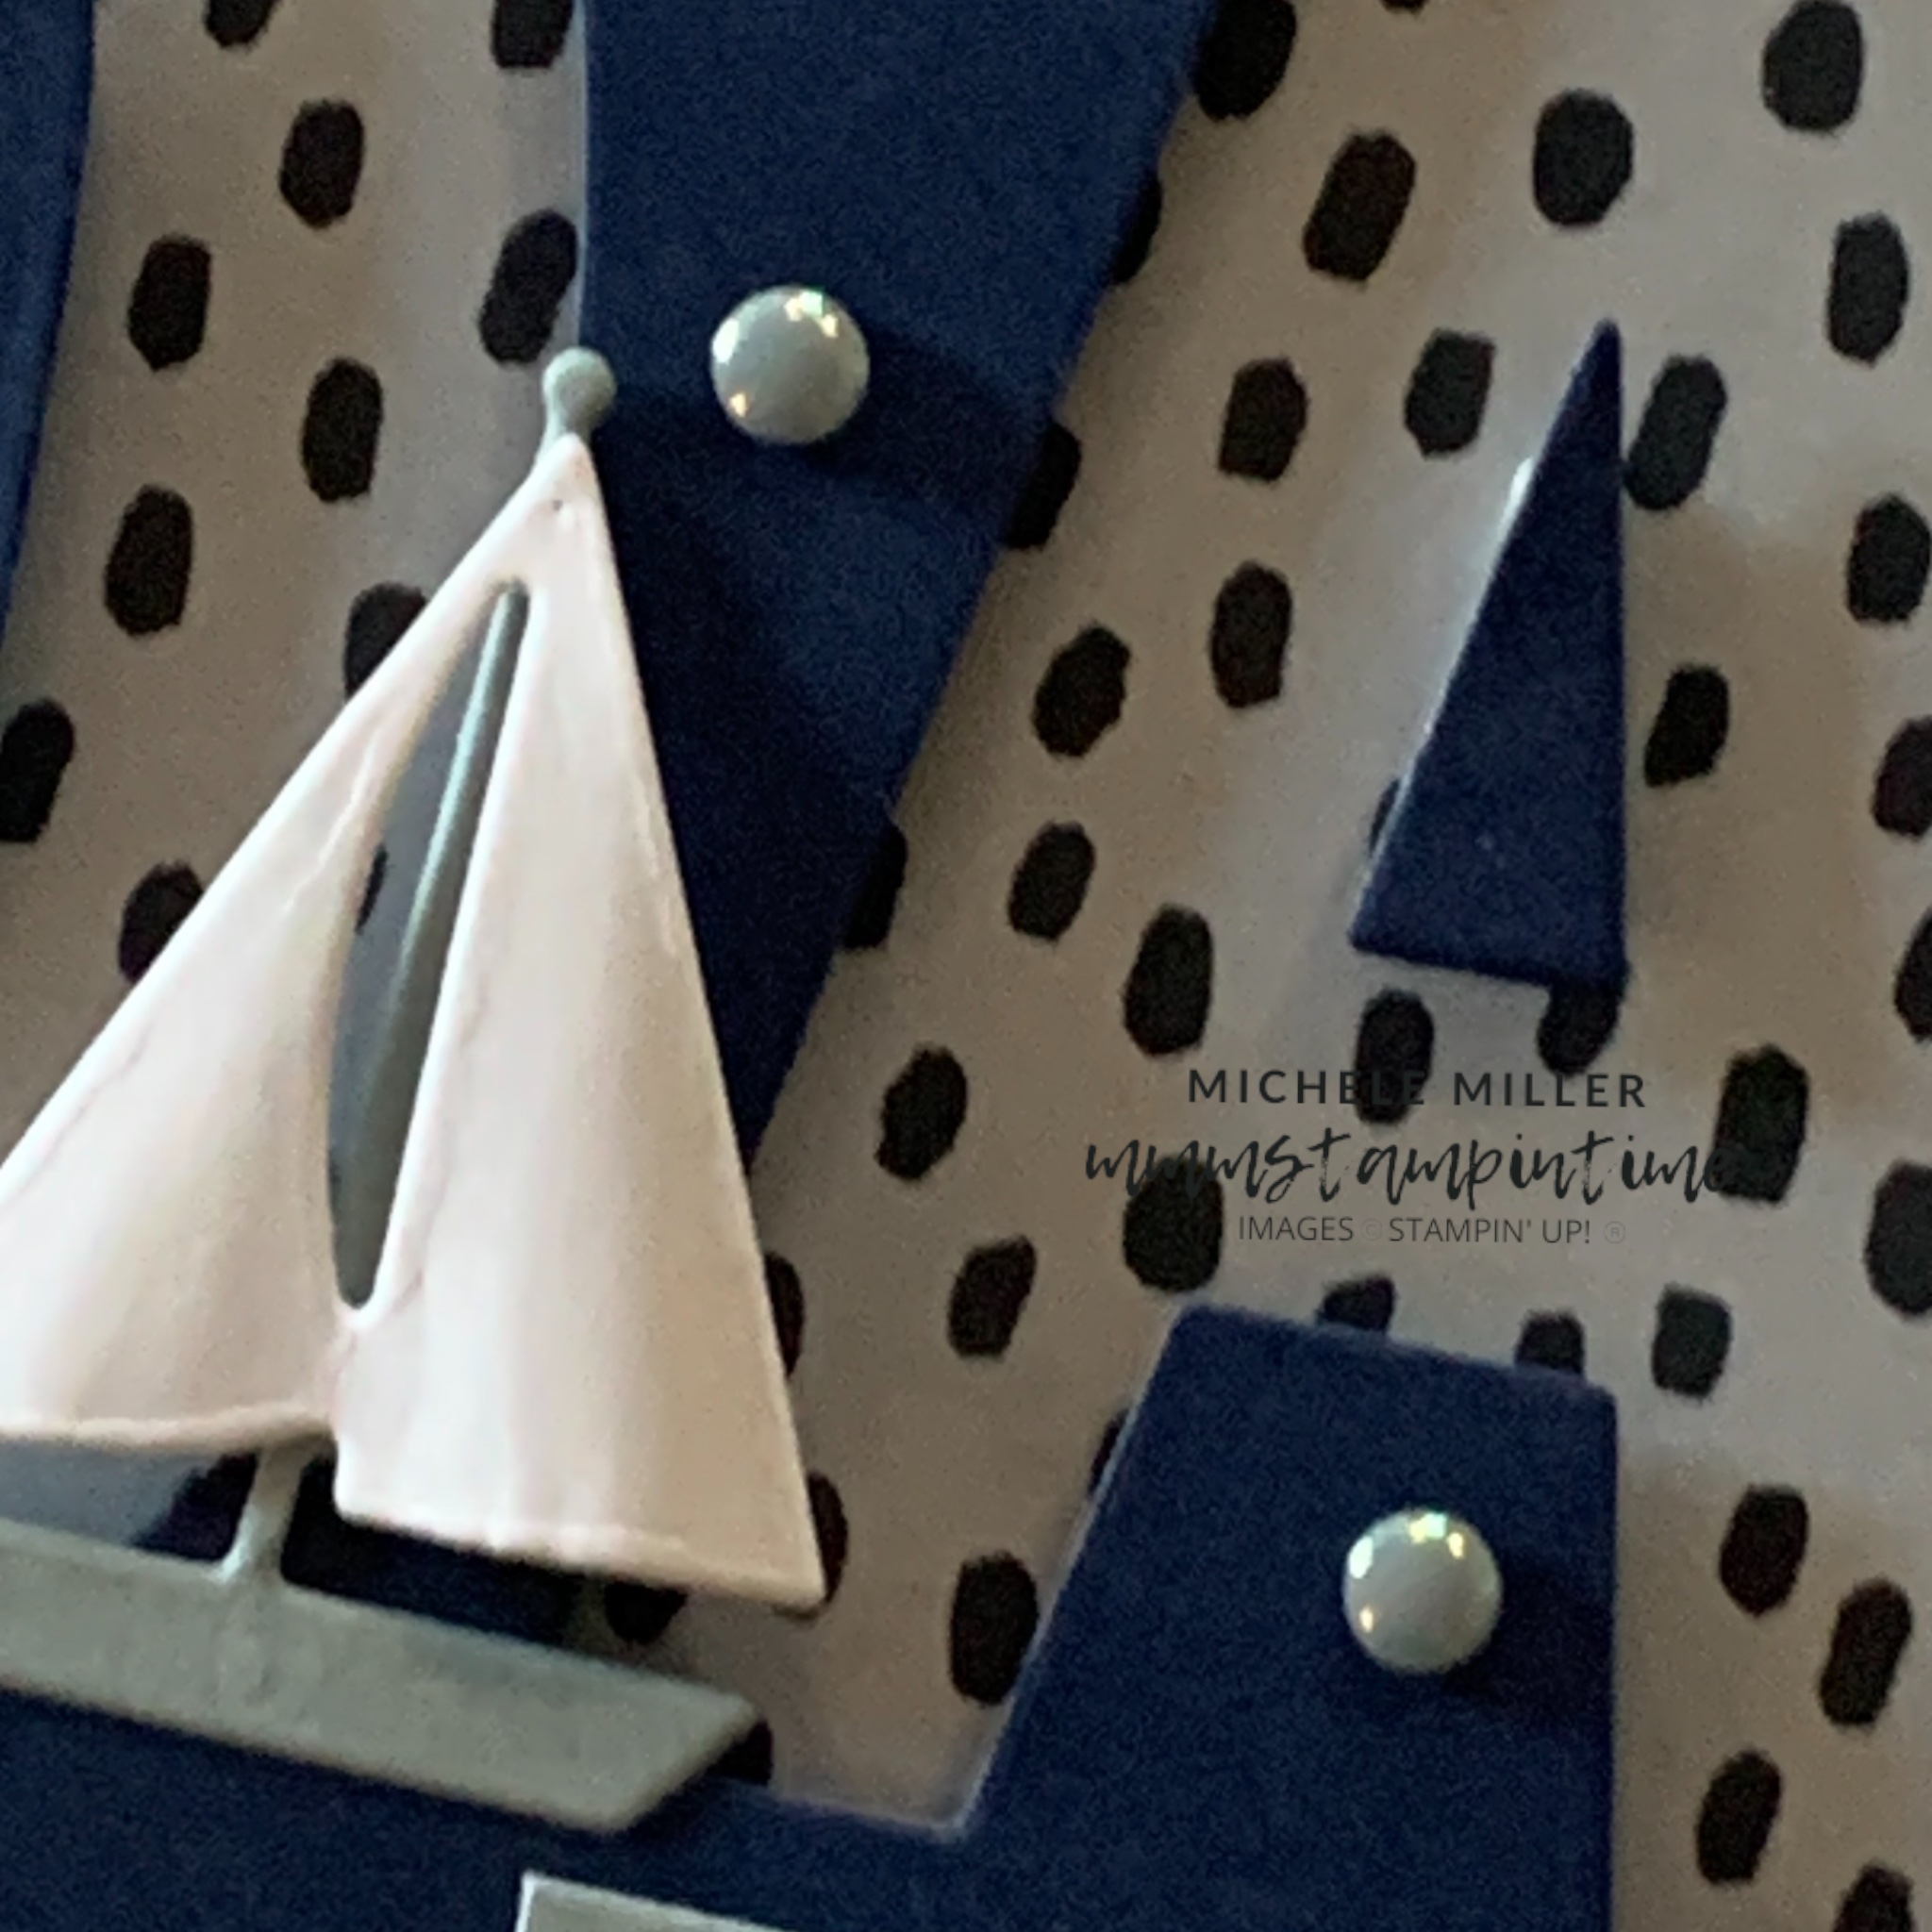
The first card is a super simple one to make.

I used Night of Navy for the card base to allow the Secret Sea ‘spots’ on the DSP to pop.
The Cloud Cover and DSP panels have been adhered to the card base at angles to create some interest.
The greetings were stamped on pieces of Cloud Cover card and trimmed to fit the card front. Then I added Stampin’ Dimensionals to the back of each piece and then positioned on the card.
Then I cut the sailing boat and sails to decorate the card.
Finally I added some Cloud Cover embellishments from the 2025 – 2027 Flat Pearls pack.
The second card is very similar.

The only difference between the first and second card is the addition of a length Faux Linen Ribbon.
The third card uses the ECLIPSE technique.

TIP: Position the alphabet dies on the card and hold in place using a small piece of washi tape.
I used dimensionals to lift the die cut card up from the card base and DSP.
TIP: Position the letter dies over the cut spaces and use this to guide the place you infill the letter.
This card also has a greeting, boat and flat pearls.
Tomorrow I have a ruffled card for you.
Until then, happy stamping and scrapbooking.

If you live in Australia, you can order any of the products I used to make this card by going to my online store. Just click on any of the images below.

![Boho Vibes Suite Collection (English) [ 165156 ]](https://i0.wp.com/assets1.tamsnetwork.com/images/EC042017NF/165156s.jpg?w=140&ssl=1 "Boho Vibes Suite Collection (English) [ 165156 ]") | ![Playful Alphabet Dies [ 152706 ]](https://i0.wp.com/assets1.tamsnetwork.com/images/EC042017NF/152706s.jpg?w=140&ssl=1 "Playful Alphabet Dies [ 152706 ]") | |||
![2025–2027 In Color™ Flat Pearls [ 165192 ]](https://i0.wp.com/assets1.tamsnetwork.com/images/EC042017NF/165192s.jpg?w=140&ssl=1 "2025–2027 In Color™ Flat Pearls [ 165192 ]") | ![Basic White A4 Cardstock [ 166781 ]](https://i0.wp.com/assets1.tamsnetwork.com/images/EC042017NF/166781s.jpg?w=140&ssl=1 "Basic White A4 Cardstock [ 166781 ]") | ![Cloud Cover A4 Cardstock [ 165293 ]](https://i0.wp.com/assets1.tamsnetwork.com/images/EC042017NF/165293s.jpg?w=140&ssl=1 "Cloud Cover A4 Cardstock [ 165293 ]") | ![Night Of Navy A4 Card Stock [ 106577 ]](https://i0.wp.com/assets1.tamsnetwork.com/images/EC042017NF/106577s.jpg?w=140&ssl=1 "Night Of Navy A4 Card Stock [ 106577 ]") | |
![Multipurpose Liquid Glue [ 110755 ]](https://i0.wp.com/assets1.tamsnetwork.com/images/EC042017NF/110755s.jpg?w=140&ssl=1 "Multipurpose Liquid Glue [ 110755 ]") | ![Stampin' Dimensionals [ 104430 ]](https://i0.wp.com/assets1.tamsnetwork.com/images/EC042017NF/104430s.jpg?w=140&ssl=1 "Stampin' Dimensionals [ 104430 ]") | ![Adhesive Sheets [ 152334 ]](https://i0.wp.com/assets1.tamsnetwork.com/images/EC042017NF/152334s.jpg?w=140&ssl=1 "Adhesive Sheets [ 152334 ]") | ![Paper Trimmer [ 152392 ]](https://i0.wp.com/assets1.tamsnetwork.com/images/EC042017NF/152392s.jpg?w=140&ssl=1 "Paper Trimmer [ 152392 ]") | ![Stampin' Cut & Emboss Machine [ 149653 ]](https://i0.wp.com/assets1.tamsnetwork.com/images/EC042017NF/149653s.jpg?w=140&ssl=1 "Stampin' Cut & Emboss Machine [ 149653 ]") |
![Boho Vibes 6" X 6" (15.2 X 15.2 Cm) Designer Series Paper [ 165144 ]](https://i0.wp.com/assets1.tamsnetwork.com/images/EC042017NF/165144s.jpg?w=140&ssl=1 "Boho Vibes 6\" X 6\" (15.2 X 15.2 Cm) Designer Series Paper [ 165144 ]")
![Trusty Tools Photopolymer Stamp Set (English) [ 163274 ]](https://i0.wp.com/assets1.tamsnetwork.com/images/EC042017NF/163274s.jpg?w=140&ssl=1 "Trusty Tools Photopolymer Stamp Set (English) [ 163274 ]")
![Sunrise Sailing Hybrid Embossing Folder [ 165496 ]](https://i0.wp.com/assets1.tamsnetwork.com/images/EC042017NF/165496s.jpg?w=140&ssl=1 "Sunrise Sailing Hybrid Embossing Folder [ 165496 ]")
![Cloud Cover 3/8" (1 Cm) Faux Linen Ribbon [ 165271 ]](https://i0.wp.com/assets1.tamsnetwork.com/images/EC042017NF/165271s.jpg?w=140&ssl=1 "Cloud Cover 3/8\" (1 Cm) Faux Linen Ribbon [ 165271 ]")


![Daffodil Delight 12" X 12" (30.5 X 30.5 Cm) Two Tone Cardstock [ 166669 ]](https://i0.wp.com/assets1.tamsnetwork.com/images/EC042017NF/166669s.jpg?w=140&ssl=1 "Daffodil Delight 12\" X 12\" (30.5 X 30.5 Cm) Two Tone Cardstock [ 166669 ]")


