Let me start this post with some news from Stampin’ Up!.
With Christmas fast approaching, Stampin’ Up! has released an amzing new Crafting Advent Calendar.
Introducing the 12 Days of Crafting Advent Calendar, a brand-new calendar full of products you and your friends can craft with all year long!
Every day of this calendar contains never-before-seen dies, paper, embellishments, and even more items you won’t find in any of Stampin’ Up!’s catalogues or in the online store, so make sure to buy one before they’re all gone.
And did I mention that these make the perfect gifts for that friend in your life who loves to craft? After all, there’s nothing better than giving the gift of crafting!
There are only a limited number of calendars in store, so don’t wait too long.

There is a sneek peak of some of the stamps you will find in the calendar.

What else is new?
Crafting is even more fun with community, and there’s never been a better time to grow become a demonstrator and invite your friends and fellow crafters to join you.
As a demonstrator you will enjoy all the perks that come with that, like a 20–25% product discount, exclusive early access to the latest releases and catalogues, the opportunity to earn a modest supplemental income, the chance to attend incredible training and crafting events, and so much more!
These offers are available during the month of October. If you want to know more reach out and let’s chat.

There are two options available!

Or, if you want even more …

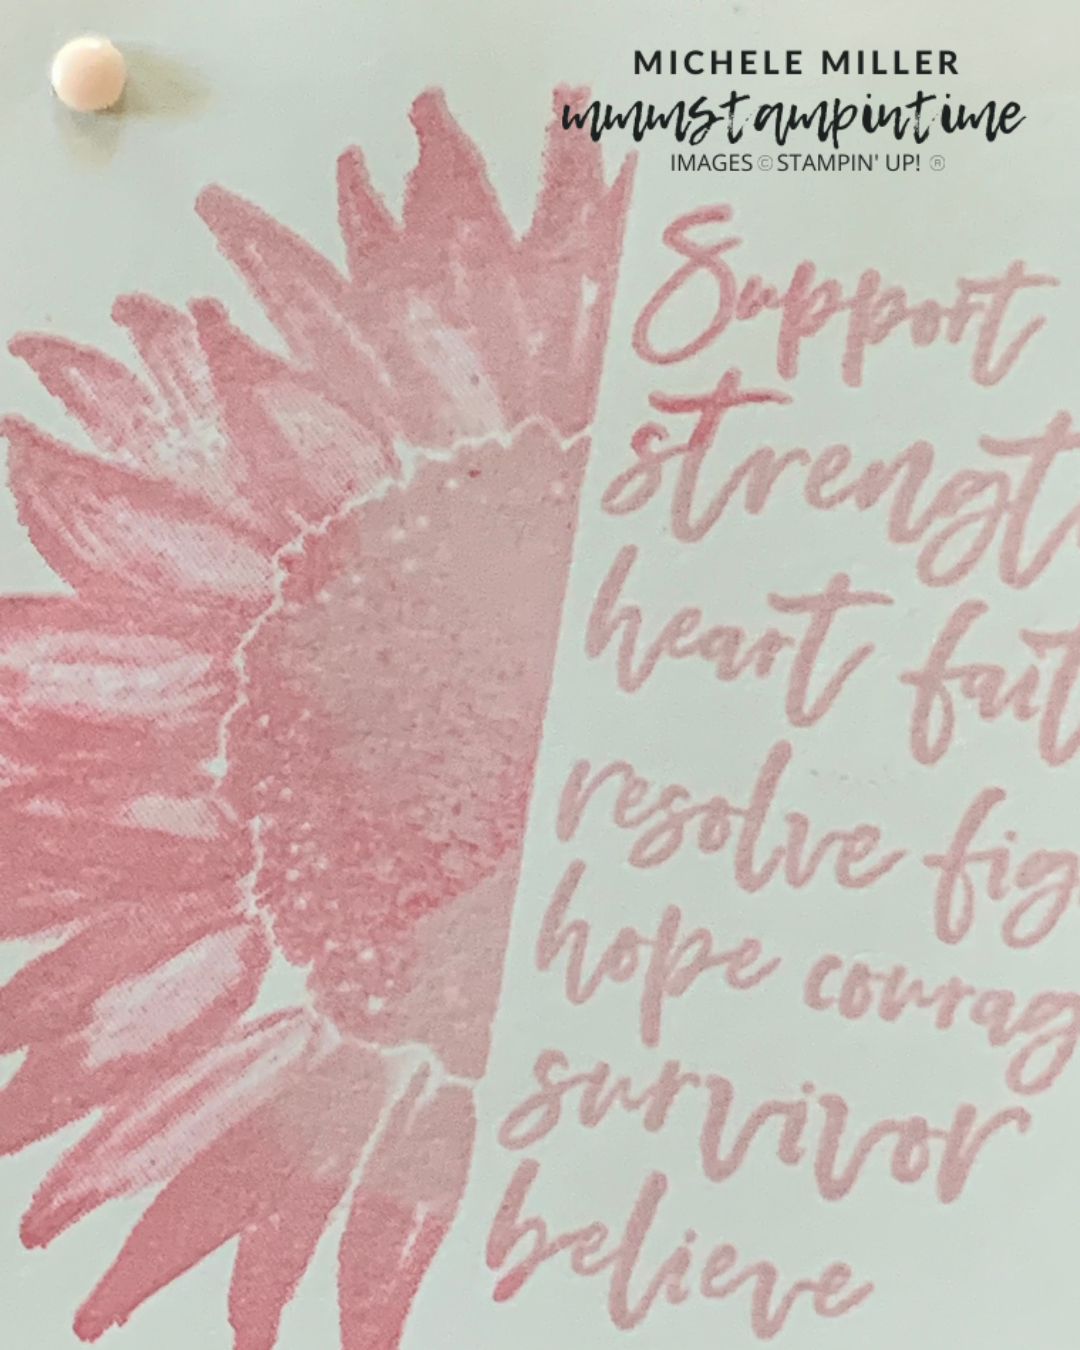
Now it’s time to share another project featuring the Love & Courage Stamp Set.

For this card I stamped, heat embossed and fussy cut three of the flower and words of encouragement images.
In fact, before I made any of the projects I am sharing this week, this is what I did first – stamped, heat embossed and fussy cut this image.
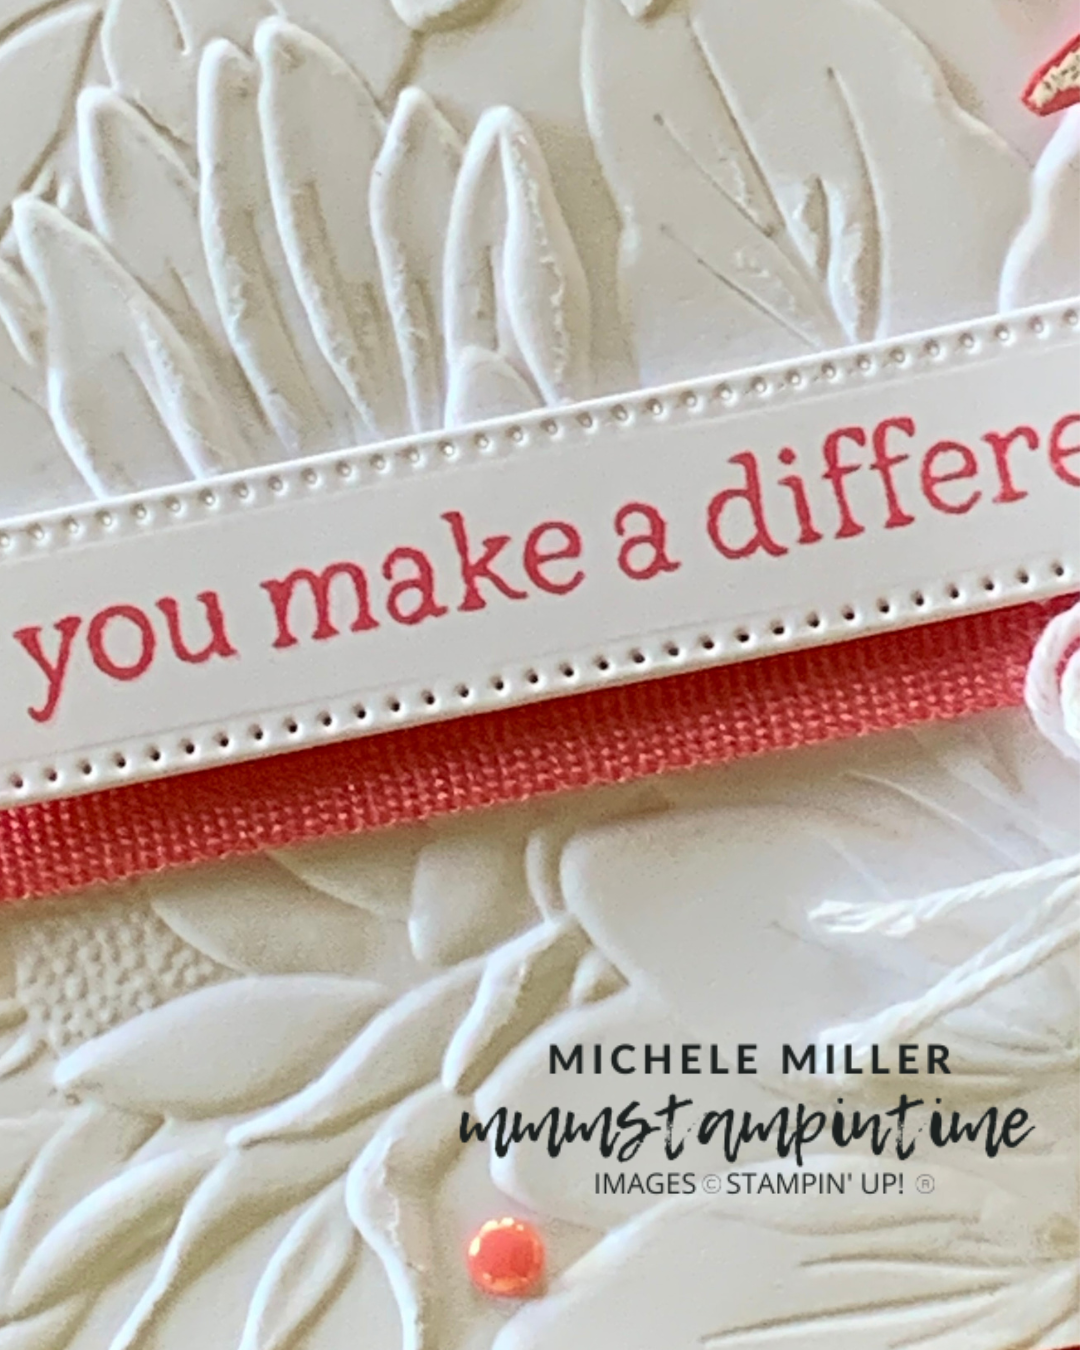
One of the reasons I love this image is that it so closely lends itself to the Sunflowers 3D Embossing Folder.
I think the beauty of a stand alone stamp set is that you can take some time to look around your craft space to discover other products that you have that will work with it.

So, for this card – as a quick snapshot – the card has white heat embossed and fussy cut sunflowers, a panel of Basic White Sunflower 3D embossed card, a length of Strawberry Slush Faux Linen Ribbon, a sentiment from the Thankful Garden Stamp Set using a Stylish Shapes banner die, a triple white baker’s twine bow and some 2025-2027 In Colour Flat Pearls.

The third fussy cut sunflower was added to the card insert.

I love the way this card evolved!
I have shared three cards so far – which is your favourite?
Tomorrow I have a 3D project to share with you,
Until then, happy stamping.

If you live in Australia, you can order any of the products I used to make this card by going to my online store. Just click on any of the images below.

![Sunflower 3 D Embossing Folder [ 166145 ]](https://i0.wp.com/assets1.tamsnetwork.com/images/EC042017NF/166145s.jpg?w=140&ssl=1 "Sunflower 3 D Embossing Folder [ 166145 ]") | ![Stylish Shapes Dies [ 159183 ]](https://i0.wp.com/assets1.tamsnetwork.com/images/EC042017NF/159183s.jpg?w=140&ssl=1 "Stylish Shapes Dies [ 159183 ]") | ![Baker's Twine Essentials Pack [ 155475 ]](https://i0.wp.com/assets1.tamsnetwork.com/images/EC042017NF/155475s.jpg?w=140&ssl=1 "Baker's Twine Essentials Pack [ 155475 ]") | ||
![Basic White A4 Cardstock [ 166781 ]](https://i0.wp.com/assets1.tamsnetwork.com/images/EC042017NF/166781s.jpg?w=140&ssl=1 "Basic White A4 Cardstock [ 166781 ]") | ![Strawberry Slush A4 Cardstock [ 165297 ]](https://i0.wp.com/assets1.tamsnetwork.com/images/EC042017NF/165297s.jpg?w=140&ssl=1 "Strawberry Slush A4 Cardstock [ 165297 ]") | ![Embossing Additions Tool Kit [ 159971 ]](https://i0.wp.com/assets1.tamsnetwork.com/images/EC042017NF/159971s.jpg?w=140&ssl=1 "Embossing Additions Tool Kit [ 159971 ]") | ||
![Versamark Pad [ 102283 ]](https://i0.wp.com/assets1.tamsnetwork.com/images/EC042017NF/102283s.jpg?w=140&ssl=1 "Versamark Pad [ 102283 ]") | ![Basics Wow! Embossing Powder [ 165679 ]](https://i0.wp.com/assets1.tamsnetwork.com/images/EC042017NF/165679s.jpg?w=140&ssl=1 "Basics Wow! Embossing Powder [ 165679 ]") | ![Multipurpose Liquid Glue [ 110755 ]](https://i0.wp.com/assets1.tamsnetwork.com/images/EC042017NF/110755s.jpg?w=140&ssl=1 "Multipurpose Liquid Glue [ 110755 ]") | ![Stampin' Dimensionals [ 104430 ]](https://i0.wp.com/assets1.tamsnetwork.com/images/EC042017NF/104430s.jpg?w=140&ssl=1 "Stampin' Dimensionals [ 104430 ]") | |
![Paper Snips [ 103579 ]](https://i0.wp.com/assets1.tamsnetwork.com/images/EC042017NF/103579s.jpg?w=140&ssl=1 "Paper Snips [ 103579 ]") | ![Paper Trimmer [ 152392 ]](https://i0.wp.com/assets1.tamsnetwork.com/images/EC042017NF/152392s.jpg?w=140&ssl=1 "Paper Trimmer [ 152392 ]") | ![Basic White C6 Envelopes [ 159235 ]](https://i0.wp.com/assets1.tamsnetwork.com/images/EC042017NF/159235s.jpg?w=140&ssl=1 "Basic White C6 Envelopes [ 159235 ]") |
![Love & Courage Cling Stamp Set (English) [ 165935 ]](https://i0.wp.com/assets1.tamsnetwork.com/images/EC042017NF/165935s.jpg?w=140&ssl=1 "Love & Courage Cling Stamp Set (English) [ 165935 ]")
![Strawberry Slush 3/8" (1 Cm) Faux Linen Ribbon [ 165274 ]](https://i0.wp.com/assets1.tamsnetwork.com/images/EC042017NF/165274s.jpg?w=140&ssl=1 "Strawberry Slush 3/8\" (1 Cm) Faux Linen Ribbon [ 165274 ]")
![2024–2026 In Color™ 6" X 6" (15.2 X 15.2 Cm) Designer Series Paper [ 165299 ]](https://i0.wp.com/assets1.tamsnetwork.com/images/EC042017NF/165299s.jpg?w=140&ssl=1 "2024–2026 In Color™ 6\" X 6\" (15.2 X 15.2 Cm) Designer Series Paper [ 165299 ]")
![Strawberry Slush Classic Stampin' Pad [ 165286 ]](https://i0.wp.com/assets1.tamsnetwork.com/images/EC042017NF/165286s.jpg?w=140&ssl=1 "Strawberry Slush Classic Stampin' Pad [ 165286 ]")
![Heat Tool [ 129056 ]](https://i0.wp.com/assets1.tamsnetwork.com/images/EC042017NF/129056s.jpg?w=140&ssl=1 "Heat Tool [ 129056 ]")



![Rainbow Adhesive Backed Dots [ 162758 ]](https://i0.wp.com/assets1.tamsnetwork.com/images/EC042017NF/162758s.jpg?w=140&ssl=1 "Rainbow Adhesive Backed Dots [ 162758 ]")
![Bubble Bath A4 Cardstock [ 161727 ]](https://i0.wp.com/assets1.tamsnetwork.com/images/EC042017NF/161727s.jpg?w=140&ssl=1 "Bubble Bath A4 Cardstock [ 161727 ]")
![Bubble Bath Classic Stampin' Pad [ 161664 ]](https://i0.wp.com/assets1.tamsnetwork.com/images/EC042017NF/161664s.jpg?w=140&ssl=1 "Bubble Bath Classic Stampin' Pad [ 161664 ]")
![Small Blending Brushes [ 160518 ]](https://i0.wp.com/assets1.tamsnetwork.com/images/EC042017NF/160518s.jpg?w=140&ssl=1 "Small Blending Brushes [ 160518 ]")


![So Swirly Embossing Folder [ 163791 ]](https://i0.wp.com/assets1.tamsnetwork.com/images/EC042017NF/163791s.jpg?w=140&ssl=1 "So Swirly Embossing Folder [ 163791 ]")
![2025–2027 In Color™ Flat Pearls [ 165192 ]](https://i0.wp.com/assets1.tamsnetwork.com/images/EC042017NF/165192s.jpg?w=140&ssl=1 "2025–2027 In Color™ Flat Pearls [ 165192 ]")
![Adhesive Sheets [ 152334 ]](https://i0.wp.com/assets1.tamsnetwork.com/images/EC042017NF/152334s.jpg?w=140&ssl=1 "Adhesive Sheets [ 152334 ]")
![Mini Stampin' Dimensionals [ 144108 ]](https://i0.wp.com/assets1.tamsnetwork.com/images/EC042017NF/144108s.jpg?w=140&ssl=1 "Mini Stampin' Dimensionals [ 144108 ]")
![Stampin' Cut & Emboss Machine [ 149653 ]](https://i0.wp.com/assets1.tamsnetwork.com/images/EC042017NF/149653s.jpg?w=140&ssl=1 "Stampin' Cut & Emboss Machine [ 149653 ]")




