Hello to all my wonderful paper crafting friends. Welcome to another wonderful Wednesday post.
Make sure that you don’t forget about the wonderful joining offer available this month. This is a great opportunity to become a demonstrator and enjoy all the perks that come with that, like a 20–25% product discount, exclusive early access to the latest releases and catalogues, the opportunity to earn a modest supplemental income, the chance to attend incredible training and crafting events, and so much more!
I first joined Stampin’ Up! for the 20% discount on all the products I wanted to order. From there, I slowly built my confidence in holding classes and events.

You canpurchase your starter kit from 1 – 31 October and choose either of these options:
$235 AUD worth of products for just $60 AUD OR $344 AUD worth of products for just $169 AUD.
It’s always a good time to become a Stampin’ Up! demonstrator, and a great promotion like this sweetens the deal even more. But Starter Kits aren’t the only great reason to become a demonstrator.
Why Should Someone Join?
- Community. Stampin’ Up! offers a space where a community of crafters from all over the world can connect and create together, including becoming part of my team.
- Product. Unlike customers, demonstrators get early access to the latest releases and catalogues, as well a 20–25% product discount and commission.
- Experiences. Demonstrators can foster creative, simple, and fun, crafting experiences for their team and customers. They’re all about making a difference and sharing the crafting experience with others.
- Empowerment. Being a demonstrator can mean so much more than just crafting. It can also mean personal development and expanding your circle to include other people and new experiences.
- Supplemental Income. Demonstrators have the potential to earn a modest supplemental income and run their business on a flexible schedule.
- Incredible Join Offers. Thanks to these two best Starter Kit offers ever, you can save big when you join. And with so many amazing perks to being a demonstrator, the only hard choice you have to make is what items to put in your Starter Kit.
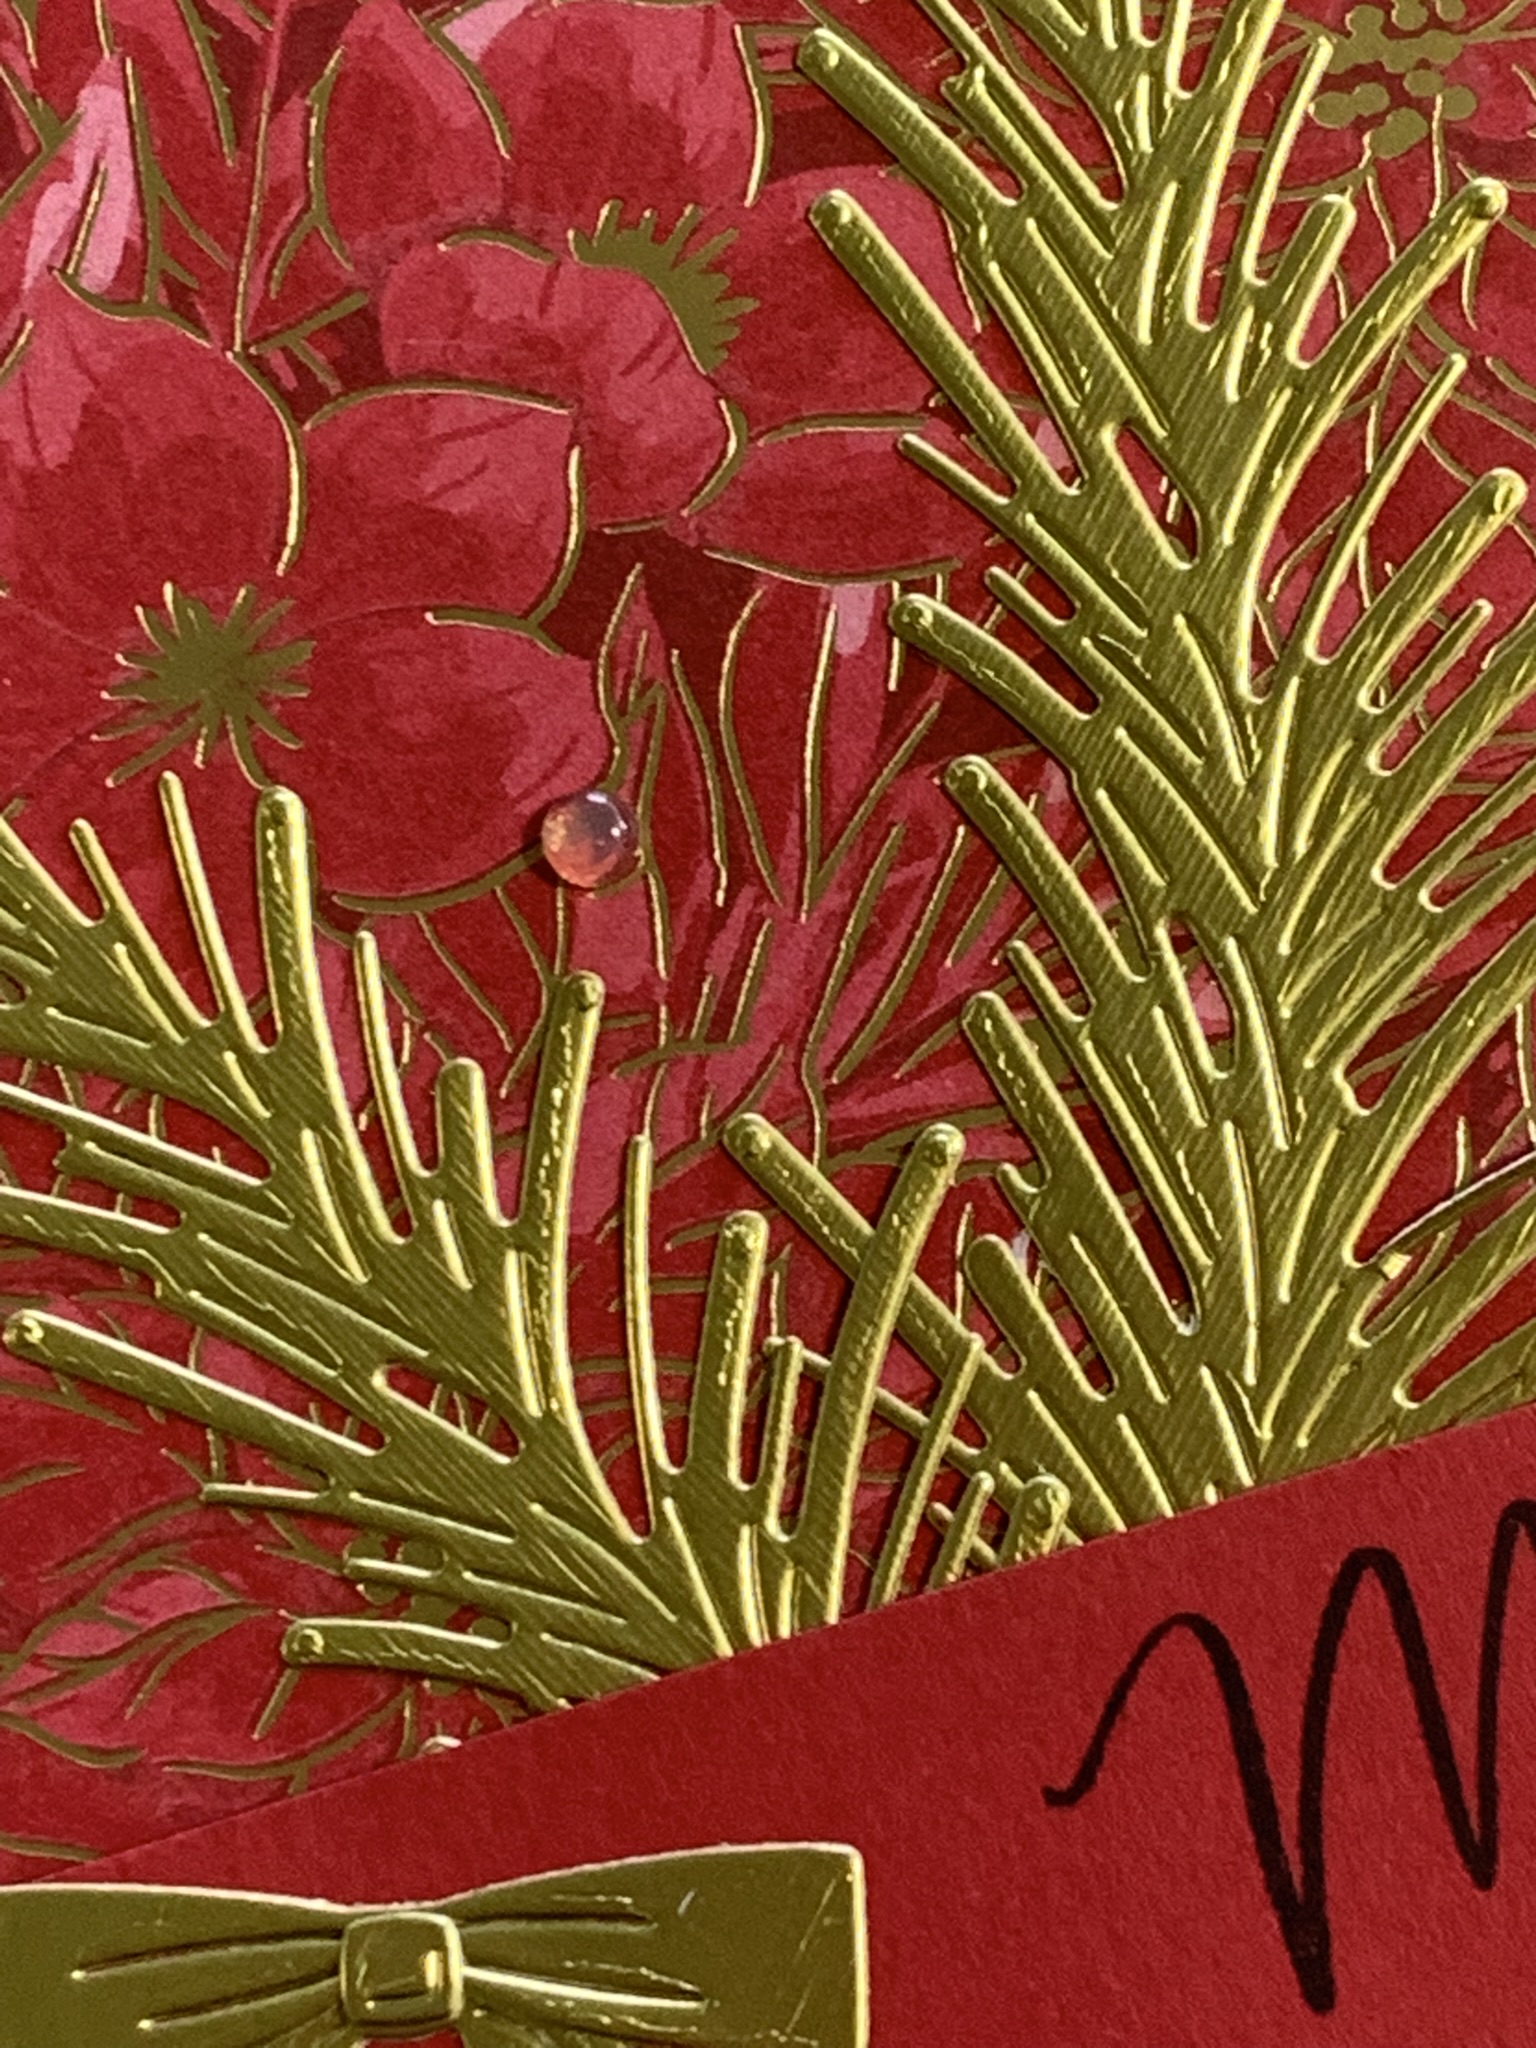
Today I have another Christmas card to share with you.

It is hard to go past this sumptuous Specialty Designer Series Paper from the Traditions of Christmas Suite Collection.
I started with a Real Red card base and added a layer of gold Textured Metallic Specialty Paper. Then I adhered a panel of the DSP.
Two leaf fronds were cut from the gold Textured Metallic Specialty Paper and attached to the card. There was Adhesive Sheet on each frond.
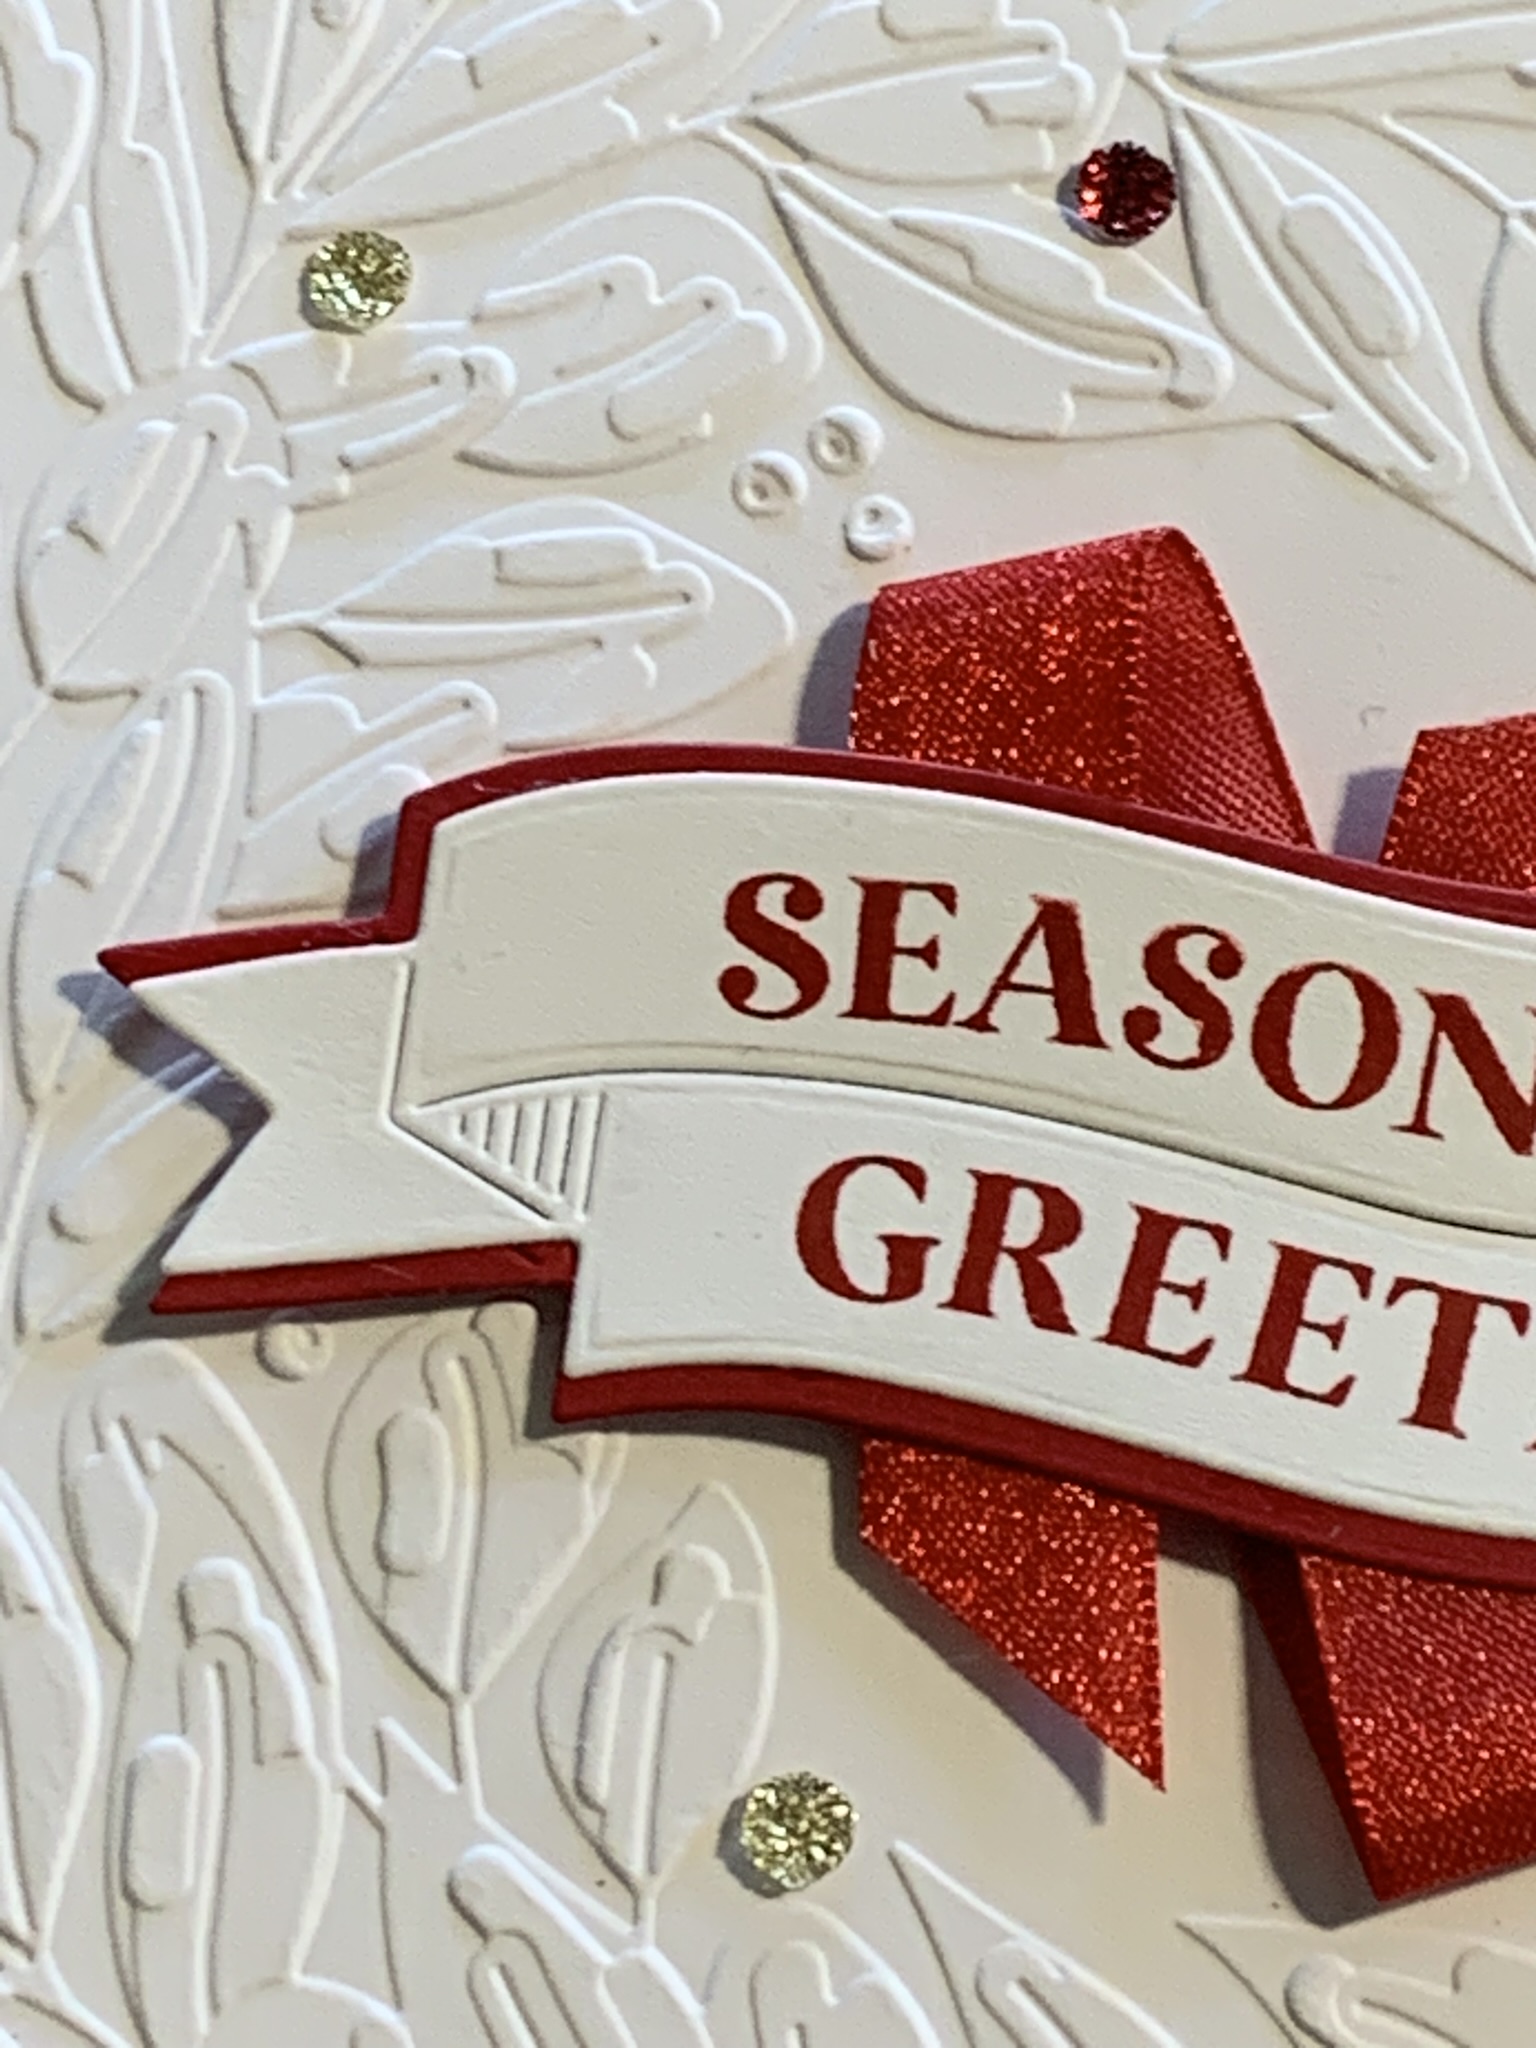
The greeting was stamped in Secret Sea onto a panel of Real Red card. Then I cut a ribbon from the Adhesive Sheet-backed piece of gold foil and added it to the greeting panel.

I added a strip of the DSP to the card insert and the back of the envelope.

Tomorrow I have a lovely little Christmas box to share with you.
Until then happy stamping and scrapbooking.

If you live in Australia, you can order any of the products I used to make this card by going to my online store. Just click on any of the images below.

![Christmas Greenery Dies [ 165872 ]](https://i0.wp.com/assets1.tamsnetwork.com/images/EC042017NF/165872s.jpg?w=140&ssl=1 "Christmas Greenery Dies [ 165872 ]") | ![Opal Rounds Assortment [ 163298 ]](https://i0.wp.com/assets1.tamsnetwork.com/images/EC042017NF/163298s.jpg?w=140&ssl=1 "Opal Rounds Assortment [ 163298 ]") | ![Basic White A4 Thick Cardstock [ 159230 ]](https://i0.wp.com/assets1.tamsnetwork.com/images/EC042017NF/159230s.jpg?w=140&ssl=1 "Basic White A4 Thick Cardstock [ 159230 ]") | ||
![Real Red A4 Card Stock [ 106578 ]](https://i0.wp.com/assets1.tamsnetwork.com/images/EC042017NF/106578s.jpg?w=140&ssl=1 "Real Red A4 Card Stock [ 106578 ]") | ![Multipurpose Liquid Glue [ 110755 ]](https://i0.wp.com/assets1.tamsnetwork.com/images/EC042017NF/110755s.jpg?w=140&ssl=1 "Multipurpose Liquid Glue [ 110755 ]") | ![Stampin' Dimensionals [ 104430 ]](https://i0.wp.com/assets1.tamsnetwork.com/images/EC042017NF/104430s.jpg?w=140&ssl=1 "Stampin' Dimensionals [ 104430 ]") | ![Adhesive Sheets [ 152334 ]](https://i0.wp.com/assets1.tamsnetwork.com/images/EC042017NF/152334s.jpg?w=140&ssl=1 "Adhesive Sheets [ 152334 ]") | |
![Paper Snips [ 103579 ]](https://i0.wp.com/assets1.tamsnetwork.com/images/EC042017NF/103579s.jpg?w=140&ssl=1 "Paper Snips [ 103579 ]") | ![Paper Trimmer [ 152392 ]](https://i0.wp.com/assets1.tamsnetwork.com/images/EC042017NF/152392s.jpg?w=140&ssl=1 "Paper Trimmer [ 152392 ]") | ![Mini Stampin' Cut & Emboss Machine [ 150673 ]](https://i0.wp.com/assets1.tamsnetwork.com/images/EC042017NF/150673s.jpg?w=140&ssl=1 "Mini Stampin' Cut & Emboss Machine [ 150673 ]") | ![Basic White C6 Envelopes [ 159235 ]](https://i0.wp.com/assets1.tamsnetwork.com/images/EC042017NF/159235s.jpg?w=140&ssl=1 "Basic White C6 Envelopes [ 159235 ]") |
![Traditions Of Christmas Suite Collection (English) [ 165877 ]](https://i0.wp.com/assets1.tamsnetwork.com/images/EC042017NF/165877s.jpg?w=140&ssl=1 "Traditions Of Christmas Suite Collection (English) [ 165877 ]")
![Traditional Labels Photopolymer Stamp Set (English) [ 165854 ]](https://i0.wp.com/assets1.tamsnetwork.com/images/EC042017NF/165854s.jpg?w=140&ssl=1 "Traditional Labels Photopolymer Stamp Set (English) [ 165854 ]")
![Textured Metallic 12" X 12" (30.5 X 30.5 Cm) Specialty Paper [ 163772 ]](https://i0.wp.com/assets1.tamsnetwork.com/images/EC042017NF/163772s.jpg?w=140&ssl=1 "Textured Metallic 12\" X 12\" (30.5 X 30.5 Cm) Specialty Paper [ 163772 ]")



![Traditional Labels Dies [ 165864 ]](https://i0.wp.com/assets1.tamsnetwork.com/images/EC042017NF/165864s.jpg?w=140&ssl=1 "Traditional Labels Dies [ 165864 ]")
![Traditional Wreath 3 D Embossing Folder [ 165874 ]](https://i0.wp.com/assets1.tamsnetwork.com/images/EC042017NF/165874s.jpg?w=140&ssl=1 "Traditional Wreath 3 D Embossing Folder [ 165874 ]")
![Traditional Sparkling Sequins [ 165875 ]](https://i0.wp.com/assets1.tamsnetwork.com/images/EC042017NF/165875s.jpg?w=140&ssl=1 "Traditional Sparkling Sequins [ 165875 ]")
![Real Red 1/2" (1.3 Cm) Shiny Ribbon [ 165876 ]](https://i0.wp.com/assets1.tamsnetwork.com/images/EC042017NF/165876s.jpg?w=140&ssl=1 "Real Red 1/2\" (1.3 Cm) Shiny Ribbon [ 165876 ]")
![Real Red Classic Stampin' Pad [ 147084 ]](https://i0.wp.com/assets1.tamsnetwork.com/images/EC042017NF/147084s.jpg?w=140&ssl=1 "Real Red Classic Stampin' Pad [ 147084 ]")
![Stampin' Cut & Emboss Machine [ 149653 ]](https://i0.wp.com/assets1.tamsnetwork.com/images/EC042017NF/149653s.jpg?w=140&ssl=1 "Stampin' Cut & Emboss Machine [ 149653 ]")


![Love & Courage Cling Stamp Set (English) [ 165935 ]](https://i0.wp.com/assets1.tamsnetwork.com/images/EC042017NF/165935s.jpg?w=140&ssl=1 "Love & Courage Cling Stamp Set (English) [ 165935 ]")
![Basic White A4 Cardstock [ 166781 ]](https://i0.wp.com/assets1.tamsnetwork.com/images/EC042017NF/166781s.jpg?w=140&ssl=1 "Basic White A4 Cardstock [ 166781 ]")
![Strawberry Slush A4 Cardstock [ 165297 ]](https://i0.wp.com/assets1.tamsnetwork.com/images/EC042017NF/165297s.jpg?w=140&ssl=1 "Strawberry Slush A4 Cardstock [ 165297 ]")




