
I enjoy creating decor pieces as part of my crafting, especially shadow box creations.
When I’m planning to make one of these, I head to Ikea and stock up on them – in both sizes.
This project uses a 10 1/2″x 10 1/2″ frame.

I started by lightly drawing a circle in the centre of the Basic White background.
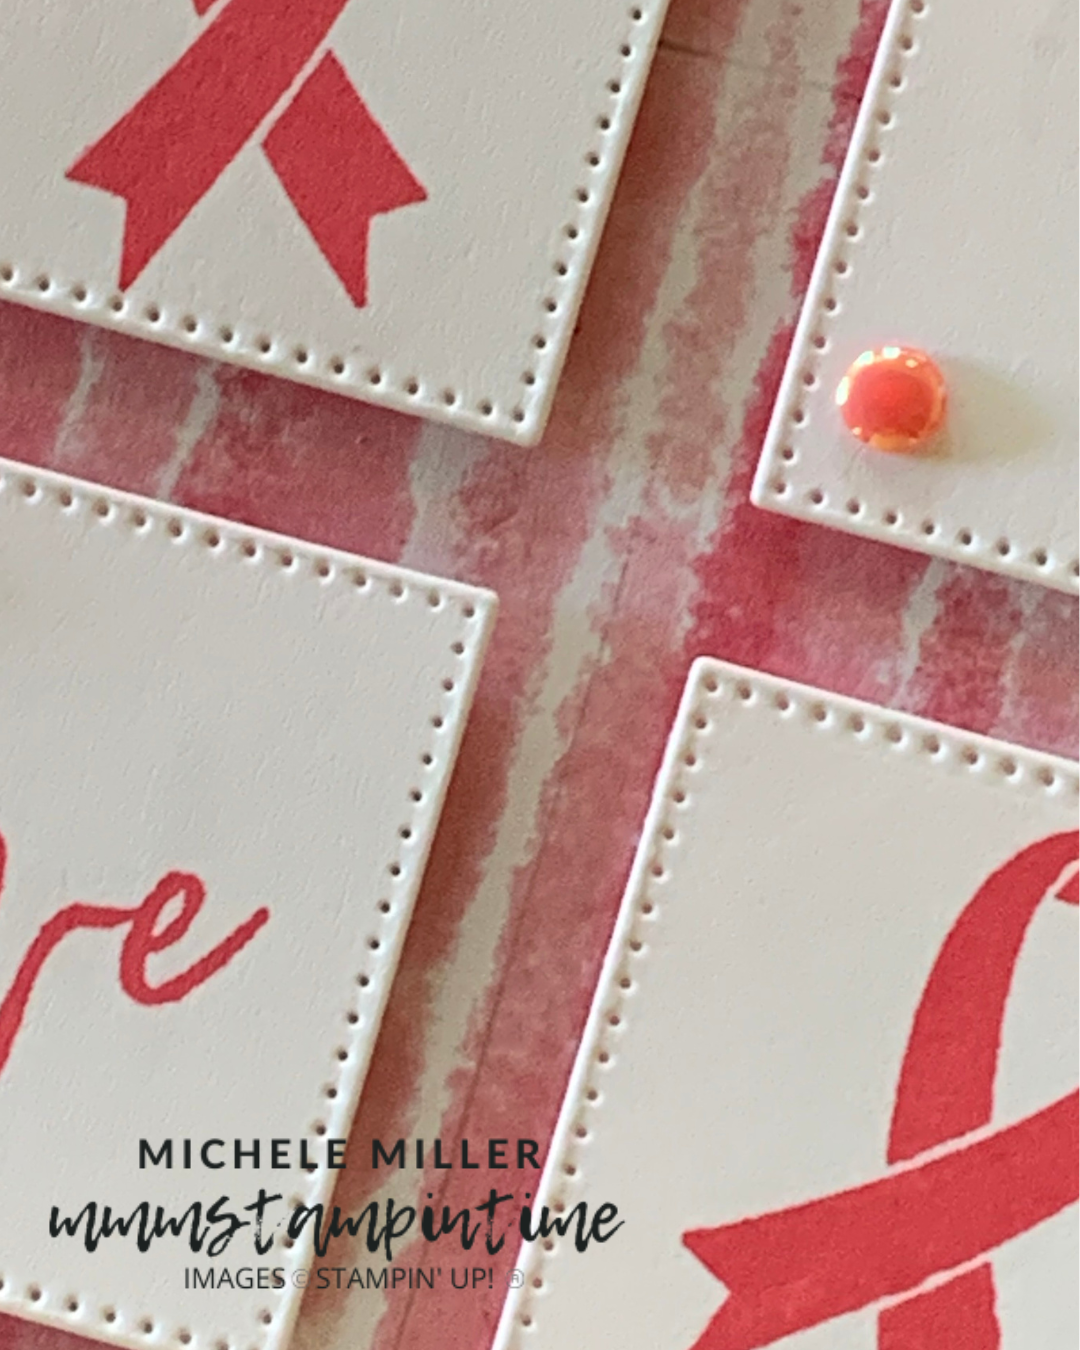
Then I stamped and fussy cut the ribbons using 18 different colours to recognise so many of the various cancers these ribbons represent and raise awareness for.
I carefully positioned them around the circle and then adhered them with dimensionals.
The Strawberry Slush ribbon was stamped and fussy cut several more times and were overlaid on top of each other.

I used the Mini Alphabet Dies and Adhesive Sheet to create the words of encouragement place in the centre of the circle.
I’m not sure what I will have for you tomorrow – it will have to remain a surprise.
Until then, happy stamping and scrapbooking.

If you live in Australia, you can order any of the products I used to make this card by going to my online store. Just click on any of the images below.

![Basic White A4 Cardstock [ 166781 ]](https://i0.wp.com/assets1.tamsnetwork.com/images/EC042017NF/166781s.jpg?w=140&ssl=1 "Basic White A4 Cardstock [ 166781 ]") | ![Strawberry Slush A4 Cardstock [ 165297 ]](https://i0.wp.com/assets1.tamsnetwork.com/images/EC042017NF/165297s.jpg?w=140&ssl=1 "Strawberry Slush A4 Cardstock [ 165297 ]") | ![Adhesive Sheets [ 152334 ]](https://i0.wp.com/assets1.tamsnetwork.com/images/EC042017NF/152334s.jpg?w=140&ssl=1 "Adhesive Sheets [ 152334 ]") | |
![Stampin' Dimensionals [ 104430 ]](https://i0.wp.com/assets1.tamsnetwork.com/images/EC042017NF/104430s.jpg?w=140&ssl=1 "Stampin' Dimensionals [ 104430 ]") | ![Paper Snips [ 103579 ]](https://i0.wp.com/assets1.tamsnetwork.com/images/EC042017NF/103579s.jpg?w=140&ssl=1 "Paper Snips [ 103579 ]") | ![Paper Trimmer [ 152392 ]](https://i0.wp.com/assets1.tamsnetwork.com/images/EC042017NF/152392s.jpg?w=140&ssl=1 "Paper Trimmer [ 152392 ]") | ![Mini Stampin' Cut & Emboss Machine [ 150673 ]](https://i0.wp.com/assets1.tamsnetwork.com/images/EC042017NF/150673s.jpg?w=140&ssl=1 "Mini Stampin' Cut & Emboss Machine [ 150673 ]") |
![Love & Courage Cling Stamp Set (English) [ 165935 ]](https://i0.wp.com/assets1.tamsnetwork.com/images/EC042017NF/165935s.jpg?w=140&ssl=1 "Love & Courage Cling Stamp Set (English) [ 165935 ]")



![Stylish Shapes Dies [ 159183 ]](https://i0.wp.com/assets1.tamsnetwork.com/images/EC042017NF/159183s.jpg?w=140&ssl=1 "Stylish Shapes Dies [ 159183 ]")
![2025–2027 In Color™ 6" X 6" (15.2 X 15.2 Cm) Designer Series Paper [ 165300 ]](https://i0.wp.com/assets1.tamsnetwork.com/images/EC042017NF/165300s.jpg?w=140&ssl=1 "2025–2027 In Color™ 6\" X 6\" (15.2 X 15.2 Cm) Designer Series Paper [ 165300 ]")
![2025–2027 In Color™ Flat Pearls [ 165192 ]](https://i0.wp.com/assets1.tamsnetwork.com/images/EC042017NF/165192s.jpg?w=140&ssl=1 "2025–2027 In Color™ Flat Pearls [ 165192 ]")
![Strawberry Slush Classic Stampin' Pad [ 165286 ]](https://i0.wp.com/assets1.tamsnetwork.com/images/EC042017NF/165286s.jpg?w=140&ssl=1 "Strawberry Slush Classic Stampin' Pad [ 165286 ]")
![Multipurpose Liquid Glue [ 110755 ]](https://i0.wp.com/assets1.tamsnetwork.com/images/EC042017NF/110755s.jpg?w=140&ssl=1 "Multipurpose Liquid Glue [ 110755 ]")
![Basic White C6 Envelopes [ 159235 ]](https://i0.wp.com/assets1.tamsnetwork.com/images/EC042017NF/159235s.jpg?w=140&ssl=1 "Basic White C6 Envelopes [ 159235 ]")


![Strawberry Slush 3/8" (1 Cm) Faux Linen Ribbon [ 165274 ]](https://i0.wp.com/assets1.tamsnetwork.com/images/EC042017NF/165274s.jpg?w=140&ssl=1 "Strawberry Slush 3/8\" (1 Cm) Faux Linen Ribbon [ 165274 ]")
![Baker's Twine Essentials Pack [ 155475 ]](https://i0.wp.com/assets1.tamsnetwork.com/images/EC042017NF/155475s.jpg?w=140&ssl=1 "Baker's Twine Essentials Pack [ 155475 ]")
![Hole Punch Assortment [ 165409 ]](https://i0.wp.com/assets1.tamsnetwork.com/images/EC042017NF/165409s.jpg?w=140&ssl=1 "Hole Punch Assortment [ 165409 ]")
![Versamark Pad [ 102283 ]](https://i0.wp.com/assets1.tamsnetwork.com/images/EC042017NF/102283s.jpg?w=140&ssl=1 "Versamark Pad [ 102283 ]")
![Embossing Additions Tool Kit [ 159971 ]](https://i0.wp.com/assets1.tamsnetwork.com/images/EC042017NF/159971s.jpg?w=140&ssl=1 "Embossing Additions Tool Kit [ 159971 ]")
![Basics Wow! Embossing Powder [ 165679 ]](https://i0.wp.com/assets1.tamsnetwork.com/images/EC042017NF/165679s.jpg?w=140&ssl=1 "Basics Wow! Embossing Powder [ 165679 ]")
![Heat Tool [ 129056 ]](https://i0.wp.com/assets1.tamsnetwork.com/images/EC042017NF/129056s.jpg?w=140&ssl=1 "Heat Tool [ 129056 ]")
![Bone Folder [ 102300 ]](https://i0.wp.com/assets1.tamsnetwork.com/images/EC042017NF/102300s.jpg?w=140&ssl=1 "Bone Folder [ 102300 ]")
![Stampin' Seal+ [ 149699 ]](https://i0.wp.com/assets1.tamsnetwork.com/images/EC042017NF/149699s.jpg?w=140&ssl=1 "Stampin' Seal+ [ 149699 ]")




