I used the same suite of products to make an extra project this week.
My daughter asked me to make a birthday card for her partner’s mum. I’m always happy to create a card for a specific person.
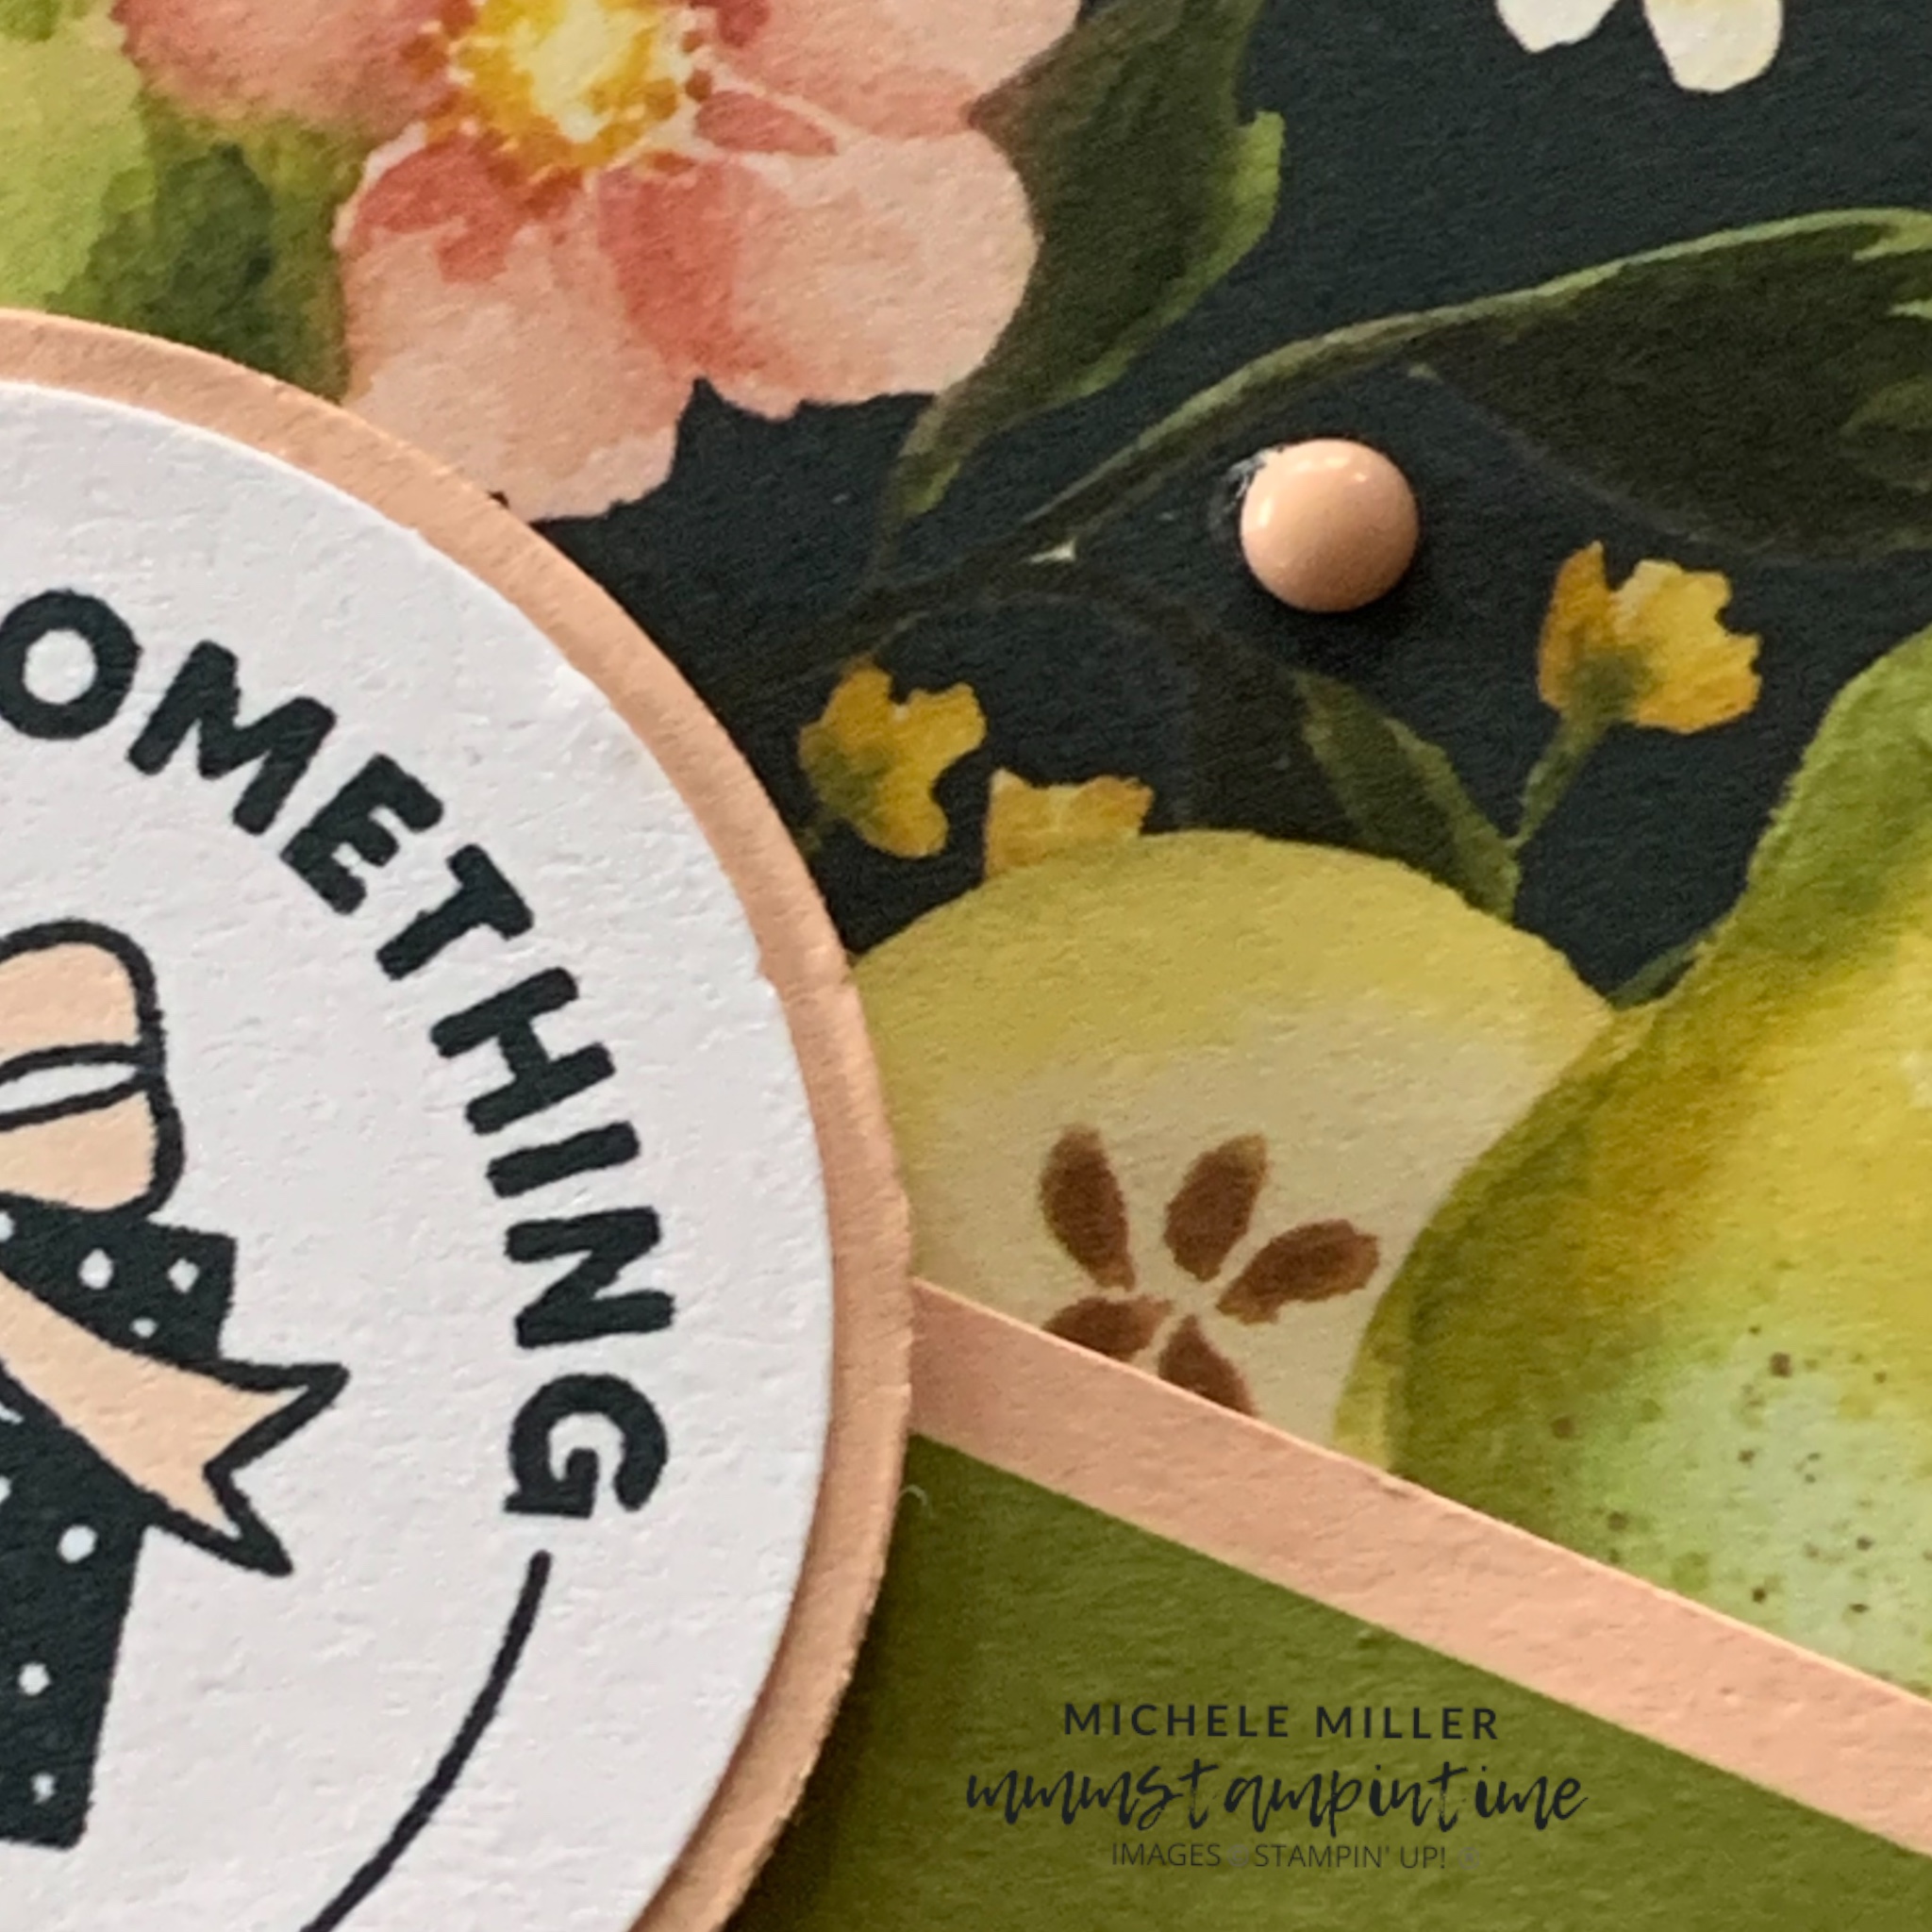
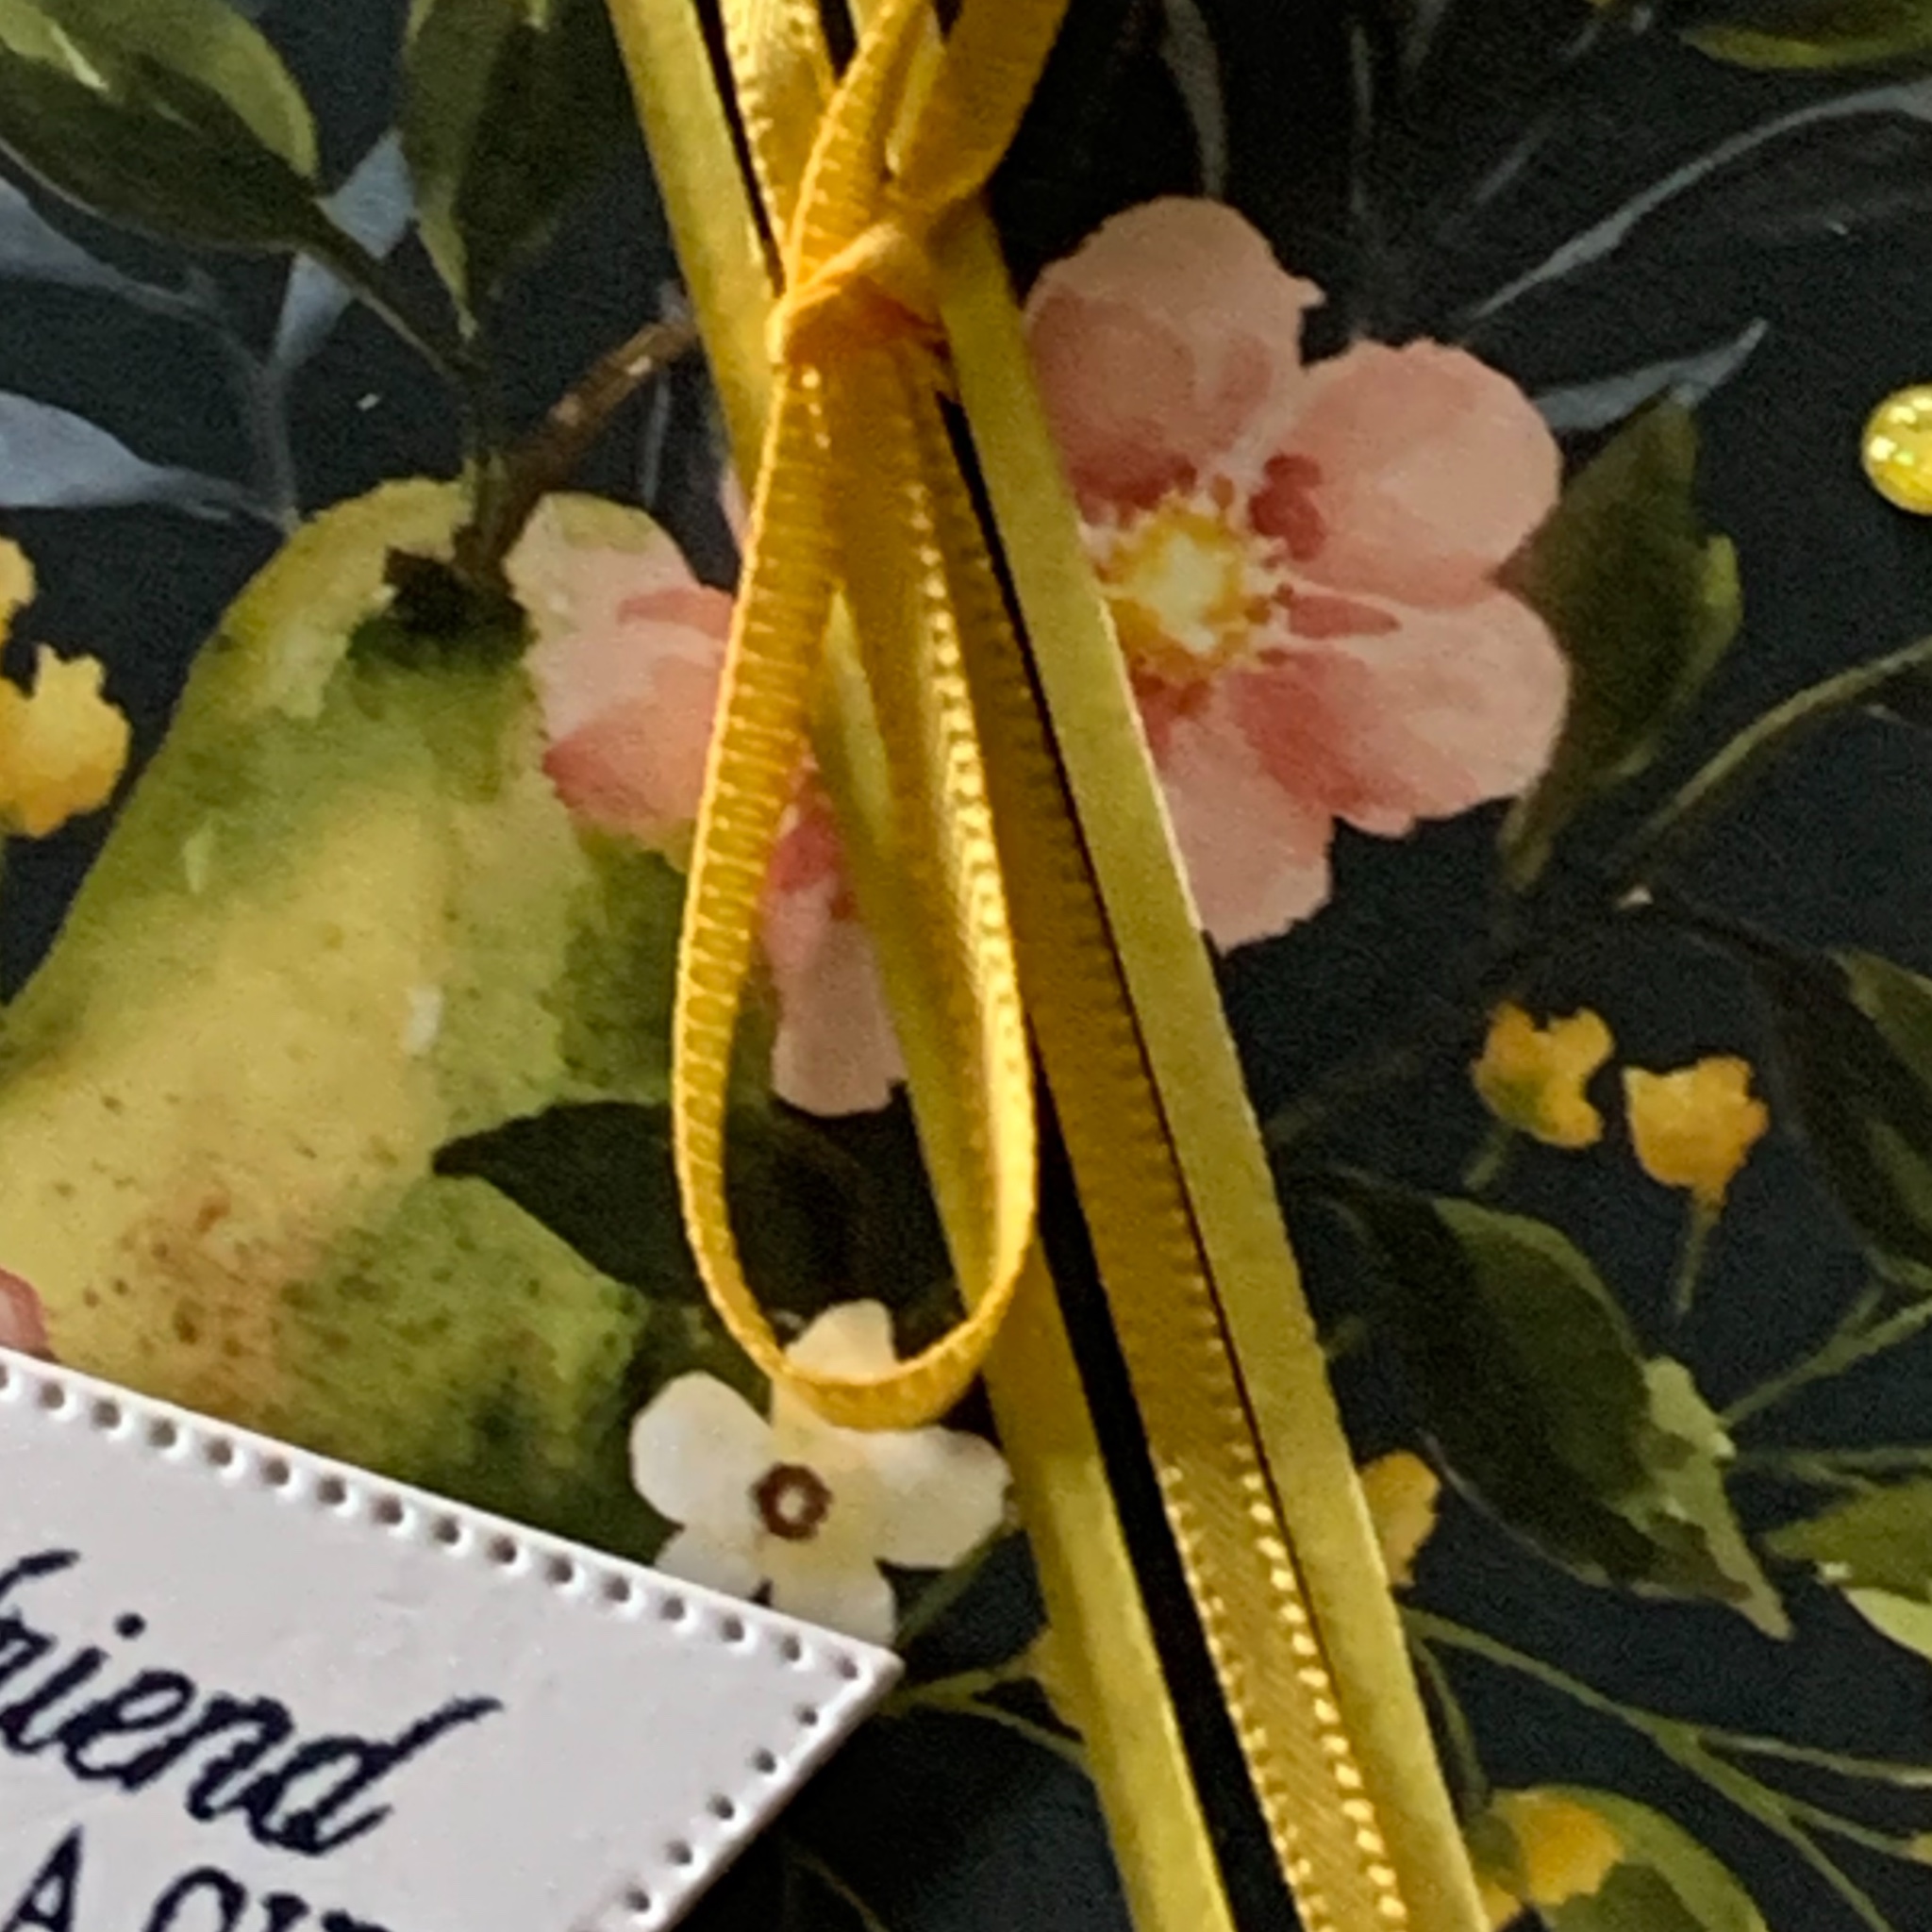
After showing her some of the designs from the Painterly Pears DSP pack, she chose the one I used for this card.

It is a super simple card but so gorgeous because of the paper design and colours.
I used an Old Olive card base and then a panel of Petal Pink card as a layer for the DSP.
Before adding the stamped and punched greeting, I added two this card layers as alternative to using lengths of ribbon.

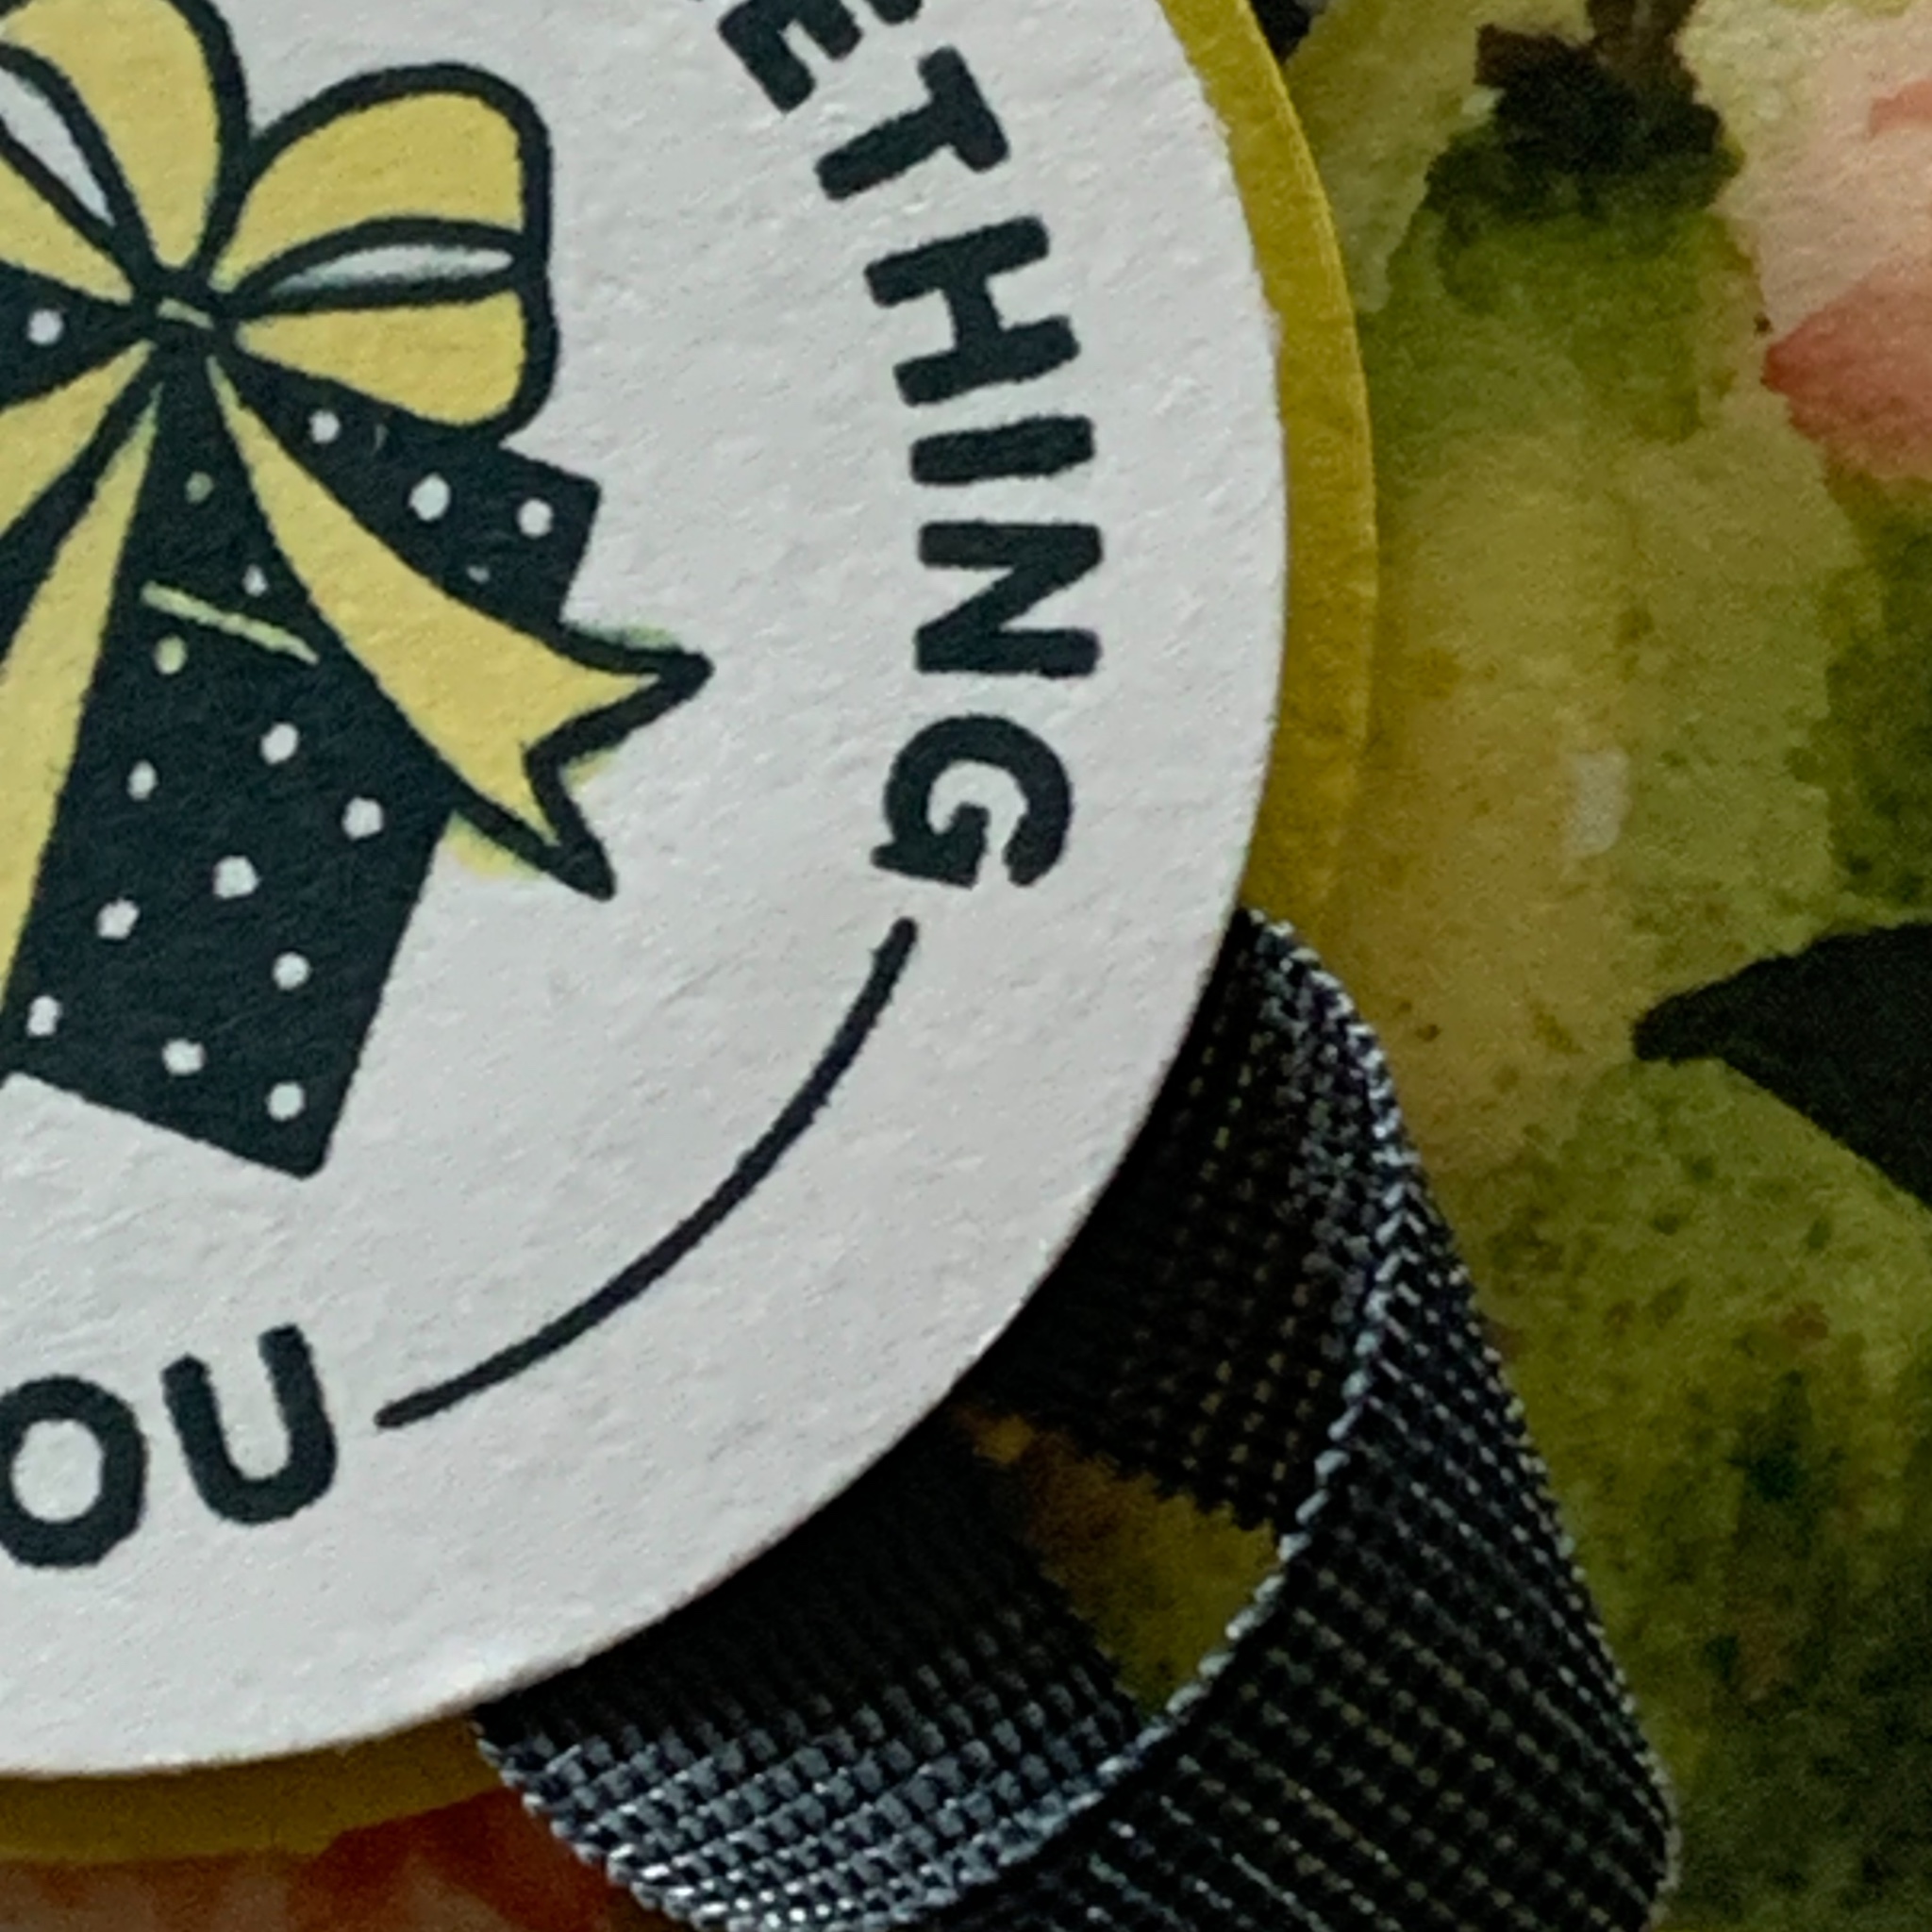
The greeting, from the Encircled in Love Stamp Set, was stamped then coloured using the Light Petal Pink Stampin’ Blend Pen.
The greeting was punched out with the 1 3/4″ circle punch and then added to a 1 7/8″ Petal Pink circle.
I stamped and coloured the same image onto the back of the envelope.

I stamped the birthday wishes greeting inside the card.

Mission accomplished – my daughter is very happy with the card I made.
Next week I will have some more projects to share with you.
Until then, happy stamping and scrapbooking.

If you live in Australia, you can order any of the products I used to make this card by going to my online store. As you read through this post, you will see the products I used for this project. The new Online Exclusive items are available from July 2025.

![1-3/4" (4.4 Cm) Circle Punch [ 119850 ]](https://i0.wp.com/assets1.tamsnetwork.com/images/EC042017NF/119850s.jpg?w=140&ssl=1 "1-3/4\" (4.4 Cm) Circle Punch [ 119850 ]") | ![1 7/8" (4.8 Cm) Circle Punch [ 165259 ]](https://i0.wp.com/assets1.tamsnetwork.com/images/EC042017NF/165259s.jpg?w=140&ssl=1 "1 7/8\" (4.8 Cm) Circle Punch [ 165259 ]") | ![Muted Palette Dots [ 165155 ]](https://i0.wp.com/assets1.tamsnetwork.com/images/EC042017NF/165155s.jpg?w=140&ssl=1 "Muted Palette Dots [ 165155 ]") | ![Basic White A4 Cardstock [ 166781 ]](https://i0.wp.com/assets1.tamsnetwork.com/images/EC042017NF/166781s.jpg?w=140&ssl=1 "Basic White A4 Cardstock [ 166781 ]") | ![Old Olive A4 Card Stock [ 106576 ]](https://i0.wp.com/assets1.tamsnetwork.com/images/EC042017NF/106576s.jpg?w=140&ssl=1 "Old Olive A4 Card Stock [ 106576 ]") |
![Petal Pink A4 Cardstock [ 147009 ]](https://i0.wp.com/assets1.tamsnetwork.com/images/EC042017NF/147009s.jpg?w=140&ssl=1 "Petal Pink A4 Cardstock [ 147009 ]") | ![Secret Sea Classic Stampin' Pad [ 165285 ]](https://i0.wp.com/assets1.tamsnetwork.com/images/EC042017NF/165285s.jpg?w=140&ssl=1 "Secret Sea Classic Stampin' Pad [ 165285 ]") | ![Multipurpose Liquid Glue [ 110755 ]](https://i0.wp.com/assets1.tamsnetwork.com/images/EC042017NF/110755s.jpg?w=140&ssl=1 "Multipurpose Liquid Glue [ 110755 ]") | ![Stampin' Dimensionals [ 104430 ]](https://i0.wp.com/assets1.tamsnetwork.com/images/EC042017NF/104430s.jpg?w=140&ssl=1 "Stampin' Dimensionals [ 104430 ]") | |
![Paper Snips [ 103579 ]](https://i0.wp.com/assets1.tamsnetwork.com/images/EC042017NF/103579s.jpg?w=140&ssl=1 "Paper Snips [ 103579 ]") | ![Paper Trimmer [ 152392 ]](https://i0.wp.com/assets1.tamsnetwork.com/images/EC042017NF/152392s.jpg?w=140&ssl=1 "Paper Trimmer [ 152392 ]") | ![Mini Stampin' Cut & Emboss Machine [ 150673 ]](https://i0.wp.com/assets1.tamsnetwork.com/images/EC042017NF/150673s.jpg?w=140&ssl=1 "Mini Stampin' Cut & Emboss Machine [ 150673 ]") | ![Basic White C6 Envelopes [ 159235 ]](https://i0.wp.com/assets1.tamsnetwork.com/images/EC042017NF/159235s.jpg?w=140&ssl=1 "Basic White C6 Envelopes [ 159235 ]") |
![Petal Pink Stampin' Blends Combo Pack [ 154893 ]](https://i0.wp.com/assets1.tamsnetwork.com/images/EC042017NF/154893s.jpg?w=140&ssl=1 "Petal Pink Stampin' Blends Combo Pack [ 154893 ]")


![Stylish Shapes Dies [ 159183 ]](https://i0.wp.com/assets1.tamsnetwork.com/images/EC042017NF/159183s.jpg?w=140&ssl=1 "Stylish Shapes Dies [ 159183 ]")
![Daffodil Delight 1/8" (3.2 Mm) Satin Ribbon [ 164715 ]](https://i0.wp.com/assets1.tamsnetwork.com/images/EC042017NF/164715s.jpg?w=140&ssl=1 "Daffodil Delight 1/8\" (3.2 Mm) Satin Ribbon [ 164715 ]")
![Petal Pink 3/8” (1 Cm) Scalloped Ribbon [ 164680 ]](https://i0.wp.com/assets1.tamsnetwork.com/images/EC042017NF/164680s.jpg?w=140&ssl=1 "Petal Pink 3/8” (1 Cm) Scalloped Ribbon [ 164680 ]")
![Daffodil Delight A4 Card Stock [ 121680 ]](https://i0.wp.com/assets1.tamsnetwork.com/images/EC042017NF/121680s.jpg?w=140&ssl=1 "Daffodil Delight A4 Card Stock [ 121680 ]")
![Secret Sea A4 Cardstock [ 165296 ]](https://i0.wp.com/assets1.tamsnetwork.com/images/EC042017NF/165296s.jpg?w=140&ssl=1 "Secret Sea A4 Cardstock [ 165296 ]")


![Encircled With Love Photopolymer Stamp Set (English) [ 165338 ]](https://i0.wp.com/assets1.tamsnetwork.com/images/EC042017NF/165338s.jpg?w=140&ssl=1 "Encircled With Love Photopolymer Stamp Set (English) [ 165338 ]")
![Secret Sea 3/8" (1 Cm) Faux Linen Ribbon [ 165273 ]](https://i0.wp.com/assets1.tamsnetwork.com/images/EC042017NF/165273s.jpg?w=140&ssl=1 "Secret Sea 3/8\" (1 Cm) Faux Linen Ribbon [ 165273 ]")
![Melon Mambo A4 Card Stock [ 119980 ]](https://i0.wp.com/assets1.tamsnetwork.com/images/EC042017NF/119980s.jpg?w=140&ssl=1 "Melon Mambo A4 Card Stock [ 119980 ]")
![Daffodil Delight Stampin' Blends Combo Pack [ 154883 ]](https://i0.wp.com/assets1.tamsnetwork.com/images/EC042017NF/154883s.jpg?w=140&ssl=1 "Daffodil Delight Stampin' Blends Combo Pack [ 154883 ]")


