Today I have two cards that were inspired by one of Dawn Olchefske’s fun fold cards that I recently came across.
The fun fold is a HORIZONTAL GATE FOLD CARD.
Both cards feature the Floral Charm Suite Collection.

The Pretty Peacock card base had panels of the coordinating DSP adhered to each side.
Then two horizontal Blackberry Bliss panels were added – one on each side. These panels then had coordinating DSP added to them.
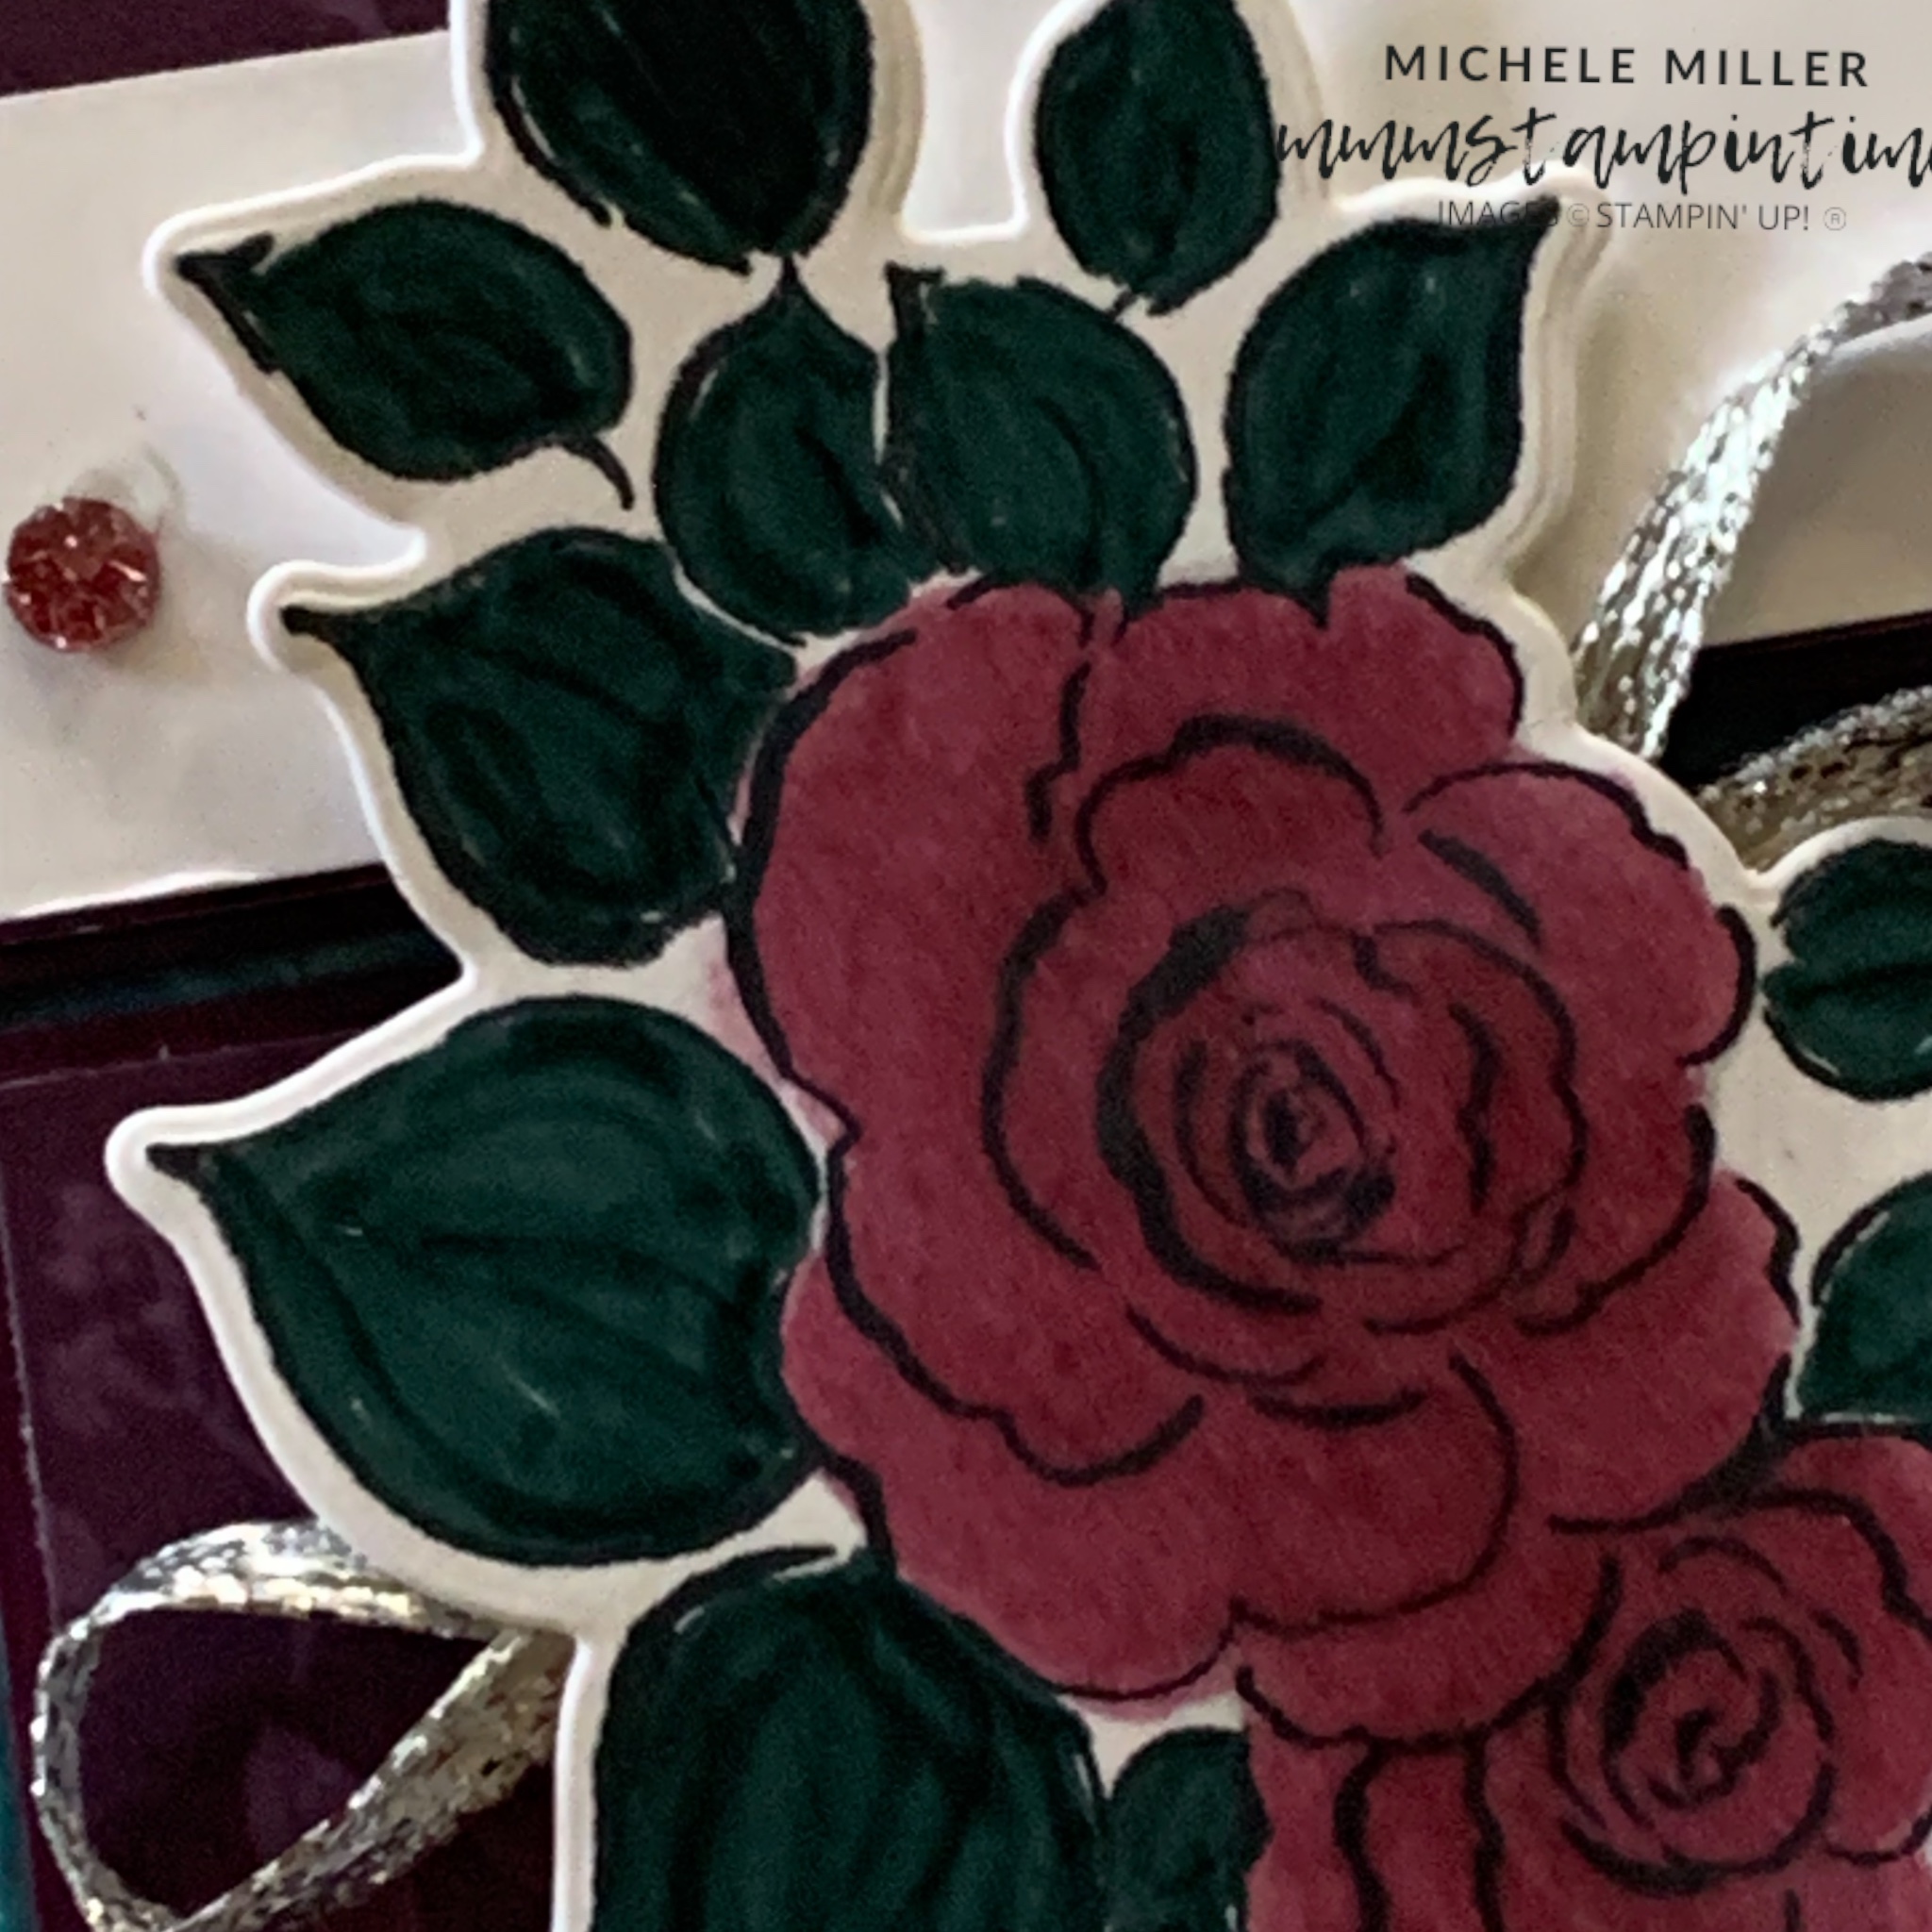
To hold the horizontal panels in place I stamped, coloured and die cut the large floral image from the Charming Day Bundle.
I looped three lengths of silver ribbon, from the Gold & Silver Trim pack, and secured them to the back of the floral shape.

The floral image was secured to the bottom horizontal panel using Stampin’ Dimensionals.
I stamped the birthday greeting to a piece of Basic White card and used dimensionals to attach it to the top horizontal panel.
The greeting panel locks in behind the floral die cut.

The smaller floral image was stamped on the card insert and the back of the envelope.
The second card is a variation of the first one.
This one has an opening belly band instead of the horizontal flaps.

I wrapped a 1 1/2″ piece of Night of Navy card around the card and burnished the edges.
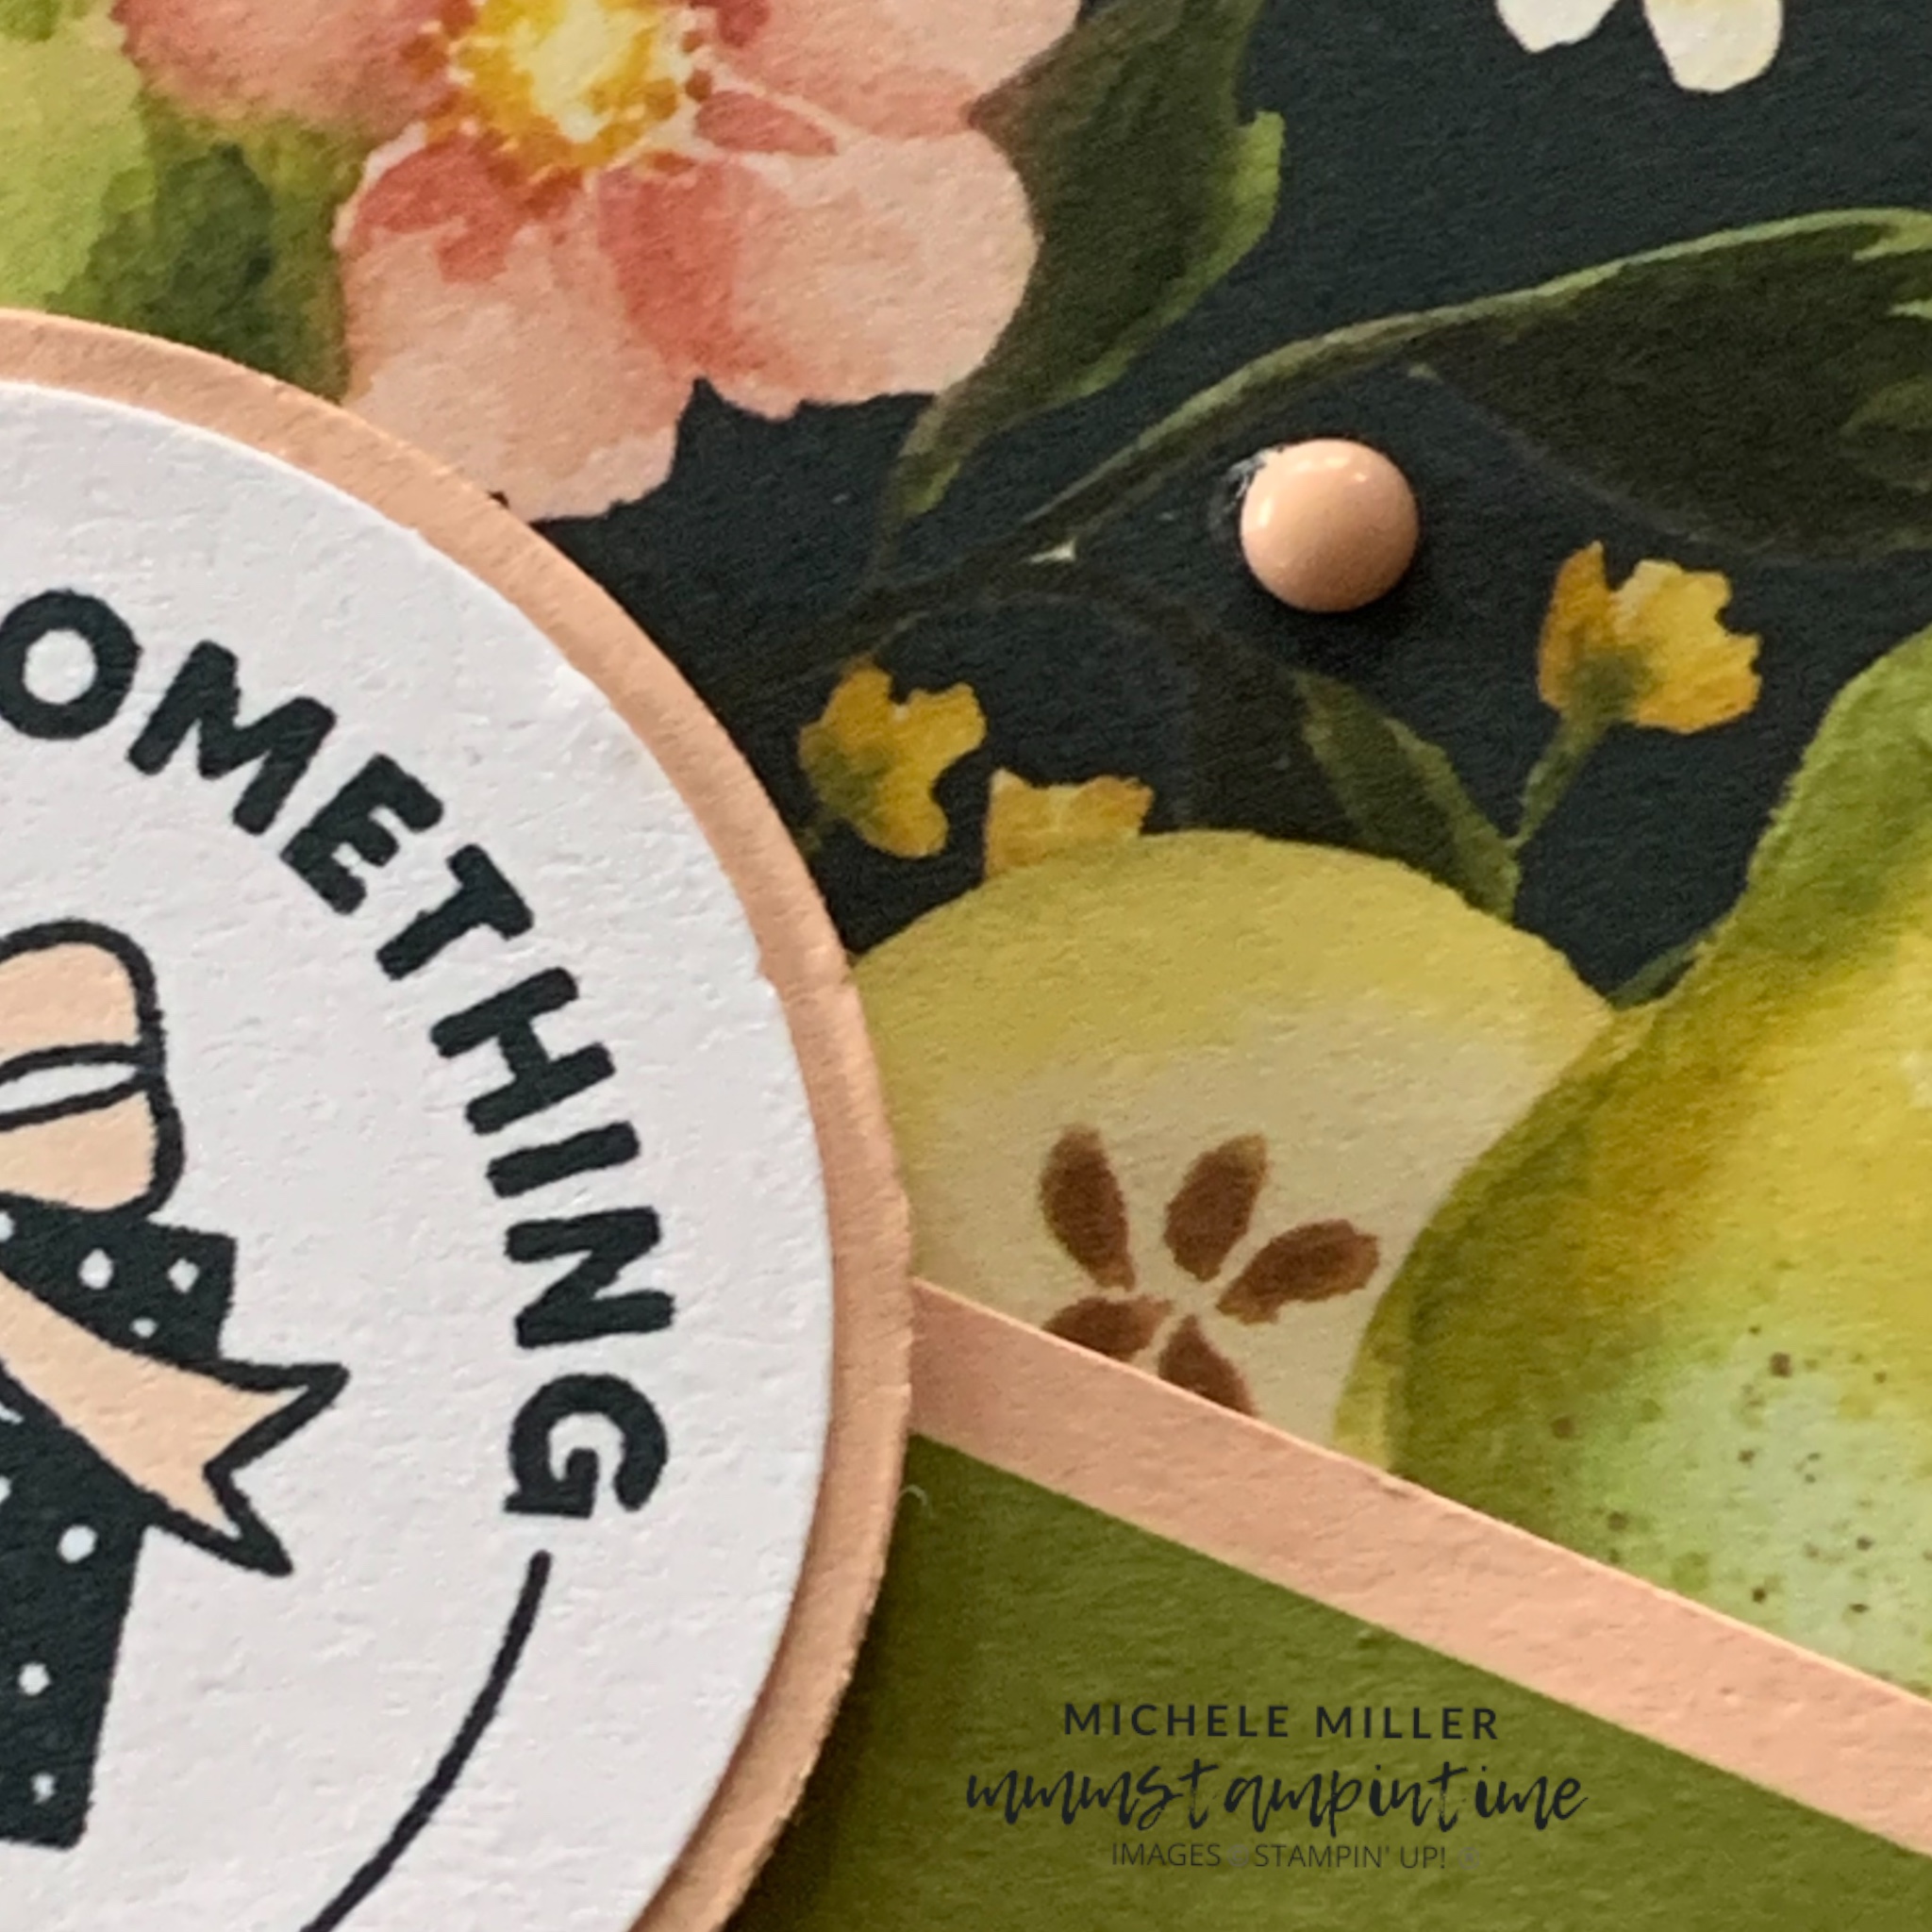
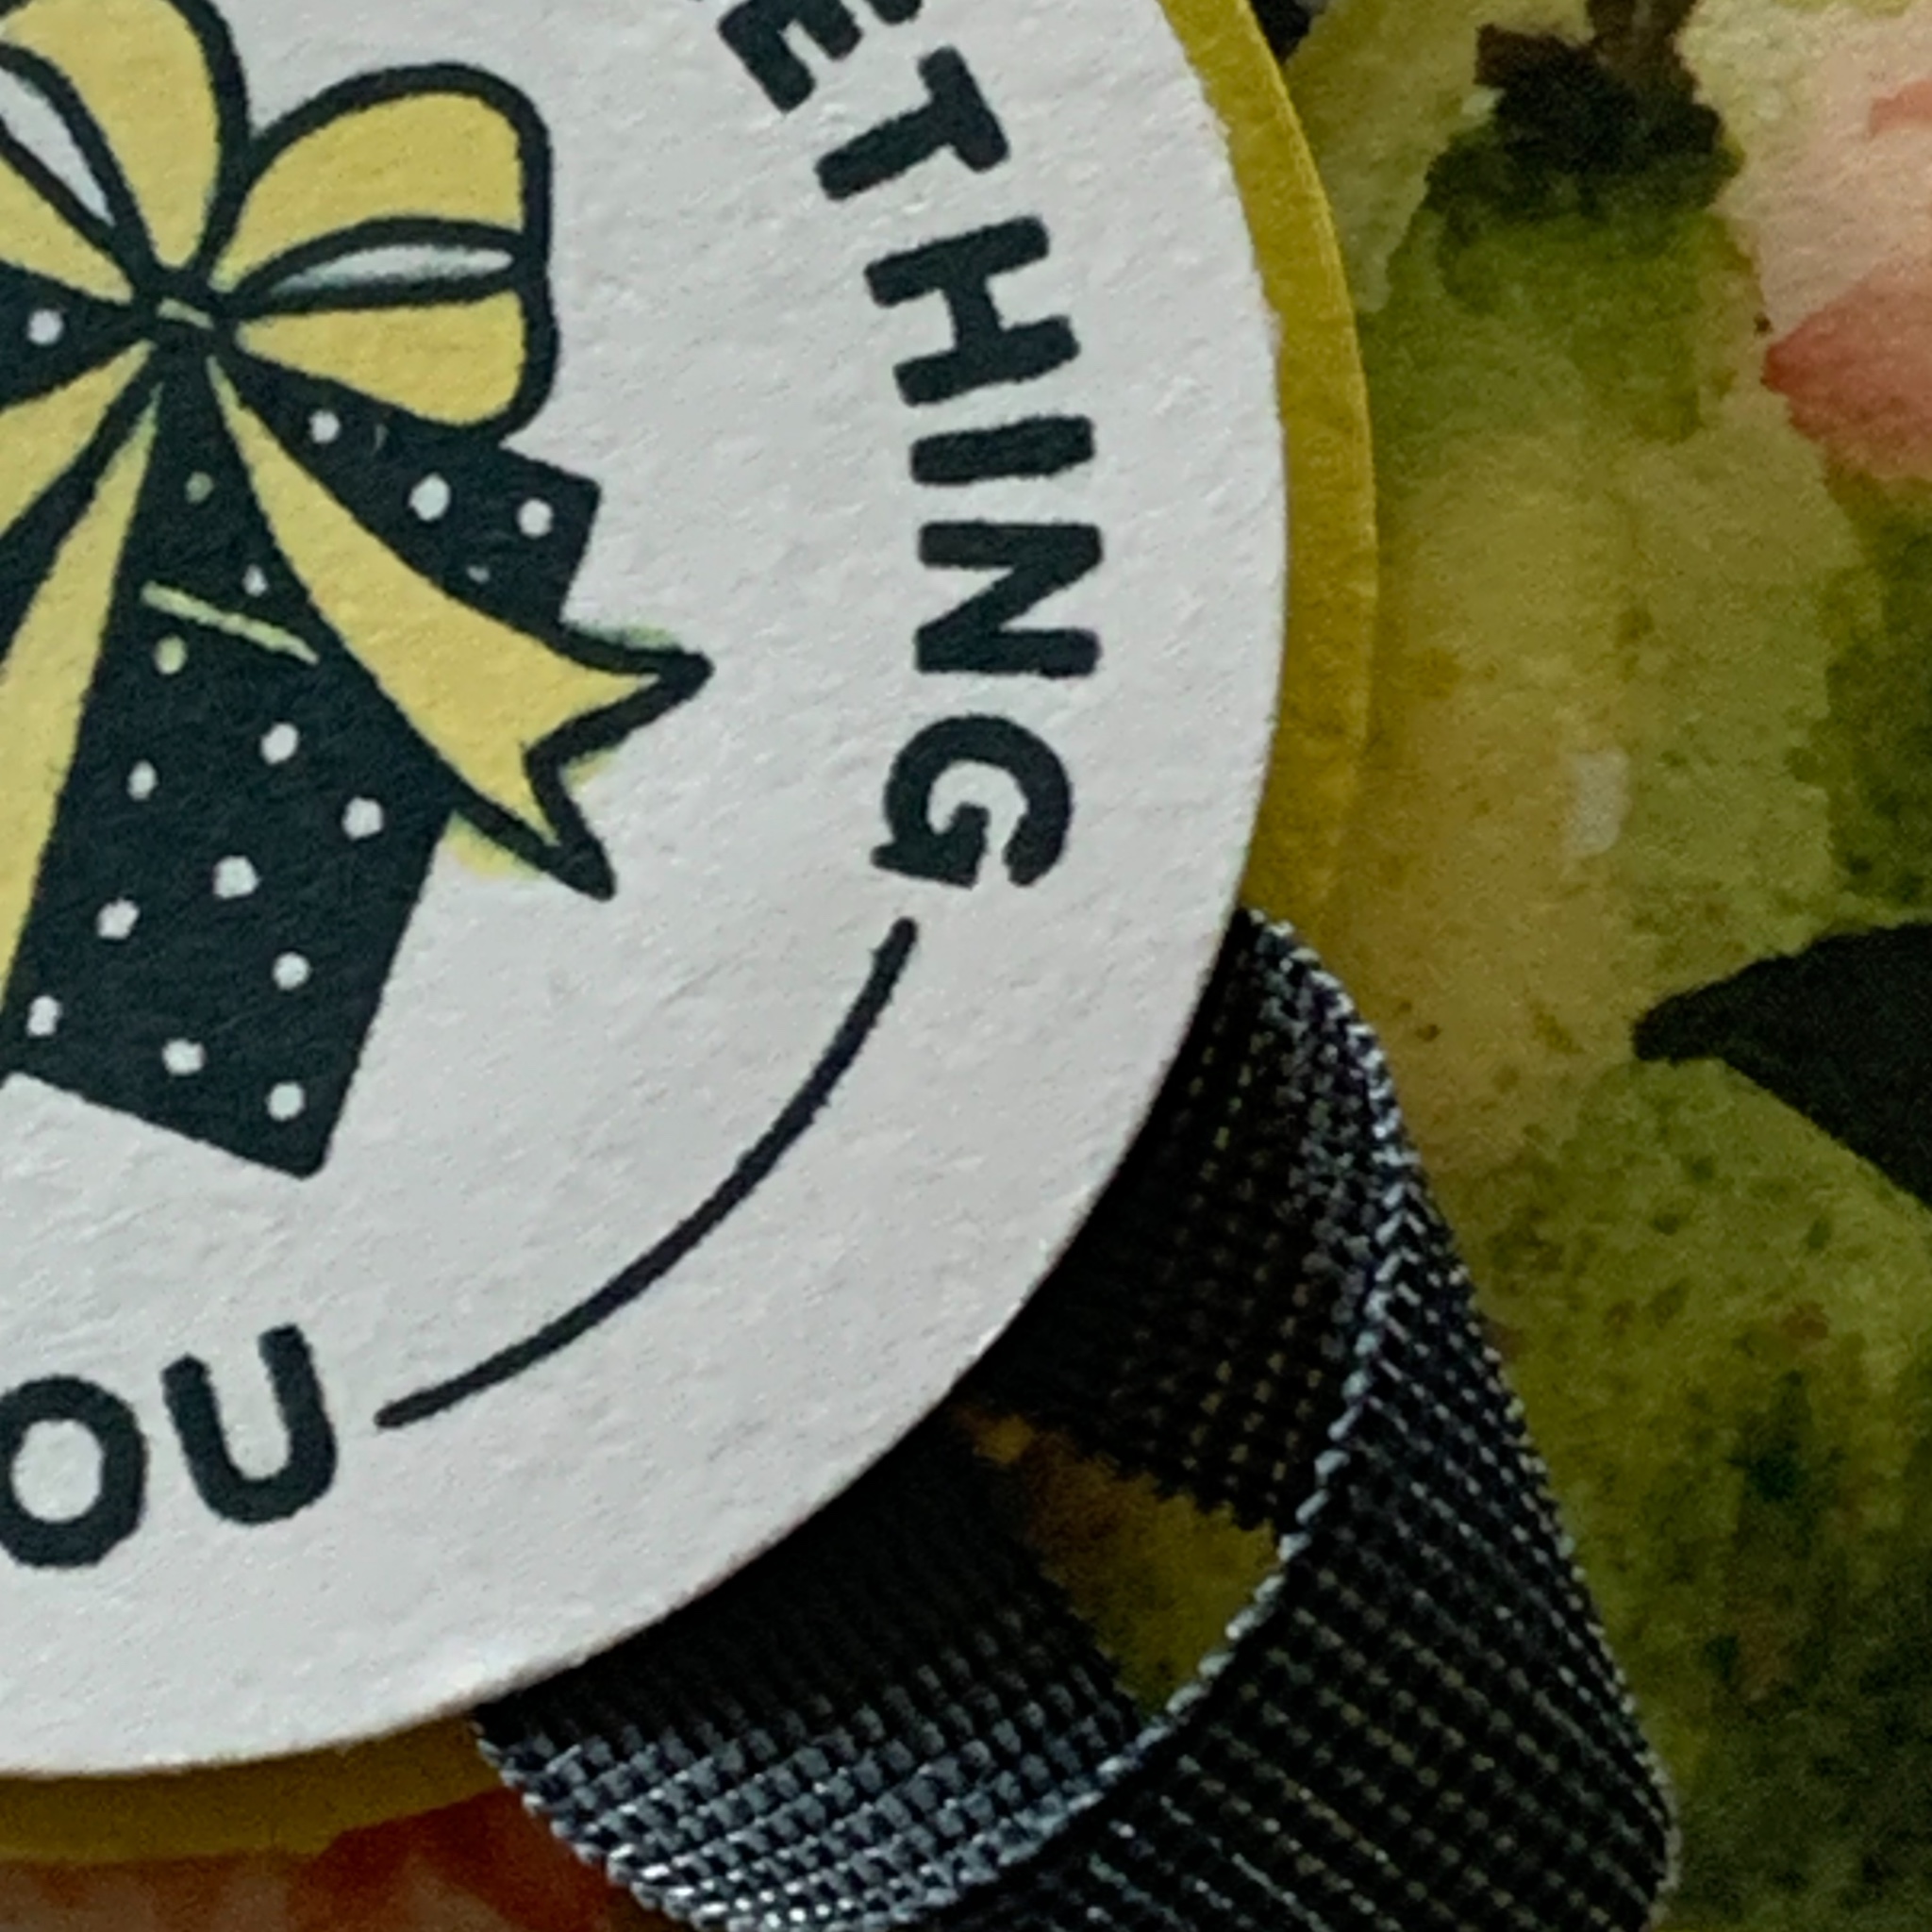
Using the Encircle with Love Stamp Set I stamped the greeting and used the 1 3/4″ Circle Punch to cut it. Then I used the 1 7/8″ Circle Punch to cut out a Night of Navy circle.

A small Velcro circle was added to the belly band to enable the band to be opened and closed.

The card insert and envelope each had more of the same DSP added to finish them.
Some gems from the Purple Fine Shimmer Gems were added to the front of the card.
Next week I will have some more projects to share with you.
Until then, happy stamping and scrapbooking.

If you live in Australia, you can order any of the products I used to make this card by going to my online store. Just click on any of the images below.

![Purple Fine Shimmer Gems [ 162611 ]](https://i0.wp.com/assets1.tamsnetwork.com/images/EC042017NF/162611s.jpg?w=140&ssl=1 "Purple Fine Shimmer Gems [ 162611 ]") | ![Basic White A4 Cardstock [ 166781 ]](https://i0.wp.com/assets1.tamsnetwork.com/images/EC042017NF/166781s.jpg?w=140&ssl=1 "Basic White A4 Cardstock [ 166781 ]") | ![Berry Burst A4 Cardstock [ 144249 ]](https://i0.wp.com/assets1.tamsnetwork.com/images/EC042017NF/144249s.jpg?w=140&ssl=1 "Berry Burst A4 Cardstock [ 144249 ]") | ||
![Night Of Navy A4 Card Stock [ 106577 ]](https://i0.wp.com/assets1.tamsnetwork.com/images/EC042017NF/106577s.jpg?w=140&ssl=1 "Night Of Navy A4 Card Stock [ 106577 ]") | ![Pretty Peacock A4 Cardstock [ 150886 ]](https://i0.wp.com/assets1.tamsnetwork.com/images/EC042017NF/150886s.jpg?w=140&ssl=1 "Pretty Peacock A4 Cardstock [ 150886 ]") | ![Berry Burst Classic Stampin' Pad [ 147143 ]](https://i0.wp.com/assets1.tamsnetwork.com/images/EC042017NF/147143s.jpg?w=140&ssl=1 "Berry Burst Classic Stampin' Pad [ 147143 ]") | ![Night Of Navy Classic Stampin' Pad [ 147110 ]](https://i0.wp.com/assets1.tamsnetwork.com/images/EC042017NF/147110s.jpg?w=140&ssl=1 "Night Of Navy Classic Stampin' Pad [ 147110 ]") | |
![Multipurpose Liquid Glue [ 110755 ]](https://i0.wp.com/assets1.tamsnetwork.com/images/EC042017NF/110755s.jpg?w=140&ssl=1 "Multipurpose Liquid Glue [ 110755 ]") | ![Stampin' Dimensionals [ 104430 ]](https://i0.wp.com/assets1.tamsnetwork.com/images/EC042017NF/104430s.jpg?w=140&ssl=1 "Stampin' Dimensionals [ 104430 ]") | ![Tear & Tape Adhesive [ 154031 ]](https://i0.wp.com/assets1.tamsnetwork.com/images/EC042017NF/154031s.jpg?w=140&ssl=1 "Tear & Tape Adhesive [ 154031 ]") | ![1-3/4" (4.4 Cm) Circle Punch [ 119850 ]](https://i0.wp.com/assets1.tamsnetwork.com/images/EC042017NF/119850s.jpg?w=140&ssl=1 "1-3/4\" (4.4 Cm) Circle Punch [ 119850 ]") | ![1 7/8" (4.8 Cm) Circle Punch [ 165259 ]](https://i0.wp.com/assets1.tamsnetwork.com/images/EC042017NF/165259s.jpg?w=140&ssl=1 "1 7/8\" (4.8 Cm) Circle Punch [ 165259 ]") |
![Paper Snips [ 103579 ]](https://i0.wp.com/assets1.tamsnetwork.com/images/EC042017NF/103579s.jpg?w=140&ssl=1 "Paper Snips [ 103579 ]") | ![Paper Trimmer [ 152392 ]](https://i0.wp.com/assets1.tamsnetwork.com/images/EC042017NF/152392s.jpg?w=140&ssl=1 "Paper Trimmer [ 152392 ]") | ![Mini Stampin' Cut & Emboss Machine [ 150673 ]](https://i0.wp.com/assets1.tamsnetwork.com/images/EC042017NF/150673s.jpg?w=140&ssl=1 "Mini Stampin' Cut & Emboss Machine [ 150673 ]") |
![Drusy Adhesive Backed Embellishments [ 164223 ]](https://i0.wp.com/assets1.tamsnetwork.com/images/EC042017NF/164223s.jpg?w=140&ssl=1 "Drusy Adhesive Backed Embellishments [ 164223 ]")
![Gold & Silver 1/8" (3.2 Mm) Trim Combo Pack [ 161633 ]](https://i0.wp.com/assets1.tamsnetwork.com/images/EC042017NF/161633s.jpg?w=140&ssl=1 "Gold & Silver 1/8\" (3.2 Mm) Trim Combo Pack [ 161633 ]")
![Berry Burst Stampin’ Blends Combo Pack [ 161681 ]](https://i0.wp.com/assets1.tamsnetwork.com/images/EC042017NF/161681s.jpg?w=140&ssl=1 "Berry Burst Stampin’ Blends Combo Pack [ 161681 ]")



![Muted Palette Dots [ 165155 ]](https://i0.wp.com/assets1.tamsnetwork.com/images/EC042017NF/165155s.jpg?w=140&ssl=1 "Muted Palette Dots [ 165155 ]")
![Old Olive A4 Card Stock [ 106576 ]](https://i0.wp.com/assets1.tamsnetwork.com/images/EC042017NF/106576s.jpg?w=140&ssl=1 "Old Olive A4 Card Stock [ 106576 ]")
![Petal Pink A4 Cardstock [ 147009 ]](https://i0.wp.com/assets1.tamsnetwork.com/images/EC042017NF/147009s.jpg?w=140&ssl=1 "Petal Pink A4 Cardstock [ 147009 ]")
![Secret Sea Classic Stampin' Pad [ 165285 ]](https://i0.wp.com/assets1.tamsnetwork.com/images/EC042017NF/165285s.jpg?w=140&ssl=1 "Secret Sea Classic Stampin' Pad [ 165285 ]")
![Petal Pink Stampin' Blends Combo Pack [ 154893 ]](https://i0.wp.com/assets1.tamsnetwork.com/images/EC042017NF/154893s.jpg?w=140&ssl=1 "Petal Pink Stampin' Blends Combo Pack [ 154893 ]")
![Basic White C6 Envelopes [ 159235 ]](https://i0.wp.com/assets1.tamsnetwork.com/images/EC042017NF/159235s.jpg?w=140&ssl=1 "Basic White C6 Envelopes [ 159235 ]")



![Encircled With Love Photopolymer Stamp Set (English) [ 165338 ]](https://i0.wp.com/assets1.tamsnetwork.com/images/EC042017NF/165338s.jpg?w=140&ssl=1 "Encircled With Love Photopolymer Stamp Set (English) [ 165338 ]")
![Secret Sea 3/8" (1 Cm) Faux Linen Ribbon [ 165273 ]](https://i0.wp.com/assets1.tamsnetwork.com/images/EC042017NF/165273s.jpg?w=140&ssl=1 "Secret Sea 3/8\" (1 Cm) Faux Linen Ribbon [ 165273 ]")
![Daffodil Delight A4 Card Stock [ 121680 ]](https://i0.wp.com/assets1.tamsnetwork.com/images/EC042017NF/121680s.jpg?w=140&ssl=1 "Daffodil Delight A4 Card Stock [ 121680 ]")
![Melon Mambo A4 Card Stock [ 119980 ]](https://i0.wp.com/assets1.tamsnetwork.com/images/EC042017NF/119980s.jpg?w=140&ssl=1 "Melon Mambo A4 Card Stock [ 119980 ]")
![Daffodil Delight Stampin' Blends Combo Pack [ 154883 ]](https://i0.wp.com/assets1.tamsnetwork.com/images/EC042017NF/154883s.jpg?w=140&ssl=1 "Daffodil Delight Stampin' Blends Combo Pack [ 154883 ]")




