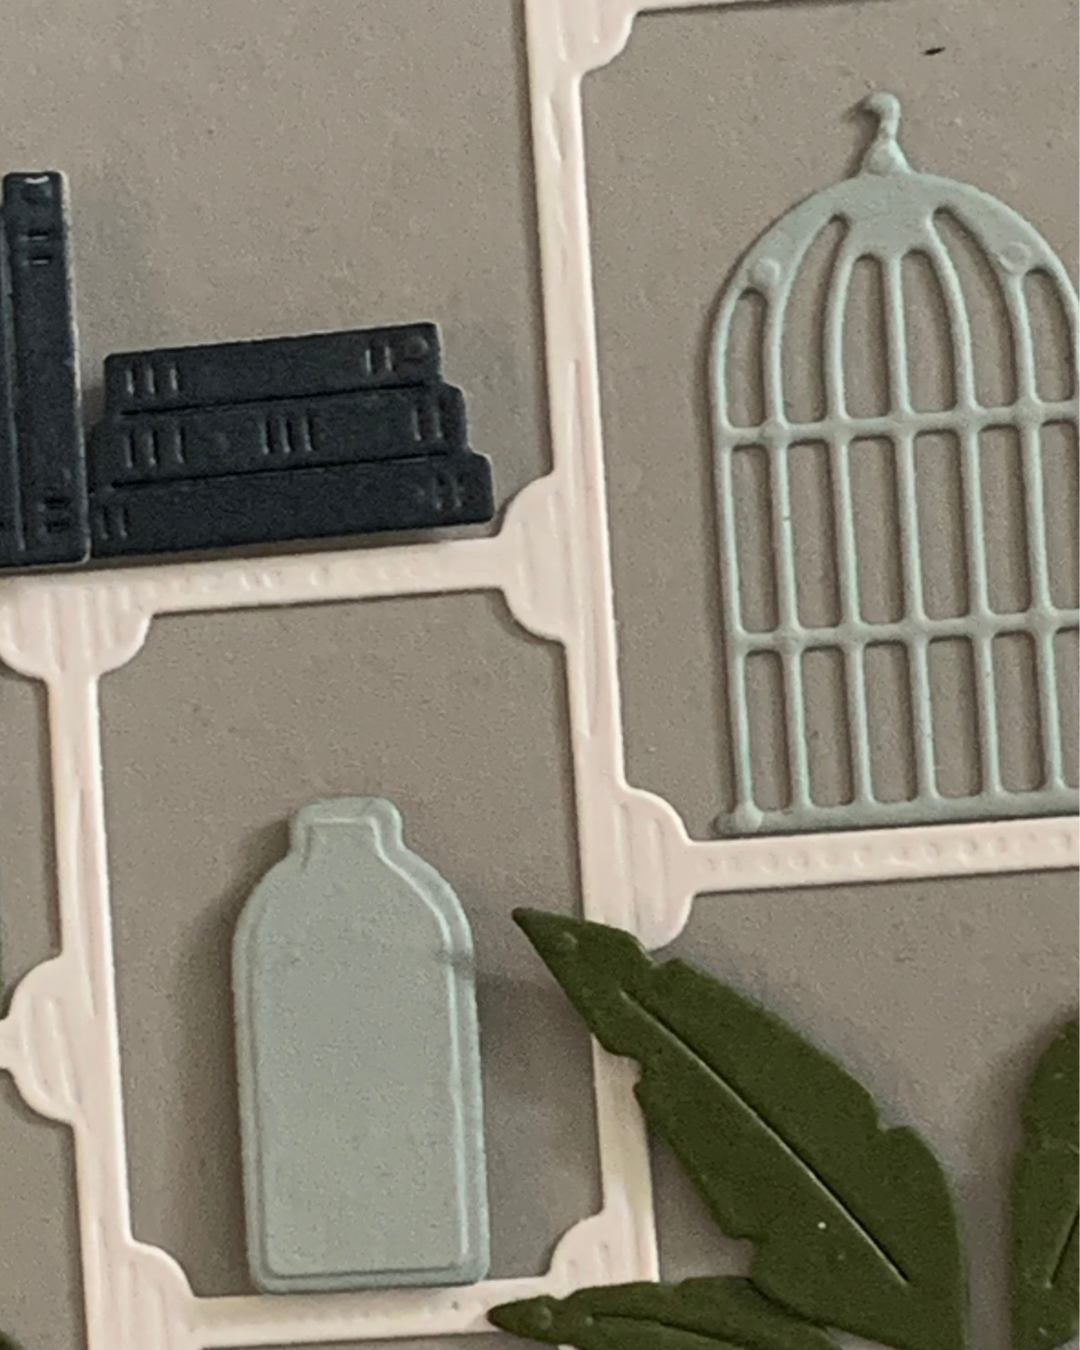
Today’s card has a Smoky Slate card base and a single layer bookshlef.
The top of the bookcase has a ‘bargeboard’ die cut in Cloud Cover.

In addition to Smoky Slate, Mossy Meadow was also added to the colour palette.
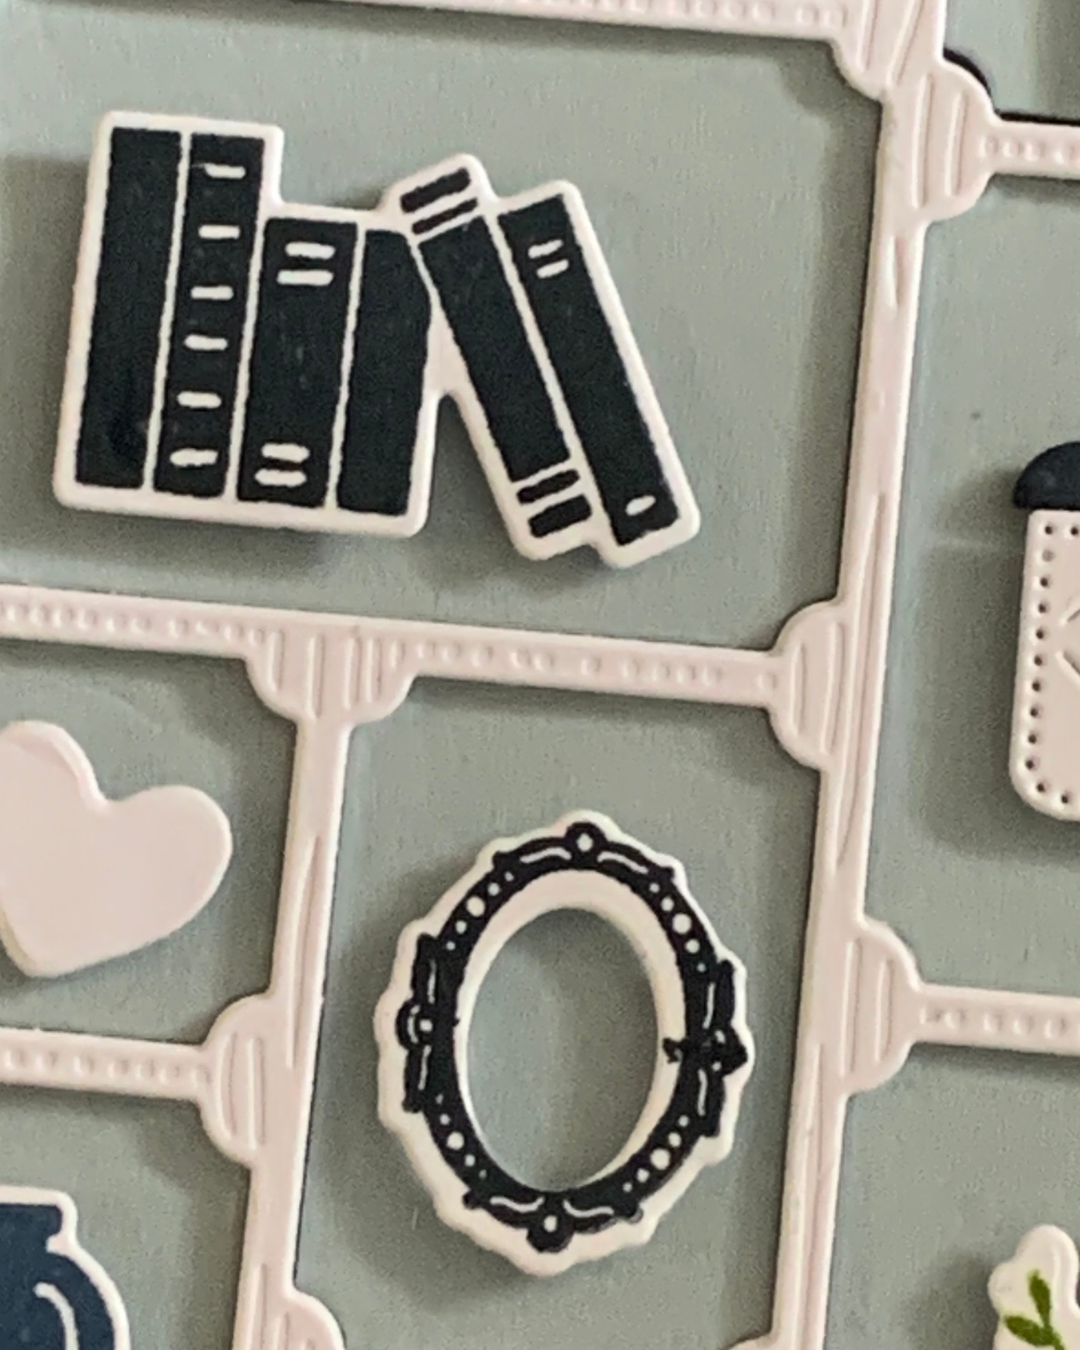
This bookshelf features a different variety of stamped and die cut elements.
The greeting was stamped on the card front and the back of the envelope.
A stack of Secret Sea die cut books was added to the card insert.

Tomorrow’s card features the detailed birdcage die.
Until then, happy stamping and scrapbooking.

If you live in Australia, you can order any of the products I used to make this card by going to my online store. Just click on any of the images below.

![Basic White A4 Thick Cardstock [ 159230 ]](https://i0.wp.com/assets1.tamsnetwork.com/images/EC042017NF/159230s.jpg?w=140&ssl=1 "Basic White A4 Thick Cardstock [ 159230 ]") | ![Cloud Cover A4 Cardstock [ 165293 ]](https://i0.wp.com/assets1.tamsnetwork.com/images/EC042017NF/165293s.jpg?w=140&ssl=1 "Cloud Cover A4 Cardstock [ 165293 ]") | ![Mossy Meadow A4 Cardstock [ 133683 ]](https://i0.wp.com/assets1.tamsnetwork.com/images/EC042017NF/133683s.jpg?w=140&ssl=1 "Mossy Meadow A4 Cardstock [ 133683 ]") | ![Secret Sea A4 Cardstock [ 165296 ]](https://i0.wp.com/assets1.tamsnetwork.com/images/EC042017NF/165296s.jpg?w=140&ssl=1 "Secret Sea A4 Cardstock [ 165296 ]") | ![Mossy Meadow Classic Stampin' Pad [ 147111 ]](https://i0.wp.com/assets1.tamsnetwork.com/images/EC042017NF/147111s.jpg?w=140&ssl=1 "Mossy Meadow Classic Stampin' Pad [ 147111 ]") |
![Multipurpose Liquid Glue [ 110755 ]](https://i0.wp.com/assets1.tamsnetwork.com/images/EC042017NF/110755s.jpg?w=140&ssl=1 "Multipurpose Liquid Glue [ 110755 ]") | ![Stampin' Dimensionals [ 104430 ]](https://i0.wp.com/assets1.tamsnetwork.com/images/EC042017NF/104430s.jpg?w=140&ssl=1 "Stampin' Dimensionals [ 104430 ]") | ![Adhesive Sheets [ 152334 ]](https://i0.wp.com/assets1.tamsnetwork.com/images/EC042017NF/152334s.jpg?w=140&ssl=1 "Adhesive Sheets [ 152334 ]") | ![Paper Snips [ 103579 ]](https://i0.wp.com/assets1.tamsnetwork.com/images/EC042017NF/103579s.jpg?w=140&ssl=1 "Paper Snips [ 103579 ]") | ![Paper Trimmer [ 152392 ]](https://i0.wp.com/assets1.tamsnetwork.com/images/EC042017NF/152392s.jpg?w=140&ssl=1 "Paper Trimmer [ 152392 ]") |
![Stampin' Cut & Emboss Machine [ 149653 ]](https://i0.wp.com/assets1.tamsnetwork.com/images/EC042017NF/149653s.jpg?w=140&ssl=1 "Stampin' Cut & Emboss Machine [ 149653 ]") | ![Mini Stampin' Cut & Emboss Machine [ 150673 ]](https://i0.wp.com/assets1.tamsnetwork.com/images/EC042017NF/150673s.jpg?w=140&ssl=1 "Mini Stampin' Cut & Emboss Machine [ 150673 ]") | ![Basic White C6 Envelopes [ 159235 ]](https://i0.wp.com/assets1.tamsnetwork.com/images/EC042017NF/159235s.jpg?w=140&ssl=1 "Basic White C6 Envelopes [ 159235 ]") |



![Granny Apple Green Stampin' Pad [ 147095 ]](https://i0.wp.com/assets1.tamsnetwork.com/images/EC042017NF/147095s.jpg?w=140&ssl=1 "Granny Apple Green Stampin' Pad [ 147095 ]")
![Misty Moonlight Classic Stampin' Pad [ 153118 ]](https://i0.wp.com/assets1.tamsnetwork.com/images/EC042017NF/153118s.jpg?w=140&ssl=1 "Misty Moonlight Classic Stampin' Pad [ 153118 ]")
![Secret Sea Classic Stampin' Pad [ 165285 ]](https://i0.wp.com/assets1.tamsnetwork.com/images/EC042017NF/165285s.jpg?w=140&ssl=1 "Secret Sea Classic Stampin' Pad [ 165285 ]")


![North Pole Delivery Suite Collection (English) [ 165850 ]](https://i0.wp.com/assets1.tamsnetwork.com/images/EC042017NF/165850s.jpg?w=140&ssl=1 "North Pole Delivery Suite Collection (English) [ 165850 ]")
![North Pole Delivery 12" X 12" (30.5 X 30.5 Cm) Specialty Designer Series Paper [ 165837 ]](https://i0.wp.com/assets1.tamsnetwork.com/images/EC042017NF/165837s.jpg?w=140&ssl=1 "North Pole Delivery 12\" X 12\" (30.5 X 30.5 Cm) Specialty Designer Series Paper [ 165837 ]")
![Christmas Words Collage Hybrid Embossing Folder (English) [ 165912 ]](https://i0.wp.com/assets1.tamsnetwork.com/images/EC042017NF/165912s.jpg?w=140&ssl=1 "Christmas Words Collage Hybrid Embossing Folder (English) [ 165912 ]")
![Hole Punch Assortment [ 165409 ]](https://i0.wp.com/assets1.tamsnetwork.com/images/EC042017NF/165409s.jpg?w=140&ssl=1 "Hole Punch Assortment [ 165409 ]")
![Basic Beige 3/8" (1 Cm) Classic Ribbon [ 165216 ]](https://i0.wp.com/assets1.tamsnetwork.com/images/EC042017NF/165216s.jpg?w=140&ssl=1 "Basic Beige 3/8\" (1 Cm) Classic Ribbon [ 165216 ]")
![Garden Green 12" X 12" (30.5 X 30.5 Cm) Two Tone Cardstock [ 166665 ]](https://i0.wp.com/assets1.tamsnetwork.com/images/EC042017NF/166665s.jpg?w=140&ssl=1 "Garden Green 12\" X 12\" (30.5 X 30.5 Cm) Two Tone Cardstock [ 166665 ]")
![Poppy Parade 12" X 12" (30.5 X 30.5 Cm) Two Tone Cardstock [ 166692 ]](https://i0.wp.com/assets1.tamsnetwork.com/images/EC042017NF/166692s.jpg?w=140&ssl=1 "Poppy Parade 12\" X 12\" (30.5 X 30.5 Cm) Two Tone Cardstock [ 166692 ]")
![Garden Green A4 Card Stock [ 108605 ]](https://i0.wp.com/assets1.tamsnetwork.com/images/EC042017NF/108605s.jpg?w=140&ssl=1 "Garden Green A4 Card Stock [ 108605 ]")
![Mini Stampin' Dimensionals [ 144108 ]](https://i0.wp.com/assets1.tamsnetwork.com/images/EC042017NF/144108s.jpg?w=140&ssl=1 "Mini Stampin' Dimensionals [ 144108 ]")
![Stampin' Seal+ [ 149699 ]](https://i0.wp.com/assets1.tamsnetwork.com/images/EC042017NF/149699s.jpg?w=140&ssl=1 "Stampin' Seal+ [ 149699 ]")




