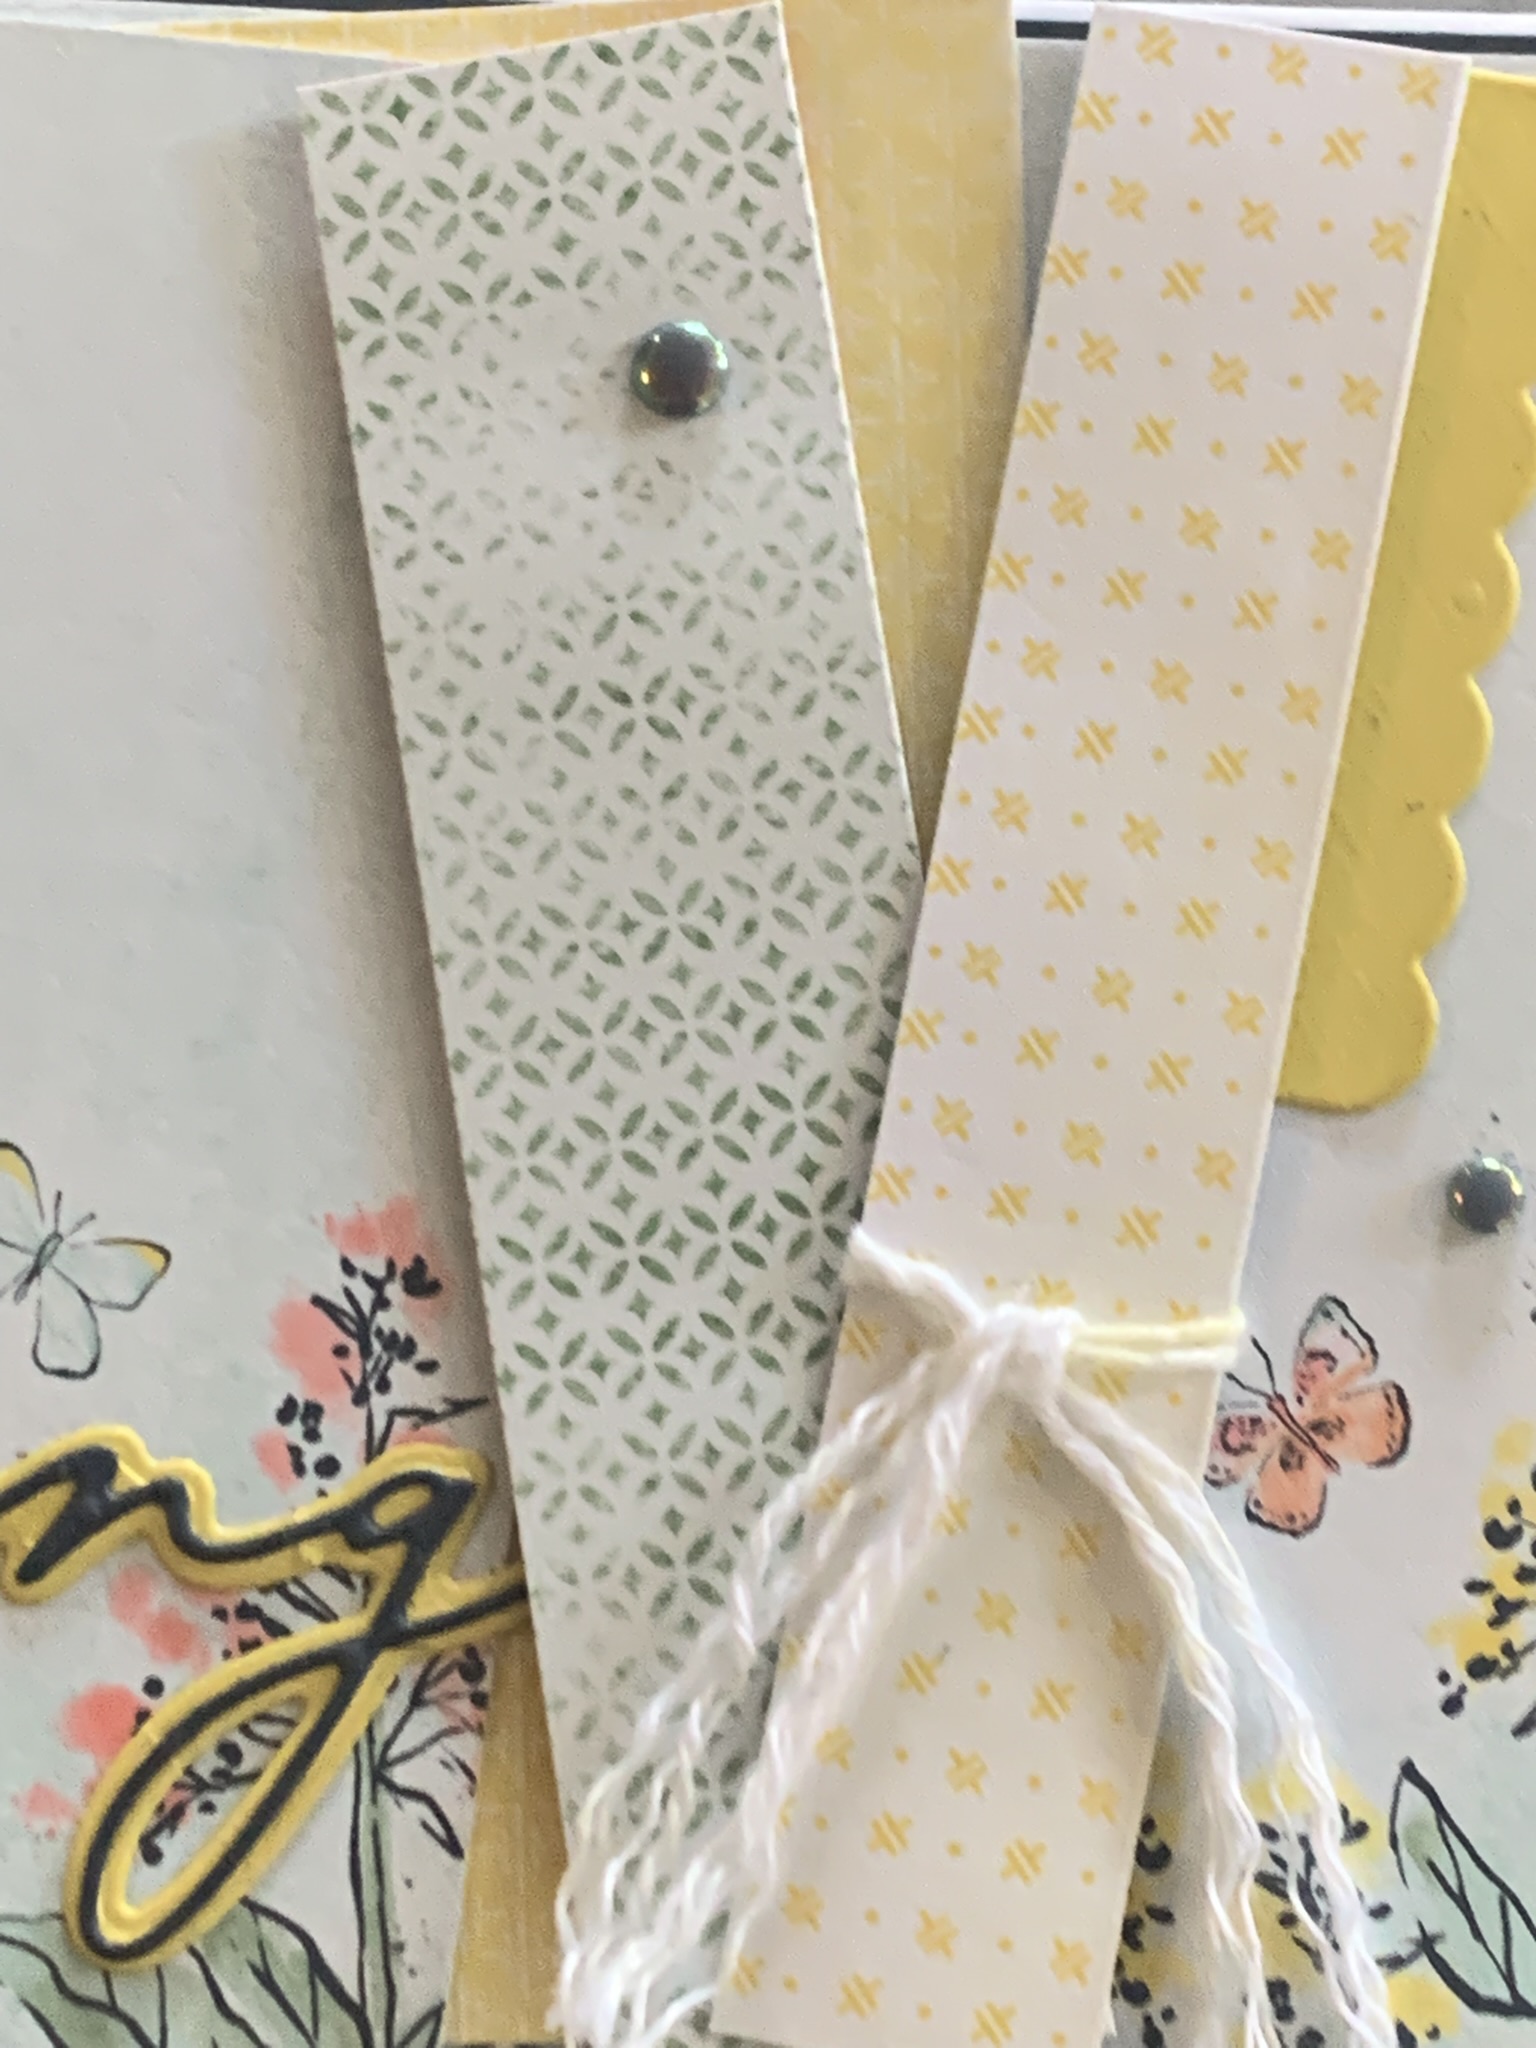
A simple technique that I use often is LAYERING.
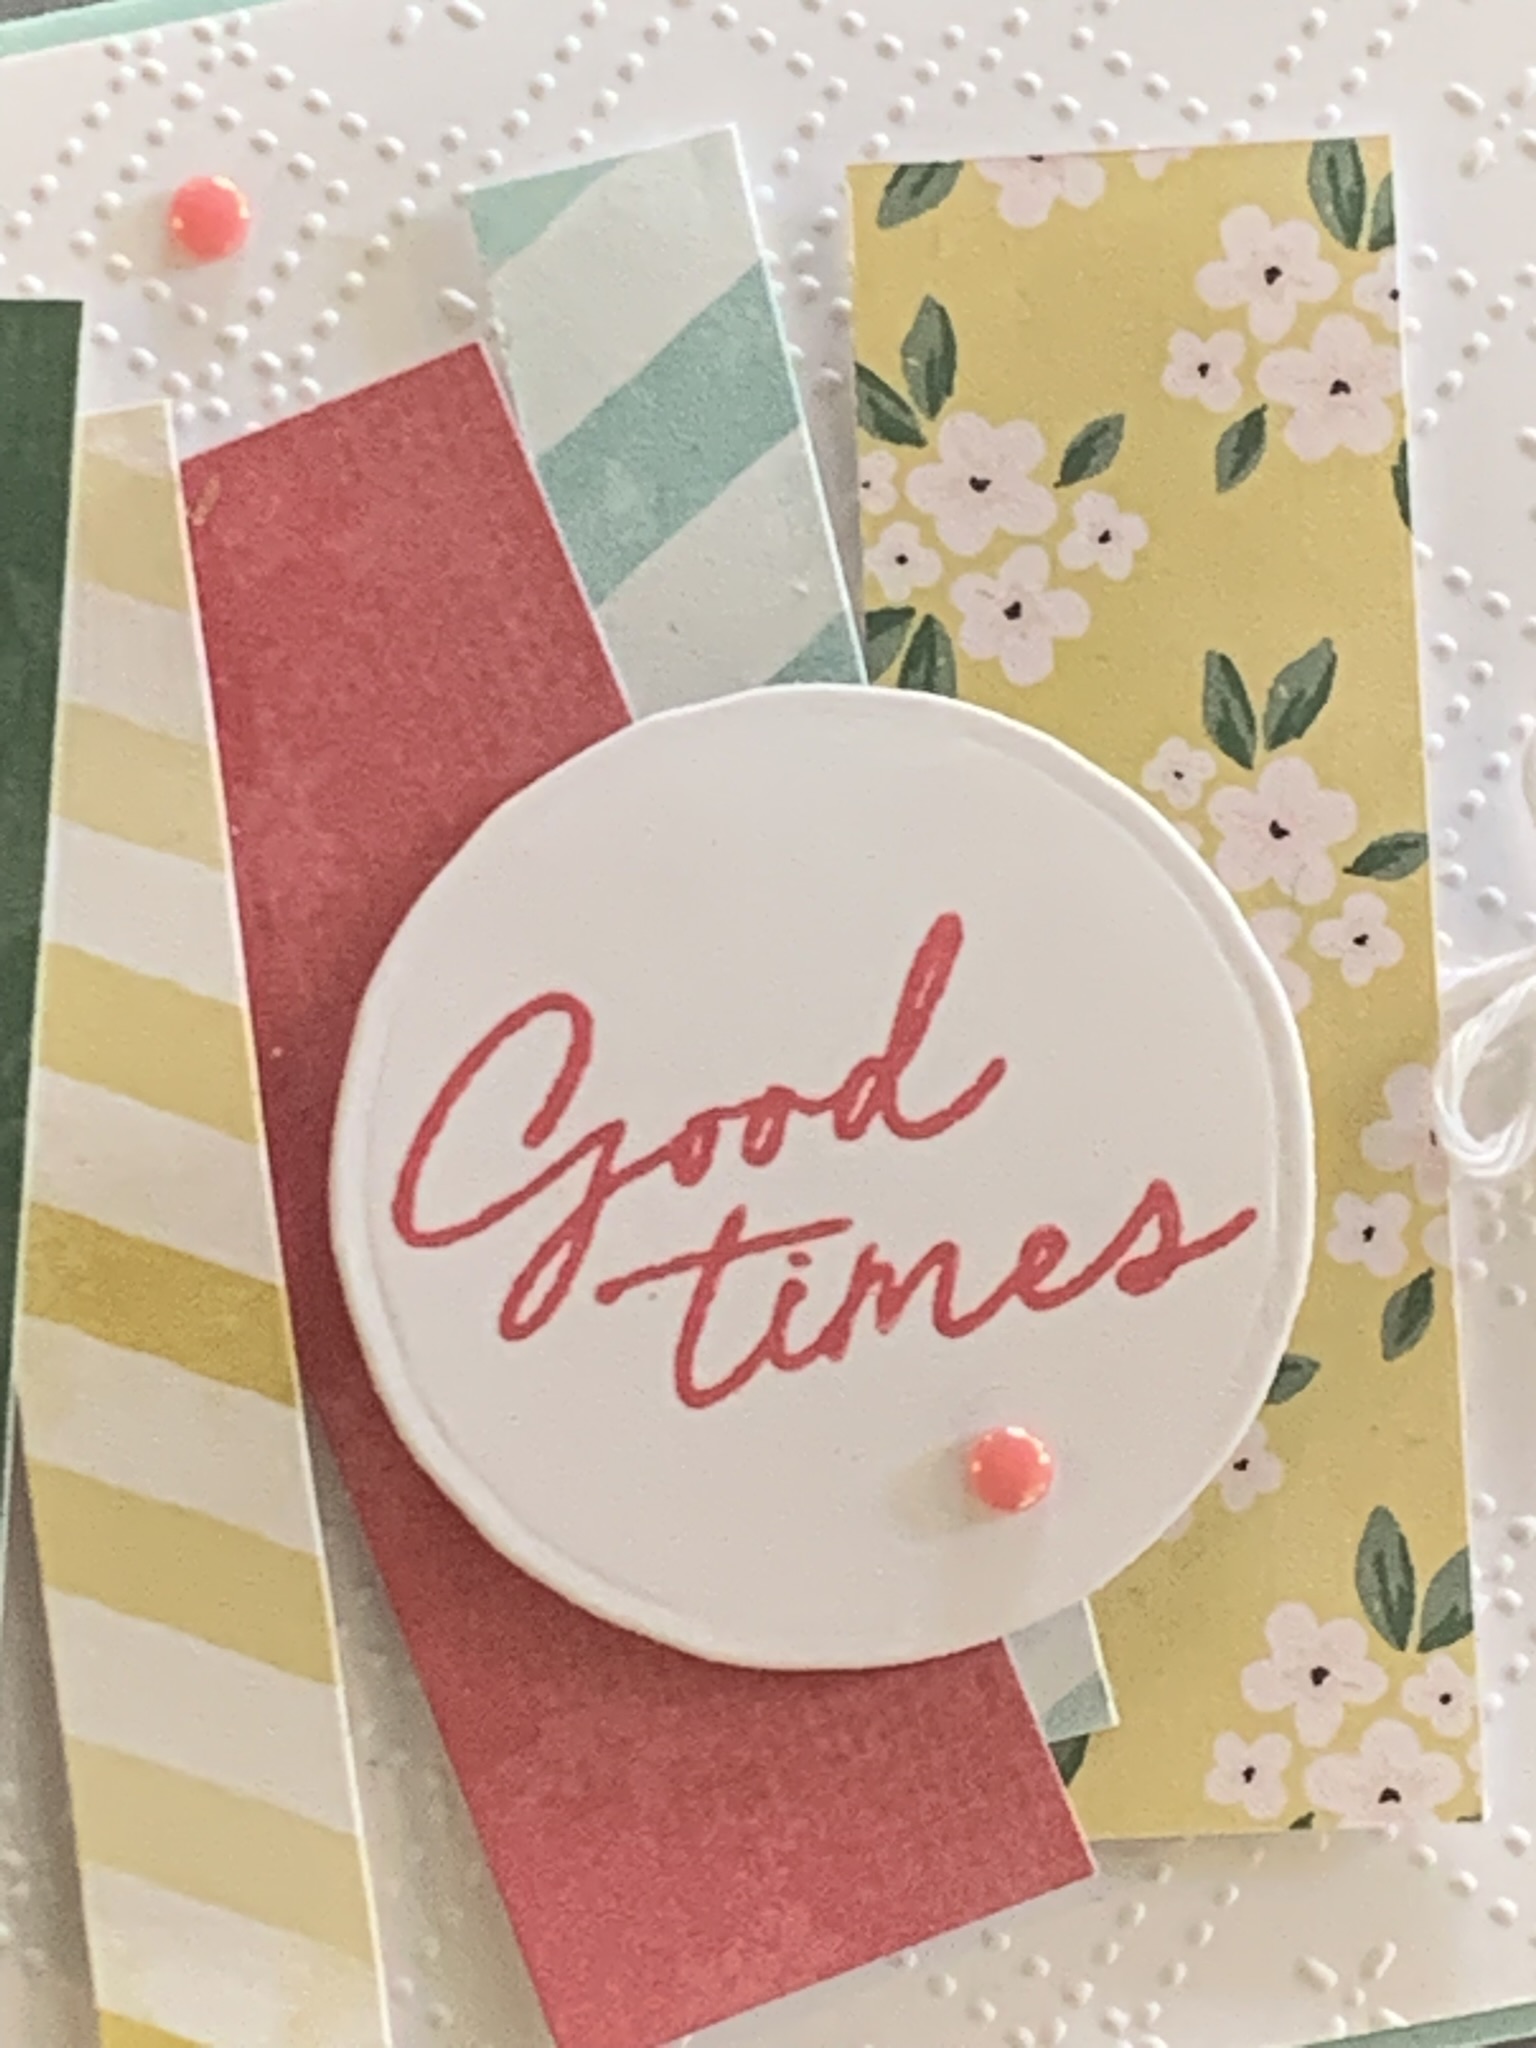
I especially enjoy layering elements at angles. Today I have two cards to share with you using this technique.
The first uses strips of card cut from a couple of the Memories & More cards.

The background was mounted onto a Secret Sea matte and then adhered to the cardbase.
I took a length of white twine and pulled it apart before tying it around one of the strips.
The strips were then overlapped, layered and then adhered to the card front using Multipurpose Glue and Stampin’ Dimensionals.
I die cut three scalloped strips and attached one to the card front, one inside the card and two on the back of the envelope.
The greeting was made using the Delightful Wishes Dies. Remember to use Adhesive Sheets on the back of your card before die cutting the layers.
To finish this card I added some Secret Sea Flat Pearls.
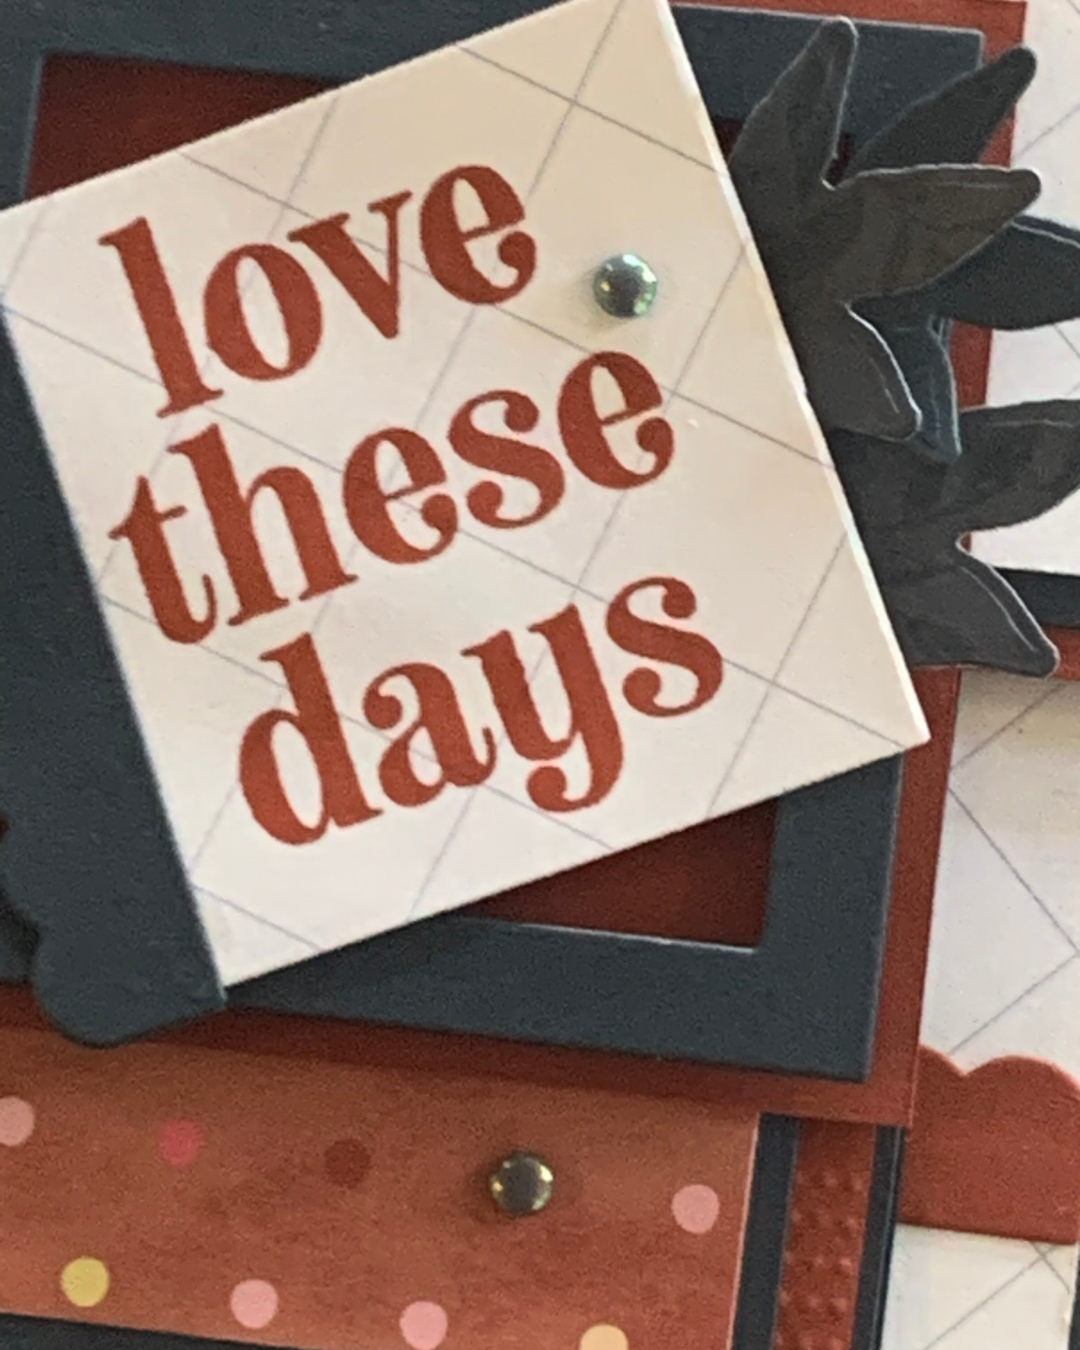
The next card features the Joyful Squares Stamp Set and Dies.

After attaching the butterfly garden card to a Secret Sea matte and white card base, I die cut three squares and layered and attached them.
The greeting was stamped and die cut then added to the card using Stampin’ Dimensionals.

I die cut 5 of the scalloped pieces and added them to the card insert and the back of the envelope.
To finish the card I added some Cloud Cover Flat Pearls.
So, what do think about these layering and angleing card elements?
Tomorrow, two more projects to share with you.
Until then, happy stamping and scrapbooking.

If you live in Australia, you can order any of the products I used to make this card by going to my online store. Just click on any of the images below.

![Joyful Squares Bundle (English) [ 166850 ]](https://i0.wp.com/assets1.tamsnetwork.com/images/EC042017NF/166850s.jpg?w=140&ssl=1 "Joyful Squares Bundle (English) [ 166850 ]") | ![Joyful Squares Dies [ 166849 ]](https://i0.wp.com/assets1.tamsnetwork.com/images/EC042017NF/166849s.jpg?w=140&ssl=1 "Joyful Squares Dies [ 166849 ]") | |||
![Delightful Wishes Dies (English) [ 164707 ]](https://i0.wp.com/assets1.tamsnetwork.com/images/EC042017NF/164707s.jpg?w=140&ssl=1 "Delightful Wishes Dies (English) [ 164707 ]") | ![2025–2027 In Color™ Flat Pearls [ 165192 ]](https://i0.wp.com/assets1.tamsnetwork.com/images/EC042017NF/165192s.jpg?w=140&ssl=1 "2025–2027 In Color™ Flat Pearls [ 165192 ]") | ![Baker's Twine Essentials Pack [ 155475 ]](https://i0.wp.com/assets1.tamsnetwork.com/images/EC042017NF/155475s.jpg?w=140&ssl=1 "Baker's Twine Essentials Pack [ 155475 ]") | ![Basic White A4 Cardstock [ 166781 ]](https://i0.wp.com/assets1.tamsnetwork.com/images/EC042017NF/166781s.jpg?w=140&ssl=1 "Basic White A4 Cardstock [ 166781 ]") | |
![Daffodil Delight A4 Card Stock [ 121680 ]](https://i0.wp.com/assets1.tamsnetwork.com/images/EC042017NF/121680s.jpg?w=140&ssl=1 "Daffodil Delight A4 Card Stock [ 121680 ]") | ![Pool Party A4 Card Stock [ 124391 ]](https://i0.wp.com/assets1.tamsnetwork.com/images/EC042017NF/124391s.jpg?w=140&ssl=1 "Pool Party A4 Card Stock [ 124391 ]") | ![Secret Sea A4 Cardstock [ 165296 ]](https://i0.wp.com/assets1.tamsnetwork.com/images/EC042017NF/165296s.jpg?w=140&ssl=1 "Secret Sea A4 Cardstock [ 165296 ]") | ![Multipurpose Liquid Glue [ 110755 ]](https://i0.wp.com/assets1.tamsnetwork.com/images/EC042017NF/110755s.jpg?w=140&ssl=1 "Multipurpose Liquid Glue [ 110755 ]") | ![Stampin' Dimensionals [ 104430 ]](https://i0.wp.com/assets1.tamsnetwork.com/images/EC042017NF/104430s.jpg?w=140&ssl=1 "Stampin' Dimensionals [ 104430 ]") |
![Mini Glue Dots [ 103683 ]](https://i0.wp.com/assets1.tamsnetwork.com/images/EC042017NF/103683s.jpg?w=140&ssl=1 "Mini Glue Dots [ 103683 ]") | ![Adhesive Sheets [ 152334 ]](https://i0.wp.com/assets1.tamsnetwork.com/images/EC042017NF/152334s.jpg?w=140&ssl=1 "Adhesive Sheets [ 152334 ]") | ![Paper Snips [ 103579 ]](https://i0.wp.com/assets1.tamsnetwork.com/images/EC042017NF/103579s.jpg?w=140&ssl=1 "Paper Snips [ 103579 ]") | ![Paper Trimmer [ 152392 ]](https://i0.wp.com/assets1.tamsnetwork.com/images/EC042017NF/152392s.jpg?w=140&ssl=1 "Paper Trimmer [ 152392 ]") | ![Mini Stampin' Cut & Emboss Machine [ 150673 ]](https://i0.wp.com/assets1.tamsnetwork.com/images/EC042017NF/150673s.jpg?w=140&ssl=1 "Mini Stampin' Cut & Emboss Machine [ 150673 ]") |
![Basic White C6 Envelopes [ 159235 ]](https://i0.wp.com/assets1.tamsnetwork.com/images/EC042017NF/159235s.jpg?w=140&ssl=1 "Basic White C6 Envelopes [ 159235 ]") |
![Days Like This Memories & More Card Pack [ 166911 ]](https://i0.wp.com/assets1.tamsnetwork.com/images/EC042017NF/166911s.jpg?w=140&ssl=1 "Days Like This Memories & More Card Pack [ 166911 ]")
![Assorted Memories & More Cards & Envelopes [ 149710 ]](https://i0.wp.com/assets1.tamsnetwork.com/images/EC042017NF/149710s.jpg?w=140&ssl=1 "Assorted Memories & More Cards & Envelopes [ 149710 ]")
![Joyful Squares Photopolymer Stamp Set (English) [ 166847 ]](https://i0.wp.com/assets1.tamsnetwork.com/images/EC042017NF/166847s.jpg?w=140&ssl=1 "Joyful Squares Photopolymer Stamp Set (English) [ 166847 ]")
![Garden Green 1/8" (3.2 Mm) Chevron Ribbon [ 167212 ]](https://i0.wp.com/assets1.tamsnetwork.com/images/EC042017NF/167212s.jpg?w=140&ssl=1 "Garden Green 1/8\" (3.2 Mm) Chevron Ribbon [ 167212 ]")



![Square Snippets 12" X 12" (30.5 X 30.5 Cm) Designer Series Paper [ 166993 ]](https://i0.wp.com/assets1.tamsnetwork.com/images/EC042017NF/166993s.jpg?w=140&ssl=1 "Square Snippets 12\" X 12\" (30.5 X 30.5 Cm) Designer Series Paper [ 166993 ]")
![All In A Row Embossing Folder [ 166989 ]](https://i0.wp.com/assets1.tamsnetwork.com/images/EC042017NF/166989s.jpg?w=140&ssl=1 "All In A Row Embossing Folder [ 166989 ]")
![Strawberry Slush Classic Stampin' Pad [ 165286 ]](https://i0.wp.com/assets1.tamsnetwork.com/images/EC042017NF/165286s.jpg?w=140&ssl=1 "Strawberry Slush Classic Stampin' Pad [ 165286 ]")
![Stampin' Cut & Emboss Machine [ 149653 ]](https://i0.wp.com/assets1.tamsnetwork.com/images/EC042017NF/149653s.jpg?w=140&ssl=1 "Stampin' Cut & Emboss Machine [ 149653 ]")



![2025–2027 In Color™ 6" X 6" (15.2 X 15.2 Cm) Designer Series Paper [ 165300 ]](https://i0.wp.com/assets1.tamsnetwork.com/images/EC042017NF/165300s.jpg?w=140&ssl=1 "2025–2027 In Color™ 6\" X 6\" (15.2 X 15.2 Cm) Designer Series Paper [ 165300 ]")
![Cajun Craze A4 Card Stock [ 121683 ]](https://i0.wp.com/assets1.tamsnetwork.com/images/EC042017NF/121683s.jpg?w=140&ssl=1 "Cajun Craze A4 Card Stock [ 121683 ]")
![Cajun Craze Classic Stampin' Pad [ 147085 ]](https://i0.wp.com/assets1.tamsnetwork.com/images/EC042017NF/147085s.jpg?w=140&ssl=1 "Cajun Craze Classic Stampin' Pad [ 147085 ]")




