Welcome to another Colour INKspiration Challenge.
This inspiration picture which has inspired our colour palette was chosen by Crew Member, Bronwyn Eastley.
Picture credit – https://medium.com/@FaSBlog/rhapsody-in-blue-five-ideas-for-working-blue-into-your-decor-668da2d3d233

As well as the chosen colour combination for #CI152, Gray Granite, Starry Sky and Night of Navy, you may also add Basic White, Very Vanilla, Crumb Cake, and metallics to your project. We also allow Ivory, Bronze and Natural Tones in Stampin’ Blends. If you don’t have the colours in our palette, feel free to use the closest Stampin’ Up! substitute.
To get your creative ideas flowing make sure you check out the Crew’s Projects in the CI#152 album.
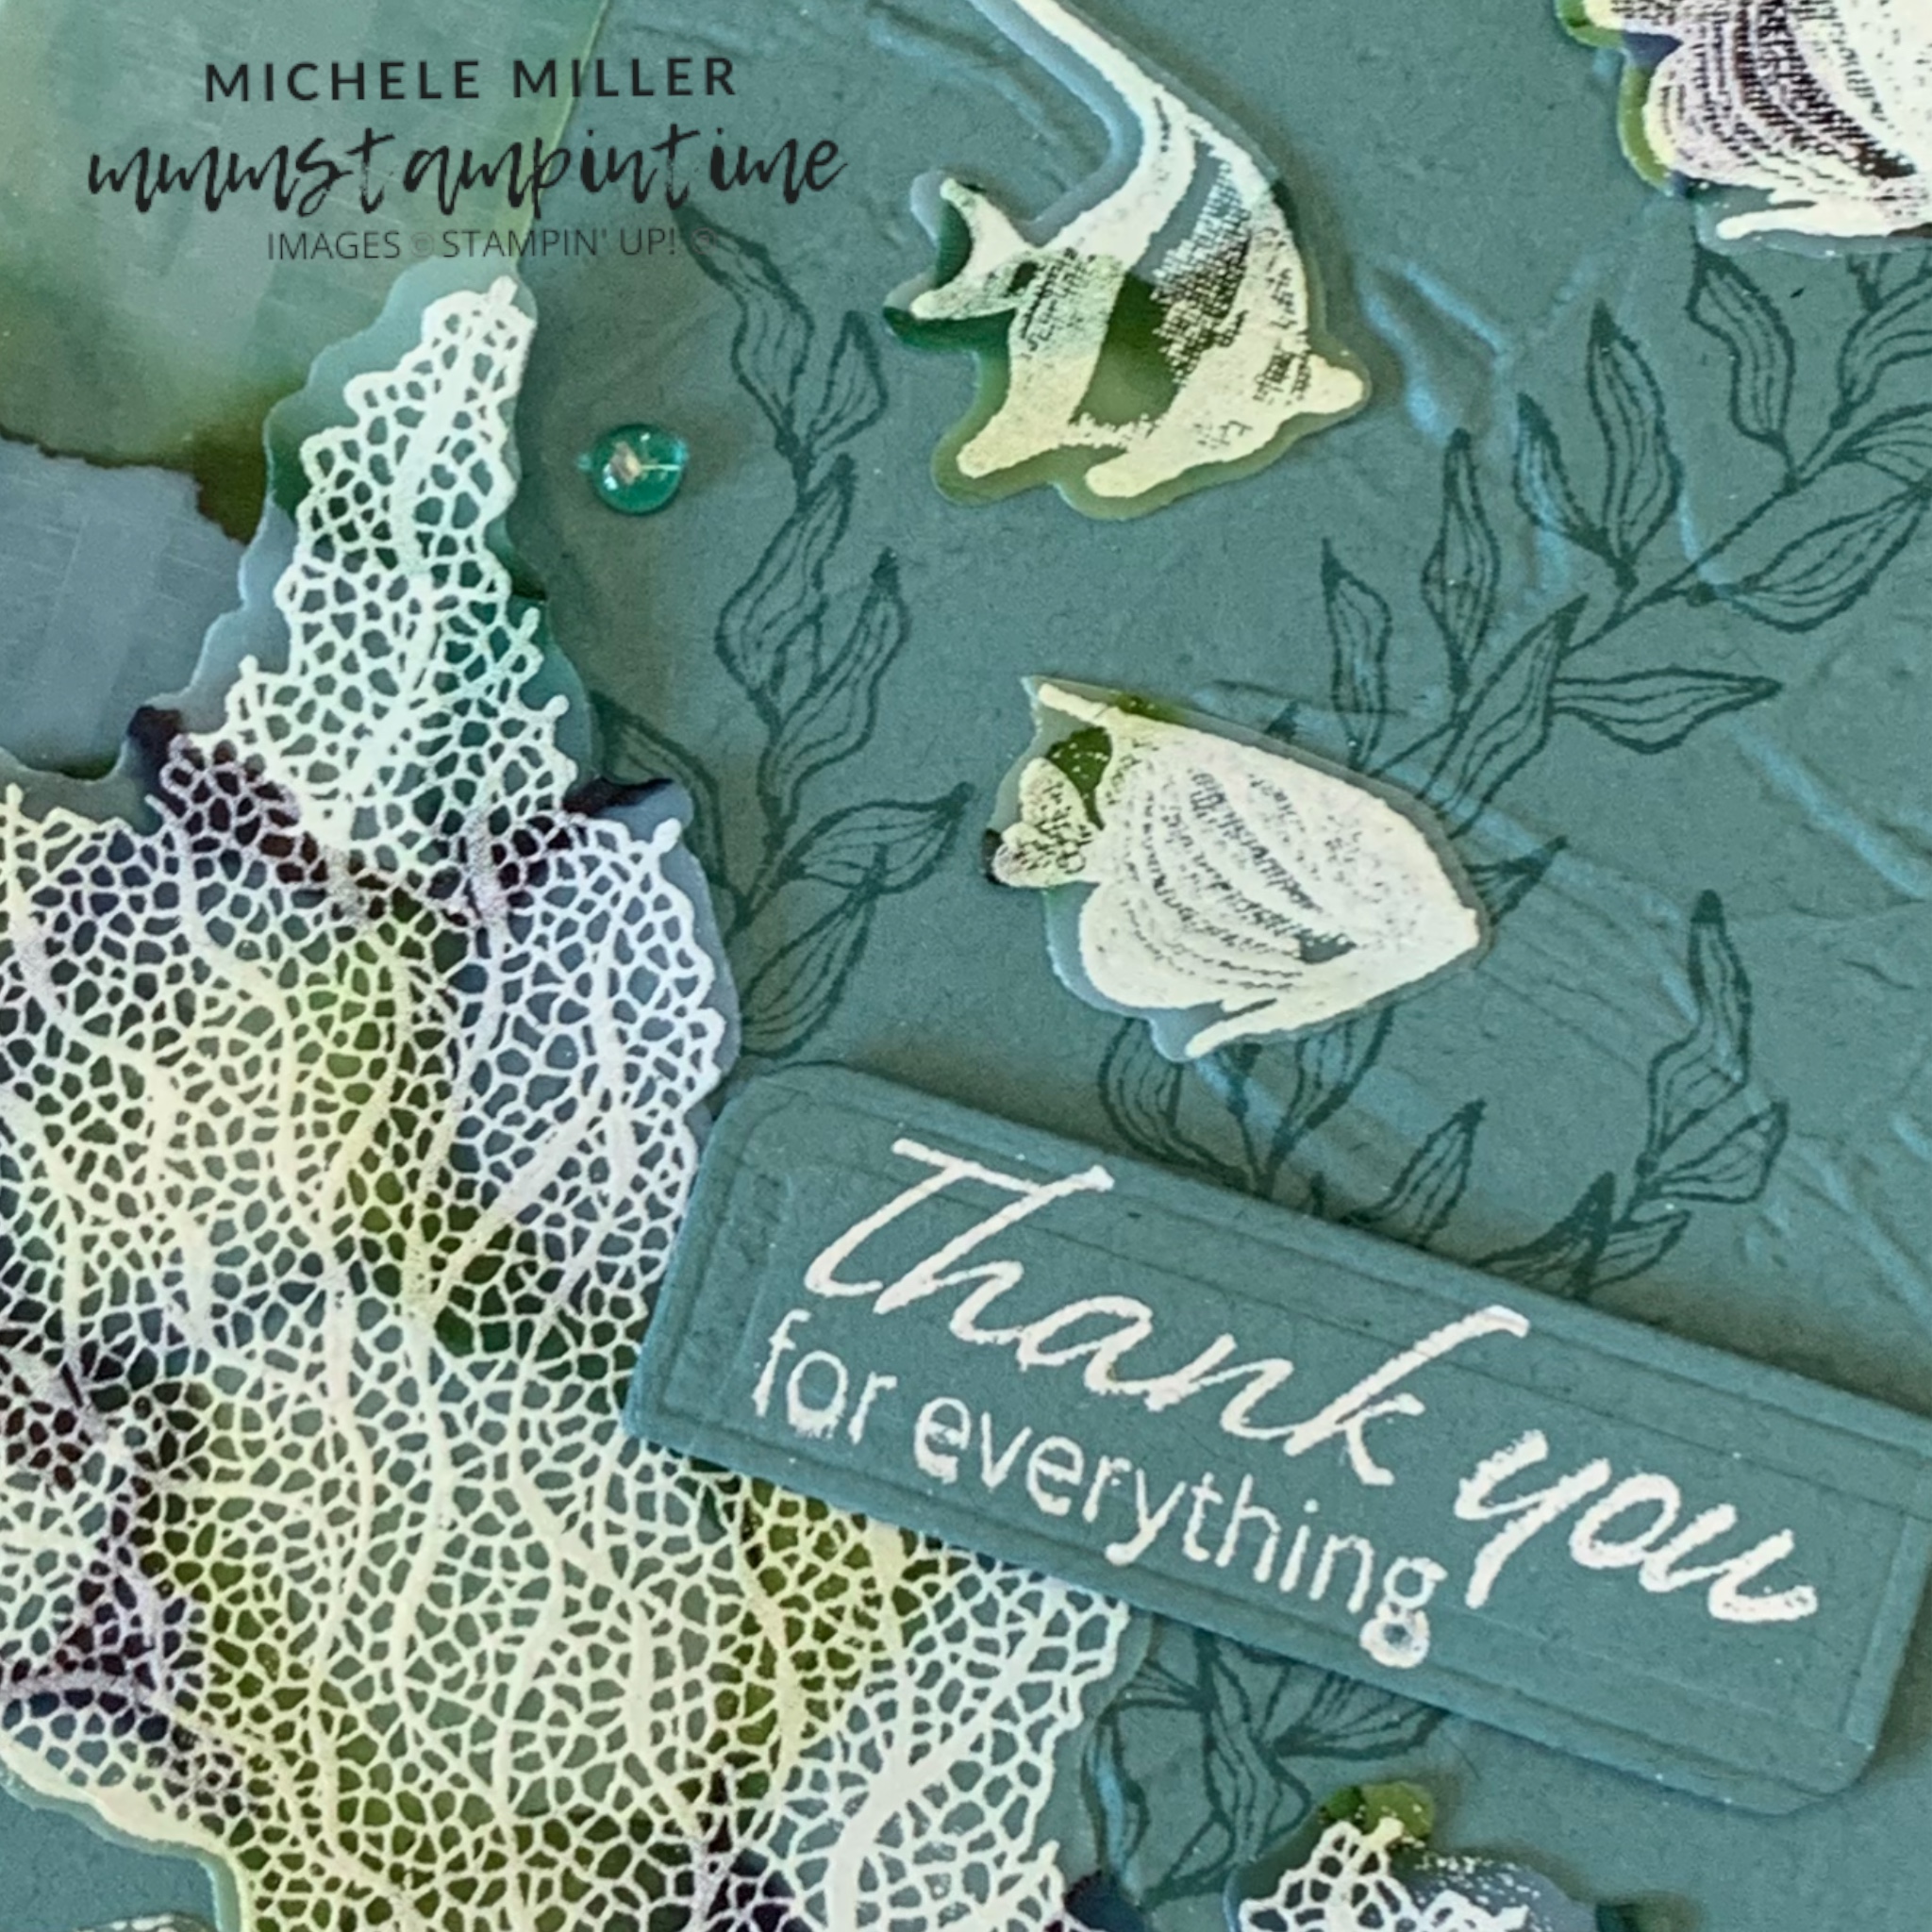
For this challenge, I was definitely inspired by the picture chosen to inspire us. I have featured the Beauty of the Deep Bundle and the Something Fancy Bundle.

I started by folding the Starry Sky card base into a landscape tent fold. Then I stamped the small scattered ‘bubbles’ onto the card front using Night of Navy ink.
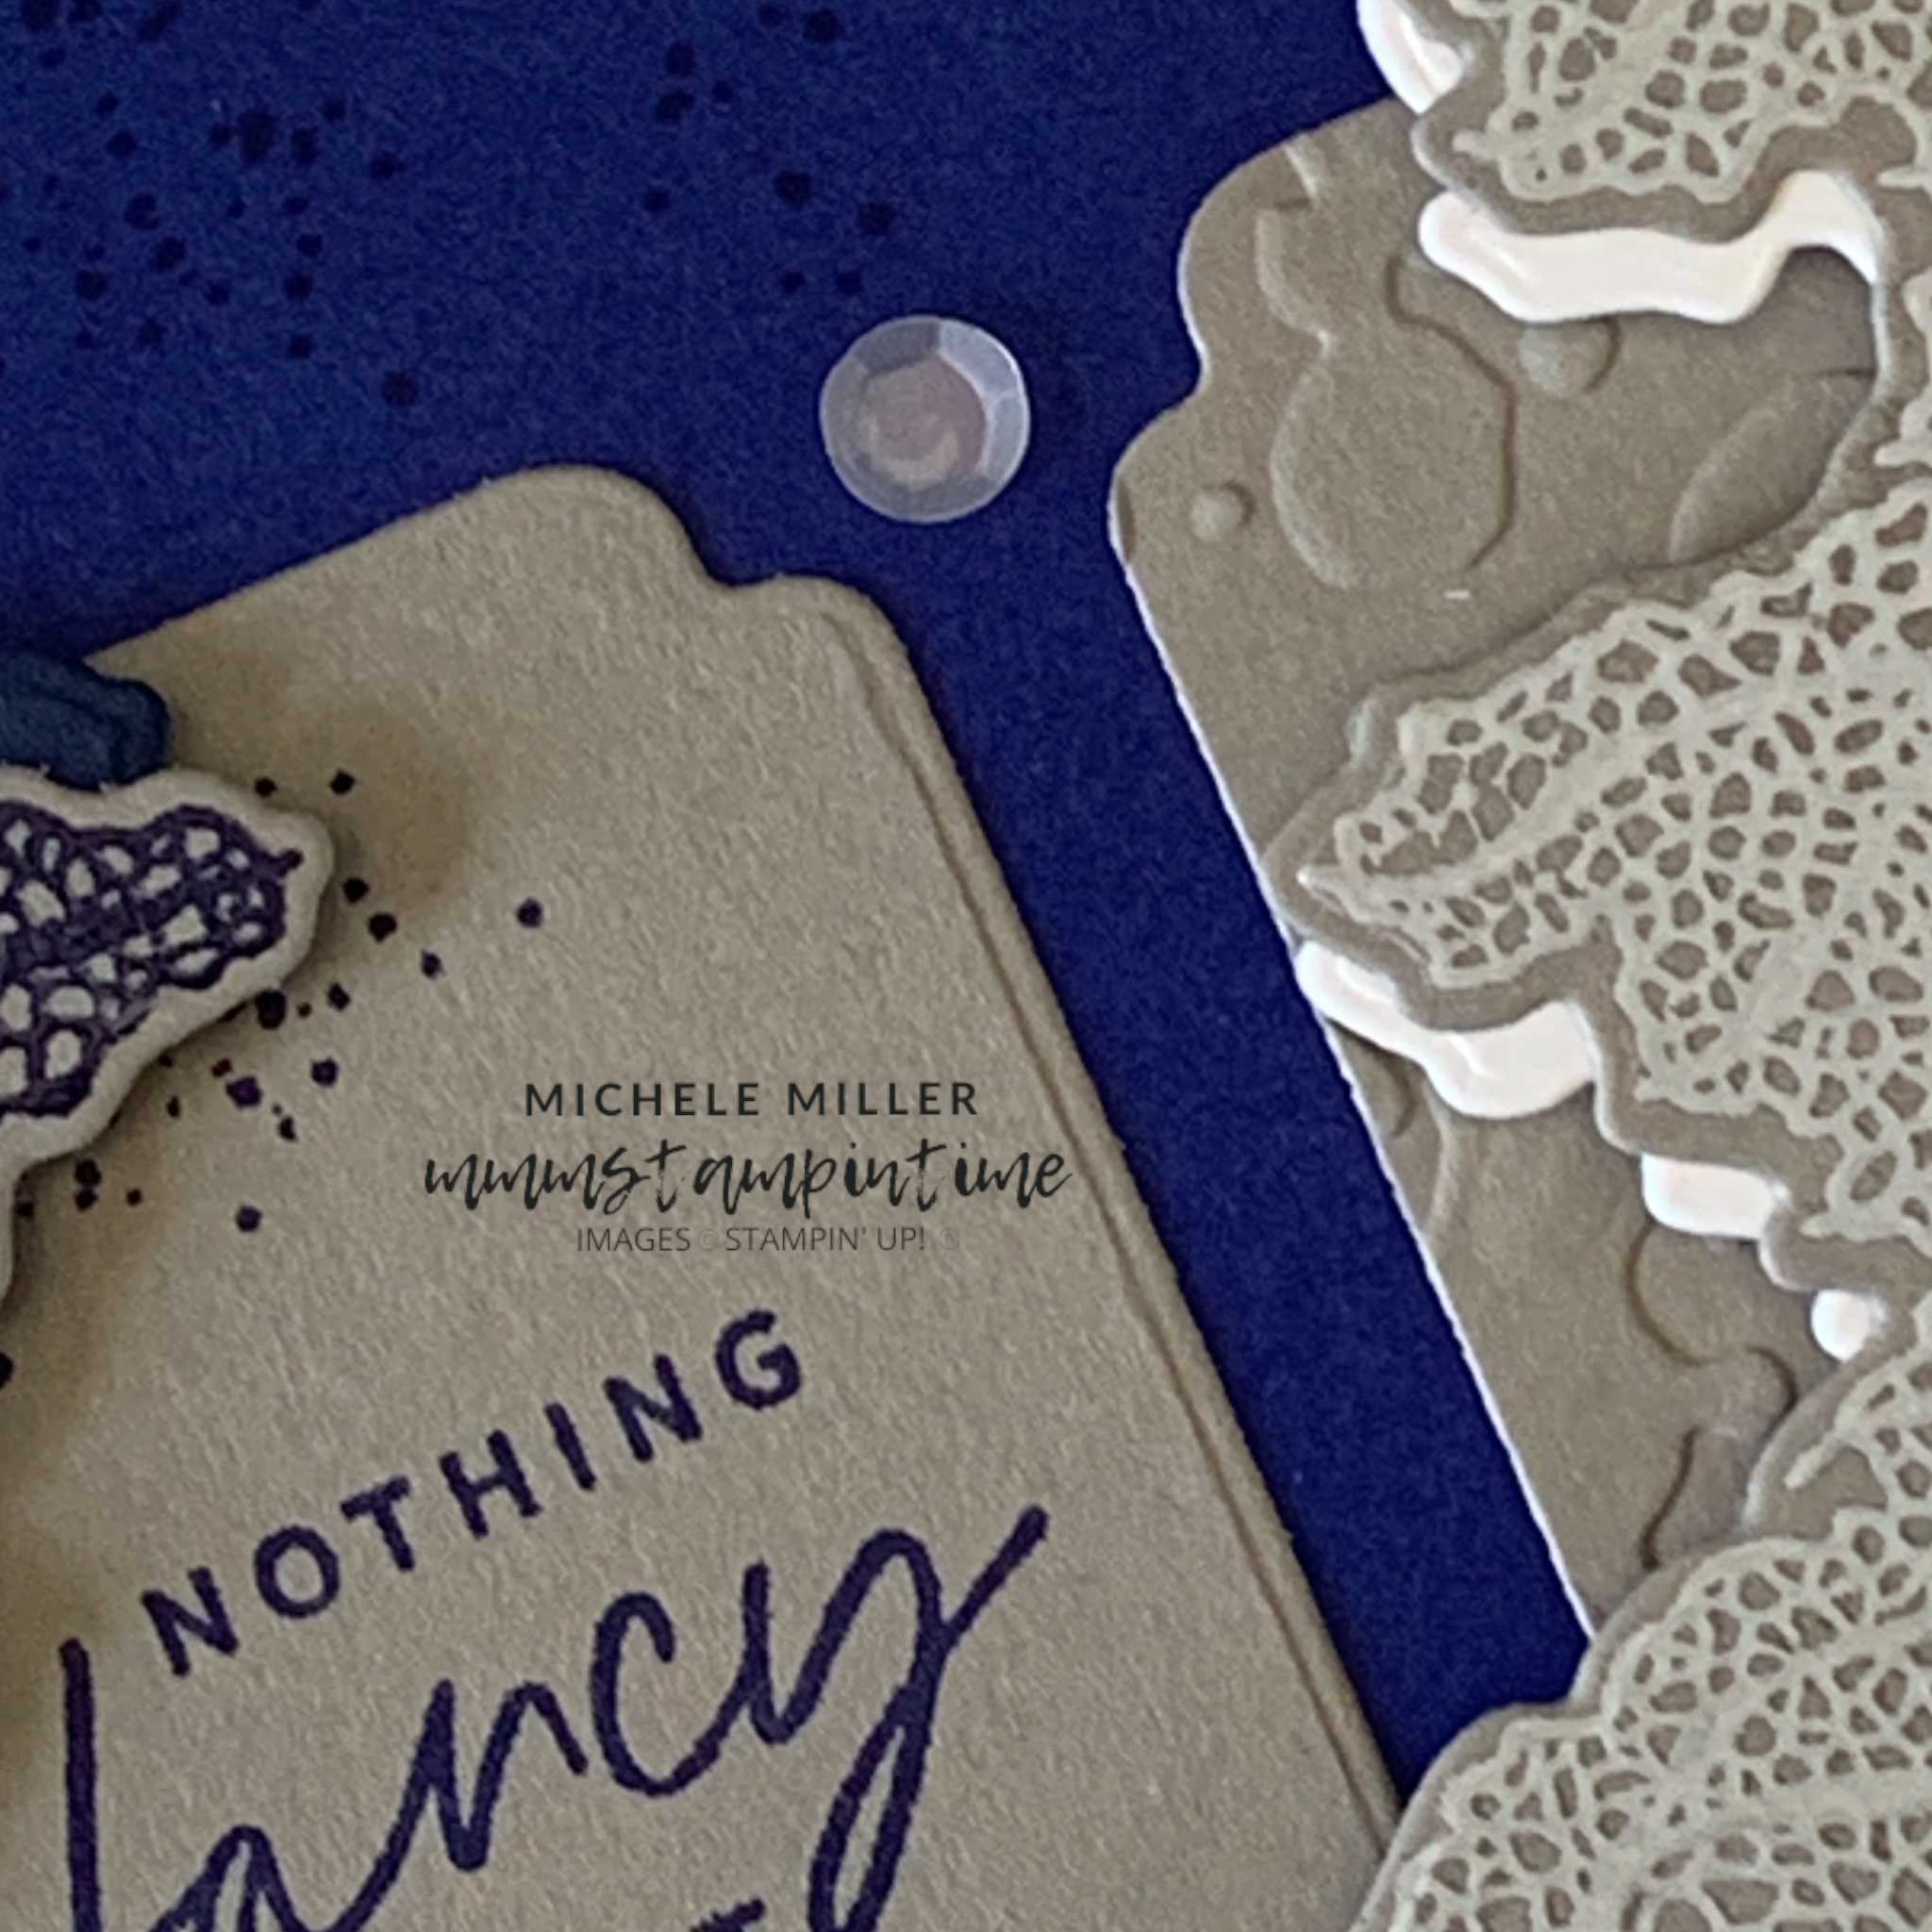
The next step was to cut three Gray Granite panels using the Somethin Fancy Dies. Two of the panels were embossed with splatters from the Stripes & Splatters 3D Embossing Folders. The centre panel was stamped using a greeting from the coordinating Something Fancy Cling Stamp Set.

I chose the sea fan image from the Beauty of the Deep Cling Stamp Set. The image was stamped twice – once in Whisper White and then in Night of Navy, onto Gray Granite cardstock. They were both stamped using the now retired Stamparatus because I stamped each of the images again using Versamark and then heat embossing the Clear powder to give the images a glossy finish.
The images were cut using the Beuaty of the Deep Dies. I also cut the same fan shape in Basic White and Night of Navy to create a shadow background for the images. The shadow layers were offset and adhered behind the stamped and embossed images.

The panels were adhered directly onto the card front .
The layered fan images were then positioned on each side of the card using Stampin’ Dimensionals.
The same fan image was stamped on the card insert and envelope.
The finishing touch was to add some white sequins, from the Adhesive-Backed Sequins Trio, to the card front.


These two stamp sets worked well together. The Something Fancy Dies have laods of great shapes to use for cutting greetings.

Tomorrow I have something completely different to share with you. Until then, happy stamping.

If you live in Australia, you can order any of the products I used to make this card by going to my online store. Just click on any of the images below.

 |  |  | ") | |
 |  |  |  | |
 |  |  |  | |
 |  |  |  | |
 |  |  |  |
")


")
")


