Posted on Leave a comment

TIME FOR A SUNDAY SHARE

Today I want to share my project for this week’s Global Design Project. This week it is a theme challege.

If you click on the image below, you will go to the GDP site and you can see all the amazing projects created by the design crew and other crafters who are participating.

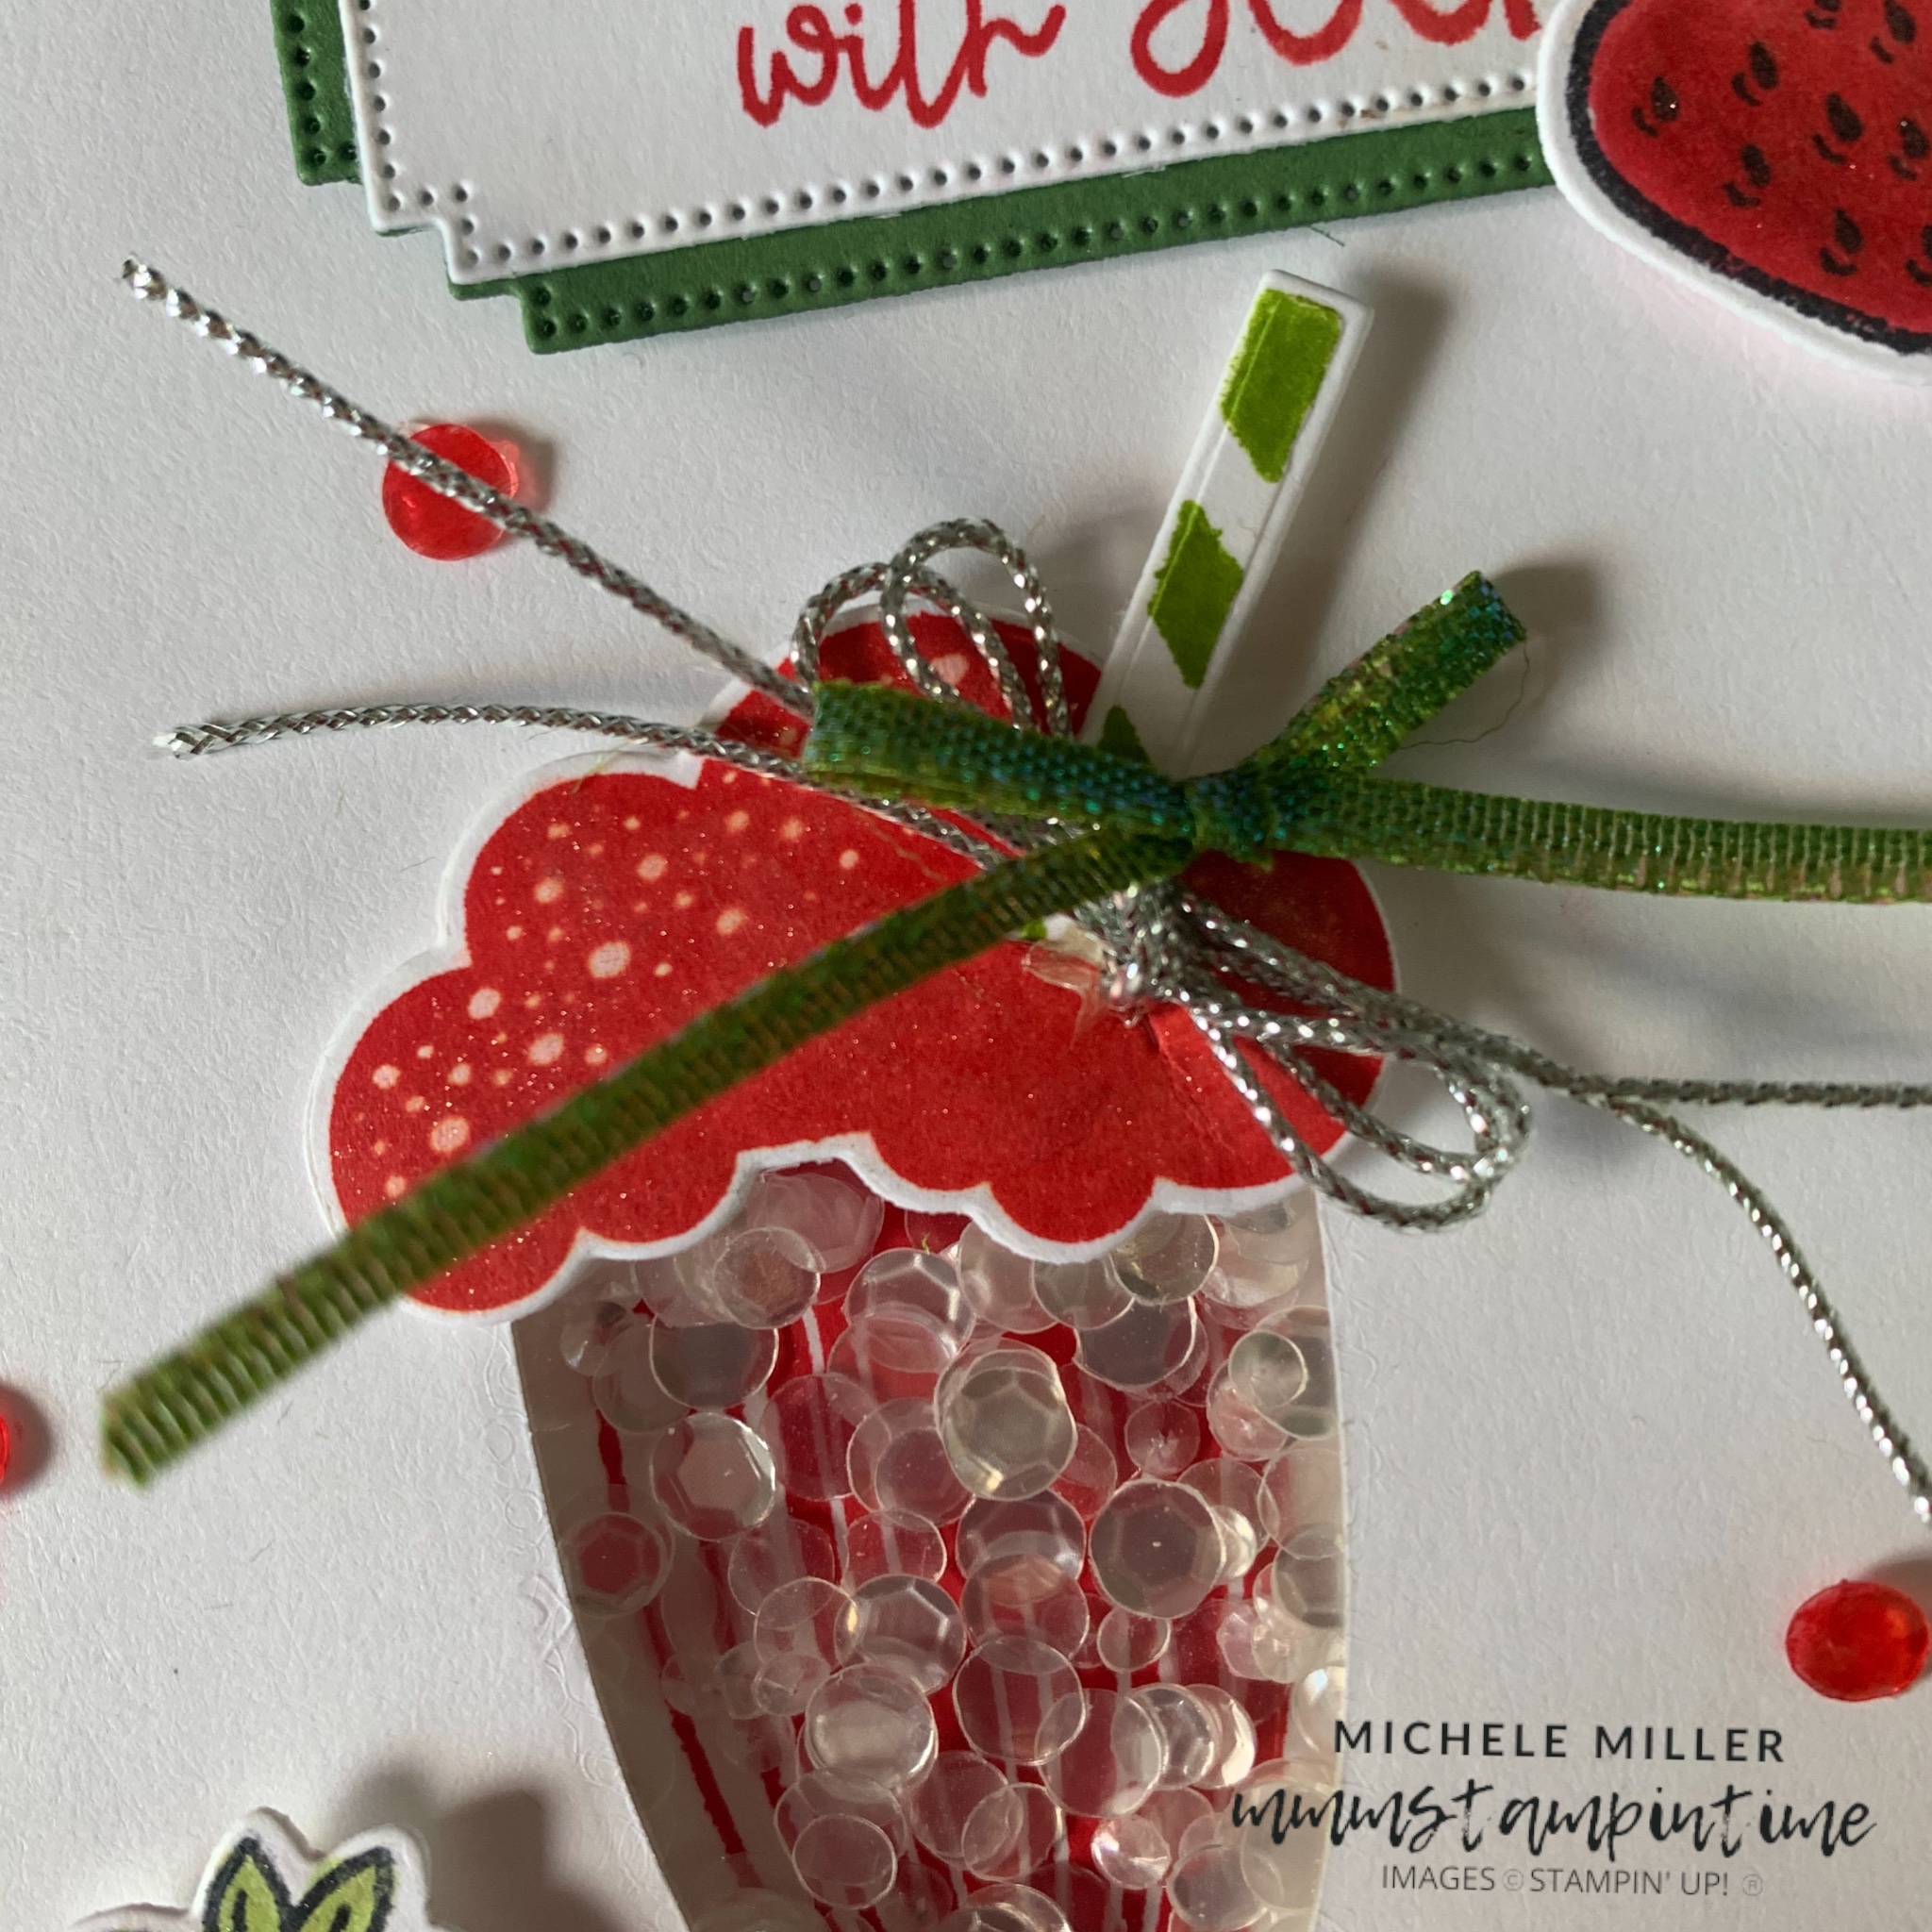
For my project, I decided to combine the Share a Milkshake and Simply Sparkling Bundles, to make a milkshake shaker card.

I started by cutting out the milkshake glass. This panel worked as a perfect template to stamp the glass filler image onto a second Basic White panel.

I secured a Window Sheet panel behind the die cut layer and then added lengths of Foam Adhesive Sheets to create the shaker space.

For the shaker shimmer, I used the Loose Silver Sequins. After I had added then over the stamped image, I secured the top layer to the base.

The Basic White layers were then adhered to a Poppy Parade card base.

I stamped, coloured and die cut the frothy milkshake top. After stamping and cutting the Granny Apple Green straw, I inserted it into the ‘froth’ and secured it in place with some Tear & Tape.

Stampin’ Dimensionals were attached to the back of the froth and then it was added to the top of the glass.

I stamped, coloured and die cut several strawberries. After painting them with some Clear Wink of Stella, I added them around the base of the glass using Multipurpose Glue and Stampin’ Dimensionals.

The greeting, from the Share a Milkshake Stamp Set, was stamped in Poppy Parade. Then it was cut using one of the Autumn Leaves Dies. I also cut two Granny Apple Green layers that were staggered under the greeting layer.

I placed dimensionals under the greeting layers and positioned it on the card front. Then I added an extra strawberry to the greeting layers.

I coloured and trimmed down a length of White Iridescent Ribbon before tying it into a bow. Using silver trim, from the Simply Elegant Trim, I tied a double bow. I used Mini Glue Dots to attach both of these bows just under the straw.

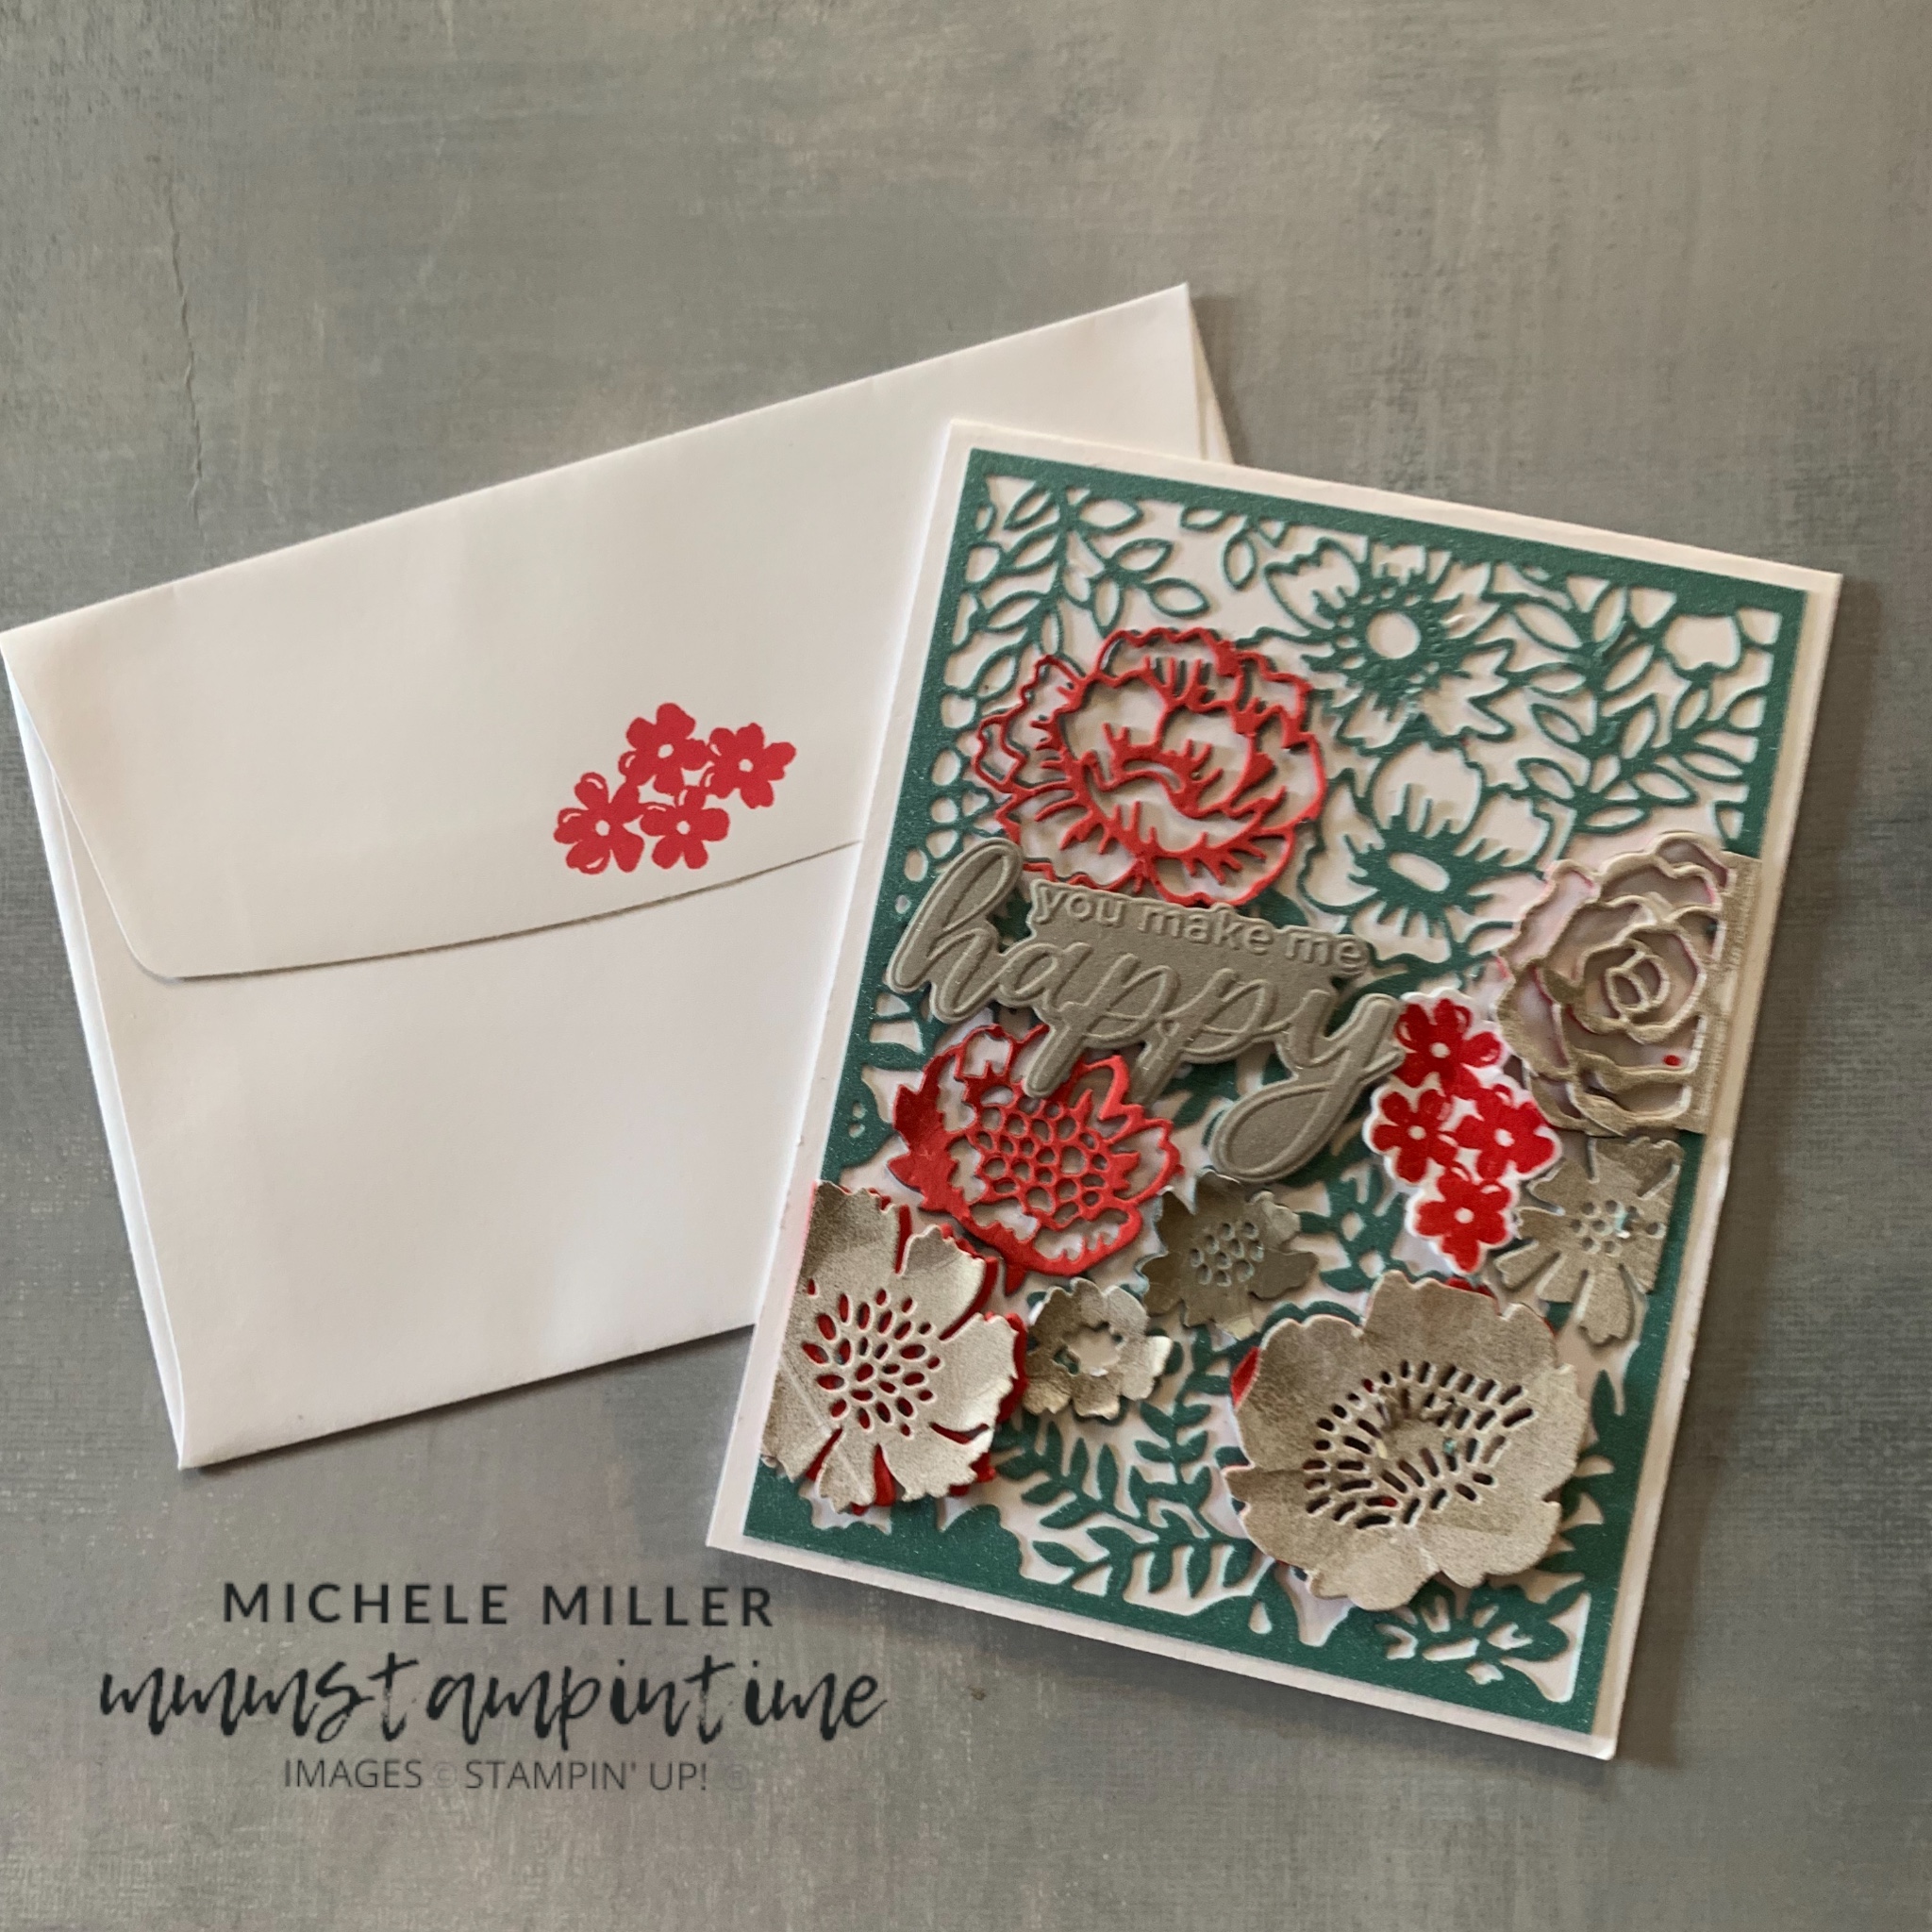
The two extra strawberries were added to the card insert and the back of the envelope.

Finally, I used the Dark Poppy Parade Stampin’ Blend Pen to colour some of the Loose Silver Sequins. They were attached to the card front using Mini Glue Dots.

I am very happy with this very sweet little card. What do you think?

Tomorrow, I will start the week with a new collection of projects featuring the Beach Day Bundle.

Until the, happy stamping.

If you live in Australia, you can order any of the products I used to make this card by going to my online store. Just click on any of the images below.

Product List
Paper Snips
[103579]
$19.25
Posted on Leave a comment

IT IS SUNDAY & TIME TO SHARE MY GLOBAL DESIGN PROJECT CHALLENGE PROJECT

I only have a few more weeks to participate in the weekly Global Design Project challenges because Rob and I are heading overseas for 10 weeks!

These weekly challenges ensure that I am always looking to create a project to meet the challenge guidelines. So often these challenges take me outside my comfort zone.

The week #GDP437 is a colour challenge.

For this challenge I chose one of the new bundles from the 2024 – 2025 Annual Catalogue – Country Flowers Bundle.

The technique I decided to use was the Clear Wink of Stella ‘water colouring’ technique.

After I stamped and die cut the bouquet of flowers and teapot I added ink directly from my Classic Stampin’ Pads onto clear blocks painted the images using the Clear Wink of Stella brush.

I used a Basic White card base and two matte layers; one in Shaded Spruce and one in Highland Heather.

The Highland Heather layer was embossed with the new So Swirly Embossing Fodler.

The Coastal Cabana and Basic White layers were cut using the new Country Flowers Dies.

I wrapped a length of Silver & White Sheer Ribbon arond the embossed Highland Heather layer and tied a bow. Then I added two lengths of silver trim from the Simply Elegant Trim bundle, and tied an extra double bow.

The Highland Heather layer was then adhered to the Shaded Spruce layer and secured on the white card base.I added Stampin’ Dimensionals to the back of both the Coastal Cabana and Basic White die cut circles.

These were layered together before being trimmed along the right hand side. Then I added these circles onto the card front, over the ribbon.

The greeting was stamped and trimmed before being positioned on the front of the card using a strip from the edge of the dimensionals sheet.

I added the teapot to the white circle and then added the bouquet. These were both secured with Stampin’ Dimensionals.

‘Flower Market’ was stamped inside the card and on the back of the envelope.

Finally, I added some of the Purple Fine Shimmer Gems to the card front.

I had made an earlier card for this challenge, but I didn’t like it as much as this one.

Here is my first endeavour:

For this card I used almost the same products. Instead of the So Swirly Embossing Folder, I used the new Dotted Circle 3D Embossing Folder.

I stamped the images directly onto the Basic White circle for this project.

I used different dies from the Country Flowers Dies set and coloured the Silver & White Sheer Ribbon.

I won’t be able to provide you with a shopping link until these new products go live for customers, from May. I hope in the descriptions I have given you will know what I have used for these projecrs.

Until next, happy stamping.

Posted on Leave a comment

STAMPIN’ SUNDAY & TIME FOR SOME MORE SHARING

I usually share this post on a Saturday but yesterday was a bit hectic.

The project I want to share with you is my submission for this week’s Global Design Project.

#GDP429 is a colour challenge and the colours are:

Make sure that you pop over to http://www.global-design-project.com/2024/01/global-design-project-429-color.html to see all the amazing cards made by the GDP Team.

It took me three attempts to find the card I was really happy with. I’ll share that one first and thenshow you my first and second attempts.

For this card, I chose the Hooray for Surprises Stamp Set and the Heartfelt Hexagon Bundle … and, some bubble wrap.

This is the first time that I have used bubble wrap to colour a background. I definitely had inky fingers by the time I had finished.

I used all three challenge colours to bubble wrap the Basic White panel. Then I adhered it to a Lost Lagoon card base.

I stamped and punched each of the hexagons using all three colours. Then I stamped the cakes, candle with heart, flowers and the greeting.

I took a length of Lost Lagoon Bordered Ribbon and looped it under the greeting hexagon.

My next step was to work out the positioning of each of the stamped hexagons. When I was happy with where they were, I trimmed some and adhered them all to the background layer. I used Multipurpose G;ue and stampin’ Dimensionals for this

I stamped the cake on both the card insert and envelope.

Finally, I added some Lost Lagoon embellishments, from the Tinsel Gems THree Pack, for a little bling.

My first attempt used a different colouring technique. I wanted to apply the three colours using the new Stampin’ Brayer. After using the brayer, I ran the panel through the Stampin’ Cut & Emboss Machine with the Basics 3D Crosshatch Embossing Folder.

I thought the coloured and embossed panel was okay, but didn’t really know where to go after I attached it to a Lost Lagoon card base with dimensionals.

The Just My Type Stamp Set was what I chose to use. I stamped three typewriters, three ‘sheets of paper’ and six mini envelopes.

I stamped the ‘sheets of paper’ with a greeting, a heart and some flowers.

After lots of fussy cutting I took the cutting blade from the Take Your Pick Crafters Tips and inserted it into my Take Your Pick Tool. I made some cuts in the typewriter, near the roller, so that I could insert the ‘paper’.

The typewriters were attached to the card front using dimensionals.

Then I slipped the envelopes in the typewriters. To secure them, I popped some Mini Glue Dots on the back of each envelope.

I added more of the stamped and fussy cut envelopes to the card insert and envelope.

Some more of the Lost Lagoon gems were added to the card front.

This card is alright but it doesn’t jump out at me as one of my better creations. So I decided to make another card.

For card number two I opted for the Two-tone Floral Bundle and Thoughtful Moments Dies and Embossing Folder.

I started by attaching Adhesive Sheet to the back of a Lost Lagoon Soft Shimmer Paper panel before die cutting the large background die.

After adhering this die cut layer, I cut this die again using a piece of Grey Granite brayered cardand a piece of Poppy Parade card. I fussy cut all the flowers and added them to the card front.

I stamped and die cut the four small flowers and added them as well (in hindsight, a mistake).

This card would have looked so much better without the stamped flowers.

Of all these cards, the first one is my favourite. Which is yours?

Tomorrow I will start to share a different Sale-a-bration Stamp Set each day.

Until then, happy stamping.

If you live in Australia, you can order any of the products I used to make this card by going to my online store. Just click on any of the images below.

Product List
Paper Snips
[103579]
$19.25

Then I used the Thoutful Moments Die and Embossing Folder to use the ‘you make me happy’ greeting. Before attaching it to the card front, I painted it with Wink of Stella to add some shimmer to the card.

I stamped the four small flowers to inside the card and on the envelope.

This card