So here is this week’s update!
Firstly, I have some sad news. The manufacturer of the Paper Snips Scissors (103579) is no longer making this product. Believe it or not, there are no paper snips available – they existing Australian stock is already gone.
Something amazing is in the works! After months of planning (and years of discussion!), Stampin’ Up! is rolling out a brand-new promotion for demonstrators and customers: the Product of the Month! Stay tuned for more information.
Here is today’s project.

I started with a Basic White card base.
One of the Petal Pink and white strip cards was cut in half and trimmed to coordinate with the card base.
Before attaching the striped panel to the card base I took a length of Petal Pink Braided Trim and pulled it apart. I took five strands and wrapped them around the panel, tied a knot and secured them with Tear and Tape.
After I added the striped panel to the card base using Stampin’ Dimensionals.
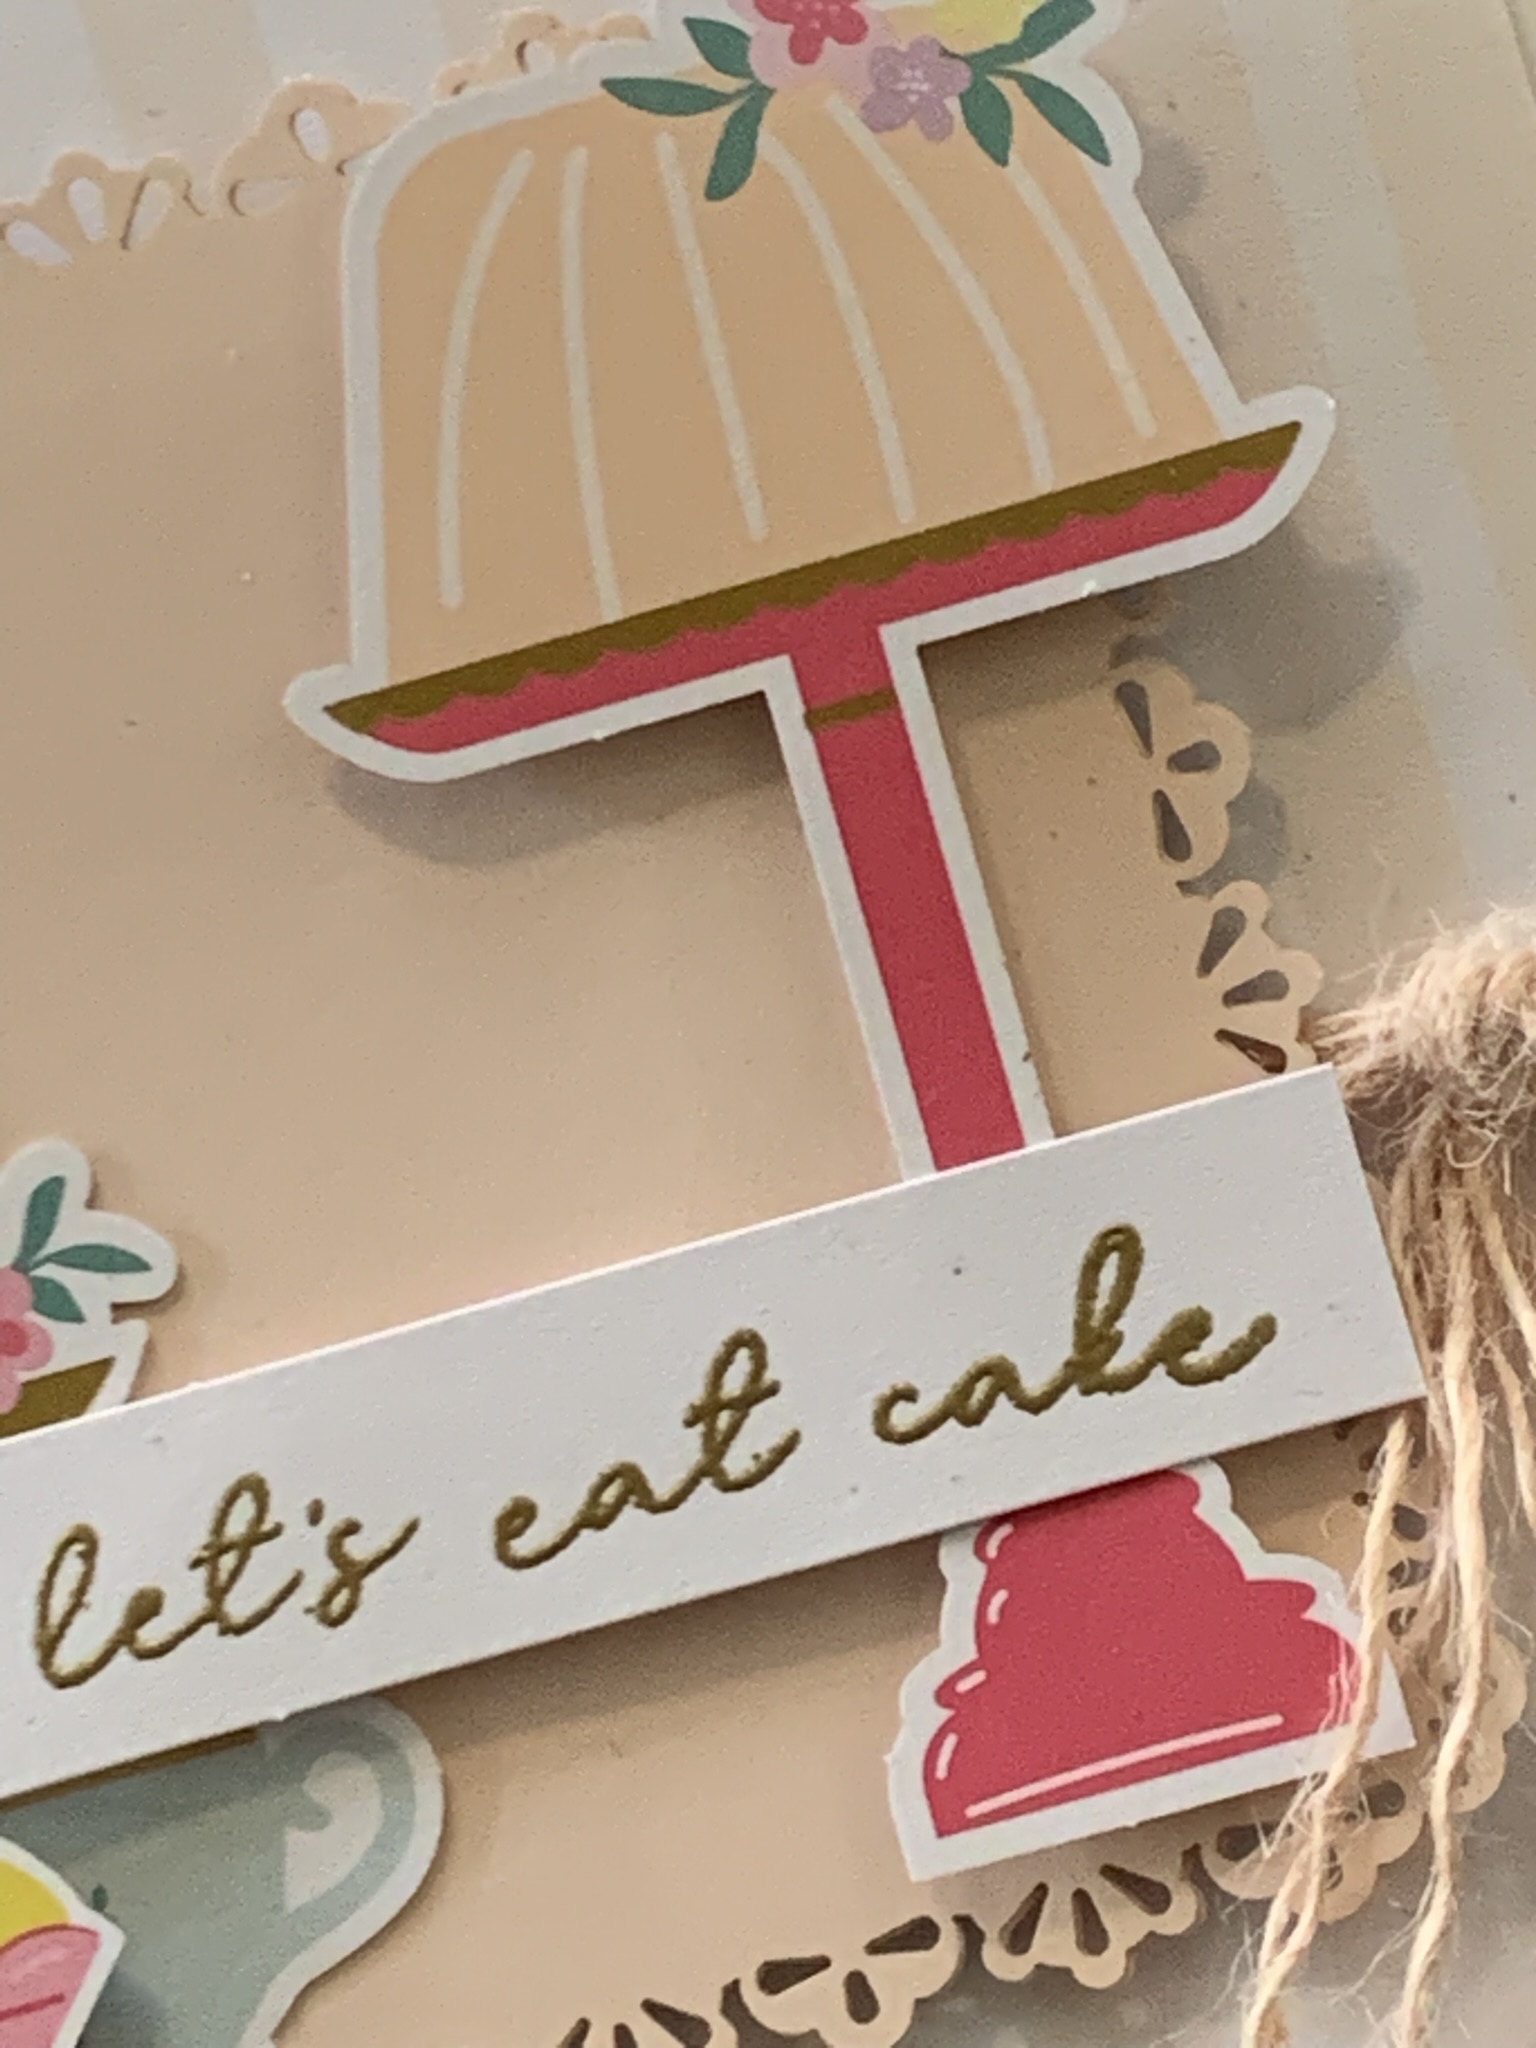
Then I took the Petal Pink scalloped panel, from the kit, and attached it the card front.
I added several cake elements to the card and then used gold embossing powder to create the greeting.
The card insert and envelope had the pie elements added to them.

Tomorrow I have two 3D projects to share with you.

If you live in Australia, you can order any of the products I used to make this card by going to my online store. Just click on any of the images below.

![Birthday Fancy Kit (English) [ 166211 ]](https://i0.wp.com/assets1.tamsnetwork.com/images/EC042017NF/166211s.jpg?w=140&ssl=1 "Birthday Fancy Kit (English) [ 166211 ]") | ![Basic White A4 Cardstock [ 166781 ]](https://i0.wp.com/assets1.tamsnetwork.com/images/EC042017NF/166781s.jpg?w=140&ssl=1 "Basic White A4 Cardstock [ 166781 ]") | ![Versamark Pad [ 102283 ]](https://i0.wp.com/assets1.tamsnetwork.com/images/EC042017NF/102283s.jpg?w=140&ssl=1 "Versamark Pad [ 102283 ]") | ![Metallics Wow! Embossing Powder [ 165678 ]](https://i0.wp.com/assets1.tamsnetwork.com/images/EC042017NF/165678s.jpg?w=140&ssl=1 "Metallics Wow! Embossing Powder [ 165678 ]") | |
![Embossing Additions Tool Kit [ 159971 ]](https://i0.wp.com/assets1.tamsnetwork.com/images/EC042017NF/159971s.jpg?w=140&ssl=1 "Embossing Additions Tool Kit [ 159971 ]") | ![Multipurpose Liquid Glue [ 110755 ]](https://i0.wp.com/assets1.tamsnetwork.com/images/EC042017NF/110755s.jpg?w=140&ssl=1 "Multipurpose Liquid Glue [ 110755 ]") | ![Stampin' Dimensionals [ 104430 ]](https://i0.wp.com/assets1.tamsnetwork.com/images/EC042017NF/104430s.jpg?w=140&ssl=1 "Stampin' Dimensionals [ 104430 ]") | ![Mini Stampin' Cut & Emboss Machine [ 150673 ]](https://i0.wp.com/assets1.tamsnetwork.com/images/EC042017NF/150673s.jpg?w=140&ssl=1 "Mini Stampin' Cut & Emboss Machine [ 150673 ]") | |
![Paper Snips [ 103579 ]](https://i0.wp.com/assets1.tamsnetwork.com/images/EC042017NF/103579s.jpg?w=140&ssl=1 "Paper Snips [ 103579 ]") | ![Paper Trimmer [ 152392 ]](https://i0.wp.com/assets1.tamsnetwork.com/images/EC042017NF/152392s.jpg?w=140&ssl=1 "Paper Trimmer [ 152392 ]") | ![Basic White C6 Envelopes [ 159235 ]](https://i0.wp.com/assets1.tamsnetwork.com/images/EC042017NF/159235s.jpg?w=140&ssl=1 "Basic White C6 Envelopes [ 159235 ]") |
![Petal Pink 5/16" (8 Mm) Braided Trim [ 166140 ]](https://i0.wp.com/assets1.tamsnetwork.com/images/EC042017NF/166140s.jpg?w=140&ssl=1 "Petal Pink 5/16\" (8 Mm) Braided Trim [ 166140 ]")
![Heat Tool [ 129056 ]](https://i0.wp.com/assets1.tamsnetwork.com/images/EC042017NF/129056s.jpg?w=140&ssl=1 "Heat Tool [ 129056 ]")



![Elements Of Text Cling Stamp Set [ 164774 ]](https://i0.wp.com/assets1.tamsnetwork.com/images/EC042017NF/164774s.jpg?w=140&ssl=1 "Elements Of Text Cling Stamp Set [ 164774 ]")
![Just A Note Dies [ 166101 ]](https://i0.wp.com/assets1.tamsnetwork.com/images/EC042017NF/166101s.jpg?w=140&ssl=1 "Just A Note Dies [ 166101 ]")
![Lost Lagoon Soft Cording [ 164938 ]](https://i0.wp.com/assets1.tamsnetwork.com/images/EC042017NF/164938s.jpg?w=140&ssl=1 "Lost Lagoon Soft Cording [ 164938 ]")
![Fluid 100 Watercolor Paper [ 149612 ]](https://i0.wp.com/assets1.tamsnetwork.com/images/EC042017NF/149612s.jpg?w=140&ssl=1 "Fluid 100 Watercolor Paper [ 149612 ]")
![Lost Lagoon A4 Cardstock [ 133686 ]](https://i0.wp.com/assets1.tamsnetwork.com/images/EC042017NF/133686s.jpg?w=140&ssl=1 "Lost Lagoon A4 Cardstock [ 133686 ]")



![Playful Alphabet Dies [ 152706 ]](https://i0.wp.com/assets1.tamsnetwork.com/images/EC042017NF/152706s.jpg?w=140&ssl=1 "Playful Alphabet Dies [ 152706 ]")
![Just A Note Bundle (English) [ 166102 ]](https://i0.wp.com/assets1.tamsnetwork.com/images/EC042017NF/166102s.jpg?w=140&ssl=1 "Just A Note Bundle (English) [ 166102 ]")
![Just A Note Cling Stamp Set (English) [ 166098 ]](https://i0.wp.com/assets1.tamsnetwork.com/images/EC042017NF/166098s.jpg?w=140&ssl=1 "Just A Note Cling Stamp Set (English) [ 166098 ]")
![White Willow 12" X 12" (30.5 X 30.5 Cm) Cardstock [ 166703 ]](https://i0.wp.com/assets1.tamsnetwork.com/images/EC042017NF/166703s.jpg?w=140&ssl=1 "White Willow 12\" X 12\" (30.5 X 30.5 Cm) Cardstock [ 166703 ]")
![Cloud Cover 12" X 12" (30.5 X 30.5 Cm) Two Tone Cardstock [ 166708 ]](https://i0.wp.com/assets1.tamsnetwork.com/images/EC042017NF/166708s.jpg?w=140&ssl=1 "Cloud Cover 12\" X 12\" (30.5 X 30.5 Cm) Two Tone Cardstock [ 166708 ]")
![Lost Lagoon 12" X 12" (30.5 X 30.5 Cm) Two Tone Cardstock [ 166658 ]](https://i0.wp.com/assets1.tamsnetwork.com/images/EC042017NF/166658s.jpg?w=140&ssl=1 "Lost Lagoon 12\" X 12\" (30.5 X 30.5 Cm) Two Tone Cardstock [ 166658 ]")
![Adhesive Sheets [ 152334 ]](https://i0.wp.com/assets1.tamsnetwork.com/images/EC042017NF/152334s.jpg?w=140&ssl=1 "Adhesive Sheets [ 152334 ]")




