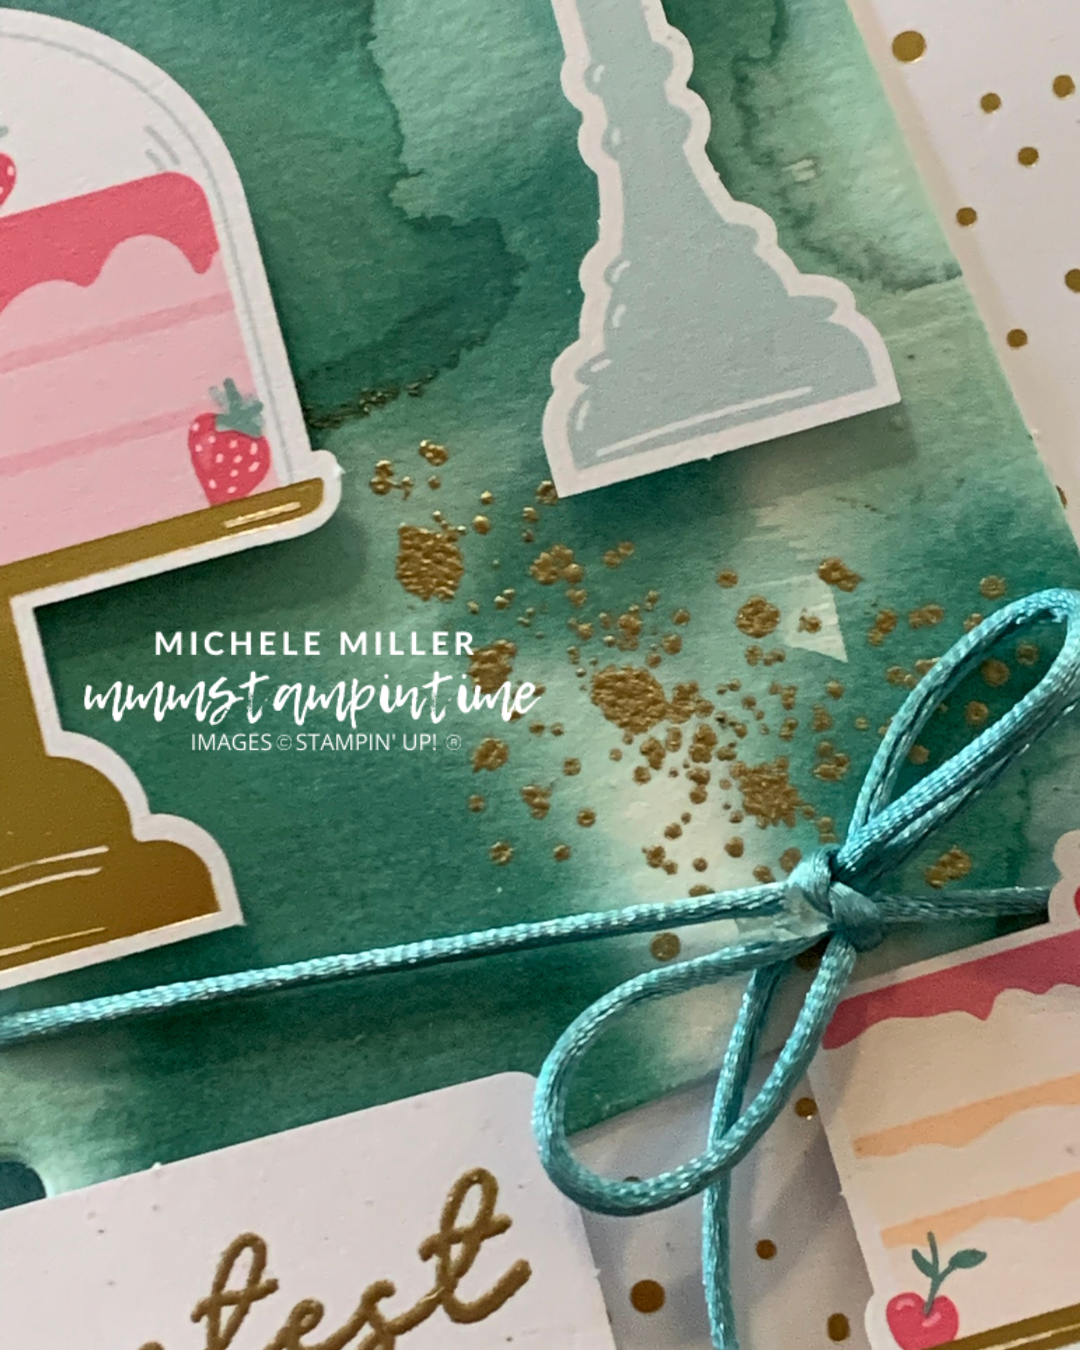
Today’s project combines watercollouring and heat embossing techniques.
I started with a Lost Lagoon cardbase and then worked on the watercoloured panel.

I used a piece of Fluid 100 watercolour paper.
TIP: Use a wide paintbrush to lay down some water across paper.
TIP: Add a few drops of ink to a large block. Then gradually apply the ink using the same paintbrush.
Use the Heat Tool to dry the watercoloured paper.
I used the splatters images from the Elements of Text Stamp Set, Versamark ink and WOW gold embossing powder to add gold to this paper.
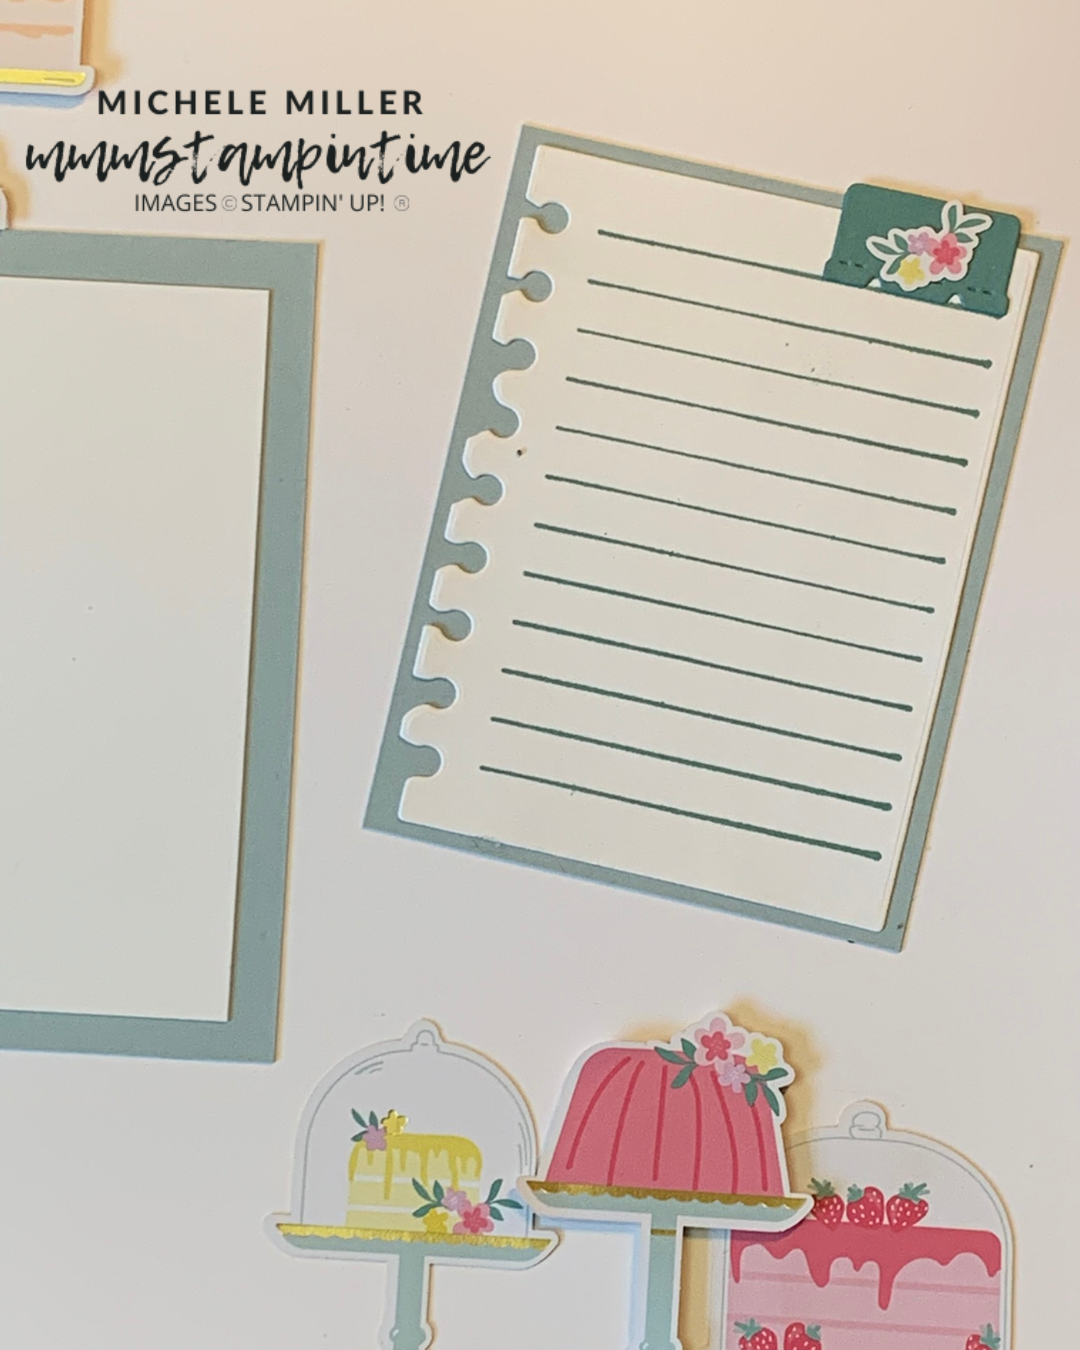
To create the two notebook pages, I used a die from the Just a Note dies. The top page was made from the watercoloured paper. The second was made from half of one of the cardbases from the kit.
These pages were overlapped and then I wrapped a length of the Lost Lagoon Soft Cording around the layers and tied a bow.
These layered pages were then secured on the card front using Stampin’ Dimensionals.

Then I added three of the single cake elements from the kit using dimensionals.
The greeting was stamped and then heat embossed.
TIP: Use the Stampin’ Buddy, from the Embossing Additions Tool Kit, to ensure there are no oils on the paper so that more embossing powder sticks to the Versamark.

The splatter image and greeting were stamped on the card insert and the back of the envelope.
I didn’t add any further embellishments to the card because I thought the gold embossing was enough.
Tomorrow I will have another project to share with you.
Until then, happy stamping and scrapbooking.

If you live in Australia, you can order any of the products I used to make this card by going to my online store. Just click on any of the images below.

![Birthday Fancy Kit (English) [ 166211 ]](https://i0.wp.com/assets1.tamsnetwork.com/images/EC042017NF/166211s.jpg?w=140&ssl=1 "Birthday Fancy Kit (English) [ 166211 ]") | ![Elements Of Text Cling Stamp Set [ 164774 ]](https://i0.wp.com/assets1.tamsnetwork.com/images/EC042017NF/164774s.jpg?w=140&ssl=1 "Elements Of Text Cling Stamp Set [ 164774 ]") | ![Just A Note Dies [ 166101 ]](https://i0.wp.com/assets1.tamsnetwork.com/images/EC042017NF/166101s.jpg?w=140&ssl=1 "Just A Note Dies [ 166101 ]") | ![Lost Lagoon Soft Cording [ 164938 ]](https://i0.wp.com/assets1.tamsnetwork.com/images/EC042017NF/164938s.jpg?w=140&ssl=1 "Lost Lagoon Soft Cording [ 164938 ]") | ![Fluid 100 Watercolor Paper [ 149612 ]](https://i0.wp.com/assets1.tamsnetwork.com/images/EC042017NF/149612s.jpg?w=140&ssl=1 "Fluid 100 Watercolor Paper [ 149612 ]") |
![Basic White A4 Cardstock [ 166781 ]](https://i0.wp.com/assets1.tamsnetwork.com/images/EC042017NF/166781s.jpg?w=140&ssl=1 "Basic White A4 Cardstock [ 166781 ]") | ![Lost Lagoon A4 Cardstock [ 133686 ]](https://i0.wp.com/assets1.tamsnetwork.com/images/EC042017NF/133686s.jpg?w=140&ssl=1 "Lost Lagoon A4 Cardstock [ 133686 ]") | ![Versamark Pad [ 102283 ]](https://i0.wp.com/assets1.tamsnetwork.com/images/EC042017NF/102283s.jpg?w=140&ssl=1 "Versamark Pad [ 102283 ]") | ![Metallics Wow! Embossing Powder [ 165678 ]](https://i0.wp.com/assets1.tamsnetwork.com/images/EC042017NF/165678s.jpg?w=140&ssl=1 "Metallics Wow! Embossing Powder [ 165678 ]") | ![Embossing Additions Tool Kit [ 159971 ]](https://i0.wp.com/assets1.tamsnetwork.com/images/EC042017NF/159971s.jpg?w=140&ssl=1 "Embossing Additions Tool Kit [ 159971 ]") |
![Multipurpose Liquid Glue [ 110755 ]](https://i0.wp.com/assets1.tamsnetwork.com/images/EC042017NF/110755s.jpg?w=140&ssl=1 "Multipurpose Liquid Glue [ 110755 ]") | ![Stampin' Dimensionals [ 104430 ]](https://i0.wp.com/assets1.tamsnetwork.com/images/EC042017NF/104430s.jpg?w=140&ssl=1 "Stampin' Dimensionals [ 104430 ]") | ![Mini Stampin' Cut & Emboss Machine [ 150673 ]](https://i0.wp.com/assets1.tamsnetwork.com/images/EC042017NF/150673s.jpg?w=140&ssl=1 "Mini Stampin' Cut & Emboss Machine [ 150673 ]") | ![Paper Snips [ 103579 ]](https://i0.wp.com/assets1.tamsnetwork.com/images/EC042017NF/103579s.jpg?w=140&ssl=1 "Paper Snips [ 103579 ]") | |
![Paper Trimmer [ 152392 ]](https://i0.wp.com/assets1.tamsnetwork.com/images/EC042017NF/152392s.jpg?w=140&ssl=1 "Paper Trimmer [ 152392 ]") | ![Basic White C6 Envelopes [ 159235 ]](https://i0.wp.com/assets1.tamsnetwork.com/images/EC042017NF/159235s.jpg?w=140&ssl=1 "Basic White C6 Envelopes [ 159235 ]") |
![Heat Tool [ 129056 ]](https://i0.wp.com/assets1.tamsnetwork.com/images/EC042017NF/129056s.jpg?w=140&ssl=1 "Heat Tool [ 129056 ]")



![Playful Alphabet Dies [ 152706 ]](https://i0.wp.com/assets1.tamsnetwork.com/images/EC042017NF/152706s.jpg?w=140&ssl=1 "Playful Alphabet Dies [ 152706 ]")
![Just A Note Bundle (English) [ 166102 ]](https://i0.wp.com/assets1.tamsnetwork.com/images/EC042017NF/166102s.jpg?w=140&ssl=1 "Just A Note Bundle (English) [ 166102 ]")
![Just A Note Cling Stamp Set (English) [ 166098 ]](https://i0.wp.com/assets1.tamsnetwork.com/images/EC042017NF/166098s.jpg?w=140&ssl=1 "Just A Note Cling Stamp Set (English) [ 166098 ]")
![White Willow 12" X 12" (30.5 X 30.5 Cm) Cardstock [ 166703 ]](https://i0.wp.com/assets1.tamsnetwork.com/images/EC042017NF/166703s.jpg?w=140&ssl=1 "White Willow 12\" X 12\" (30.5 X 30.5 Cm) Cardstock [ 166703 ]")
![Cloud Cover 12" X 12" (30.5 X 30.5 Cm) Two Tone Cardstock [ 166708 ]](https://i0.wp.com/assets1.tamsnetwork.com/images/EC042017NF/166708s.jpg?w=140&ssl=1 "Cloud Cover 12\" X 12\" (30.5 X 30.5 Cm) Two Tone Cardstock [ 166708 ]")
![Lost Lagoon 12" X 12" (30.5 X 30.5 Cm) Two Tone Cardstock [ 166658 ]](https://i0.wp.com/assets1.tamsnetwork.com/images/EC042017NF/166658s.jpg?w=140&ssl=1 "Lost Lagoon 12\" X 12\" (30.5 X 30.5 Cm) Two Tone Cardstock [ 166658 ]")
![Adhesive Sheets [ 152334 ]](https://i0.wp.com/assets1.tamsnetwork.com/images/EC042017NF/152334s.jpg?w=140&ssl=1 "Adhesive Sheets [ 152334 ]")




