Weddings and birthdays always call for some special card creations.
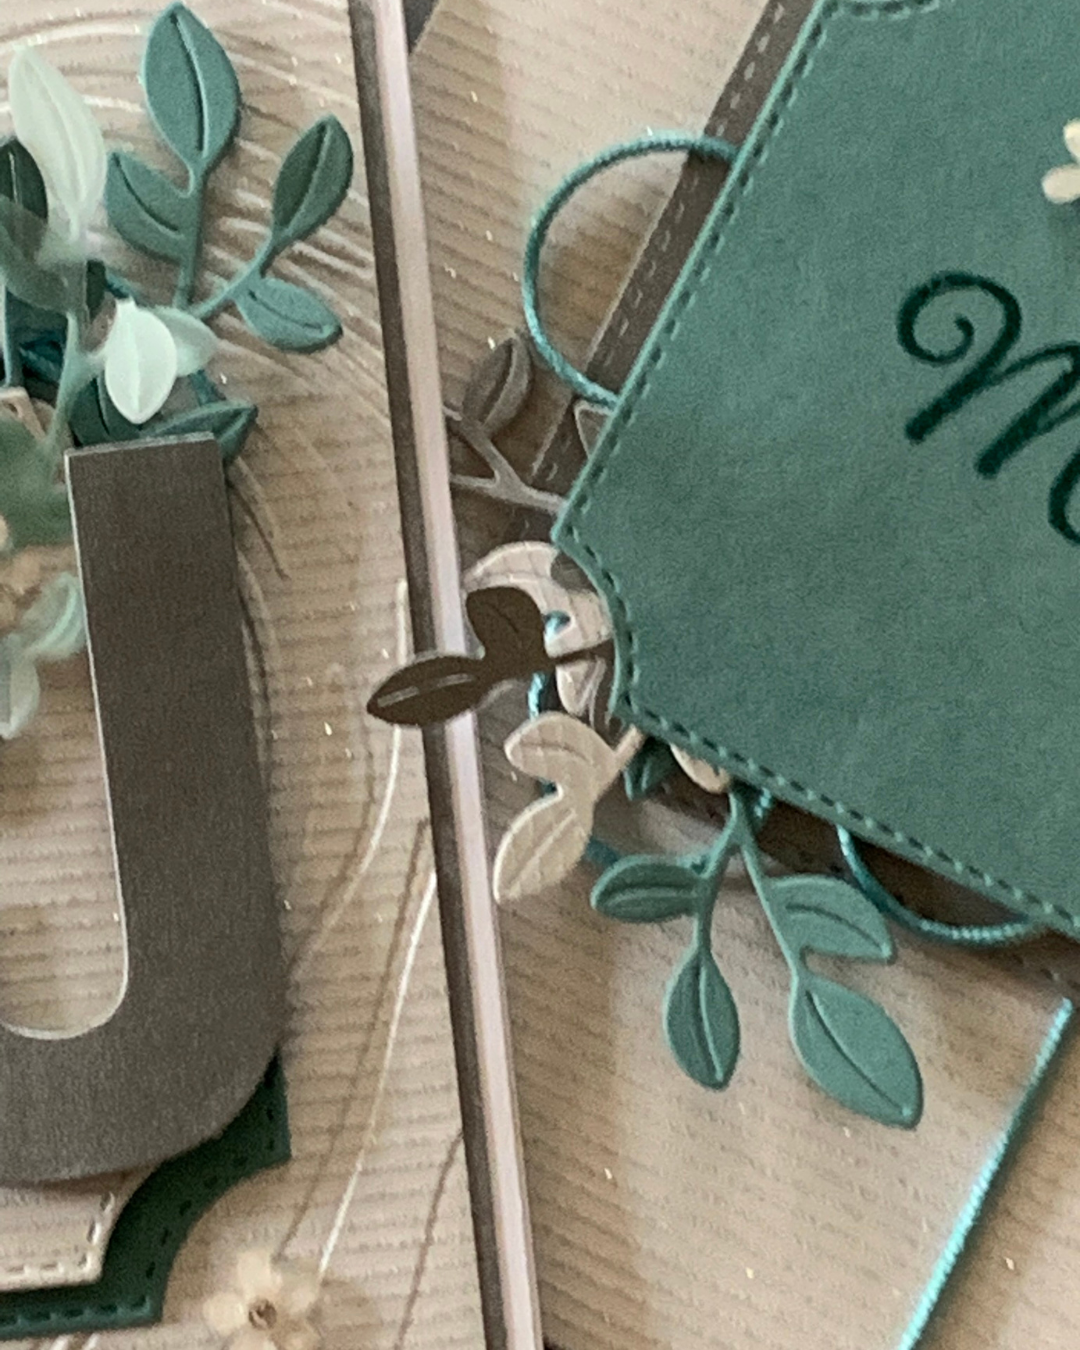
First to some weddings – my youngest daughter asked me to make a card for her friend’s upcoming wedding.

I started by choosing the papers I would use – Lunar Lustre, Shimmering Stripes, vellum and Lost Lagoon.
The panel of Shimmering Stripes was embossed using the So Swirly Embossing Folder (last chance).
I used two of the Branching Out Dies to create the layers that I decorated with die cut Boutique Blossoms leaves and the initials of the bride and groom.

Although retired, the Lost Lagoon Soft Cording was perfect for this card.
I made a custom envelope for the card and decorated in a similar way to the card.
The ‘Mr & Mrs’ from the retired To Have & To Hold stamp Set was used for the front of the envelope.
I used the Stampin’ Positioner to stamp the greeting in Lost Lagoon and then Versamark before sprinkling some clear embossing powder and heating it.
The card and envelope were embellished with some of the Adhesive-backed Blooms.


After finishing this card and being really happy with the way it looked, I repeated the process and made a second card for my nephew’s wedding later in the year.

I’m looking forward to these cards being given to the lovely couples.
This is why cardmaking is so special to me.
Tomorrow I have a birthday card to share.
Until then, happy stamping.






![Days Like This Memories & More Card Pack [ 166911 ]](https://i0.wp.com/assets1.tamsnetwork.com/images/EC042017NF/166911s.jpg?w=140&ssl=1 "Days Like This Memories & More Card Pack [ 166911 ]")
![Assorted Memories & More Cards & Envelopes [ 149710 ]](https://i0.wp.com/assets1.tamsnetwork.com/images/EC042017NF/149710s.jpg?w=140&ssl=1 "Assorted Memories & More Cards & Envelopes [ 149710 ]")
![Addressed To You Photopolymer Stamp Set (English) [ 167010 ]](https://i0.wp.com/assets1.tamsnetwork.com/images/EC042017NF/167010s.jpg?w=140&ssl=1 "Addressed To You Photopolymer Stamp Set (English) [ 167010 ]")
![Stylish Shapes Dies [ 159183 ]](https://i0.wp.com/assets1.tamsnetwork.com/images/EC042017NF/159183s.jpg?w=140&ssl=1 "Stylish Shapes Dies [ 159183 ]")
![Three Banner Punch [ 167050 ]](https://i0.wp.com/assets1.tamsnetwork.com/images/EC042017NF/167050s.jpg?w=140&ssl=1 "Three Banner Punch [ 167050 ]")
![2025–2027 In Color™ Flat Pearls [ 165192 ]](https://i0.wp.com/assets1.tamsnetwork.com/images/EC042017NF/165192s.jpg?w=140&ssl=1 "2025–2027 In Color™ Flat Pearls [ 165192 ]")
![Baker's Twine Essentials Pack [ 155475 ]](https://i0.wp.com/assets1.tamsnetwork.com/images/EC042017NF/155475s.jpg?w=140&ssl=1 "Baker's Twine Essentials Pack [ 155475 ]")
![Basic White A4 Cardstock [ 166781 ]](https://i0.wp.com/assets1.tamsnetwork.com/images/EC042017NF/166781s.jpg?w=140&ssl=1 "Basic White A4 Cardstock [ 166781 ]")
![Daffodil Delight A4 Card Stock [ 121680 ]](https://i0.wp.com/assets1.tamsnetwork.com/images/EC042017NF/121680s.jpg?w=140&ssl=1 "Daffodil Delight A4 Card Stock [ 121680 ]")
![Flirty Flamingo Classic Stampin' Pad [ 147052 ]](https://i0.wp.com/assets1.tamsnetwork.com/images/EC042017NF/147052s.jpg?w=140&ssl=1 "Flirty Flamingo Classic Stampin' Pad [ 147052 ]")
![Peach Pie A4 Cardstock [ 163800 ]](https://i0.wp.com/assets1.tamsnetwork.com/images/EC042017NF/163800s.jpg?w=140&ssl=1 "Peach Pie A4 Cardstock [ 163800 ]")
![Pool Party A4 Card Stock [ 124391 ]](https://i0.wp.com/assets1.tamsnetwork.com/images/EC042017NF/124391s.jpg?w=140&ssl=1 "Pool Party A4 Card Stock [ 124391 ]")
![Secret Sea A4 Cardstock [ 165296 ]](https://i0.wp.com/assets1.tamsnetwork.com/images/EC042017NF/165296s.jpg?w=140&ssl=1 "Secret Sea A4 Cardstock [ 165296 ]")
![Daffodil Delight Classic Stampin' Pad [ 147094 ]](https://i0.wp.com/assets1.tamsnetwork.com/images/EC042017NF/147094s.jpg?w=140&ssl=1 "Daffodil Delight Classic Stampin' Pad [ 147094 ]")
![Multipurpose Liquid Glue [ 110755 ]](https://i0.wp.com/assets1.tamsnetwork.com/images/EC042017NF/110755s.jpg?w=140&ssl=1 "Multipurpose Liquid Glue [ 110755 ]")
![Stampin' Dimensionals [ 104430 ]](https://i0.wp.com/assets1.tamsnetwork.com/images/EC042017NF/104430s.jpg?w=140&ssl=1 "Stampin' Dimensionals [ 104430 ]")
![Mini Glue Dots [ 103683 ]](https://i0.wp.com/assets1.tamsnetwork.com/images/EC042017NF/103683s.jpg?w=140&ssl=1 "Mini Glue Dots [ 103683 ]")
![Paper Snips [ 103579 ]](https://i0.wp.com/assets1.tamsnetwork.com/images/EC042017NF/103579s.jpg?w=140&ssl=1 "Paper Snips [ 103579 ]")
![Paper Trimmer [ 152392 ]](https://i0.wp.com/assets1.tamsnetwork.com/images/EC042017NF/152392s.jpg?w=140&ssl=1 "Paper Trimmer [ 152392 ]")
![Mini Stampin' Cut & Emboss Machine [ 150673 ]](https://i0.wp.com/assets1.tamsnetwork.com/images/EC042017NF/150673s.jpg?w=140&ssl=1 "Mini Stampin' Cut & Emboss Machine [ 150673 ]")




