Posted on Leave a comment

IT’S MONDAY AND I AM BACK WITH A NEW WEEK OF PROJECTS

I have been ‘doing life’ for the past two weeks but have returned to my crafting at last!

This week I am featuring the Pop Up Petals Bundle (168010 $81.75AUD)

One of the key features of this bundle is the ability to die cut a pop up panel inside the card.

My first card this week is my own version of a floral pop up card.

I used a Secret Sea card base and prepared a Basic White insert.

The smaller of the two pop up dies was used to cut two panels in the centre of the card insert.

These panels had pieces of Darling Duckling DSP, from the 2025 – 2027 In Color DSP, adhered to the panels.

I stamped, coloured and die cut 5 floral bouquets for the card.

Then I die cut and embossed four vases. I used the Glass and Gardens Embossing Folder.

After attaching a vase and two floral bouquets to the card insert, I also added two panels of the Darling Duckling DSP and a Basic White panel.

The card front had another panel of Darling Duckling DSP design used. Before attaching it to the card front, I wrapped a length of Secret Sea Faux Linen Ribbon around the DSP and tied it off.

Three embossed vases, with floral bouquets, were added to the card front.

The greeting was stamped and a single flower was also stamped The card insert and back of the envelope also had the single flower stamped.

Finally, I added three of the Darling Duckling Flat PEarls added for embellishment.

Tomorrow, and for the rest of the week, I have some Christmas inspired projects to share with you.

Until then, happy stamping.

If you live in Australia, you can order any of the products I used to make this card by going to my online store. Just click on any of the images below.

Product List
Posted on Leave a comment

STUNNING SILVER BIRD CAGES, RIBBONS & GEMS

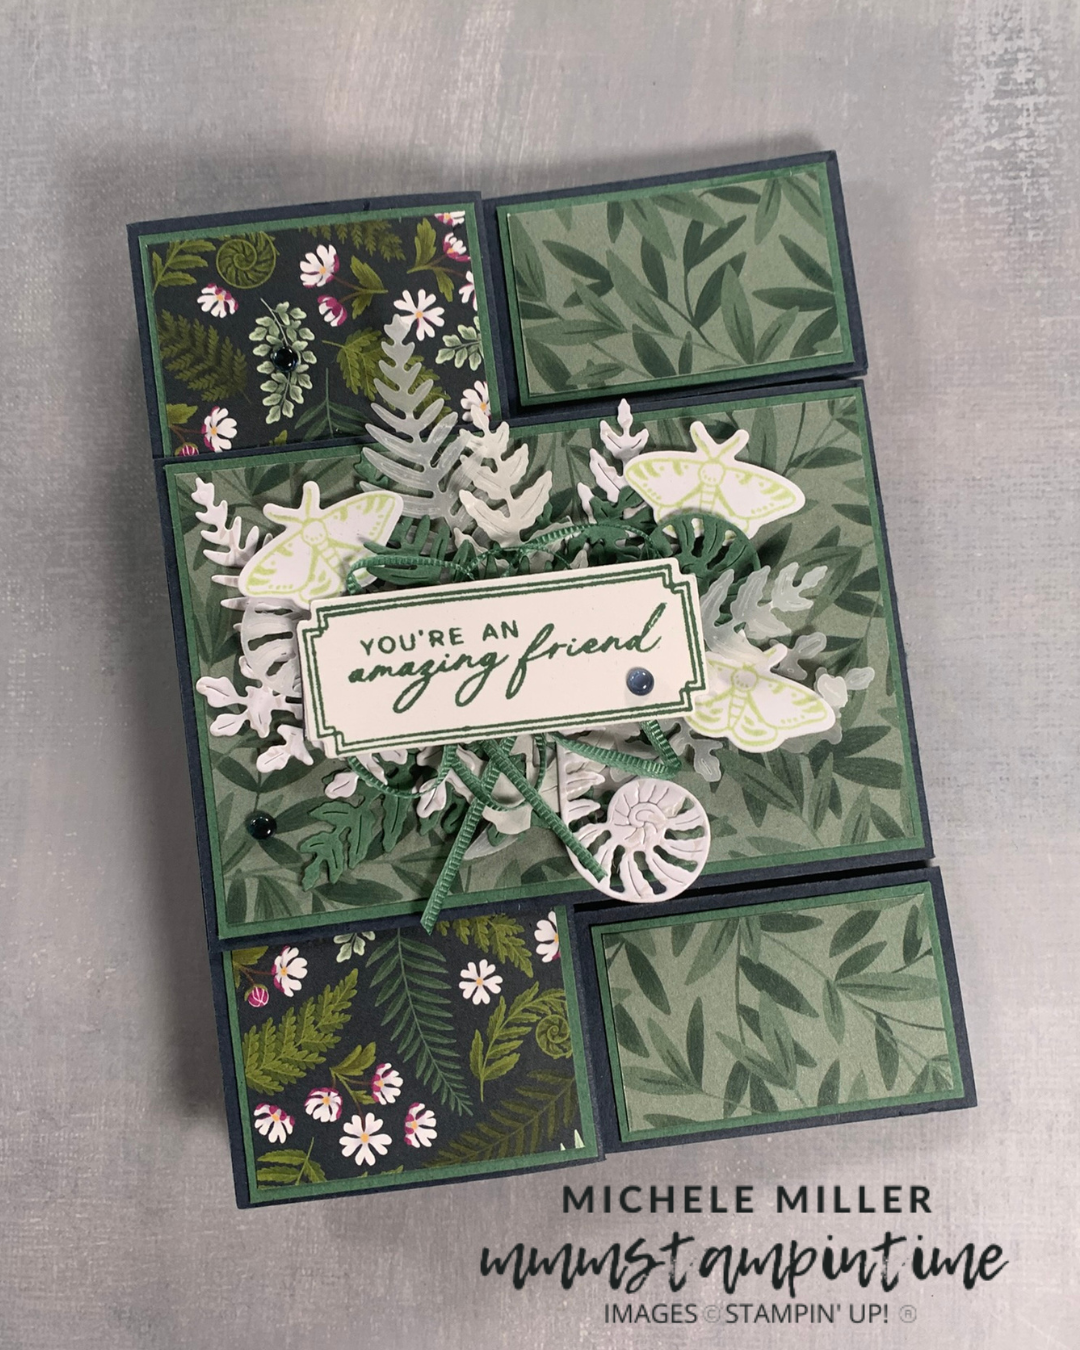
My last project for this week is a stepped up card.

I used Secret Sea 12″x 12″ Twotone card for the card base and embossed layers.

After preparing the card base, I embossed a panel of the Secret Sea Two tone card using the Beautiful Pattern Embossing Folder.

The embossed panel was lightly sanded to expose the white core. Then it was cut into three strips. The top and bottom strips were distressed with a pair of paper snips.

The embossed, sanded and distressed strips were attached to the card front with dimensionals.

Three solid silver cages were die cut and then, three detailed cages were cut from Secret Sea card. The cages were layered and then arranged over the middle embossed strip.

The silver heat embossed greeting was cut using the new Three Banner Punch (167050) and then added to the card front.

Lengths of the Misty Moonlight Silver Edged Ribbon and Secret Sea Faux Linen Ribbon were cut and trimmed down to expose frayed edges. The ribbons were then tied into a textured bow and attached to the card front with Mini Glue Dots.

The card insert had a length of the Faux Linen Ribbon attached to it and the back of the envelope had some of the card adhered to it.

Finally, I added three silver elements from the Metallic Gems pack.

Next week I will have new projects to share with you.

Until then, happy stamping and scrapbooking.

If you live in Australia, you can order any of the products I used to make this card by going to my online store. Just click on any of the images below.

Product List
Posted on Leave a comment

IT’S THURSDAY & TIME FOR A 3D PROJECT

The gift boxes I want to share with you have no connection to the On Display projects I have already shared this week.

Instead, I have used the Party Banners Dies and the soon to be released Whipsers of Texture Specialty Paper.

I used three different sie sizes to create the 3 different box sizes.

Counting the dies from the largest to smallest, I used 6, 9 and 11.

For each box I cut 4 banners and then scored them – from the narrow, straight edge the score measurememnts were:

smallest box is scored at 2 1/4″ and 3 5/8″;

medium box is scored at 2 7/8″ and 4 3/4″; and

large box is scored at 3 1/2″ and 5 3/4″.

After scoring the banners, I used a bone folder to achieve a crisp fold line.

I used Stampin’ Seal+ to securely adhere the base and sides of the box base.

The banner ends were then folded in to create the closure at the top.

I used a length of Shaded Spruce & Soft Sea Foam Bordered Ribbon to present the boxes as a set.

Tomorrow I have one final card to share with you. It is not a fun fold card but a little more intricate than usual.

If you live in Australia, you can order any of the products I used to make this card by going to my online store. Just click on any of the images below.

Product List