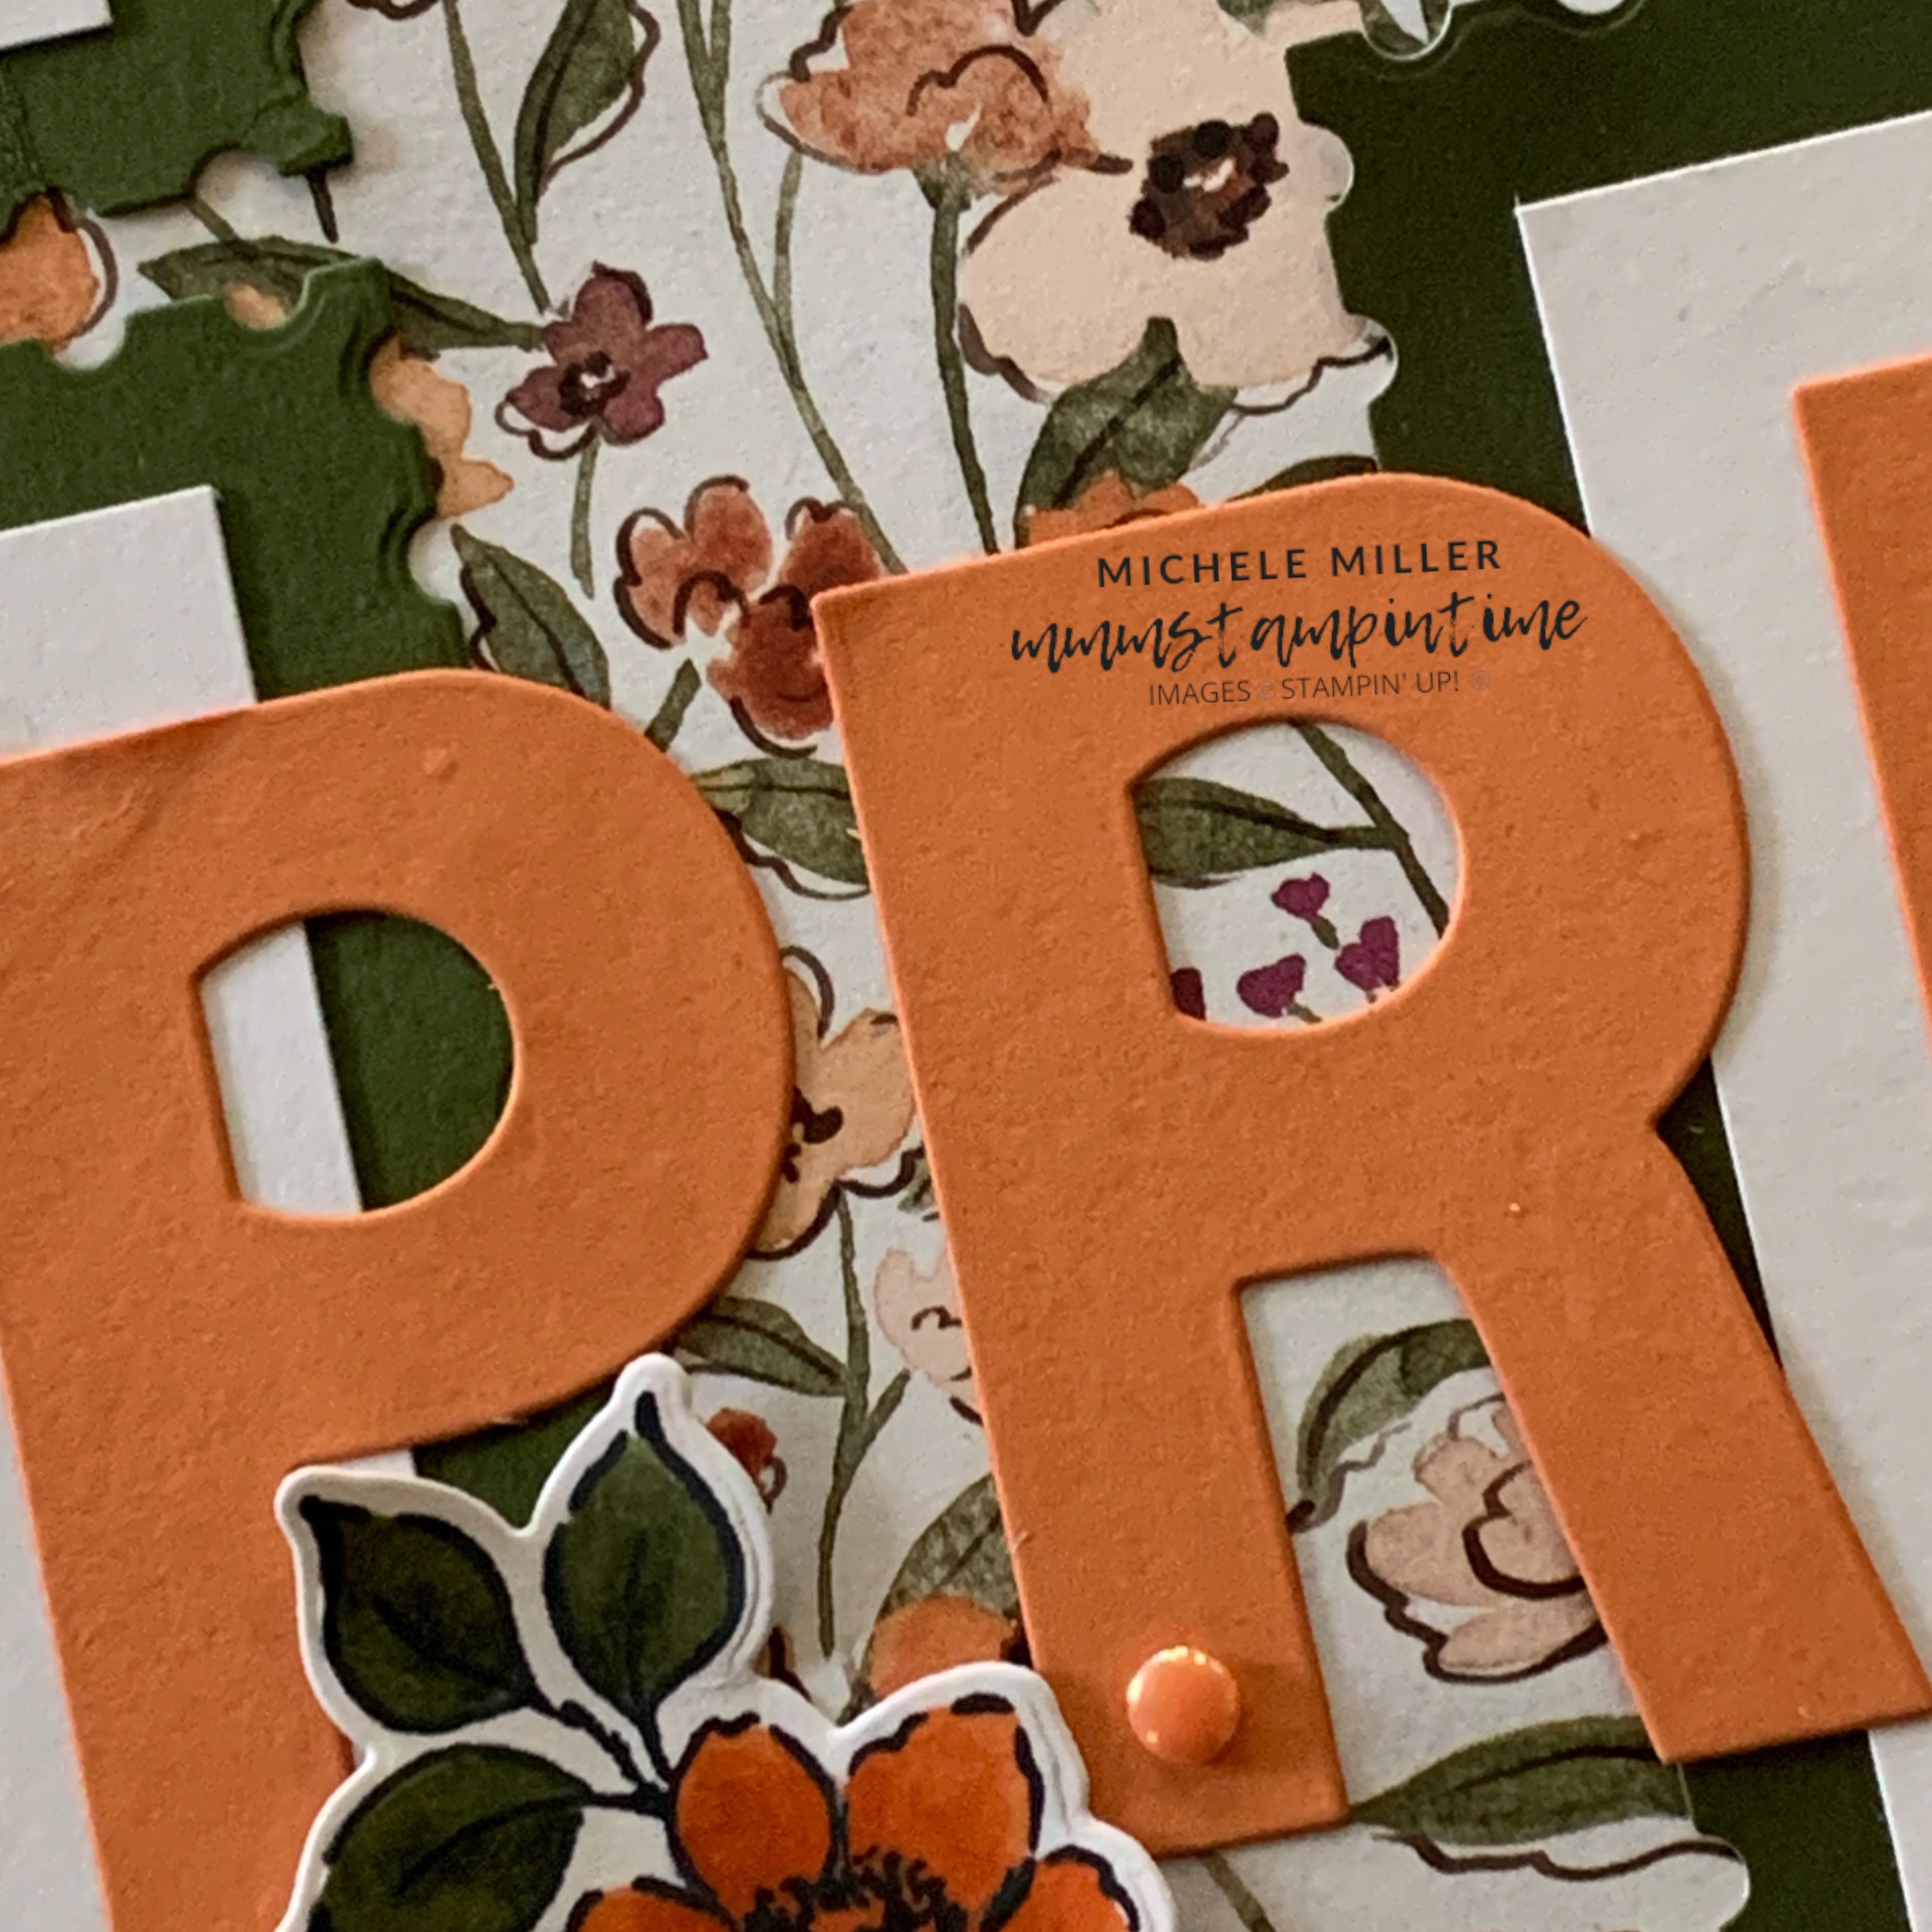
Although I am posting this page quite late today I have a memory keeping page to share.
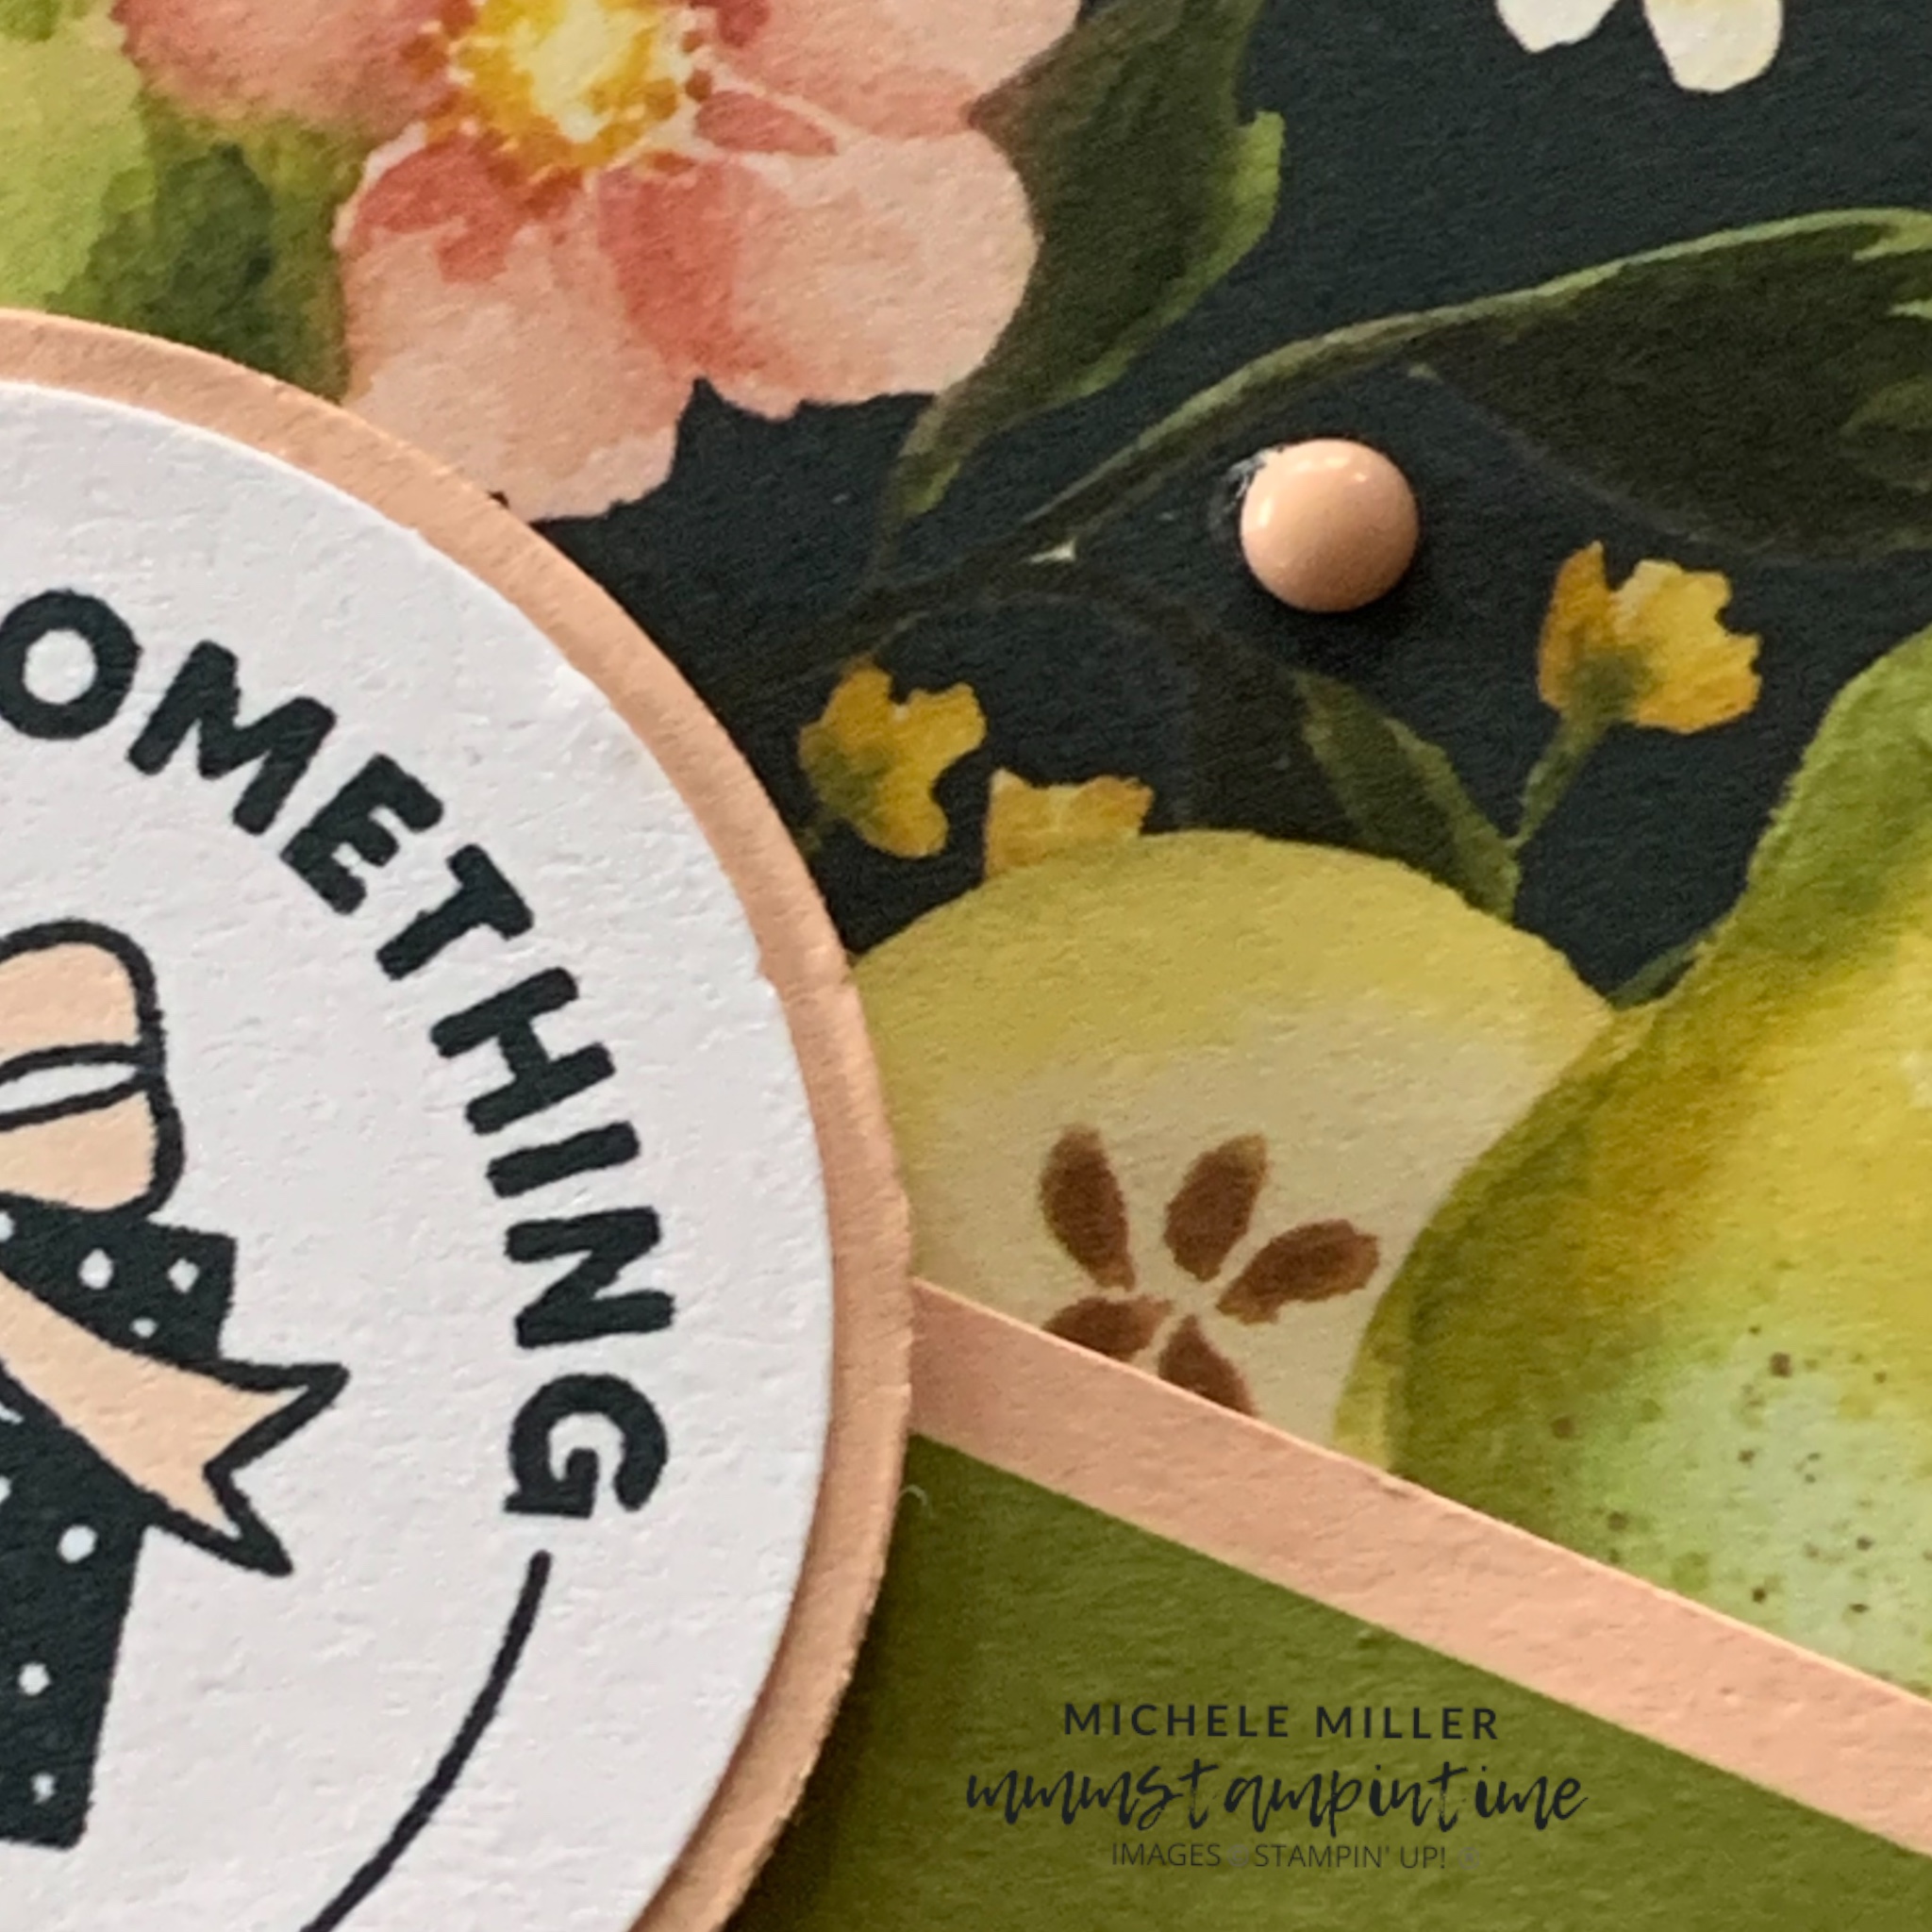
This week I am featuring the Floral Charm Suite Collection (166141).

Today has been a wet and colder day than we have experienced so far this winter, so the thought of a lovely spring day warms me well.

I started with an Old Olive Two-tone 12″x 12″ card and adhered a slightly smaller piece of one of the Floral Charm Designer Series Paper designs to it.
After cutting my Basic White photo mattes, I used the Perennial Postage Dies to cut Old Olive frames.
For the title I added Adhesive Sheets to the back of some Timid tiger card and die cut the letters. The Playful Alphabet Dies are such a great new addition to Stampin’ Up! product range.
To embellish the page I stamped, coloured and die cut three of the smaller floral images form the Charming Day Stamp Set.
The final touch was to add some of the Flat Pearls from the new In Colour pack.

For the rest of the week I will show you several different projects particularly highlighting the DSP.
Until then, happy stamping and scrapbooking.

If you live in Australia, you can order any of the products I used to make this card by going to my online store. Just click on any of the images below.

![Perennial Postage Dies [ 162607 ]](https://i0.wp.com/assets1.tamsnetwork.com/images/EC042017NF/162607s.jpg?w=140&ssl=1 "Perennial Postage Dies [ 162607 ]") | ![Playful Alphabet Dies [ 152706 ]](https://i0.wp.com/assets1.tamsnetwork.com/images/EC042017NF/152706s.jpg?w=140&ssl=1 "Playful Alphabet Dies [ 152706 ]") | ![2025–2027 In Color™ Flat Pearls [ 165192 ]](https://i0.wp.com/assets1.tamsnetwork.com/images/EC042017NF/165192s.jpg?w=140&ssl=1 "2025–2027 In Color™ Flat Pearls [ 165192 ]") | ![Basic White A4 Cardstock [ 166781 ]](https://i0.wp.com/assets1.tamsnetwork.com/images/EC042017NF/166781s.jpg?w=140&ssl=1 "Basic White A4 Cardstock [ 166781 ]") |
![Timid Tiger A4 Cardstock [ 165298 ]](https://i0.wp.com/assets1.tamsnetwork.com/images/EC042017NF/165298s.jpg?w=140&ssl=1 "Timid Tiger A4 Cardstock [ 165298 ]") | |||
![Multipurpose Liquid Glue [ 110755 ]](https://i0.wp.com/assets1.tamsnetwork.com/images/EC042017NF/110755s.jpg?w=140&ssl=1 "Multipurpose Liquid Glue [ 110755 ]") | ![Adhesive Sheets [ 152334 ]](https://i0.wp.com/assets1.tamsnetwork.com/images/EC042017NF/152334s.jpg?w=140&ssl=1 "Adhesive Sheets [ 152334 ]") | ![Paper Trimmer [ 152392 ]](https://i0.wp.com/assets1.tamsnetwork.com/images/EC042017NF/152392s.jpg?w=140&ssl=1 "Paper Trimmer [ 152392 ]") | ![Stampin' Cut & Emboss Machine [ 149653 ]](https://i0.wp.com/assets1.tamsnetwork.com/images/EC042017NF/149653s.jpg?w=140&ssl=1 "Stampin' Cut & Emboss Machine [ 149653 ]") |
![Old Olive 12" X 12" (30.5 X 30.5 Cm) Two Tone Cardstock [ 166683 ]](https://i0.wp.com/assets1.tamsnetwork.com/images/EC042017NF/166683s.jpg?w=140&ssl=1 "Old Olive 12\" X 12\" (30.5 X 30.5 Cm) Two Tone Cardstock [ 166683 ]")
![Old Olive Stampin' Blends Combo Pack [ 154892 ]](https://i0.wp.com/assets1.tamsnetwork.com/images/EC042017NF/154892s.jpg?w=140&ssl=1 "Old Olive Stampin' Blends Combo Pack [ 154892 ]")
![Timid Tiger Stampin’ Blends Combo Pack [ 165291 ]](https://i0.wp.com/assets1.tamsnetwork.com/images/EC042017NF/165291s.jpg?w=140&ssl=1 "Timid Tiger Stampin’ Blends Combo Pack [ 165291 ]")



![1-3/4" (4.4 Cm) Circle Punch [ 119850 ]](https://i0.wp.com/assets1.tamsnetwork.com/images/EC042017NF/119850s.jpg?w=140&ssl=1 "1-3/4\" (4.4 Cm) Circle Punch [ 119850 ]")
![1 7/8" (4.8 Cm) Circle Punch [ 165259 ]](https://i0.wp.com/assets1.tamsnetwork.com/images/EC042017NF/165259s.jpg?w=140&ssl=1 "1 7/8\" (4.8 Cm) Circle Punch [ 165259 ]")
![Muted Palette Dots [ 165155 ]](https://i0.wp.com/assets1.tamsnetwork.com/images/EC042017NF/165155s.jpg?w=140&ssl=1 "Muted Palette Dots [ 165155 ]")
![Old Olive A4 Card Stock [ 106576 ]](https://i0.wp.com/assets1.tamsnetwork.com/images/EC042017NF/106576s.jpg?w=140&ssl=1 "Old Olive A4 Card Stock [ 106576 ]")
![Petal Pink A4 Cardstock [ 147009 ]](https://i0.wp.com/assets1.tamsnetwork.com/images/EC042017NF/147009s.jpg?w=140&ssl=1 "Petal Pink A4 Cardstock [ 147009 ]")
![Secret Sea Classic Stampin' Pad [ 165285 ]](https://i0.wp.com/assets1.tamsnetwork.com/images/EC042017NF/165285s.jpg?w=140&ssl=1 "Secret Sea Classic Stampin' Pad [ 165285 ]")
![Petal Pink Stampin' Blends Combo Pack [ 154893 ]](https://i0.wp.com/assets1.tamsnetwork.com/images/EC042017NF/154893s.jpg?w=140&ssl=1 "Petal Pink Stampin' Blends Combo Pack [ 154893 ]")
![Stampin' Dimensionals [ 104430 ]](https://i0.wp.com/assets1.tamsnetwork.com/images/EC042017NF/104430s.jpg?w=140&ssl=1 "Stampin' Dimensionals [ 104430 ]")
![Paper Snips [ 103579 ]](https://i0.wp.com/assets1.tamsnetwork.com/images/EC042017NF/103579s.jpg?w=140&ssl=1 "Paper Snips [ 103579 ]")
![Mini Stampin' Cut & Emboss Machine [ 150673 ]](https://i0.wp.com/assets1.tamsnetwork.com/images/EC042017NF/150673s.jpg?w=140&ssl=1 "Mini Stampin' Cut & Emboss Machine [ 150673 ]")
![Basic White C6 Envelopes [ 159235 ]](https://i0.wp.com/assets1.tamsnetwork.com/images/EC042017NF/159235s.jpg?w=140&ssl=1 "Basic White C6 Envelopes [ 159235 ]")



![Stylish Shapes Dies [ 159183 ]](https://i0.wp.com/assets1.tamsnetwork.com/images/EC042017NF/159183s.jpg?w=140&ssl=1 "Stylish Shapes Dies [ 159183 ]")
![Daffodil Delight 1/8" (3.2 Mm) Satin Ribbon [ 164715 ]](https://i0.wp.com/assets1.tamsnetwork.com/images/EC042017NF/164715s.jpg?w=140&ssl=1 "Daffodil Delight 1/8\" (3.2 Mm) Satin Ribbon [ 164715 ]")
![Petal Pink 3/8” (1 Cm) Scalloped Ribbon [ 164680 ]](https://i0.wp.com/assets1.tamsnetwork.com/images/EC042017NF/164680s.jpg?w=140&ssl=1 "Petal Pink 3/8” (1 Cm) Scalloped Ribbon [ 164680 ]")
![Daffodil Delight A4 Card Stock [ 121680 ]](https://i0.wp.com/assets1.tamsnetwork.com/images/EC042017NF/121680s.jpg?w=140&ssl=1 "Daffodil Delight A4 Card Stock [ 121680 ]")
![Secret Sea A4 Cardstock [ 165296 ]](https://i0.wp.com/assets1.tamsnetwork.com/images/EC042017NF/165296s.jpg?w=140&ssl=1 "Secret Sea A4 Cardstock [ 165296 ]")




