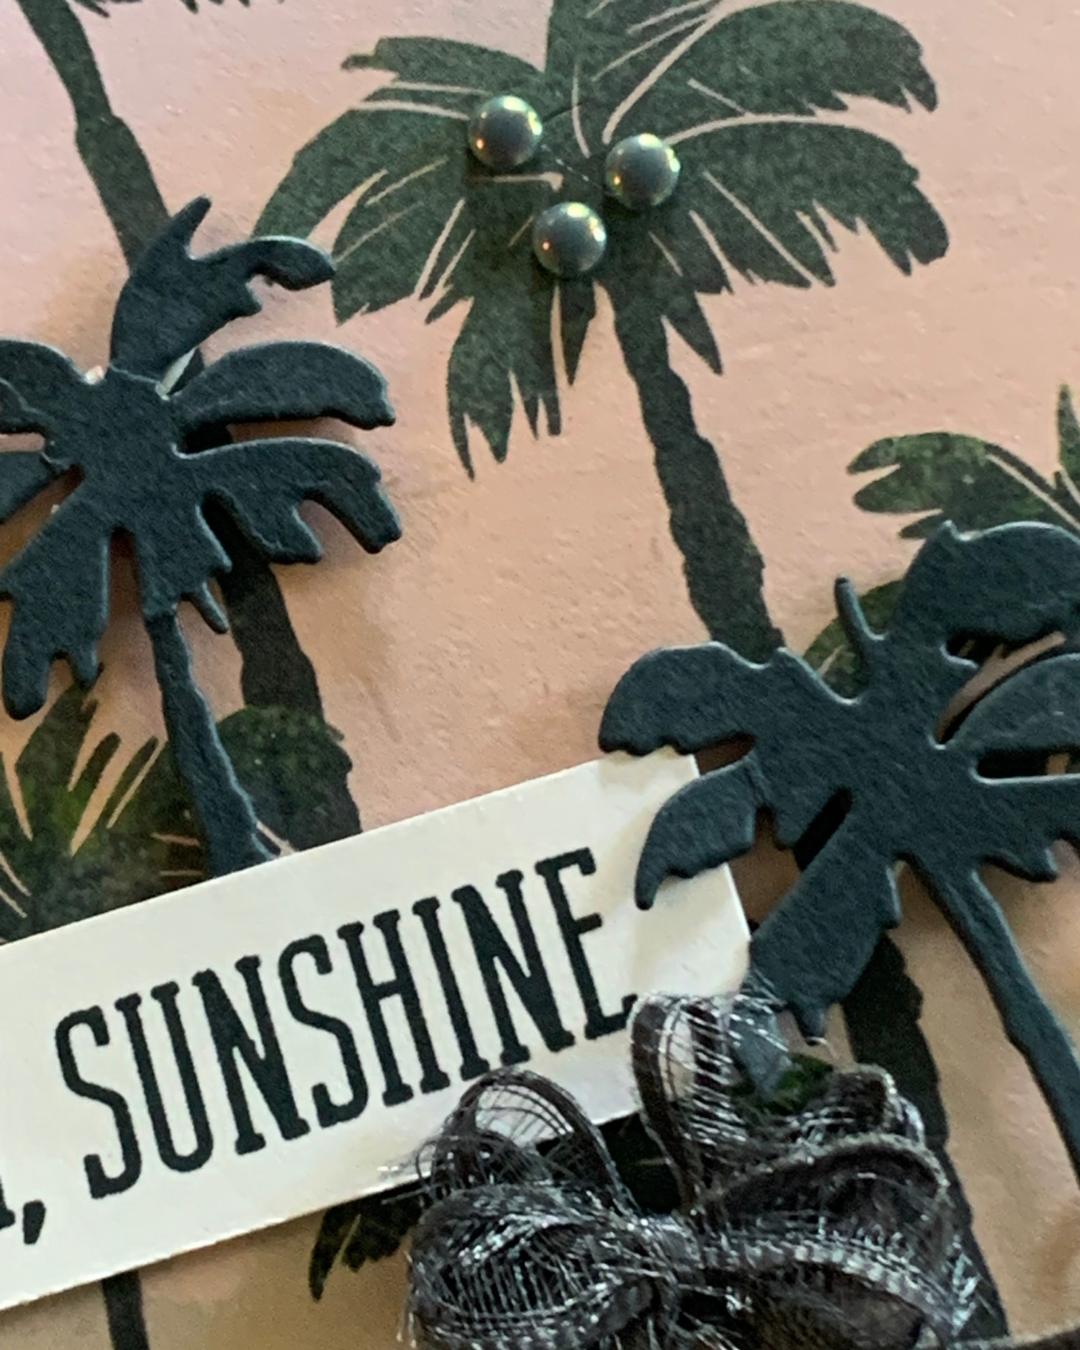
For my Friday Fun Fold card I have an Easel Card for you, featuring the Beach Boardwalk Suite Collection.

I will definitely need to make some more projects, using this Suite, because I haven’t even touched the Puffy Stickers yet.

I couldn’t resist using the palm trees paper again!
In addition to the DSP, I die cut three palm trees and addded them to the grove of trees. I thinly cut strips of Stampin’ Dimensionals to pop the trees up over the DSP palms.
The greeting was stamped on a scrap of Basic White card and trimmed to a neat rectangle. I used Dimensionals to add the greeting to the card front.

The ribbon embellishment was created by cutting a length of Secret Sea Bordered Open Weave Ribbon, fraying it and then tying a multiple-looped bow. I secured it place using a Mini Glue Dot.
I coloured some Antique Pearls using the dark Secret Sea Stampin’ Blend pen and added them as ‘coconuts’ to one of the palms.
Now, let’s check out the easel.

I added a strip of the DSP at the bottom edge of the Basic White card insert. This works as the edge to hold the card front up.
Some extra coloured Pearls were added to this DSP panel.
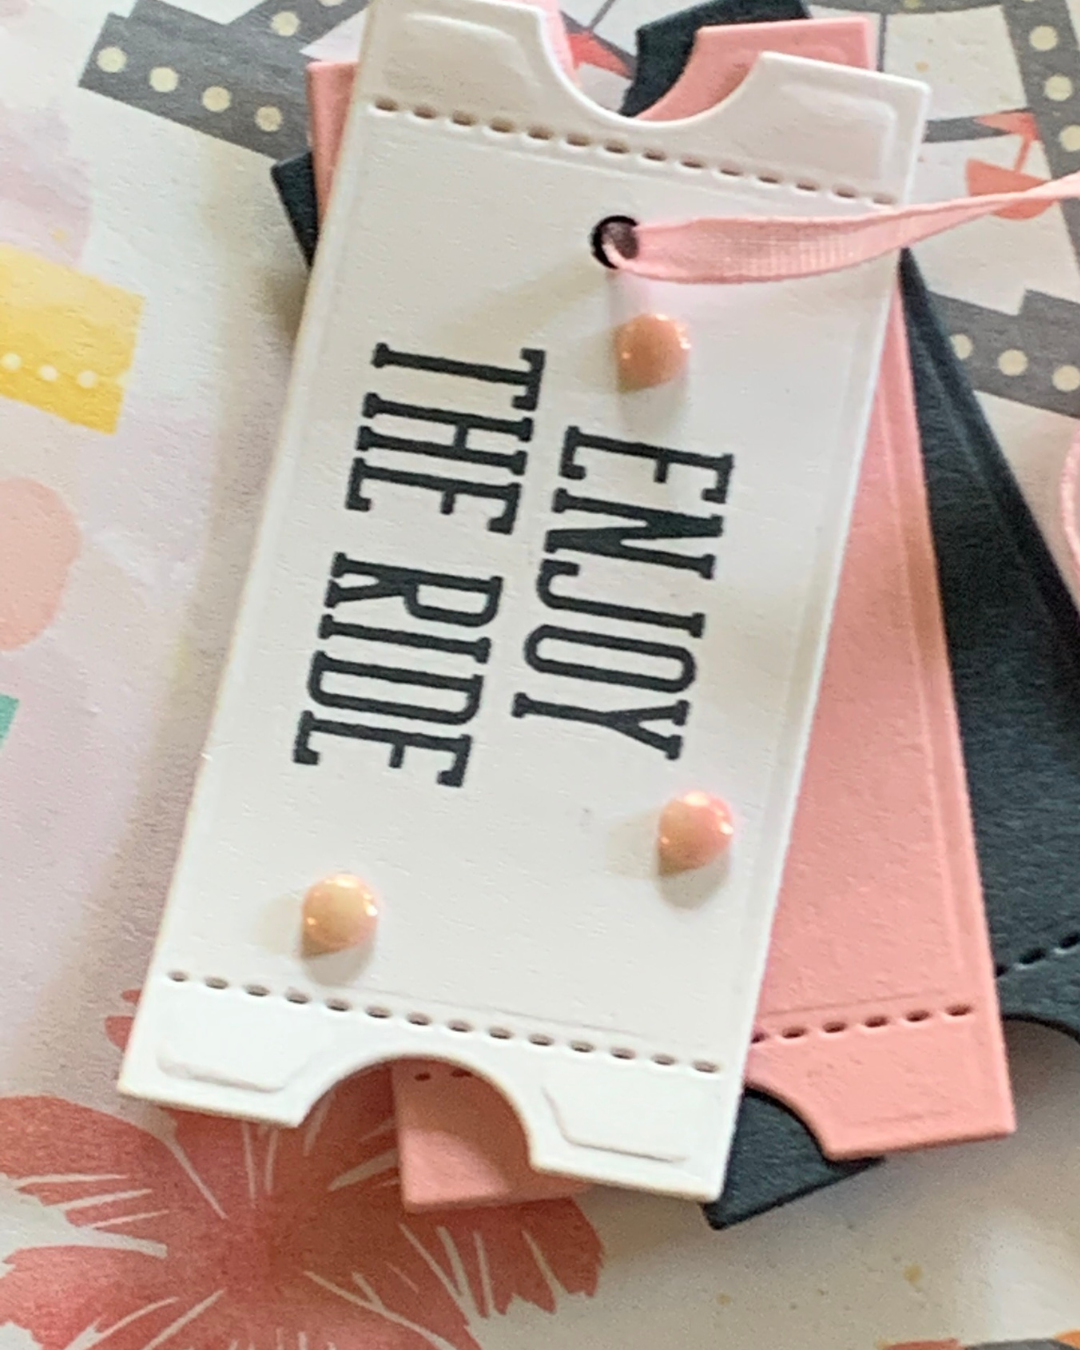
I stamped the greeting on the Basic White card insert before adhering another die cut palm tree.

This week was fun – I hope you enjoyed all my shares.
Make sure you leave me a comment to tell which is your favourite project.
Next week I will have another amazing collection of products to share with you.
Until then, happy stamping and scrapbooking.

If you live in Australia, you can order any of the products I used to make this card by going to my online store. As you read through this post, you will see the products I used for this project. The new items are available from January 6th.

![Antique Pearls [ 164679 ]](https://i0.wp.com/assets1.tamsnetwork.com/images/EC042017NF/164679s.jpg?w=140&ssl=1 "Antique Pearls [ 164679 ]") | ![Basic White A4 Thick Cardstock [ 159230 ]](https://i0.wp.com/assets1.tamsnetwork.com/images/EC042017NF/159230s.jpg?w=140&ssl=1 "Basic White A4 Thick Cardstock [ 159230 ]") | ![Secret Sea A4 Cardstock [ 165296 ]](https://i0.wp.com/assets1.tamsnetwork.com/images/EC042017NF/165296s.jpg?w=140&ssl=1 "Secret Sea A4 Cardstock [ 165296 ]") | ![Secret Sea Classic Stampin' Pad [ 165285 ]](https://i0.wp.com/assets1.tamsnetwork.com/images/EC042017NF/165285s.jpg?w=140&ssl=1 "Secret Sea Classic Stampin' Pad [ 165285 ]") |
![Multipurpose Liquid Glue [ 110755 ]](https://i0.wp.com/assets1.tamsnetwork.com/images/EC042017NF/110755s.jpg?w=140&ssl=1 "Multipurpose Liquid Glue [ 110755 ]") | ![Stampin' Dimensionals [ 104430 ]](https://i0.wp.com/assets1.tamsnetwork.com/images/EC042017NF/104430s.jpg?w=140&ssl=1 "Stampin' Dimensionals [ 104430 ]") | ![Mini Glue Dots [ 103683 ]](https://i0.wp.com/assets1.tamsnetwork.com/images/EC042017NF/103683s.jpg?w=140&ssl=1 "Mini Glue Dots [ 103683 ]") | |
![Paper Snips [ 103579 ]](https://i0.wp.com/assets1.tamsnetwork.com/images/EC042017NF/103579s.jpg?w=140&ssl=1 "Paper Snips [ 103579 ]") | ![Paper Trimmer [ 152392 ]](https://i0.wp.com/assets1.tamsnetwork.com/images/EC042017NF/152392s.jpg?w=140&ssl=1 "Paper Trimmer [ 152392 ]") | ![Mini Stampin' Cut & Emboss Machine [ 150673 ]](https://i0.wp.com/assets1.tamsnetwork.com/images/EC042017NF/150673s.jpg?w=140&ssl=1 "Mini Stampin' Cut & Emboss Machine [ 150673 ]") |
![Secret Sea Stampin’ Blends Combo Pack [ 165289 ]](https://i0.wp.com/assets1.tamsnetwork.com/images/EC042017NF/165289s.jpg?w=140&ssl=1 "Secret Sea Stampin’ Blends Combo Pack [ 165289 ]")




![Hole Punch Assortment [ 165409 ]](https://i0.wp.com/assets1.tamsnetwork.com/images/EC042017NF/165409s.jpg?w=140&ssl=1 "Hole Punch Assortment [ 165409 ]")
![Bubble Bath A4 Cardstock [ 161727 ]](https://i0.wp.com/assets1.tamsnetwork.com/images/EC042017NF/161727s.jpg?w=140&ssl=1 "Bubble Bath A4 Cardstock [ 161727 ]")
![Bubble Bath Stampin’ Blends Combo Pack [ 161675 ]](https://i0.wp.com/assets1.tamsnetwork.com/images/EC042017NF/161675s.jpg?w=140&ssl=1 "Bubble Bath Stampin’ Blends Combo Pack [ 161675 ]")
![Stampin' Seal+ [ 149699 ]](https://i0.wp.com/assets1.tamsnetwork.com/images/EC042017NF/149699s.jpg?w=140&ssl=1 "Stampin' Seal+ [ 149699 ]")




