Today I wanted to suggest that you look for ways to use a more that one stamp set for projects.
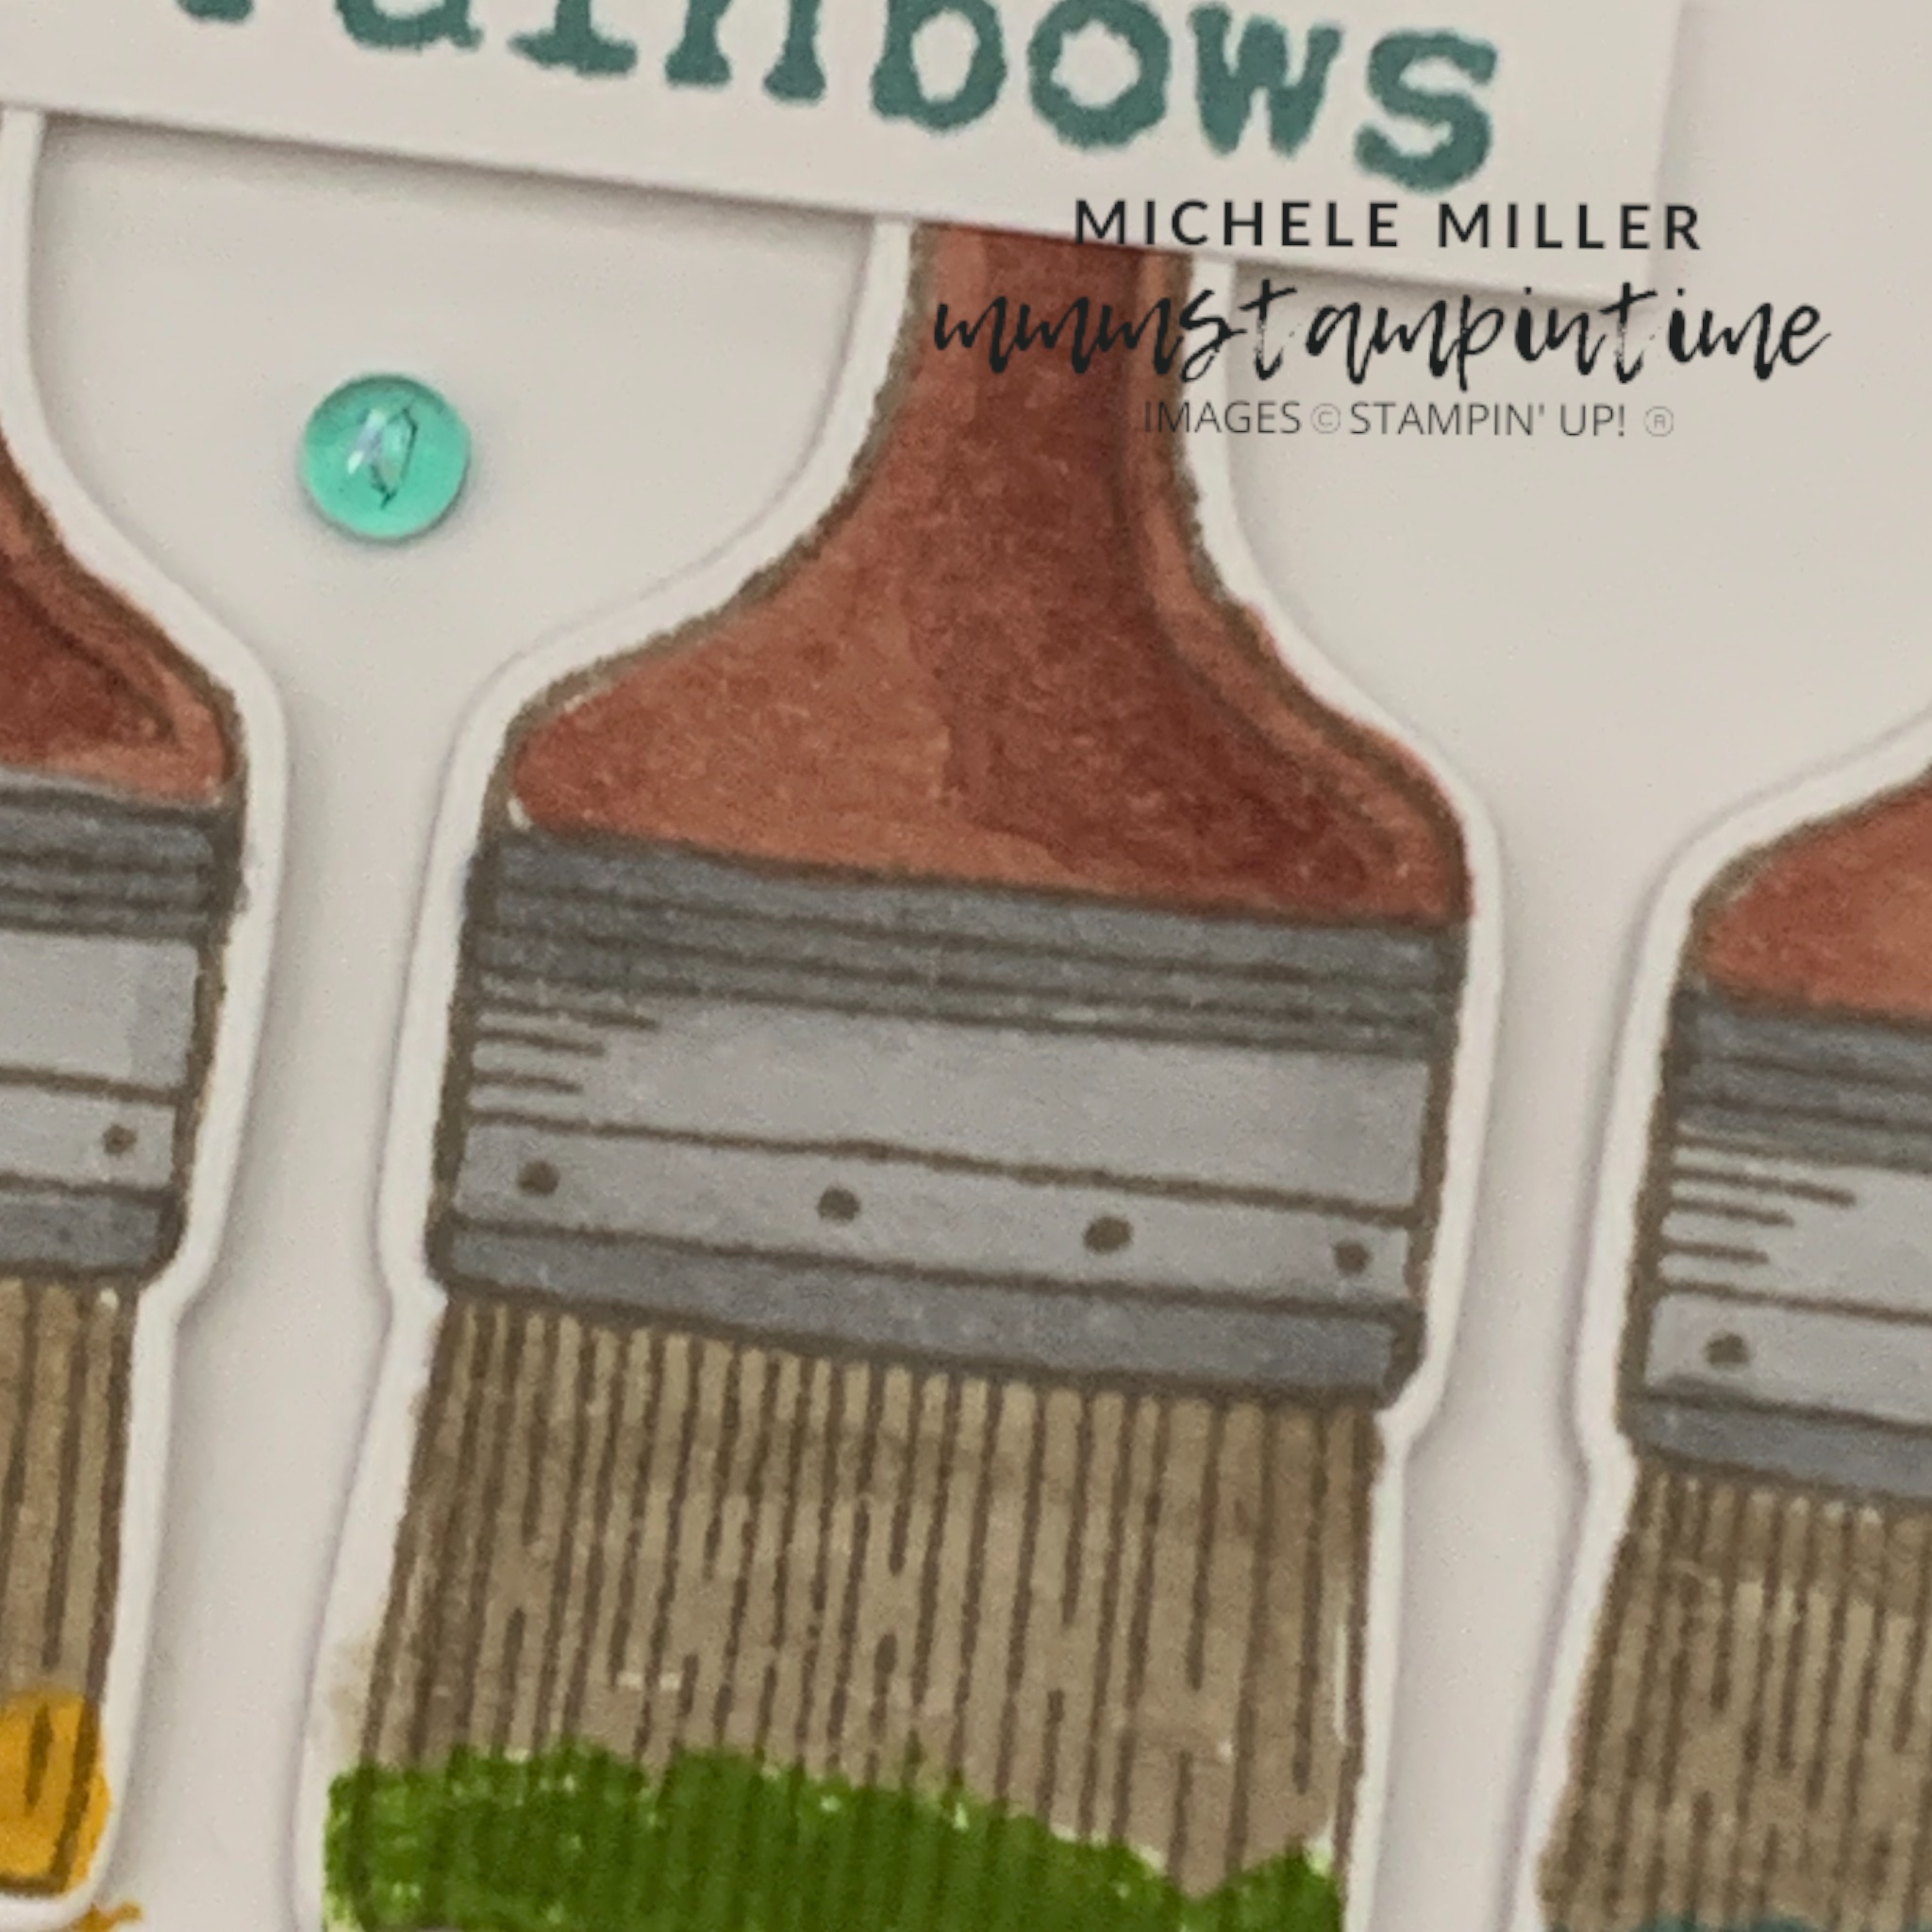
I started these cards wanting to use the paintbrush stamp to create colourful projects. This idea then evolved into a rainbow of paintbrushes.
Next idea was a toss up between some paint pots or painted strips. In the end, I went with both ideas.
Then I needed to find other stamp sets that would help me to develop these ideas.
For the paint pots, I chose the Planted Paradise Stamp Set … for the painted strips, I used the Of Art & Texture Stamp Set.
I wanted the word ‘rainbow’ to appear on one of the cards and the Just My Type Stamp Set was perfect.
Here are the results.

TIP: I die cut a paintbrush and used it as a cutting guide. After stamping several brushes, I placed the guide over the stamped image until I was pleased with the border around the brush. A piece of sticky note strip held the guide in place. Then I placed the die inside the guide and cut out the brush.
I used Stampin’ Blends to colour the brush handle and then stamped the colour on the end of the bristles.

The paint pots were stamped in Orchid Oasis, Poppy Parade, Crushed Curry, Granny Apple Green and Lost Lagoon. Then I fussy cut the pots.
The Lost Lagoon card base had a panel of the checked Designer Series Paper attached.
The paint pots were placed on the DSP using dimensionals. Then I tucked the brushes just inside the pots and glued them down.
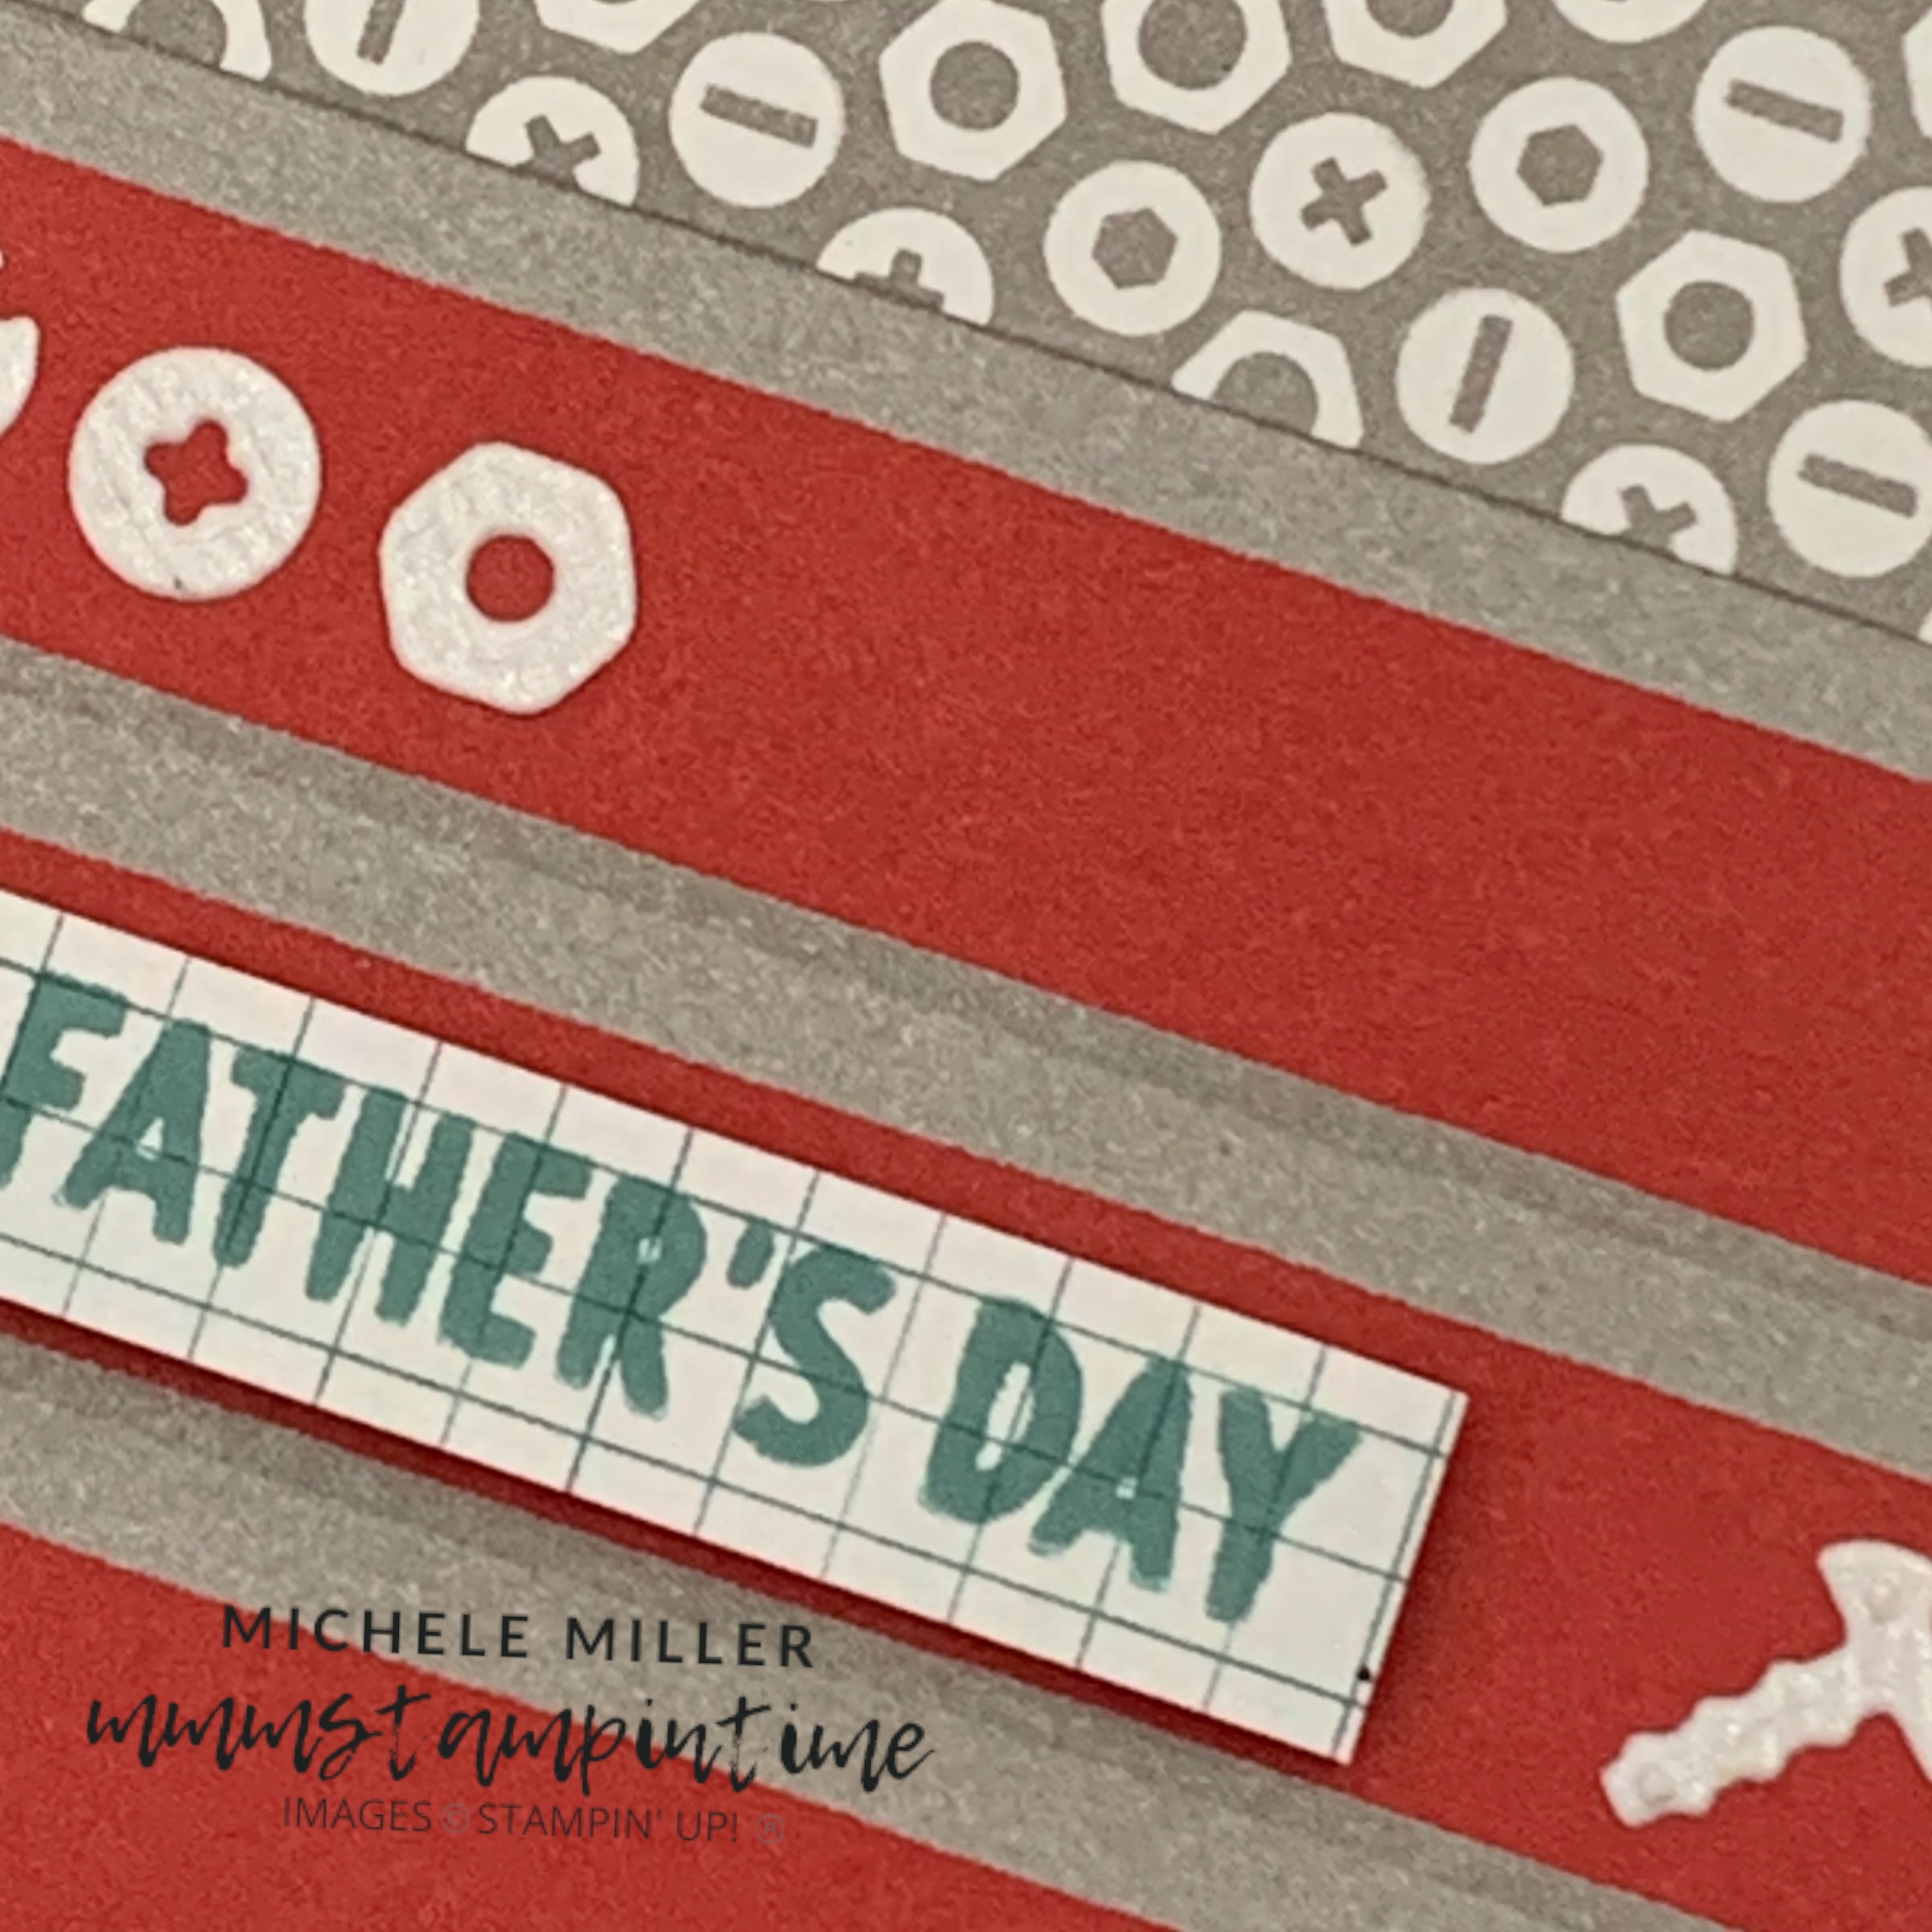
I stamped DAD on the card insert and a brush on the envelope. Finally, the greeting from the Trusty Tools Stamp Set, was stamped, trimmed and popped on the card.

I used two unrelated stamp sets for this first card yet they worked so well together.
The second card today uses three.

I ran a length of sticky note tape, across a Basic White card panel, to act as a mask. Then I used one of the Of Art & Texture images to ‘paint’ the five colours across the bottom of the panel.
After removing the sticky strip I placed the coloured paintbrushes above the corresponding stamped colour.
For these brushes I decided to also colour the bristles. I definitely prefer these brushes to those on the first card.

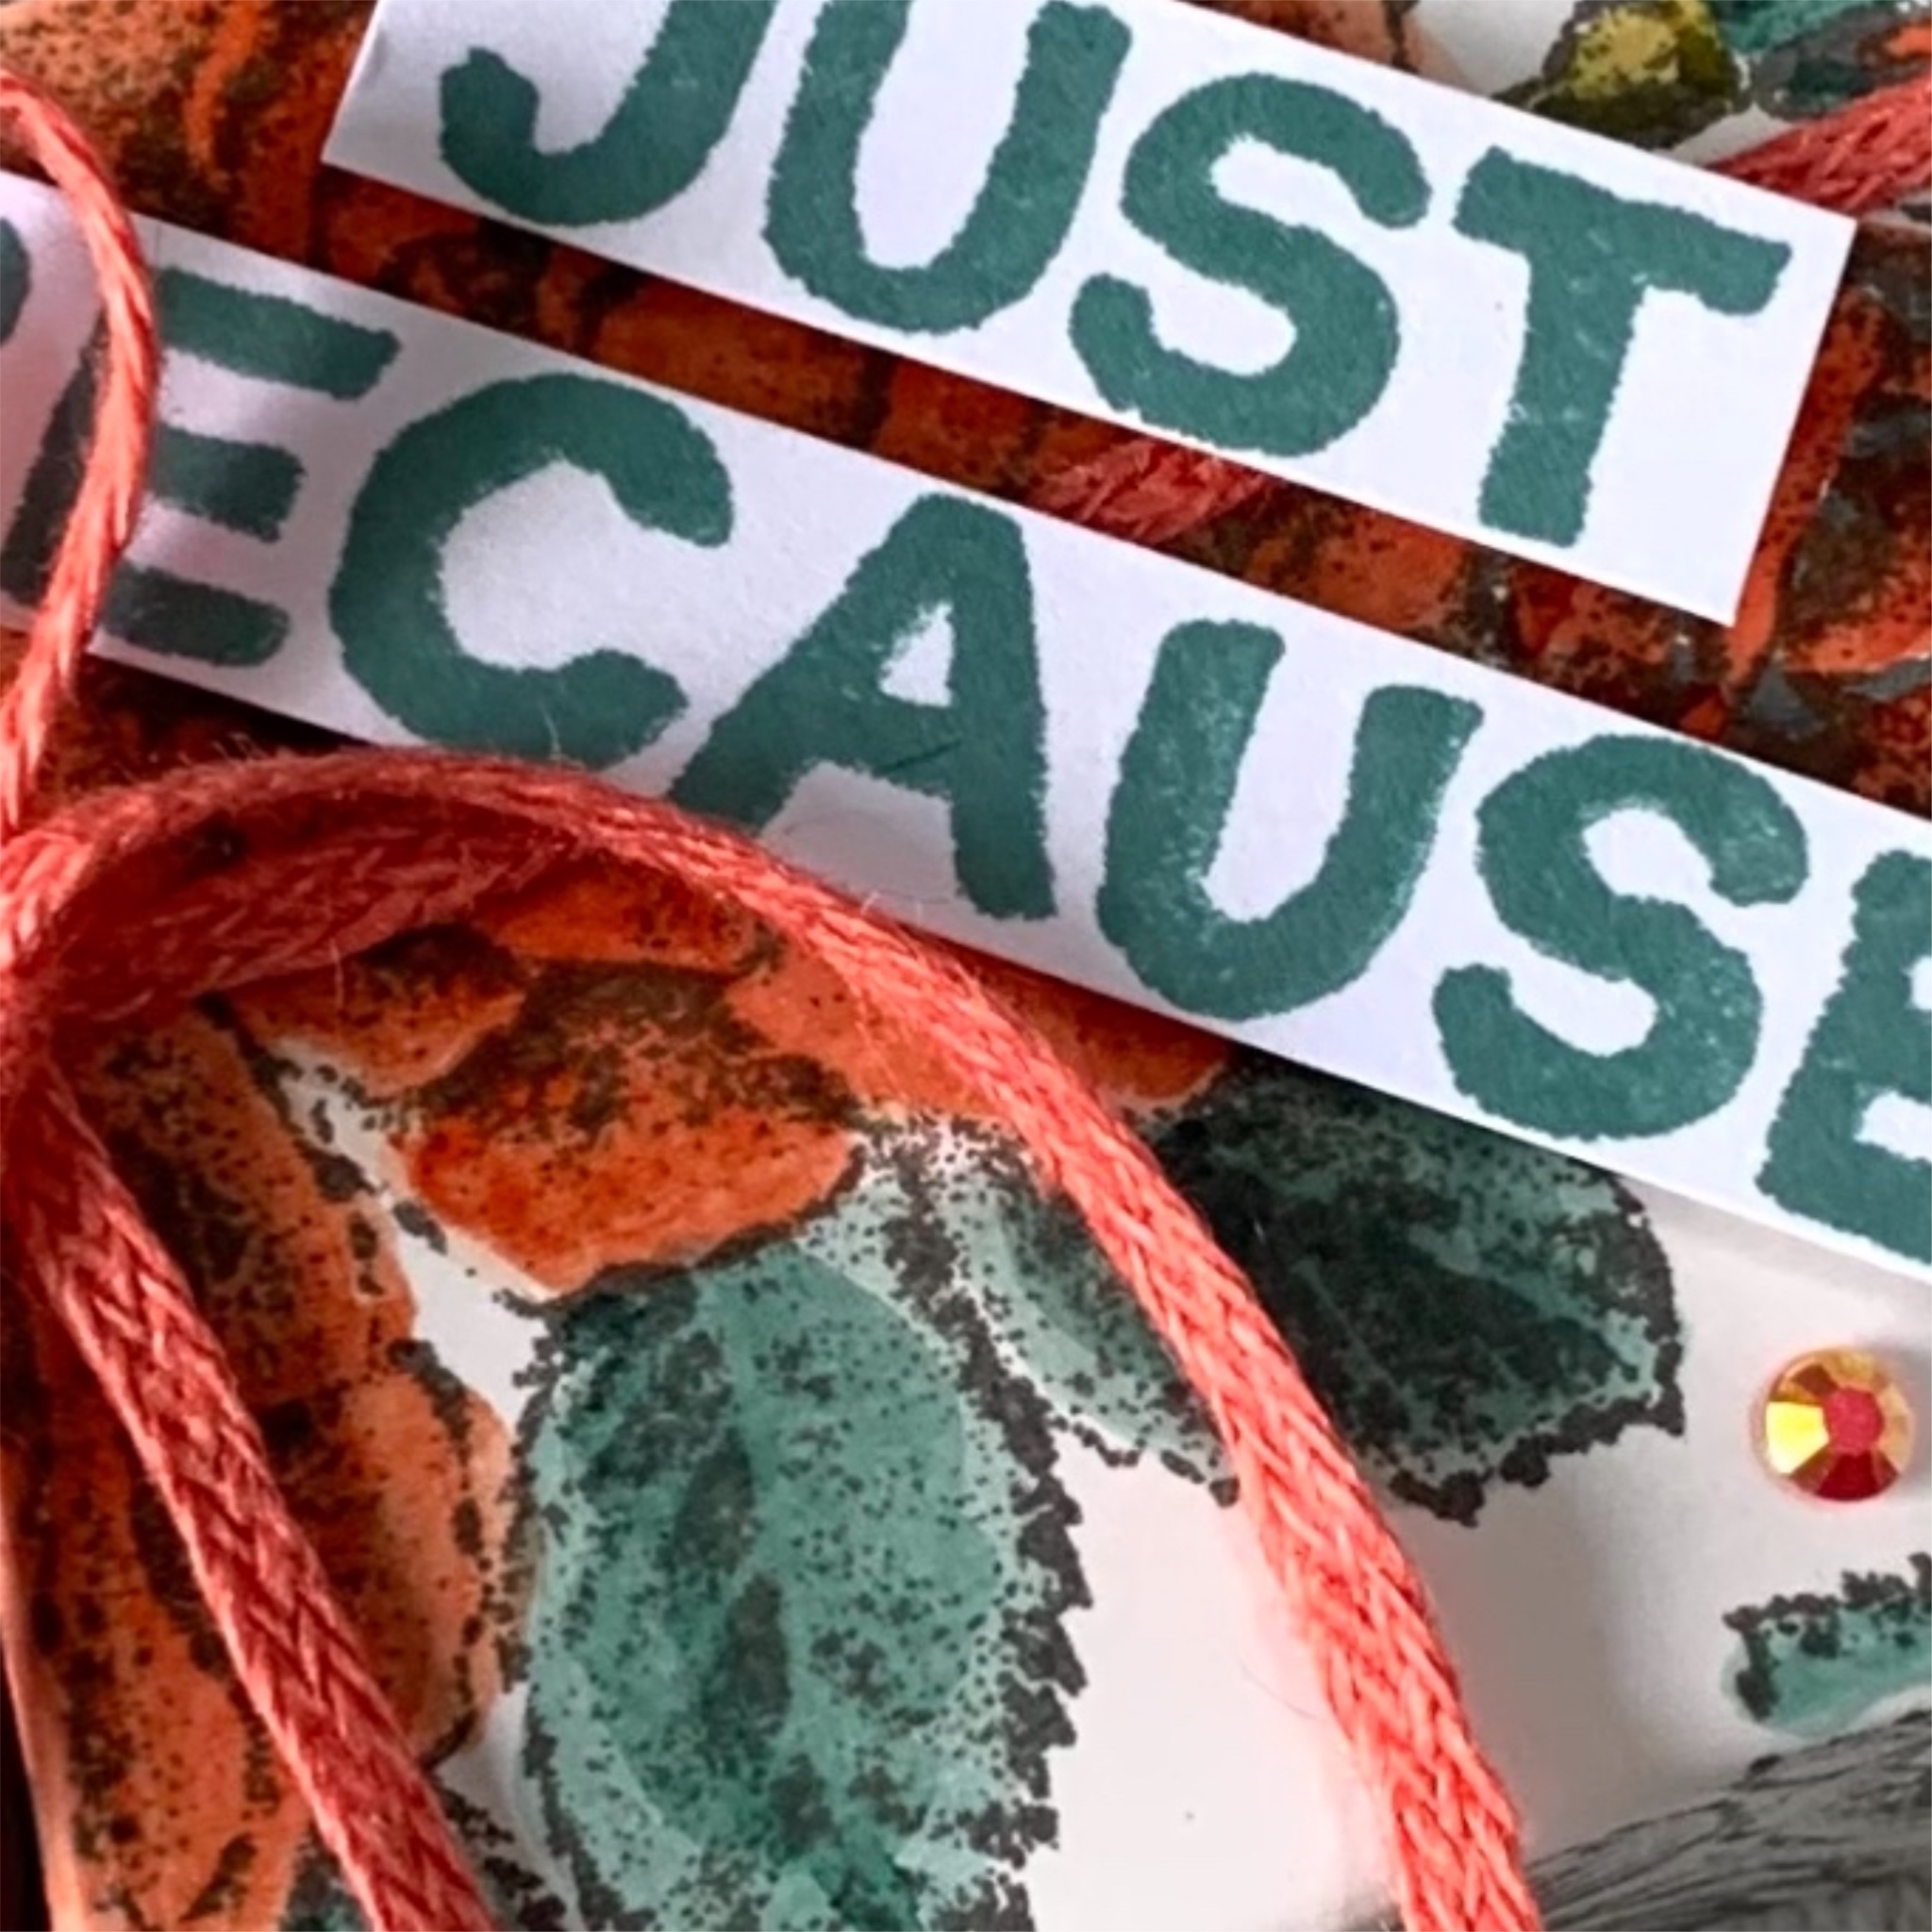
TIP: Stamp a greeting like the one I used from the Just My Type Stamp Set in more than one colour. Then the greeting can be cut into strips and the colours can be interchanged.
I used Stampin’ Dimensionals to lift them up from the card front.
The brush was stamped on the card insert and the back of the envelope.
I added some of the Lost Lagoon gems from the Tinsel Gems Three Pack to add some bling to the card.

I forgot to incude one of the stamp sets in this photo – so, this is one from the catalogue.

There are so many different stamp sets that work so well together. The combinations are only limited by your imagination.
I’ll have something completely different for you tomorrow.
Until then, happy stamping.

If you live in Australia, you can order any of the products I used to make this card by going to my online store. Just click on any of the images below

") |  | |||
 |  |  | ||
 |  |  |  |  |
 |  | |||
 |  |  |  |  |
")
 Designer Series Paper")

")
")


 Shimmer Paper")


")
")
")
 Braided Linen Trim")


