Posted on Leave a comment

GLOBAL DESIGN PROJECT COLOUR CHALLENGE #413

I enjoy taking part in the GDP Challenges because they inspire me to create outside my usual style or colour preferences.

These colours are darker than I would normally combine. Fortunately, they immediately made me think of New Year Eve’s fireworks.

The new Light the Sky Bundle is perfect for what I had in mind!

The first step was to stamp the fireworks images onto Basic White cardstock. I used Cajun Craze and Pumpkin Pie Classic Stampin’ Pads then stamped them again using Versamark. After sprinkling Clear Embossing Powder over the Versamark image, I used my heat tool to set the powder and give the image a wonderful shine.

Next, I used a Small Blending Brush to colour each of the die and fussy cut fireworks images with Tuxedo Black Memento Ink. Now the fireworks had a night sky background.

As soon as all the firworks were finished, I started on the card itself.

I used a Basic Black card base and adhered a panel of the Silver Adhesive Backed Glimmer Paper to it.

Another panel of Basic Black card, the same size as the card front, was run through my Stampin’ Cut & Emboss Machine using the largest die from the Light the Sky Dies set. Using black dimensionals, I lifted this panel up off the silver glimmer paper.

My next step was to attach the fireworks across the front of the card – some were placed directly on the card while others were popped up using Stampin’ Dimensionals.

The greeting was created in the same way.

The black Adhesive Backed Sparkle Gems were perfect for this project.

Over the next week I have some Christmas projects to share with you.

Until then, happy stamping.

If you live in Australia, you can order any of the products I used to make this card by going to my online store. Just click on any of the images below.

Product List
Heat Tool
[129056]
$54.00
Paper Snips
[103579]
$19.25
Posted on Leave a comment

Colour INKspiration #152 – BEAUTY OF THE DEEP

Welcome to another Colour INKspiration Challenge.

This inspiration picture which has inspired our colour palette was chosen by Crew Member, Bronwyn Eastley. 

Picture credit – https://medium.com/@FaSBlog/rhapsody-in-blue-five-ideas-for-working-blue-into-your-decor-668da2d3d233

As well as the chosen colour combination for #CI152, Gray Granite, Starry Sky and Night of Navy, you may also add Basic White, Very Vanilla, Crumb Cake, and metallics to your project. We also allow Ivory, Bronze and Natural Tones in Stampin’ Blends. If you don’t have the colours in our palette, feel free to use the closest Stampin’ Up! substitute.

To get your creative ideas flowing make sure you check out the Crew’s Projects in the CI#152 album. 

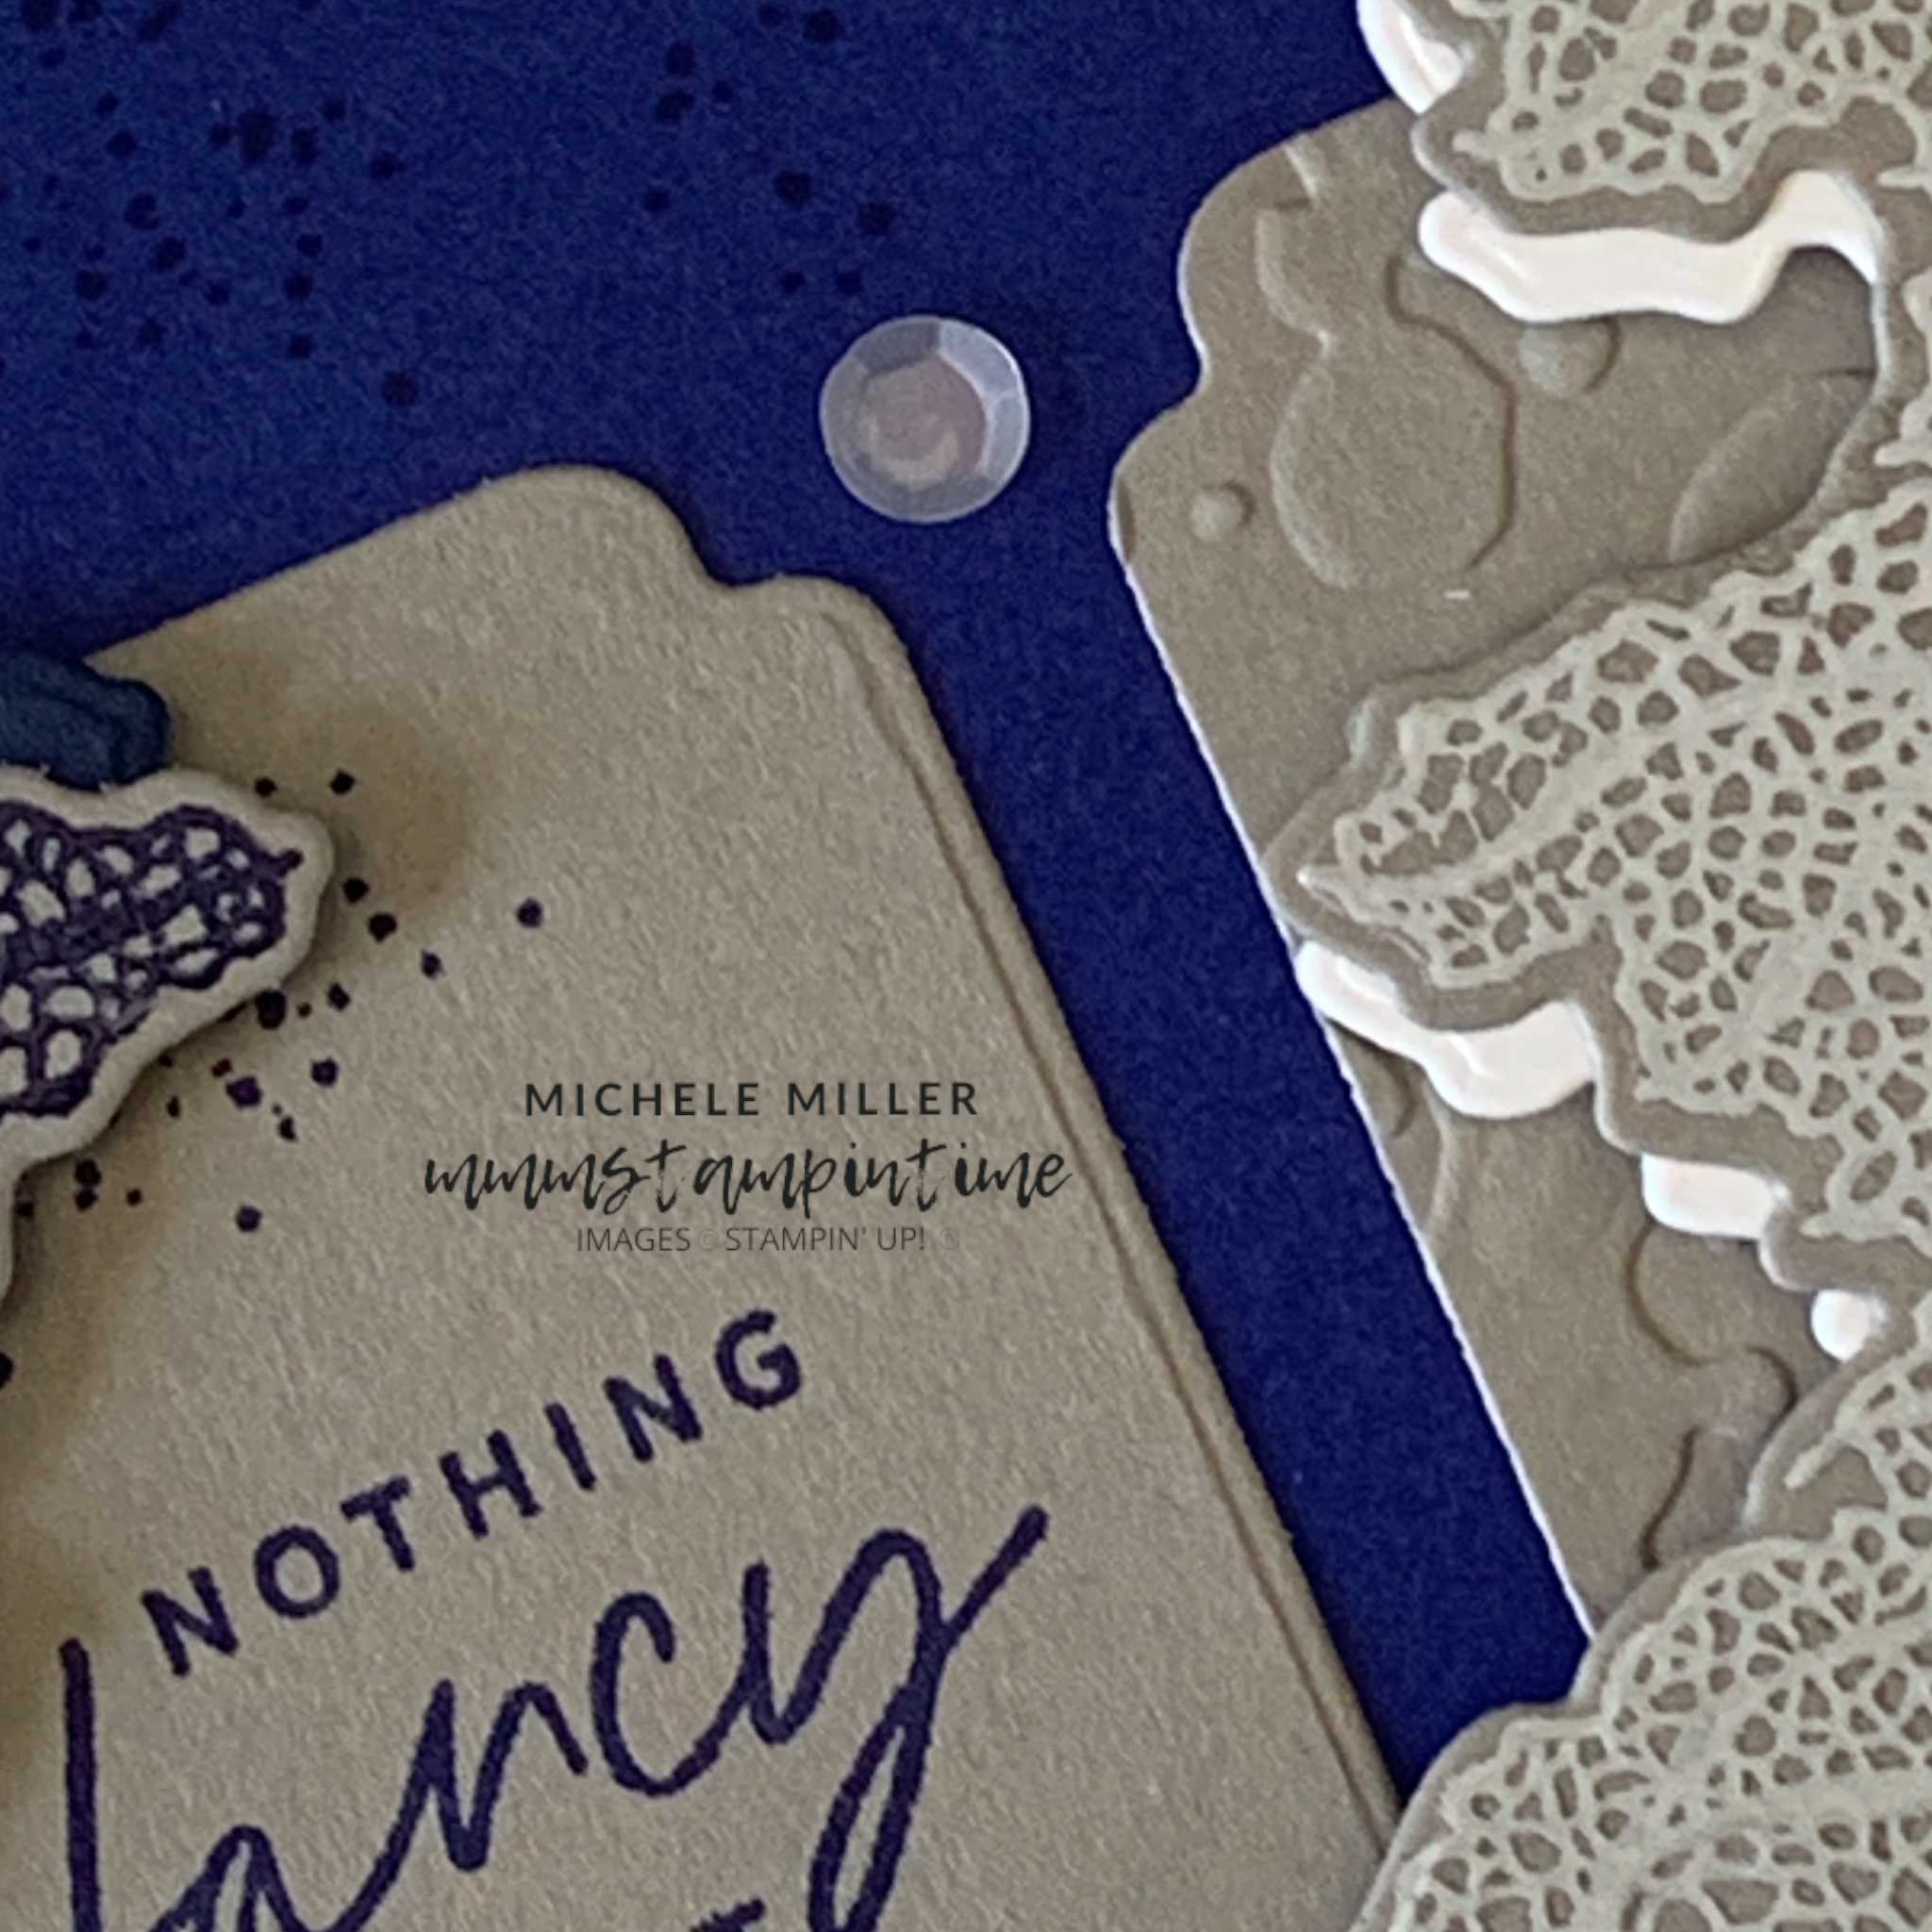
For this challenge, I was definitely inspired by the picture chosen to inspire us. I have featured the Beauty of the Deep Bundle and the Something Fancy Bundle.

I started by folding the Starry Sky card base into a landscape tent fold. Then I stamped the small scattered ‘bubbles’ onto the card front using Night of Navy ink.

The next step was to cut three Gray Granite panels using the Somethin Fancy Dies. Two of the panels were embossed with splatters from the Stripes & Splatters 3D Embossing Folders. The centre panel was stamped using a greeting from the coordinating Something Fancy Cling Stamp Set.

I chose the sea fan image from the Beauty of the Deep Cling Stamp Set. The image was stamped twice – once in Whisper White and then in Night of Navy, onto Gray Granite cardstock. They were both stamped using the now retired Stamparatus because I stamped each of the images again using Versamark and then heat embossing the Clear powder to give the images a glossy finish.

The images were cut using the Beuaty of the Deep Dies. I also cut the same fan shape in Basic White and Night of Navy to create a shadow background for the images. The shadow layers were offset and adhered behind the stamped and embossed images.

The panels were adhered directly onto the card front .

The layered fan images were then positioned on each side of the card using Stampin’ Dimensionals.

The same fan image was stamped on the card insert and envelope.

The finishing touch was to add some white sequins, from the Adhesive-Backed Sequins Trio, to the card front.

These two stamp sets worked well together. The Something Fancy Dies have laods of great shapes to use for cutting greetings.

Tomorrow I have something completely different to share with you. Until then, happy stamping.

If you live in Australia, you can order any of the products I used to make this card by going to my online store. Just click on any of the images below.

Product List
Heat Tool
[129056]
$54.00
Paper Snips
[103579]
$19.25
Bone Folder
[102300]
$12.25
Posted on Leave a comment

HAPPY 35th ANNIVERSARY STAMPIN’ UP!

For their 35th anniversary, Stampin’ Up! chose to celebrate by sending a home office team member to 35 demonstrator gatherings around the world – 35 for 35!

One of the Australian events was hosted by the Paper Angels leaders – Liz Collett, Anna Wheaton and Bec Ross.

When I received my invitation, I signed up straight away. It had been quite a while since I had spent time with Em, our South Pacific DDM for New Zealand and Queensland. I was fortunate enough to see/hear Kevin when I was in Vienna last year.

One of the first things I did was to make my name tag following the event’s theme of Coral & Jade.

I was so pleased to be afforded the opportunity to present two product display boards. I will share these projects over the next couple of weeks.

Here are a few photos of Kevin and Em from the event.

Kevin shared information with us several times during the day. I loved the image of Em as M from James Bond!

Durig the day Kevin and Em helped hand out Prize Patrol goodies and joined in with the make and take projects at various tables. It was great to have them sit and chat and share their stories.

If you look in the background of the image of Kevin crafting, below, you will see an amazing 35 photo collage that Liz created.

I’m sure that everyone had an amzing day.

This is the swap card I created for this event.

This is the 3D project that I made for my swaps. It is an origami diamond shaped ornament – perfect for a Ferrero Rocher or Lindt chocolate.

Finally, these two images are of my Merry, Bold & Bright display.

I made sure that I had ordered the Falalala Holiday Mug Duo to compliment my display. These two mugs looked great with their cello bags of Lindt chocolates.

I hope that you like the look of my display.

Over the next couple of weeks I will share each project and give you some more details about them.

Until then, happy stamping.

If you live in Australia, you can order any of the products I used to make this card by going to my online store. Just click on any of the images below.