Posted on Leave a comment

CAN YOU EVER GET TOO MUCH MERRY, BOLD & BRIGHT?

Hello and welcome back to another pair of Merry, Bold & Bright projects. I am so pleased to be able to share them with you.

Let’s start with a 3D project.

Have you ever been at a Christmas lunch or dinner and don’t know which glass is yours? I have a solution for you!

I made a set of wine glass charms.

When I saw the lightbulb dies in the Merry & Bright Dies set, I knew that I wanted to make some charms. Fortunately I already had some Sizzix shrink plastic in my craft drawer.

I cut six of the oval shaped bulbs using the Mini Stampin’ Cut & Emboss Machine.

Then I punched a small hole in the top of each bulb.

I used a coordinating variety of Stampin’ Blends to colour each of the die cut pieces.

After each of the bulbs were coloured, I used my heat tool to shrink them down. Isn’t it amazing – the difference in size – before and after! The colour actually intensifies.

I found these looped shapes in the jewellery making area of my local craft store. It took me a while to find coordinating glass beads to use in this project.

Then I created a gift box to hold six wine charms. I used Gold Foil 12″ x 12″ Specialty Paper and Gold Celebrations 12″ x 12″ Specialty Designer Series Paper to make the box and acetate slide on cover.

Now, I need to make a few more for my daughter – she has placed her order for Christmas stocking fillers.

Now for a card inspired by Mary Knabe! It is a SQUARE TRI-FOLD FUN FOLD CARD. Here is a link to her creative process – https://www.stampinpeace.com/2023/08/square-tri-fold-fun-fold-card-meets-the-zoo-crew.html

The finished card measures 4″ x 4″ and has a specially folded envelope for it to go in.

This shows the card fully folded out, with all of the panels. I love the way each of the designs in this collection of Designer Series Paper coordinate so well.

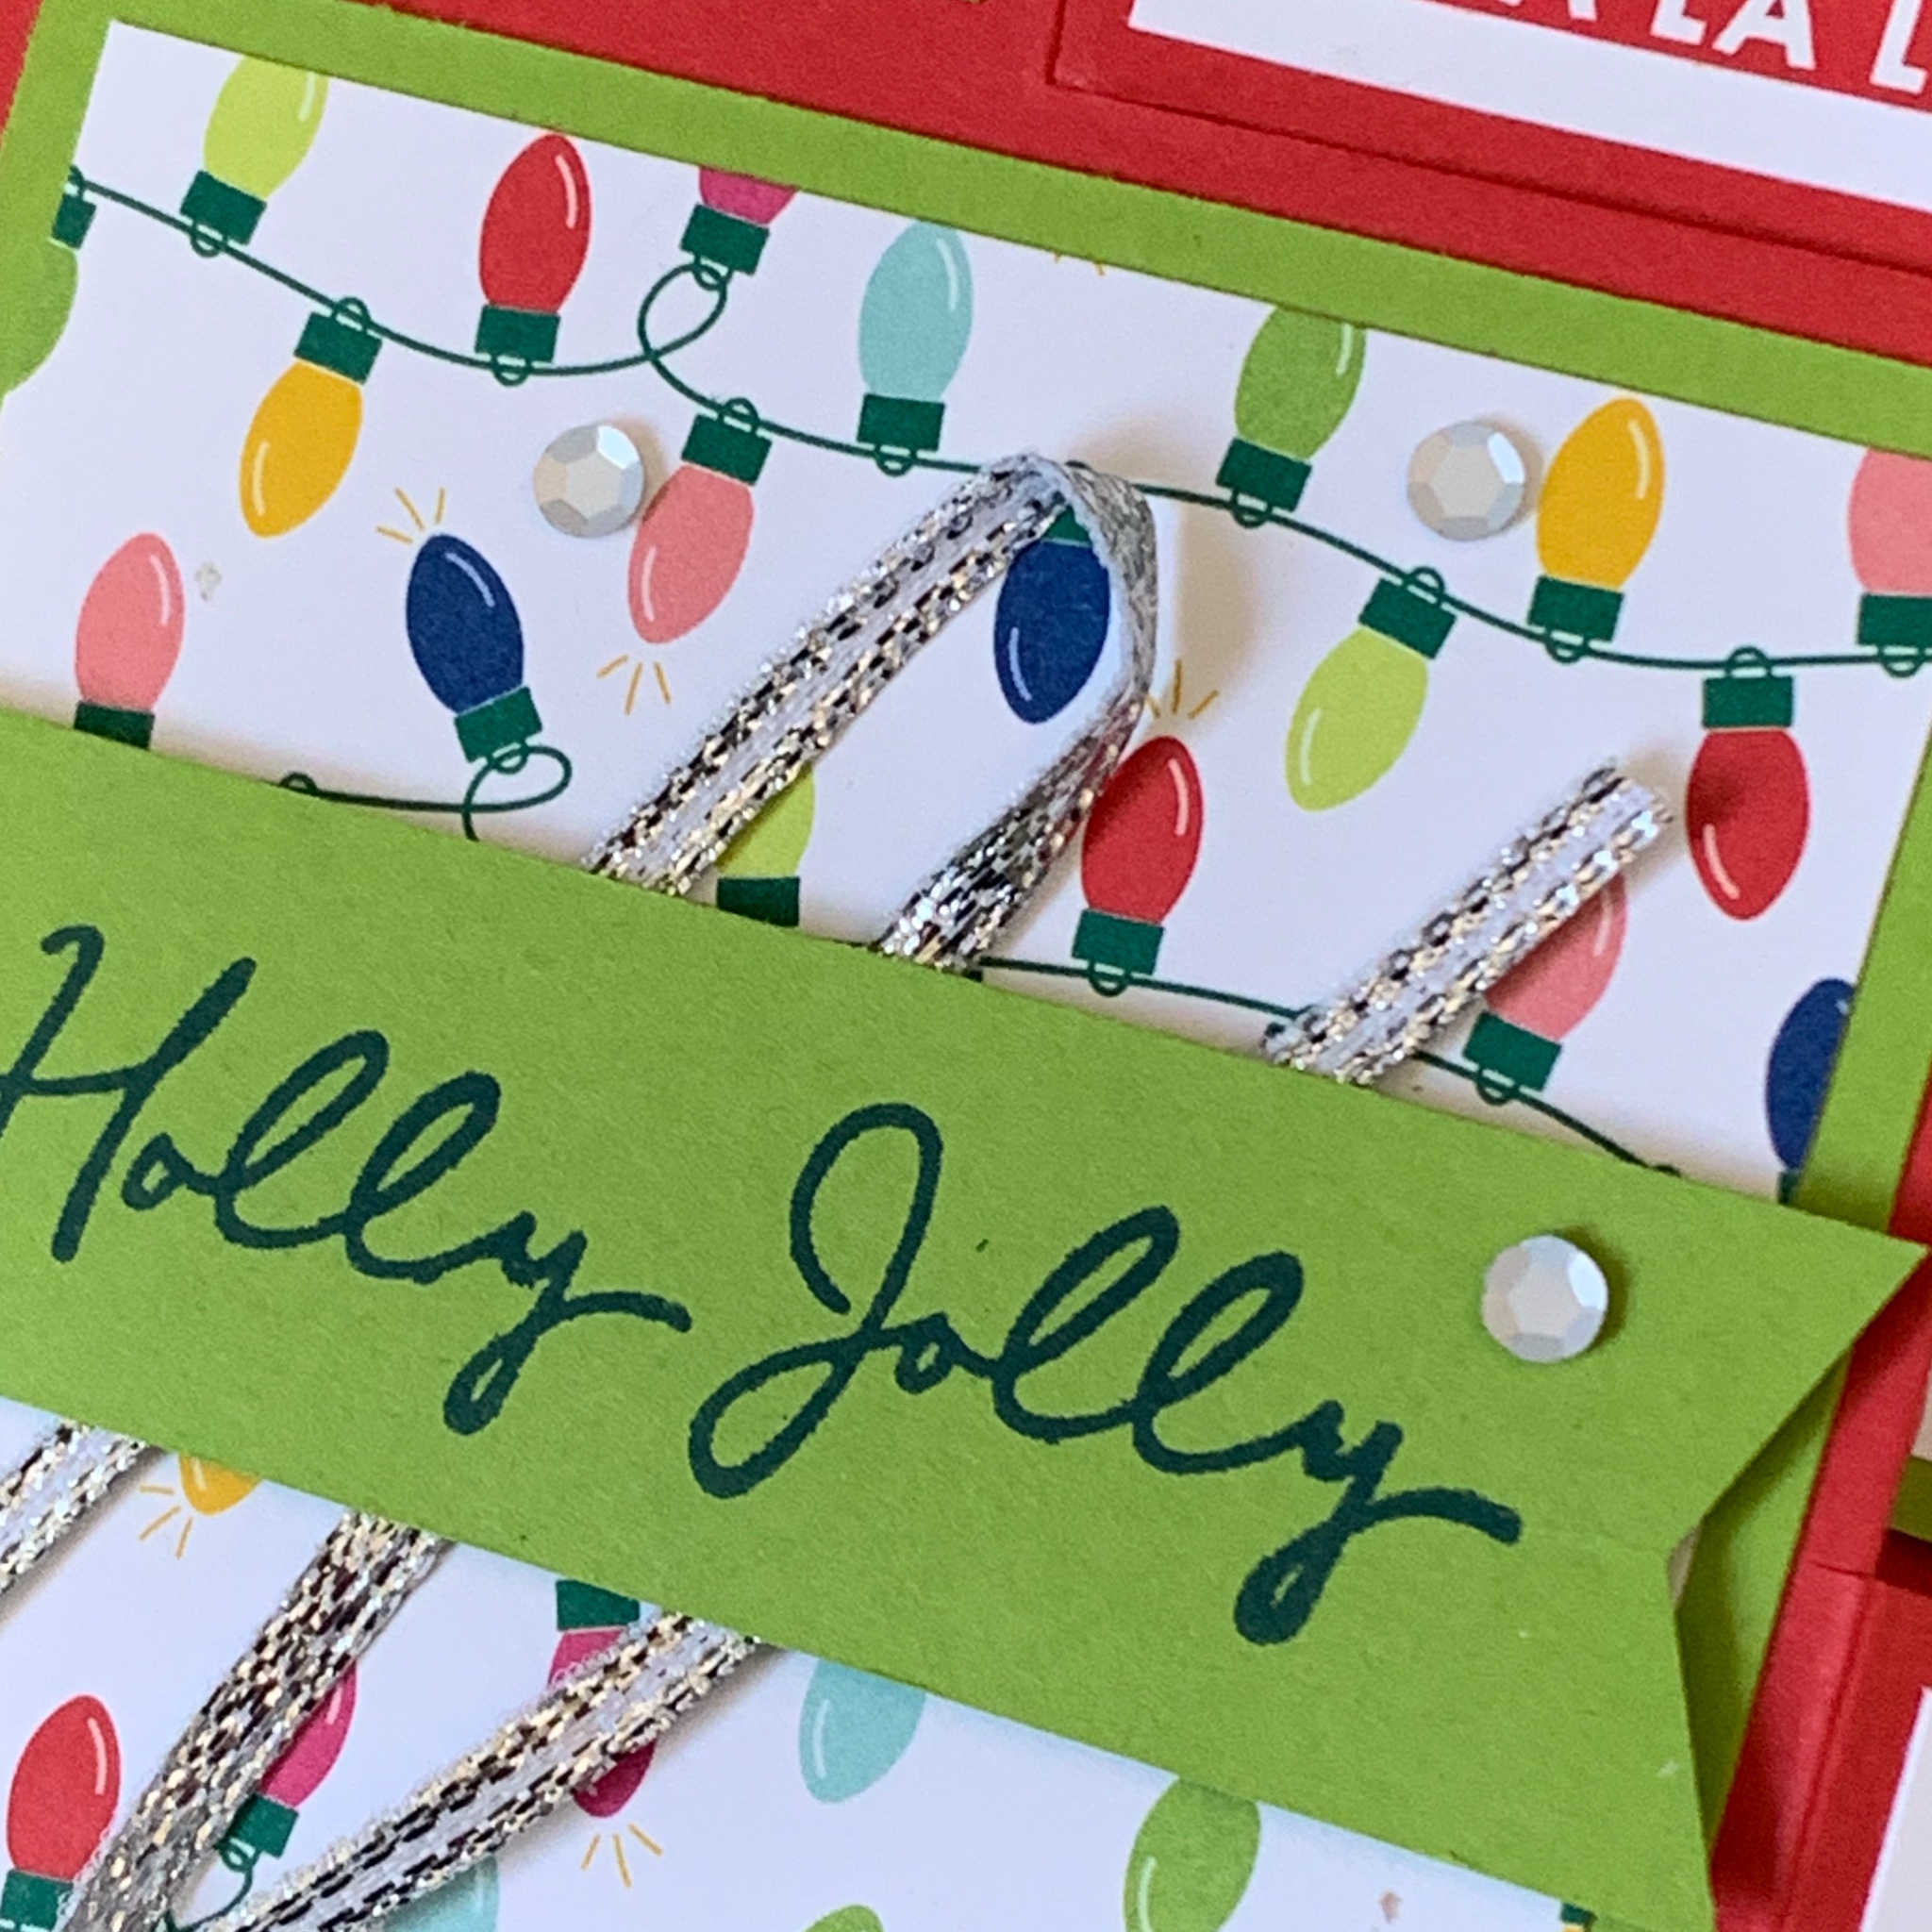
After I stamped the Christmas greeting on the Granny Apple Green card, I used the Banners Pick a Punch to finish each end.

There is lift up panel so that you can write your Christmas message.

A special card needs a special envelope.

And, there is more writing space on the back of the card.

What do you think of these two projects?

More to come tomorrow. So until then, happy stamping.

If you live in Australia, you can order any of the products I used to make this card by going to my online store. Just click on any of the images below.

Product List
Heat Tool
[129056]
$54.00
Paper Snips
[103579]
$19.25
Posted on Leave a comment

TIME FOR SOME MORE MERRY, BOLD & BRIGHT CREATIONS

If you didn’t see my post yesterday, make sure you pop back and have a look. It explains why I have so many Merry, Bold & Bright projects to share with you.

It has something to do with these next two images –

Today, I have another 3D project and card to show you.

These Christmas gift bags were inspired by Sam Hammon Donald – thank you Sam for always sharing your creations (with instructions!). Here is a link to see her creativity in action – https://pootles.co.uk/2023/08/18/stampin-up-zany-zoo-gift-box-idea/

I made these to showcase the amazing designs in the Merry, Bold & Bright 12″ x 12″ Designer Series Paper.

The wonderful Deckled Circles Dies were used to cut the sentiment label for the front of each bag. Then the Christmas bulbs were stamped, die cut and attached to the labels.

Each label then had Iridescent Adhesive-Backed Discs were added to give the bags a little bling.The bags were closed with coloured mini bulldog clips that I found at my local stationery store.

Now for a card!

For this card I wanted to create a gift card holder. I started with a Poppy Parade landscape tent fold.

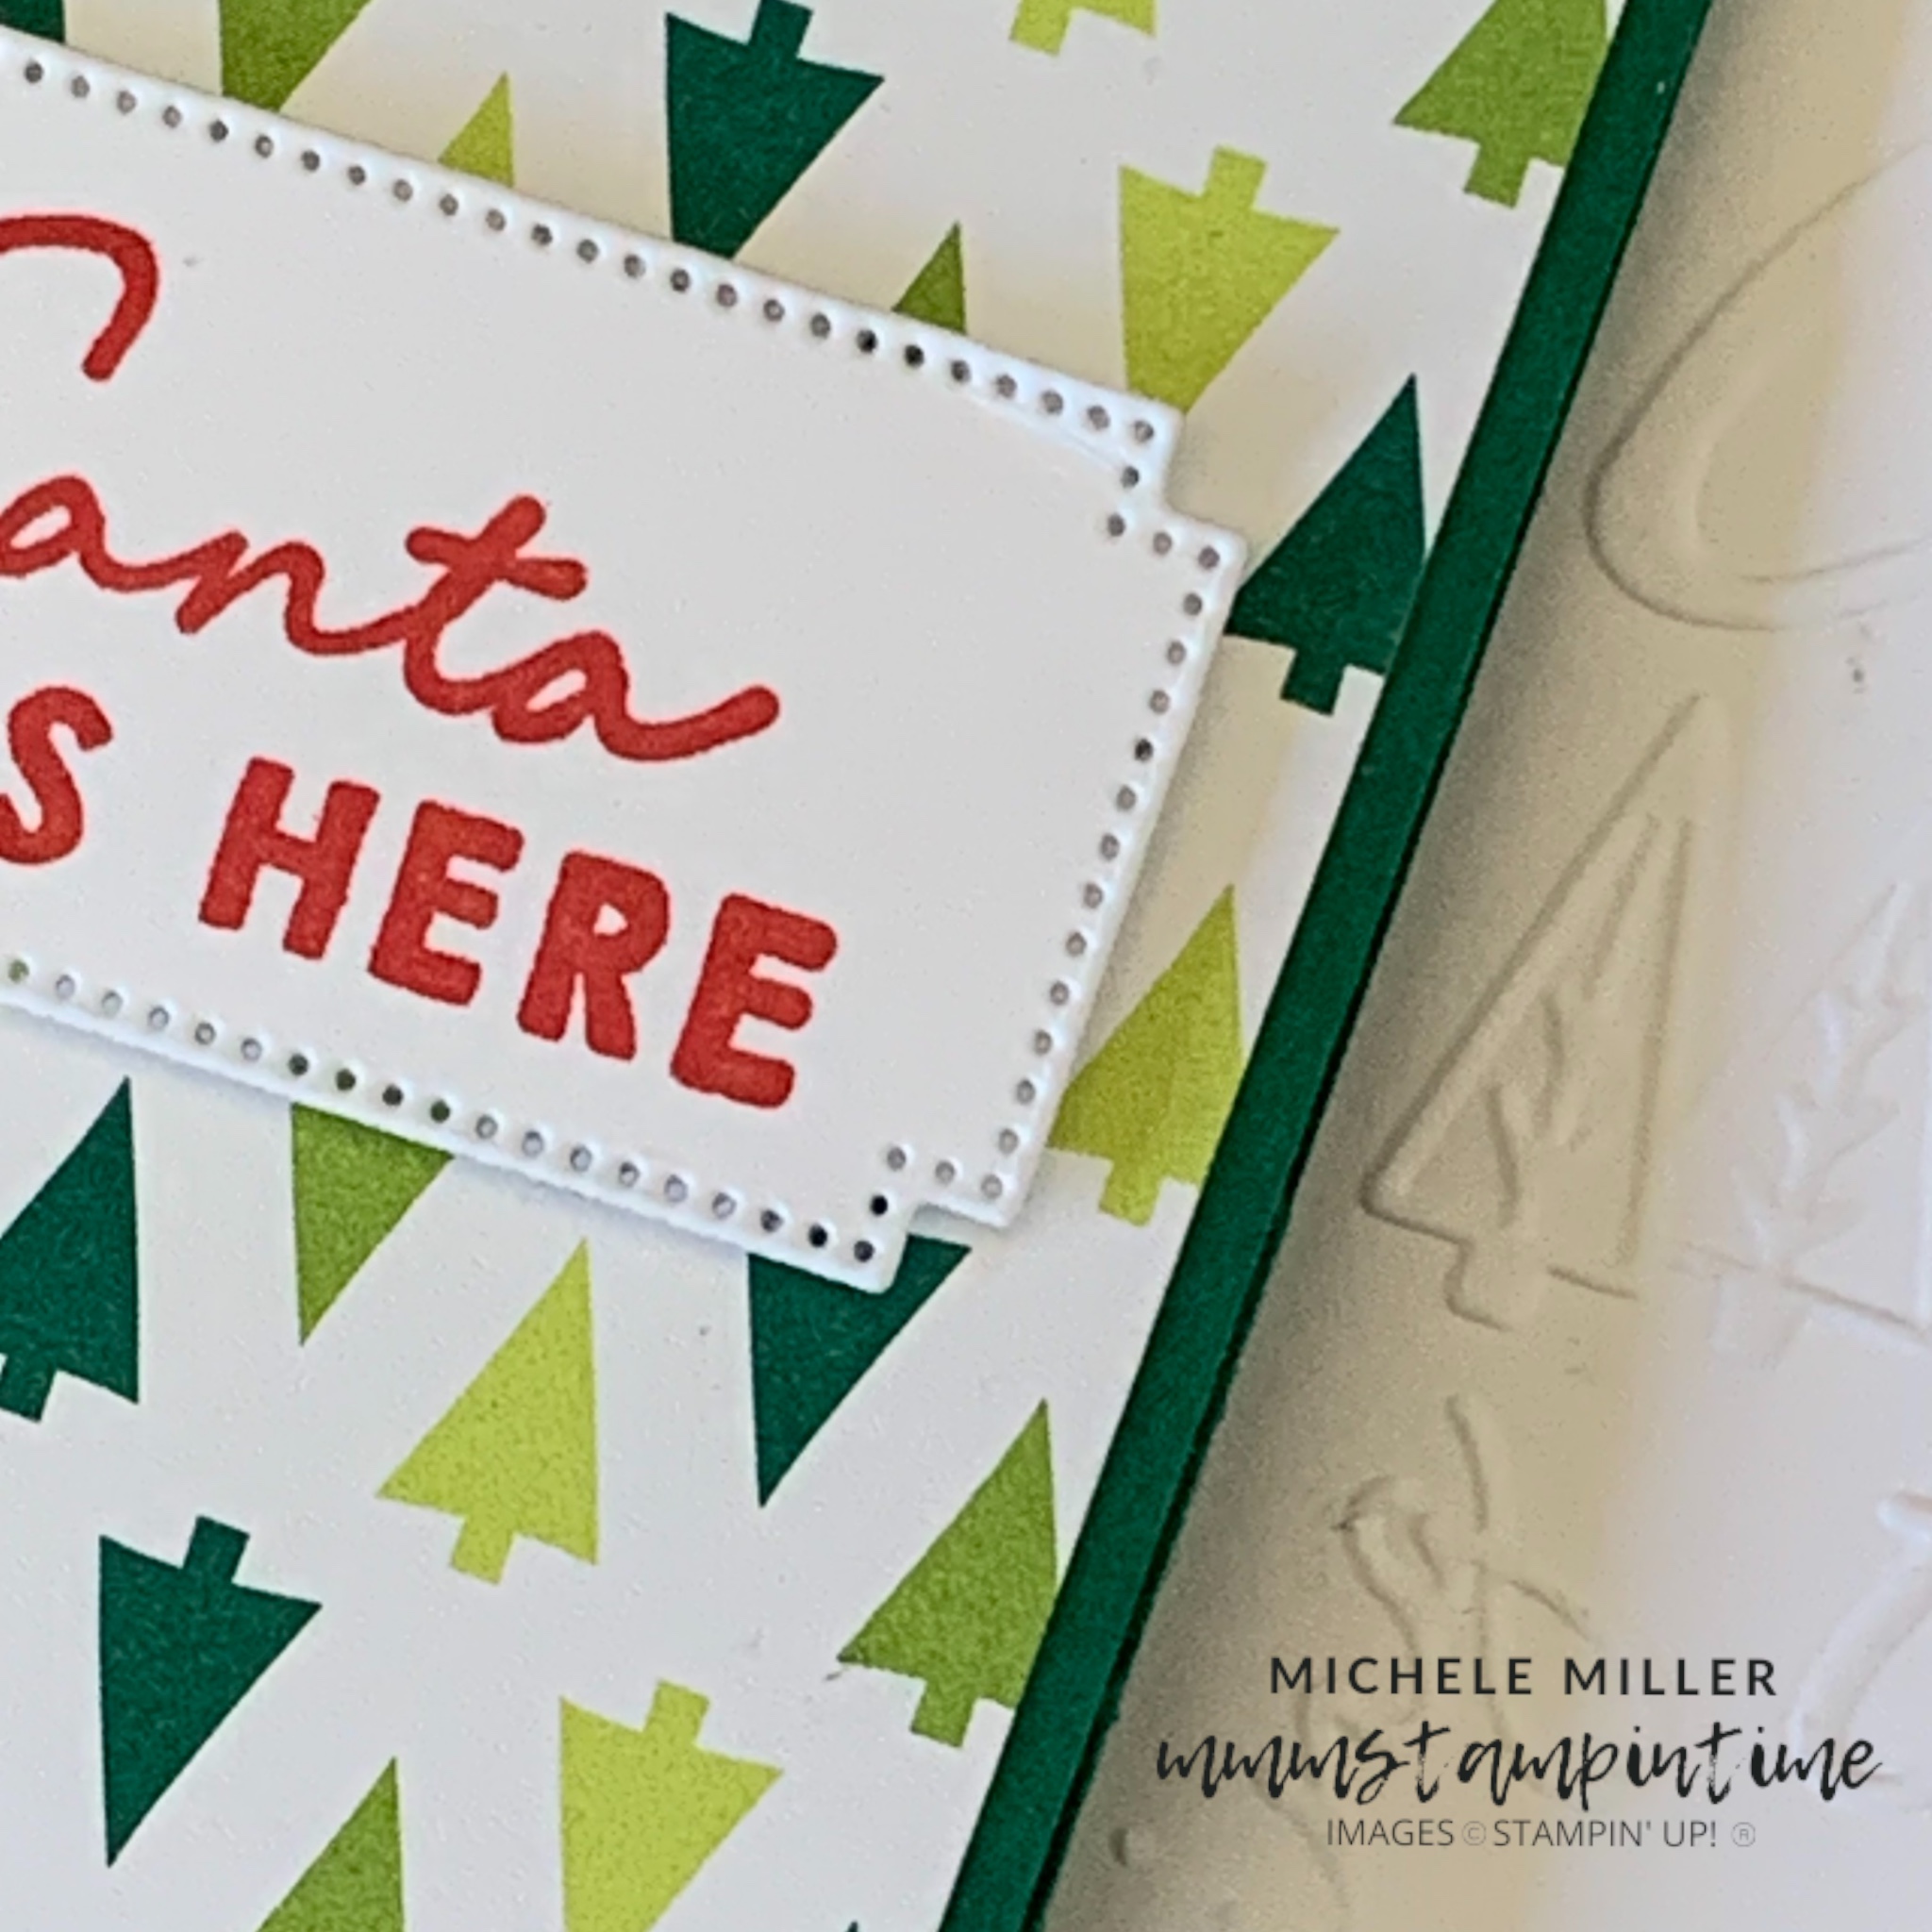
I took a piece of Basic White card and used the Christmas Tidings Embossing Folder to add this amazing texture. After I attached this embossed layer to the front of the card, I created the gift card pocket and cover.

The Shaded Spruce gift card pocket was a trial and error process to get the right measurements. I added an insert of DSP to add to the Christmas theme.

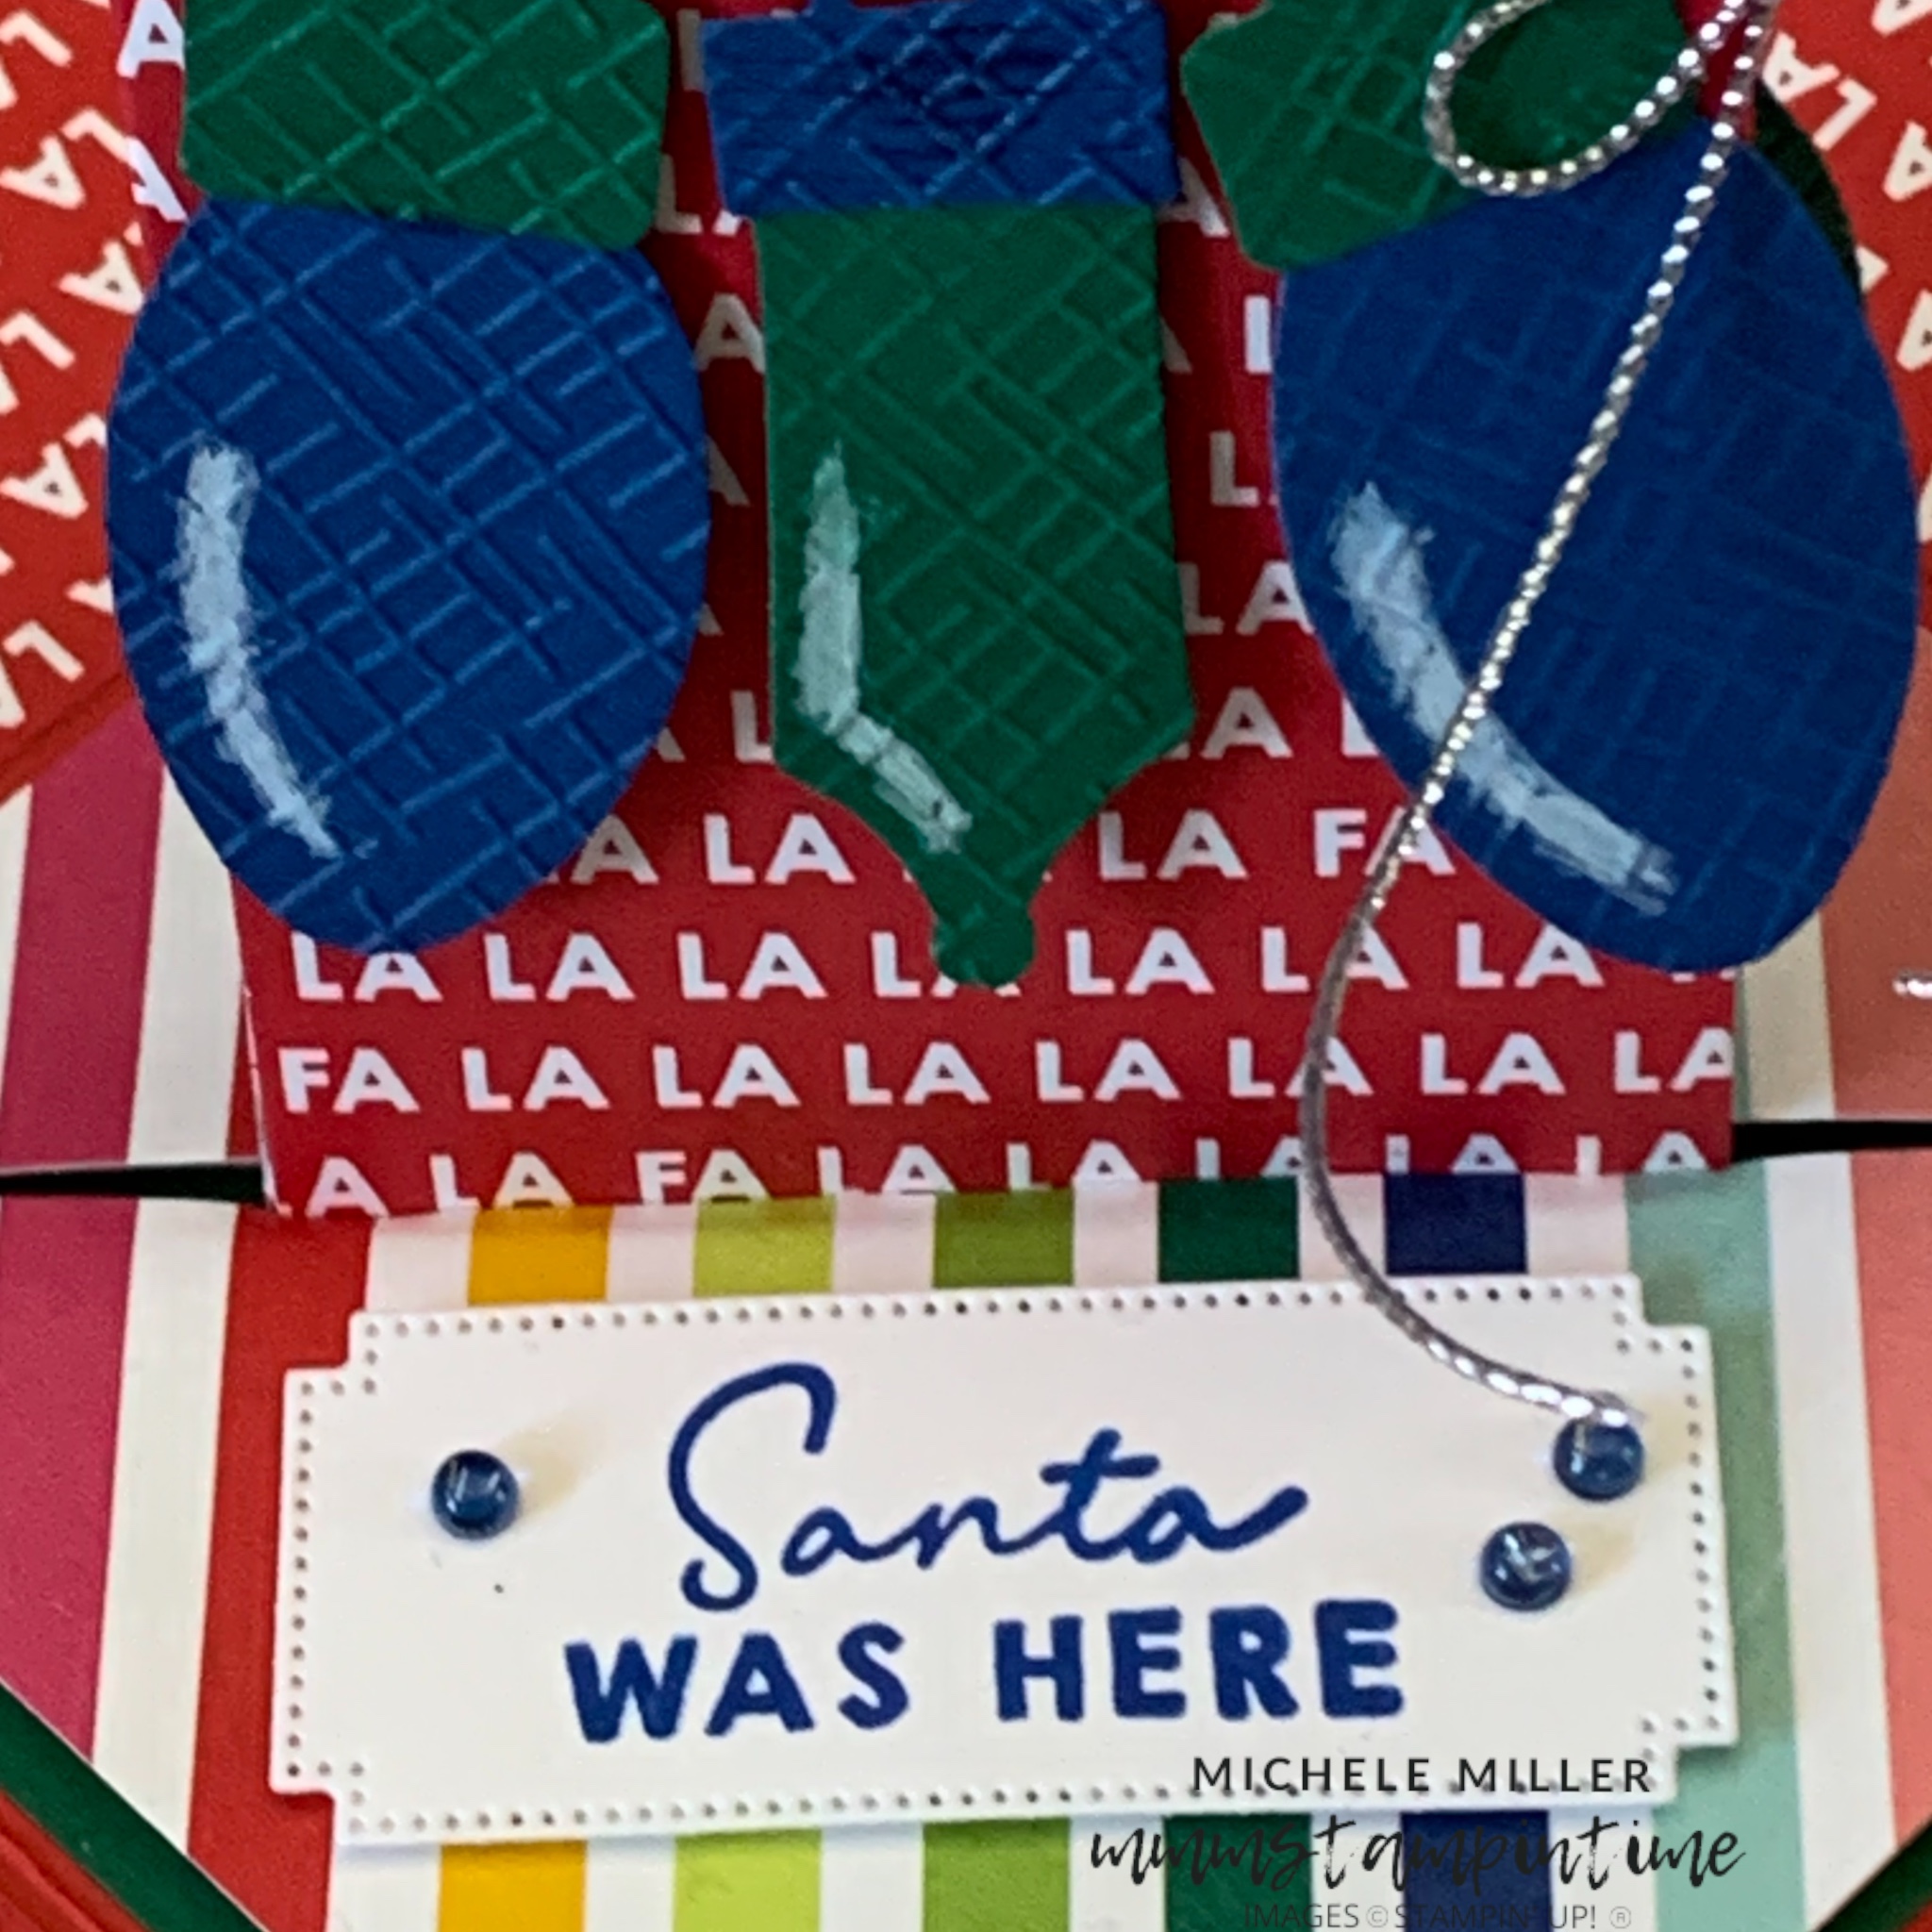
A length of Silver Trim was attached to the back of the pocket and was then tied into a bow behind the ‘Santa was here’ greeting. The greeting was cut using one of the dies from the Autumn Leaves Dies.

The same greeting was stamped on the white card insert and envelope. The same Iridescent Adhesive-Backed Discs were added to the card front.

Tomorrow – some more Merry, Bold & Bright to share.

Until then, happy stamping.

If you live in Australia, you can order any of the products I used to make this card by going to my online store. Just click on any of the images below.

Product List
Paper Snips
[103579]
$19.25
Posted on Leave a comment

COUNTDOWN TO CHRISTMAS – 85 DAYS TO GO & TIME TO SHARE SOME PROJECTS!

I recently posted that I created a number of projects for a Stampin’ Up! 35 for 35 event. These projects featured the Merry, Bold & Bright Suite Collection.

It was so much fun creating such a wide range of projects – cards and 3D items. Let me start sharing some of them with you.

This was my display board and …

other projects!

The small ‘Santa was here’ gift bags were inspired by Sam Hammond Donald (pootles) and the 4″ x 4″ Holly Jolly Fun Trifold Square Card was inspired by Mary Knabe (Stampin’ Peace).

Today, I will share a 3D project and a card.

I wanted to make an explosion box to hold a gift card. The colours, in this suite are so bright and amazing!

The Simply Scored Scoring Tool was perfect to create the three rosettes that I adhered to the top of the explosion box.

The ‘mechanism’ that holds the gift card pocket was very easy to make. Stay tuned for a video in the future showing you how to make this.

This side has ‘Santa was here’.

This side has a ‘To/From’ panel.

I die cut each of the Christmas light bulbs and then embossed them using the Crosshatch 3D Basics Embossing Folder. The white feature on each of the bulbs was accentuated by painting some Whisper White Craft ink.

A length of silver Simply Elegant Trim was threaded through the bulbs. I attached the bulbs onto the gift card pouch with Stampin’ Dimensionals and then I pulled the silver trim tought and ties a bow.

A label die from the Autumn Leaves Dies was used to cut both of the featured sentiments inside the explosion box.

Now, let me share one of the cards with you.

As you can see, I used the Crosshatch Embossing Folder again for this project. I also used the Melon Mambo & Granny Apple Green 12″x 12″ Foil Sheets to die cut the Christmas tree bulbs.

There are several layers in this card – Misty Moonlight card base, Crushed Curry layer. DSP layer, Embossed Crushed Curry layer and then the die cut elements attached to the final layer.

I stamped the greeting and then cut each seperately before adding Stampin’ Dimensionals and popping them up off the front of the card.

The coordinating Iridescent Adhesive Backed Discs add just the right amount of bling.

Tomorrow I will have another 3D project and card to share.

Until then, happy stamping.

If you live in Australia, you can order any of the products I used to make this card by going to my online store. Just click on any of the images below.

Product List
Whisper White Craft Stampin' Pad
Whisper White Craft Stampin’ Pad
[101731]
$14.00
Paper Snips
[103579]
$19.25