Posted on Leave a comment

TUESDAY MEANS THAT IT’S TIME FOR SOME TIPS & TECHNIQUES INSPIRATION

Today’s card, using the new products associated with the Brayering & Layering page of the new January – April Mini Catalogue, features heat embossing and die cutting. Tomorrow, I will share some brayering tips and techniques.

I chose a stunning gold foil paper design from the Most Adored 12″ x 12″ Specialty DSP to use with this project.

You can see the paper on the top row, of the image above, third from the left – a stunning marbled, gold design.

After adhering the DSP panel to the front of the card I created the die cut and heat embossed elements.

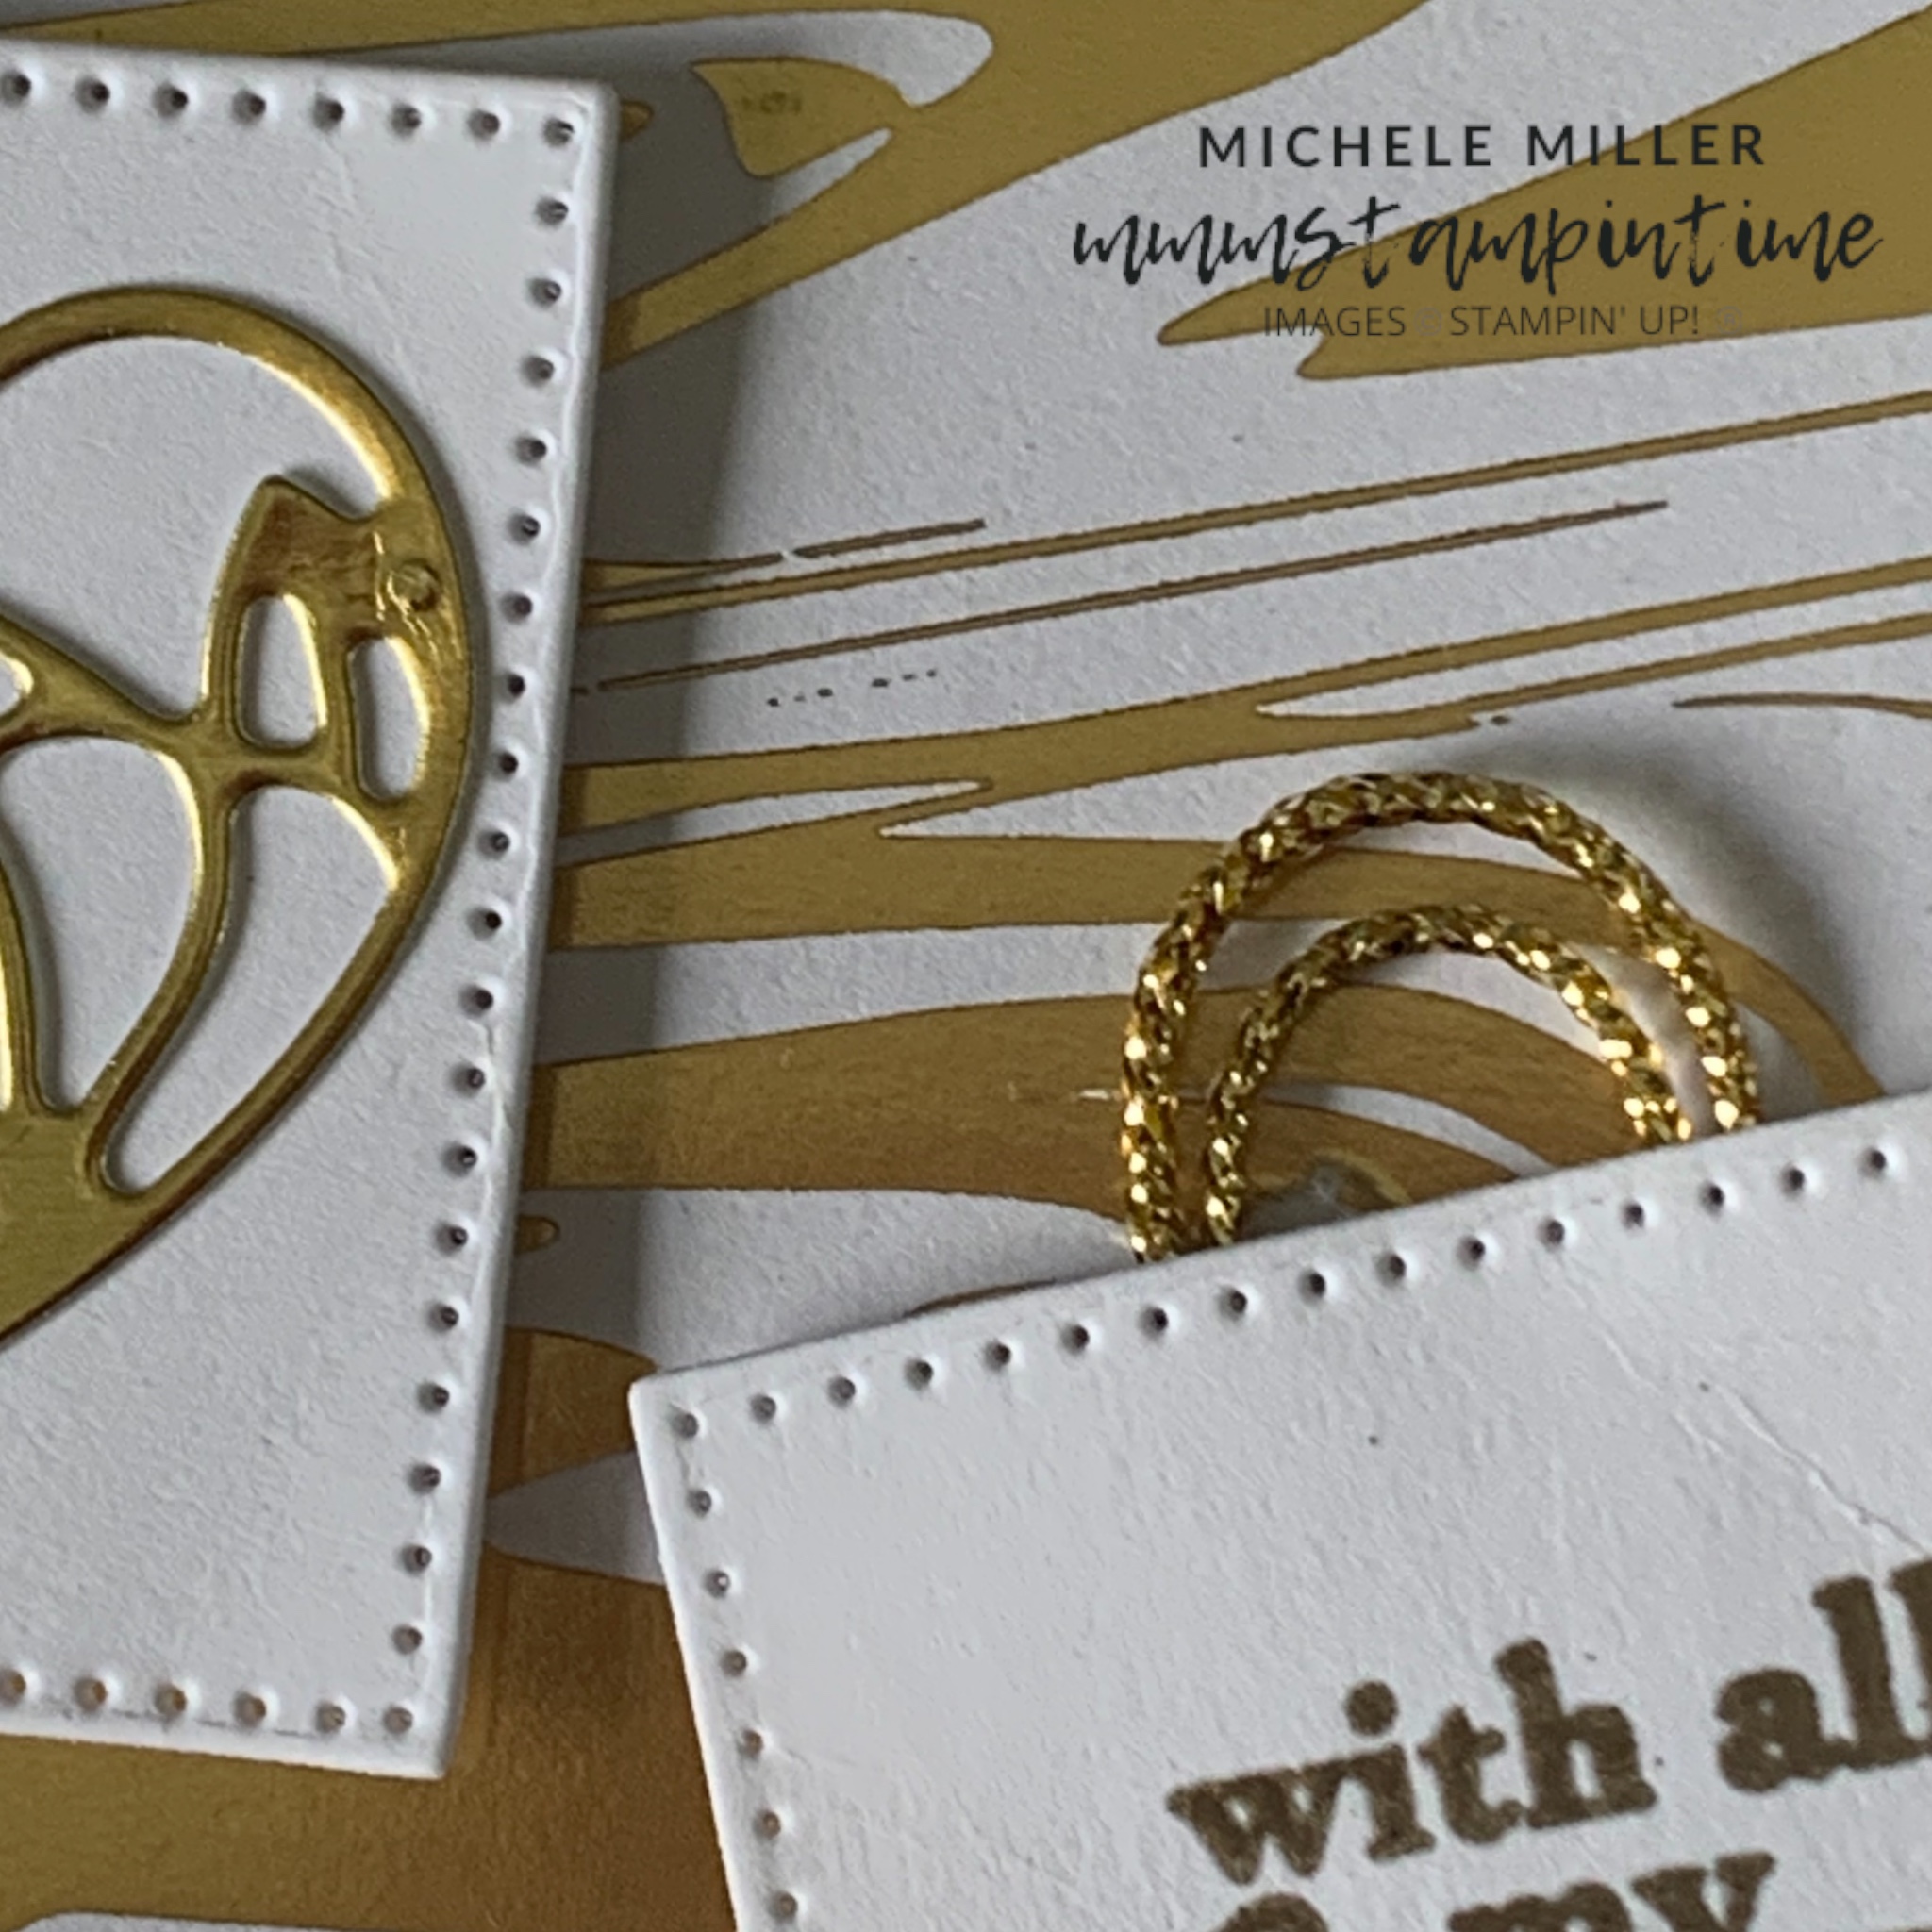
I used the Stylish Shapes Dies to cut the four Basic White squares for this card. A panel of Adhesive Sheets was attached to the back of piece of Gold Foil and then I die cut the three hearts. After peeling the backing away, I secured the hearts to the squares.

For the 4th square, I stamped the greeting using Versamark and then sprinkled gold embossing powder. Using my Heat Tool, I set the gold powder.

I took a length of gold Simply Elegant Trim to create and secure loops behind the greeting panel.

All of these squares had Stampin’ Dimensionals positioned on the back before being placed on the card front.

Tomorrow, I have a very different looking card for you. It is my card for the first 2024 Colour INKspiration Challenge #158.

Until then, happy stamping.

If you live in Australia, you can order any of the products I used to make this card by going to my online store. Just click on any of the images below.

Product List
Heat Tool
[129056]
$54.00
Paper Snips
[103579]
$19.25
Posted on Leave a comment

MONDAY MEANS A NEW STAMPIN’ UP! PRODUCT BUNDLE

This week’s projects all feature the amazing Brayering & Layering collection of new products.

The Adoring Hearts Bundle is simply stunning.

The Thoughtful Moments Hybrid Embossing Foldler and coordinating die is going to be so versatile!

And, to make this collection of products even better, there is a FREE complimentary packet of Designer Series Paper in the January – February Sale-a-bration Brochure. The Most Adored 12″ x 12″ Specialty DSP can been yours with a minimum $90AUD order (before shipping).

This collection is all about using the new Stampin’ Brayer and layering elements in all of your projects.

My first project share is this card.

I chose to use a Flirty Flamingo card base and this checked paper design from the FREE DPS pack.

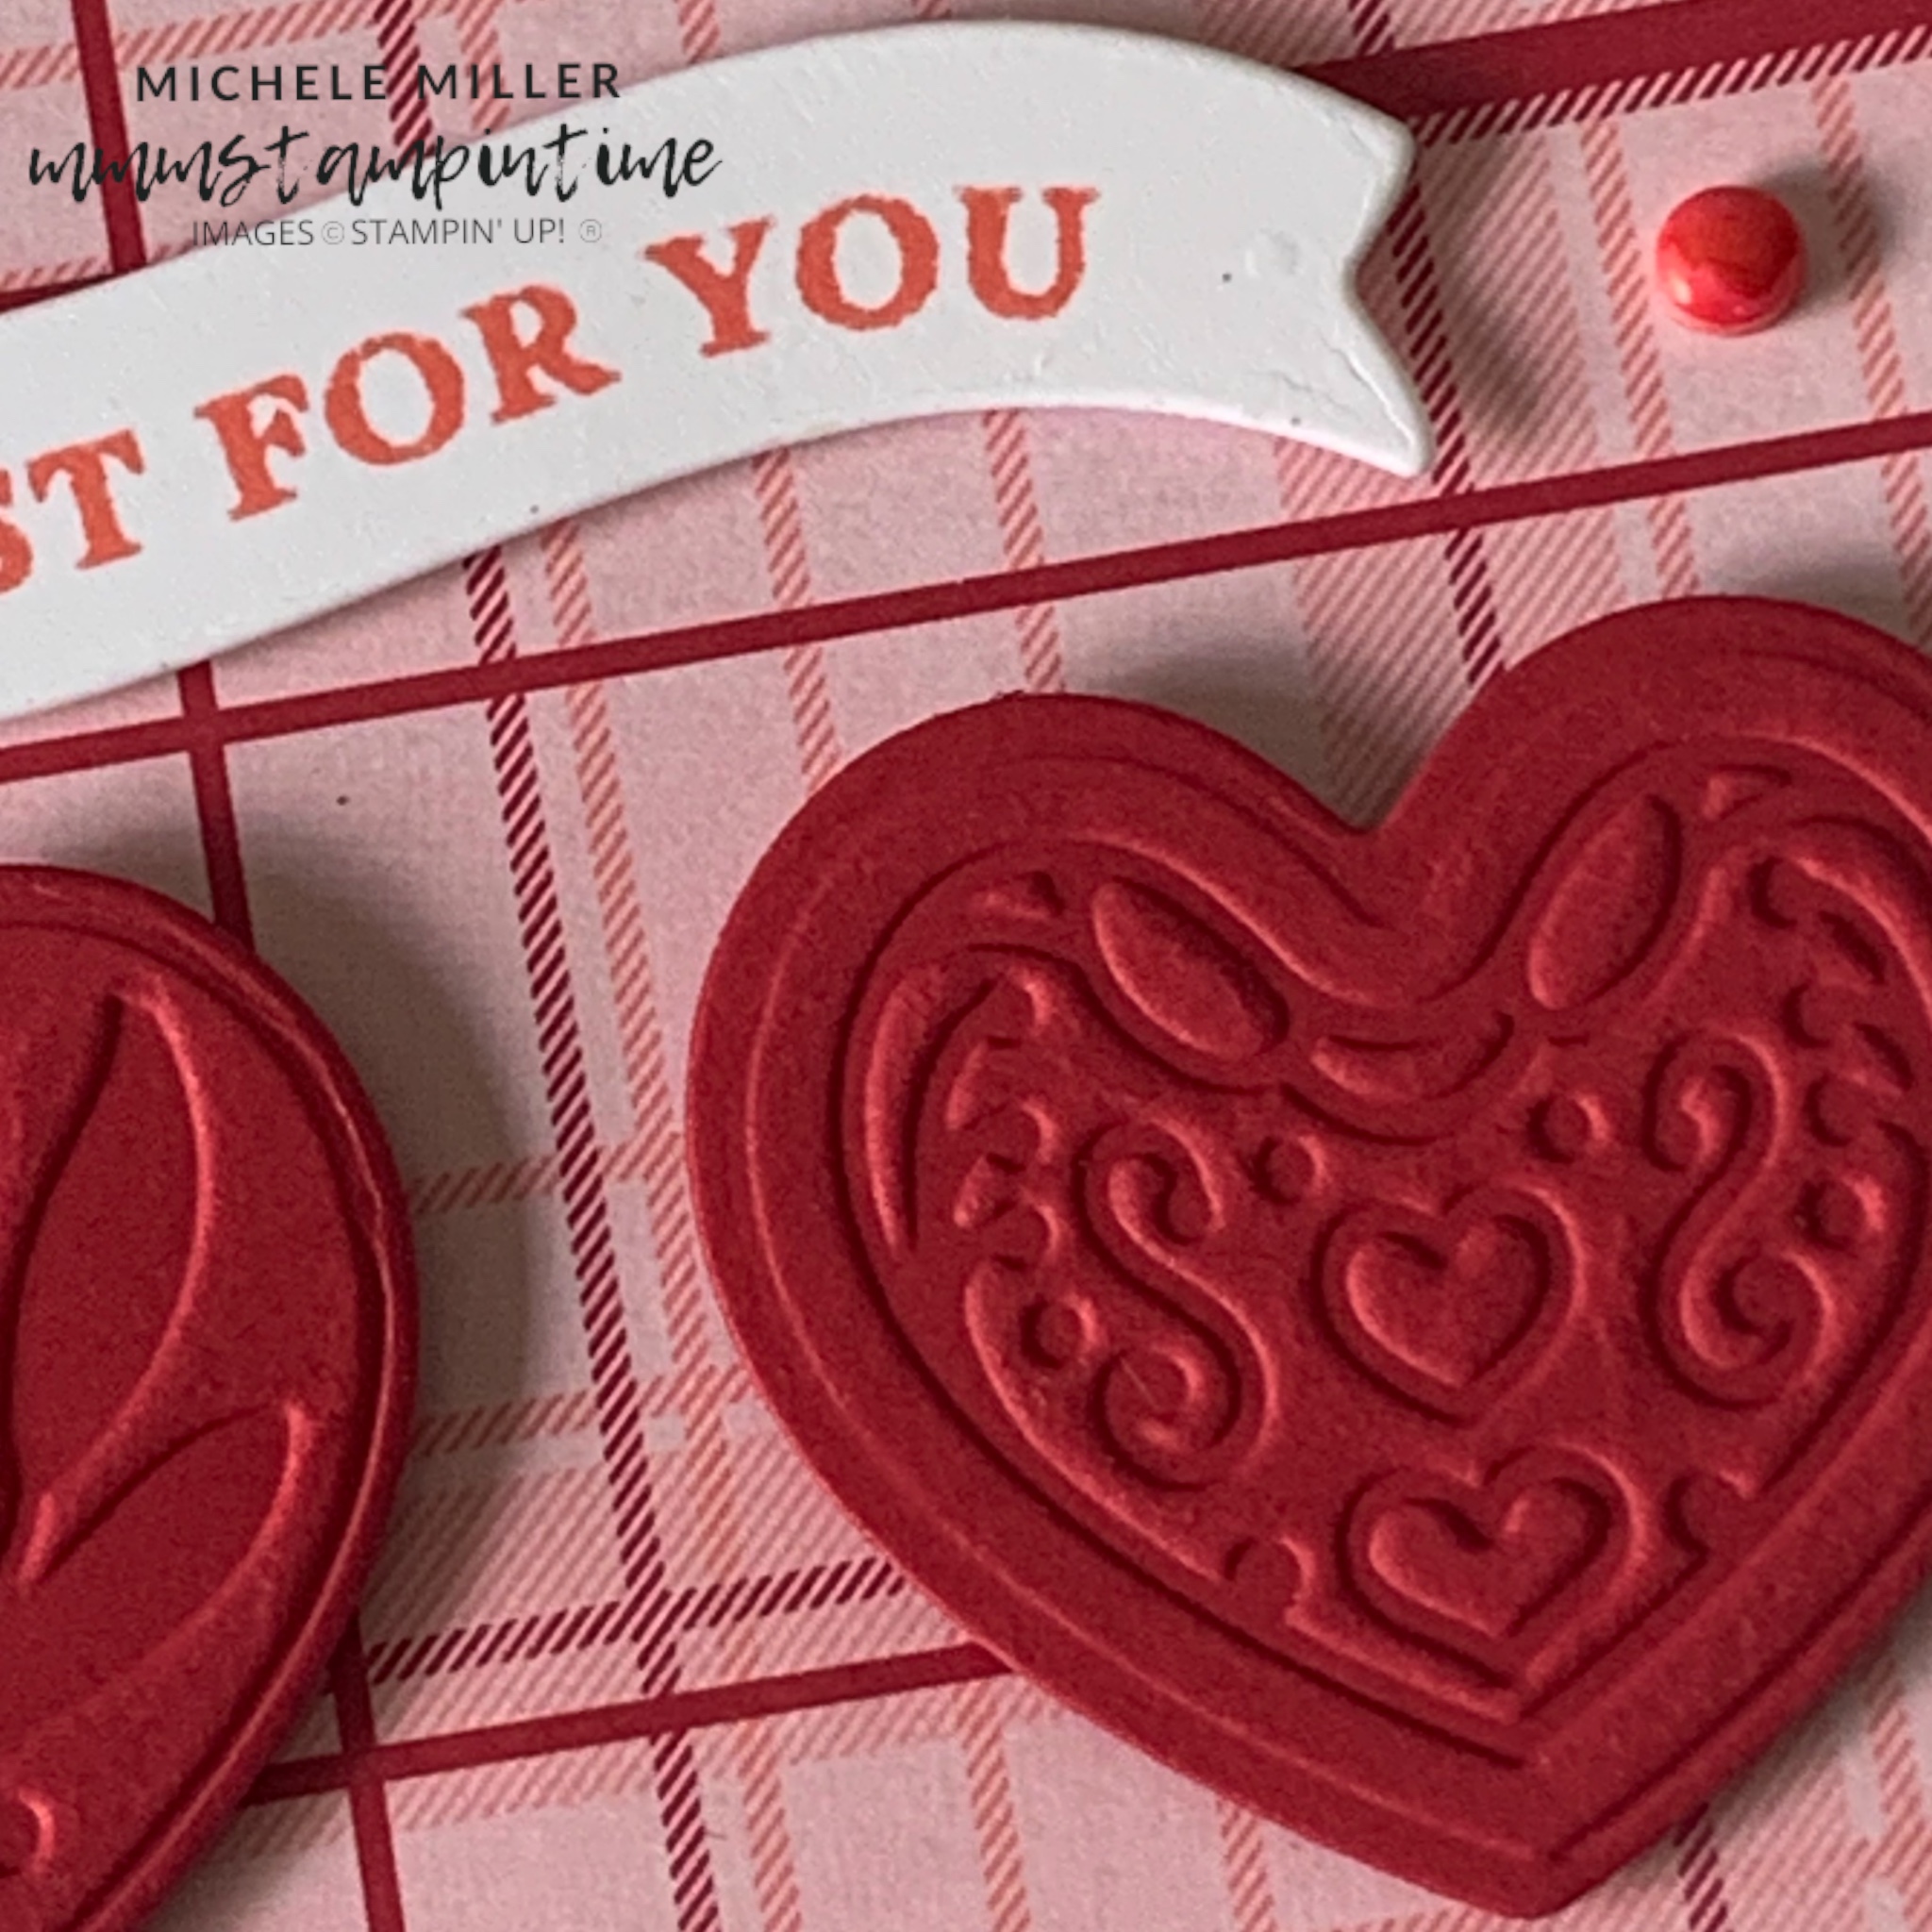
Using a 6″ x 6″ piece of Real Red card stock and placed it inside the Adoring Hearts Hybrid Embossing Folder and coordinating multiple hearts die.

After adhering the DSP to the card base, I positioned the six hearts on the card front using Stampin’ Dimensionals.

I die cut the curved banner before stamping the greeting in Flirty Flamingo.

The card insert and envelope each had a spare embossed and die cut heart attached.

Finally, I coloured some small white Classic Matte Dots with a dark Real Red Stampin’ Blend.

Tomorrow I have a stunning gold card to share with you.

Until then, happy stamping.

If you live in Australia, you can order any of the products I used to make this card by going to my online store. Just click on any of the images below.

Product List
Paper Snips
[103579]
$19.25
Posted on Leave a comment

GLOBAL DESIGN PROJECT #422 – SKETCH CHALLENGE

It has been almost a month since my last post. It’s definitley time to start picking up my act.

This week’s Global Design Project is a Sketch Challenge. When I saw it, I knew exactly what I wanted to do.

If you click on the image below, you will be redirceted to the GDP website where you can see the Design Team’s amazing projects and all the entries submitted by fellow paper crafters.

I definitely wanted to create a bespoke Christmas card using the Joy of Noel Dies, Joyful Specialty Designer Series Paper and Distressed Gold 12″ x 12″ Specialty Paper.

This card measures 6″ x 6″, to accommodate the size of the NOEL die and paper layering.

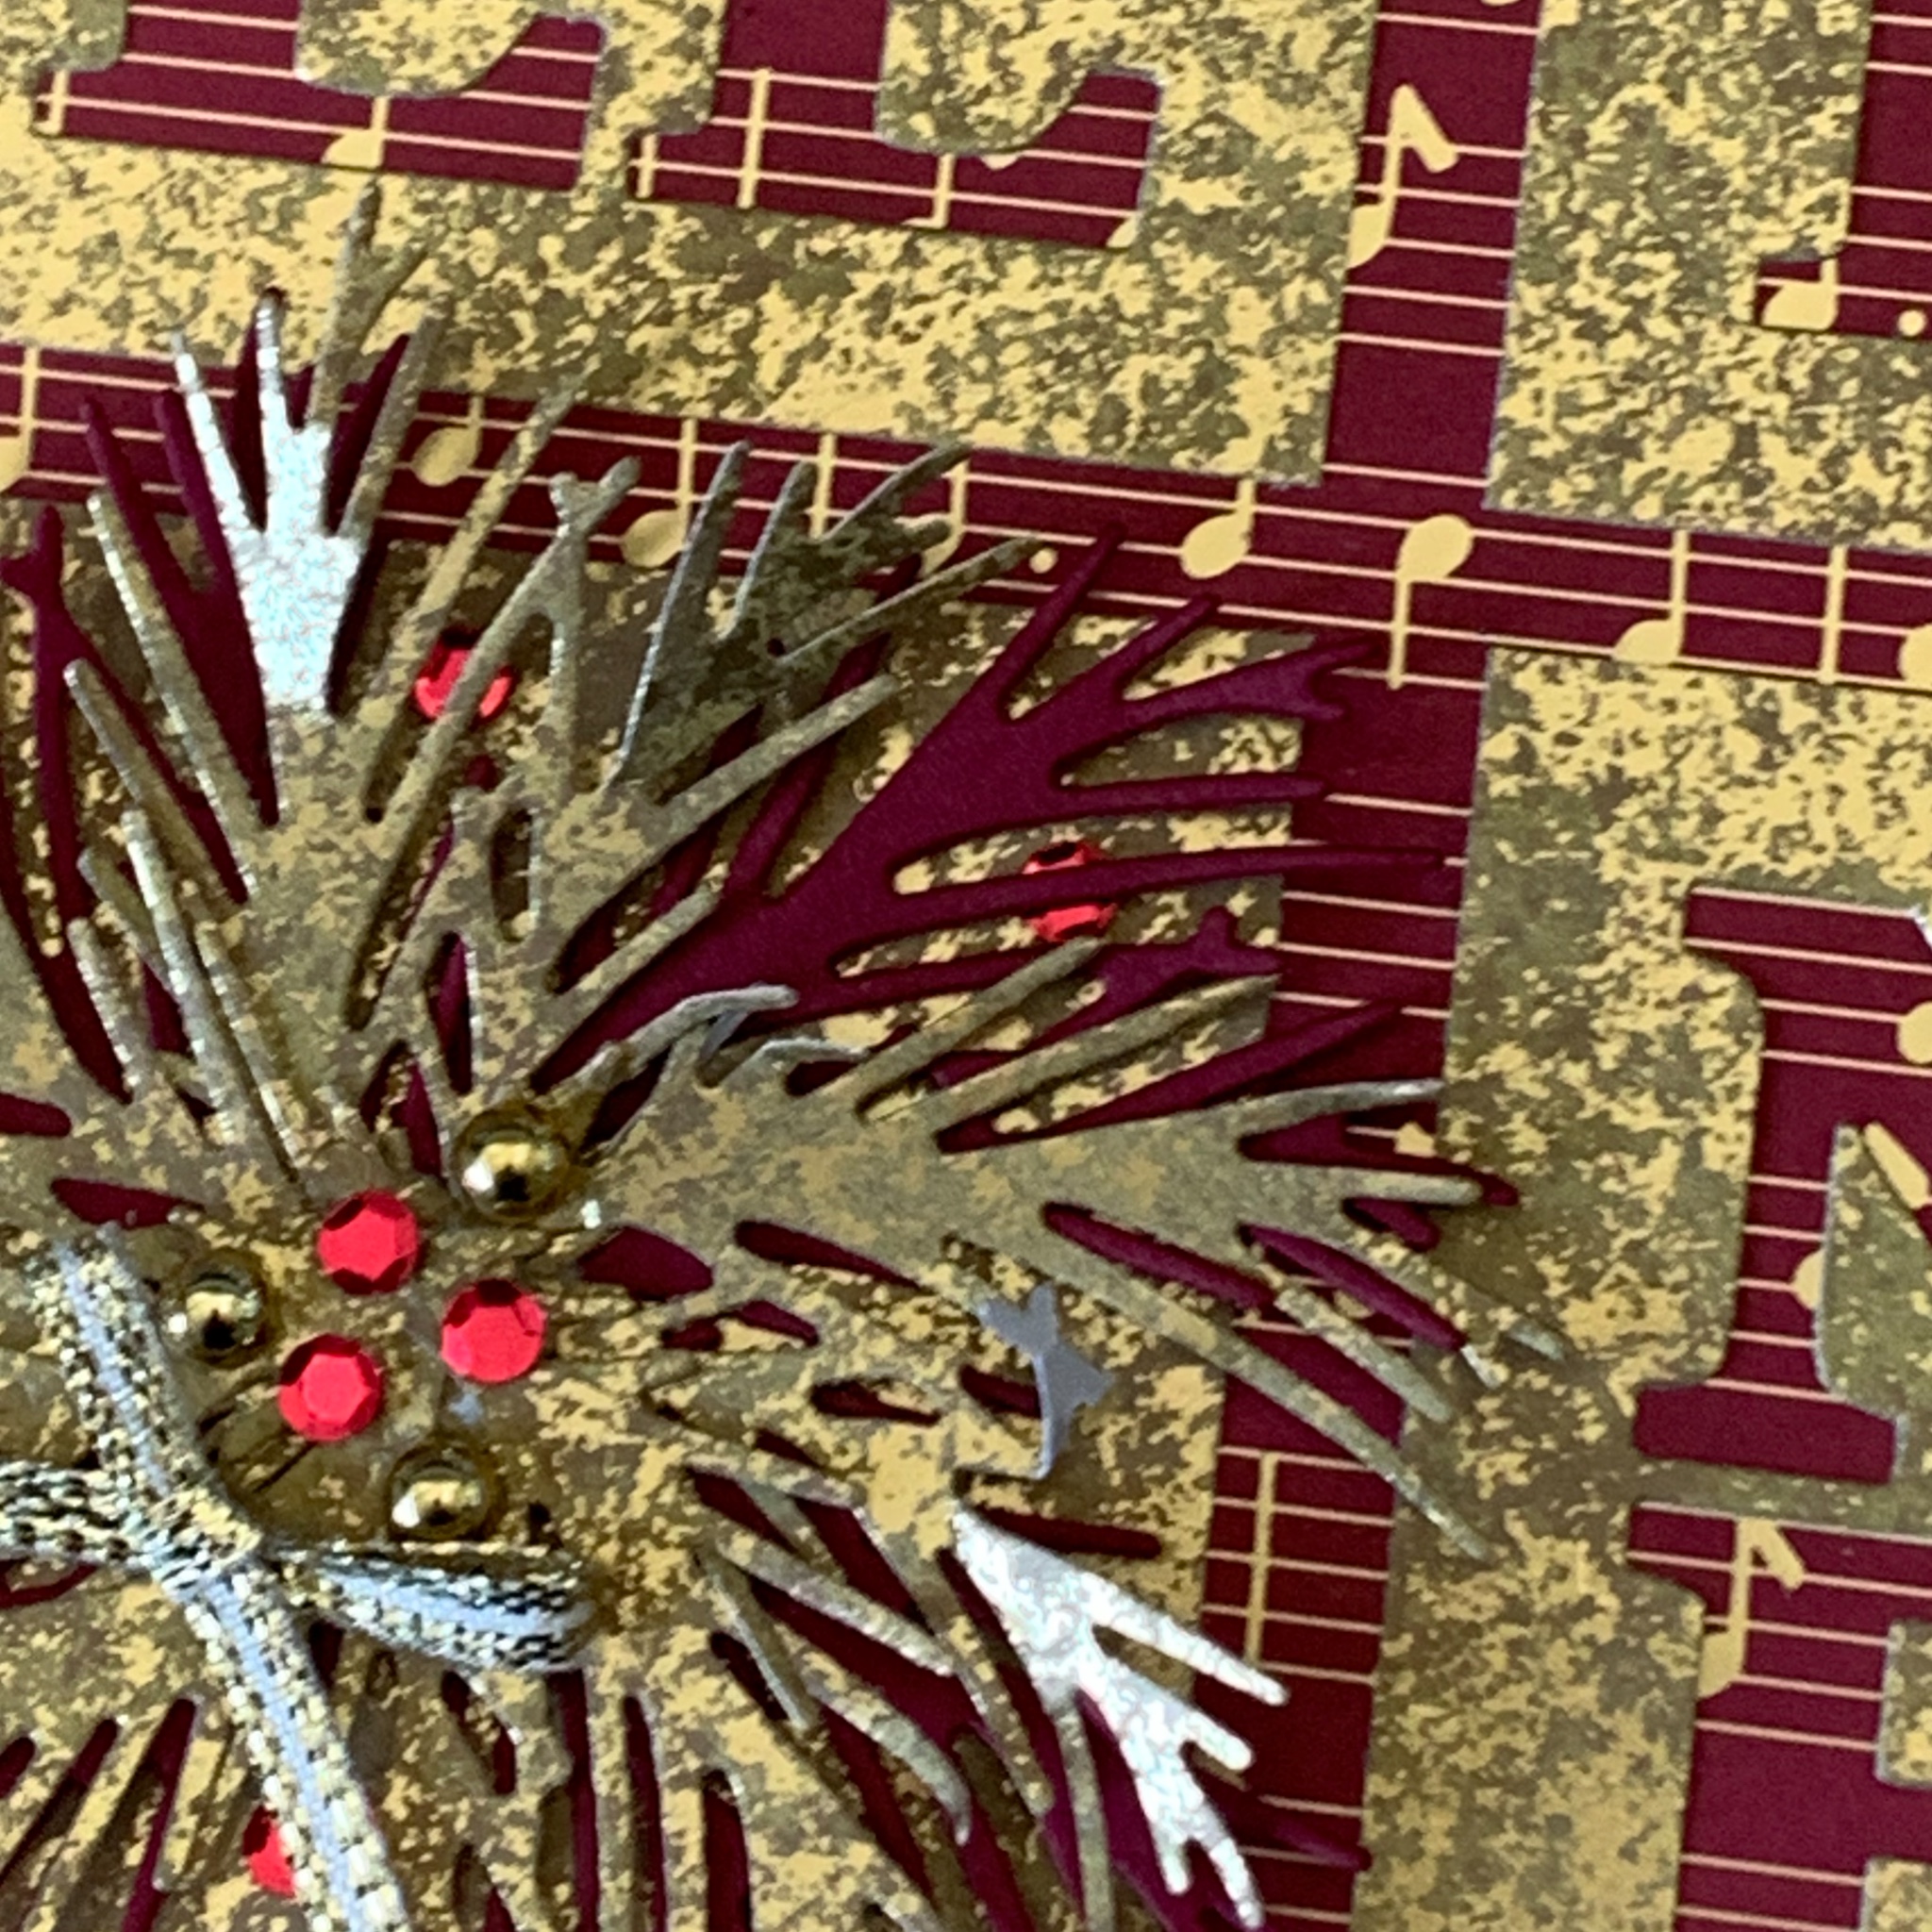
I started bu cutting four 2-1/2″ squares from the Distressed Gold paper. Three of them were die cut with the NOEL Joy of Noel Dies.

The task then was to decide the measurements for each underlying layer – 5-3/4″ square of the music score paper, 5-7/8″ square of Distressed Gold paper and 12″ x 6″ Cherry Cobbler card base.

Then I adhered the 2-1/2″ Distressed Gold squares onto the music sheet. I ensured each of these squares were spaced evenly around the edges and between each other a 1/4″.

Then all the layers were adhered together.

The next step was to cut four Cherry Cobbler and five Distressed Gold leaves. These were adhered to the gold square (bottom left-hand corner) to create a wreath.

A length of gold ribbon, from the Gold & Silver Trim bundle, was tied into a tiny bow and adhered with a Mini Glue Dot.

I used the same die to cut NOEL into the card insert.

The final touch was to add some gold Blooming Pearls and some red adhesive backed sequins (retired) to the centre of the wreath.

I will add some details about ordering these products a little later.

Until then, happy stamping.