Posted on Leave a comment

IT’S FRIDAY & TIME FOR A FUN FOLD CARD

I made a gift card holding Gate Fold Card for today’s project.

I decided to make this a Valentine’s Day card and knew that these Real Red papers, from the FREE Sale-a-bration Most Adorned 12″ x 12″ Specialty Designer Series Paper, would be perfect.

The card base is 11 3/4″ x 4 1/8″, scored at 2 7/8″ from each end. Each front panel was folded in and burnished with a bone folder.

I cut one piece of the hearts DSP measuring 5 1/2″ x 4″, then I cut this piece in half at 2 3/4″. I used Multipurpose Glue to adhere these pieces to the card front.

Two pieces of Real Red card were cut to 4″ x 2 3/4″. One of these pieces was adhered to the left hand half of the card front.

I secured a length of White Iridescent Ribbon to the smaller red panel. A second design from the DSP was cut to cover the ribbon.

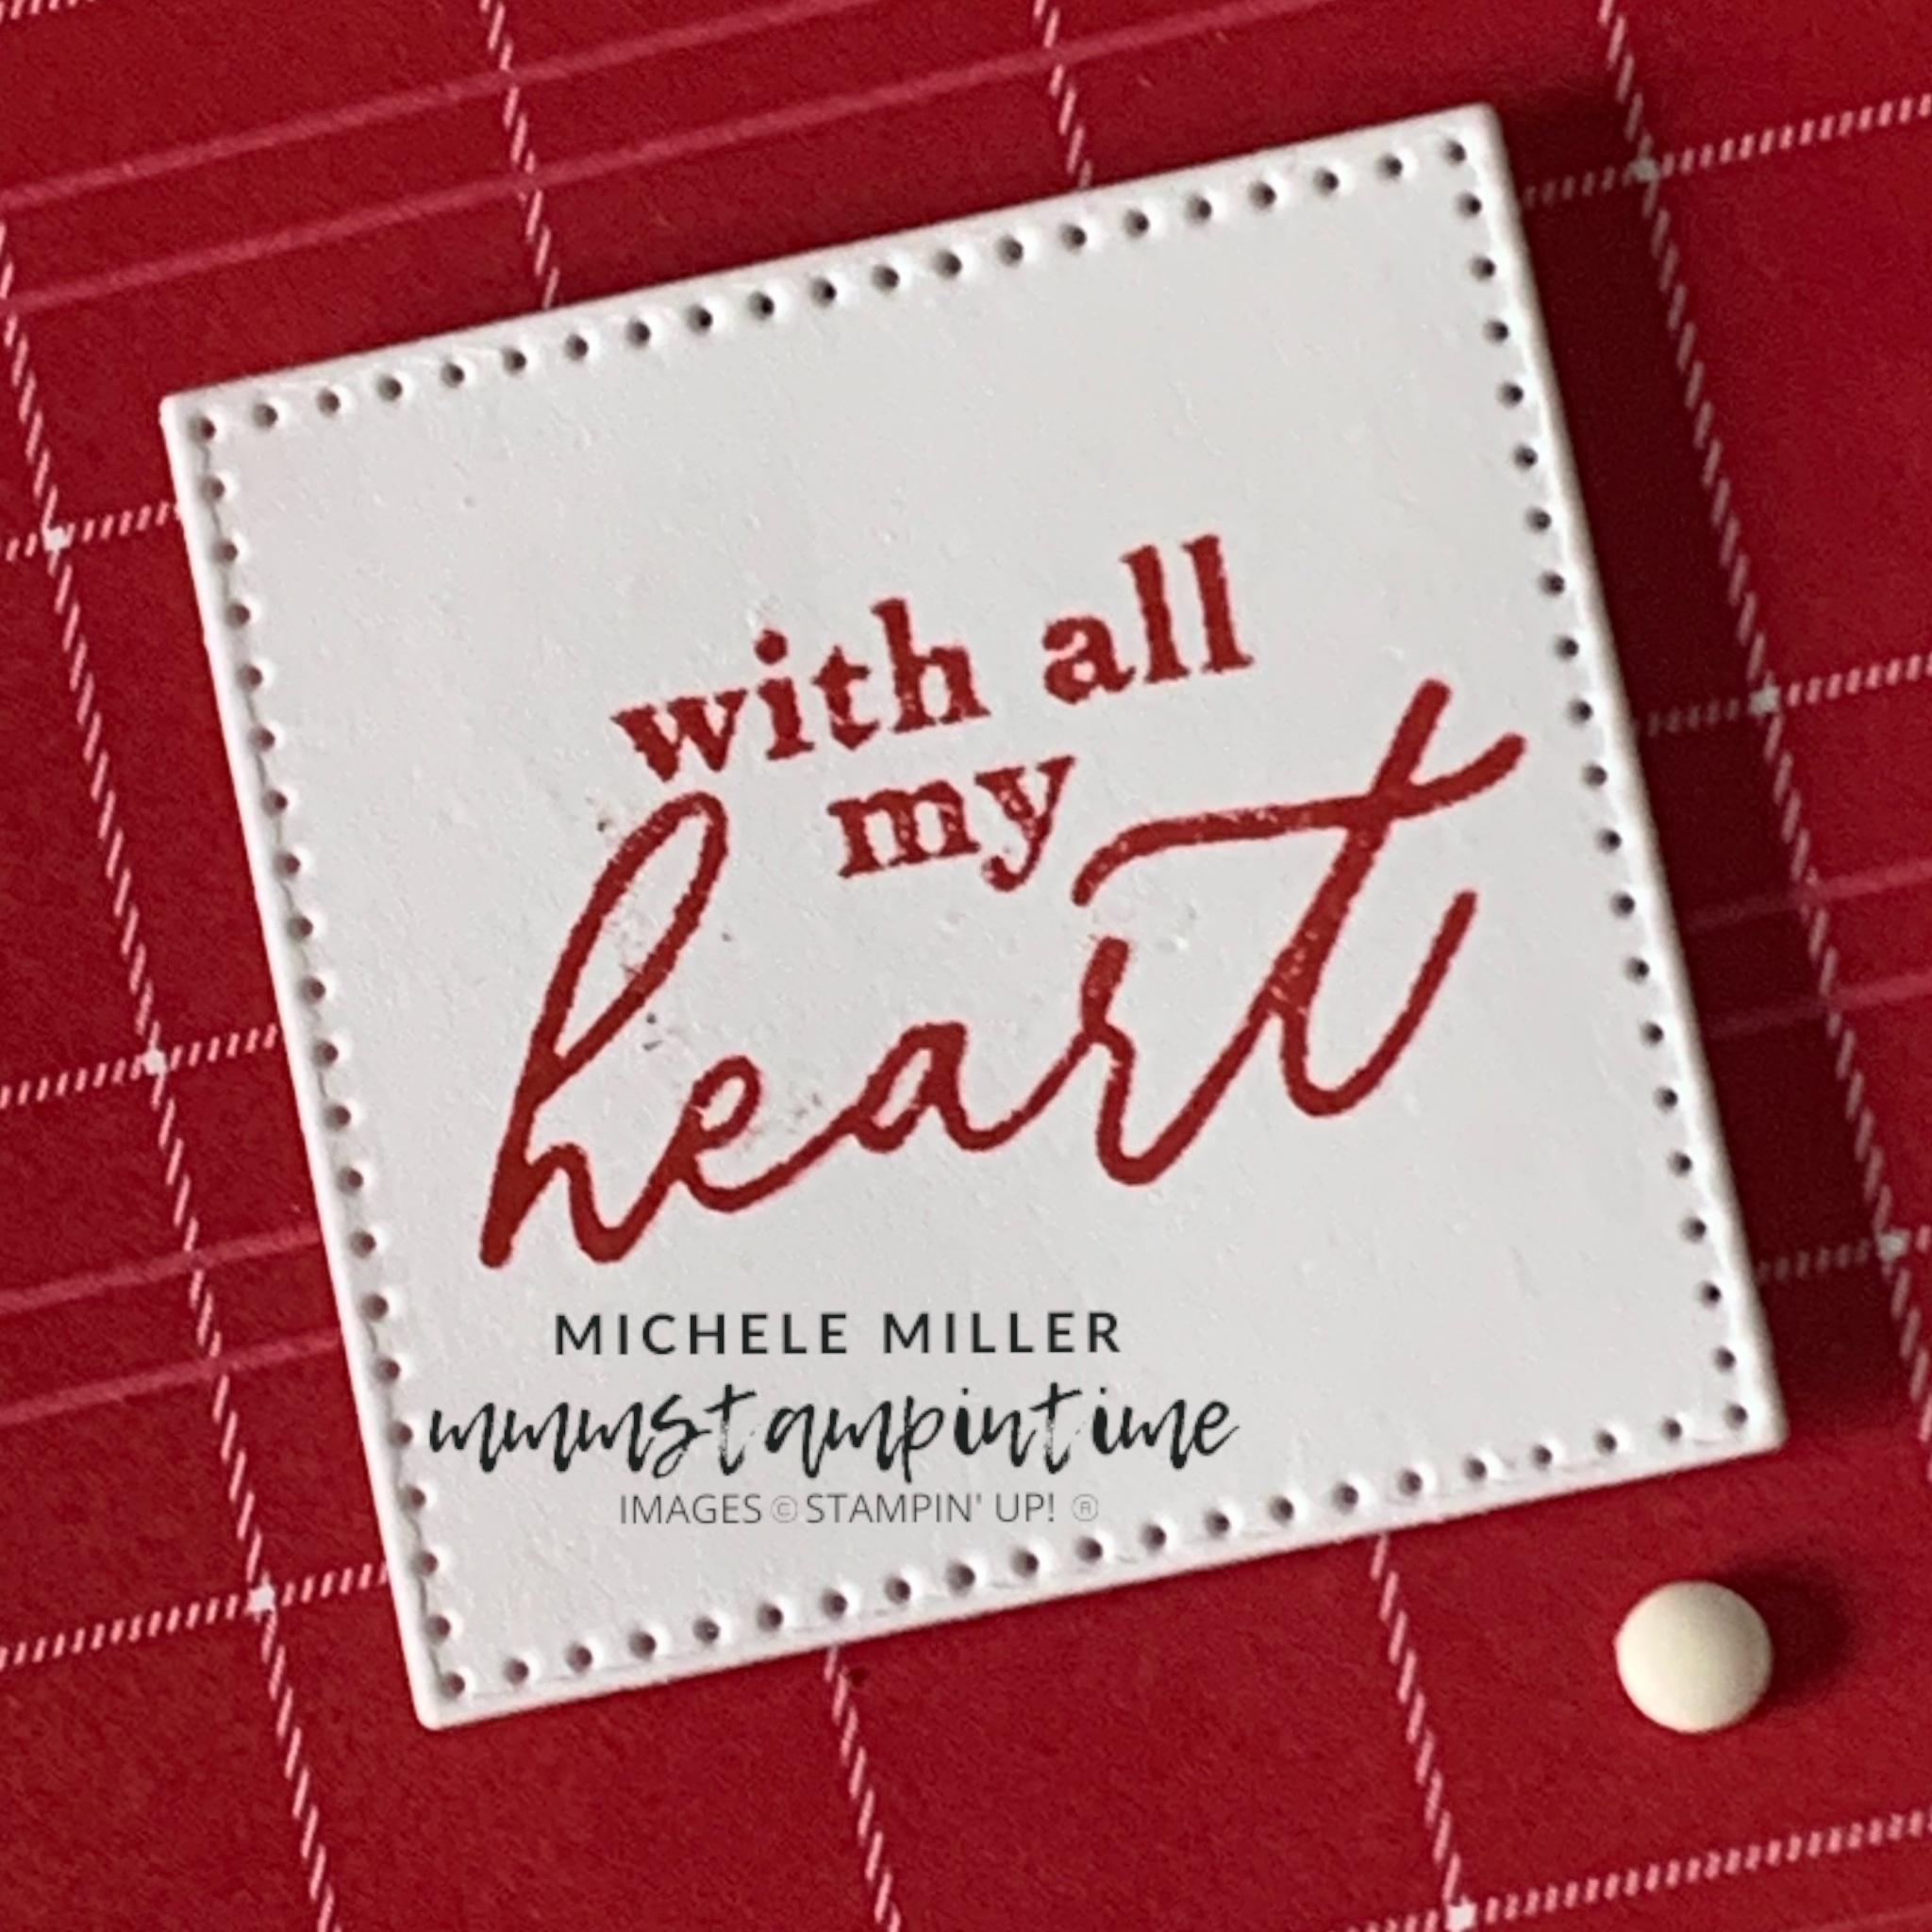
The greeting was stamped onto a small piece of Basic White card and cut using one of the squares from the Stylish Shapes Dies. This was positioned on the checked DSP using Stampin’ Dimensionals.

The same greeting was stamped on the envelope and the ‘to my valentine’ greeting was stamped inside the card.

I took the second Real Red panel and punched a small opening using the Heartfelt Hexagon Punch. Then I adhered it inside the card to create a pocket for a gift card.

To finish the card I added some white Classic Matte Dots to the front of the card.

I have enjoyed creating these projects this week. Monday I will have a new bundle of products to shre with you.

Tomorrow is Saturday and I will have at least one challenge project to share with you.

Until then, happy stamping.

If you live in Australia, you can order any of the products I used to make this card by going to my online store. Just click on any of the images below.

Product List
Paper Snips
[103579]
$19.25
Posted on Leave a comment

THURSDAY MEANS THAT IT’S TIME FOR A 3D PROJECT

I have had a collection of colourful nail files tucked away in a drawer for quite some time, waiting for the perfect paper to make a gift box to pop each of them into.

When I opened the Most Adored 12″ x 12″ Specialty DSP packet I knew that it was time to bring out one of the files.

The box measures 7 1/4″ x 1″ x 1/4″ and fits the nail file perfectly. There is a sealed base and a tuck in flap at the opening.

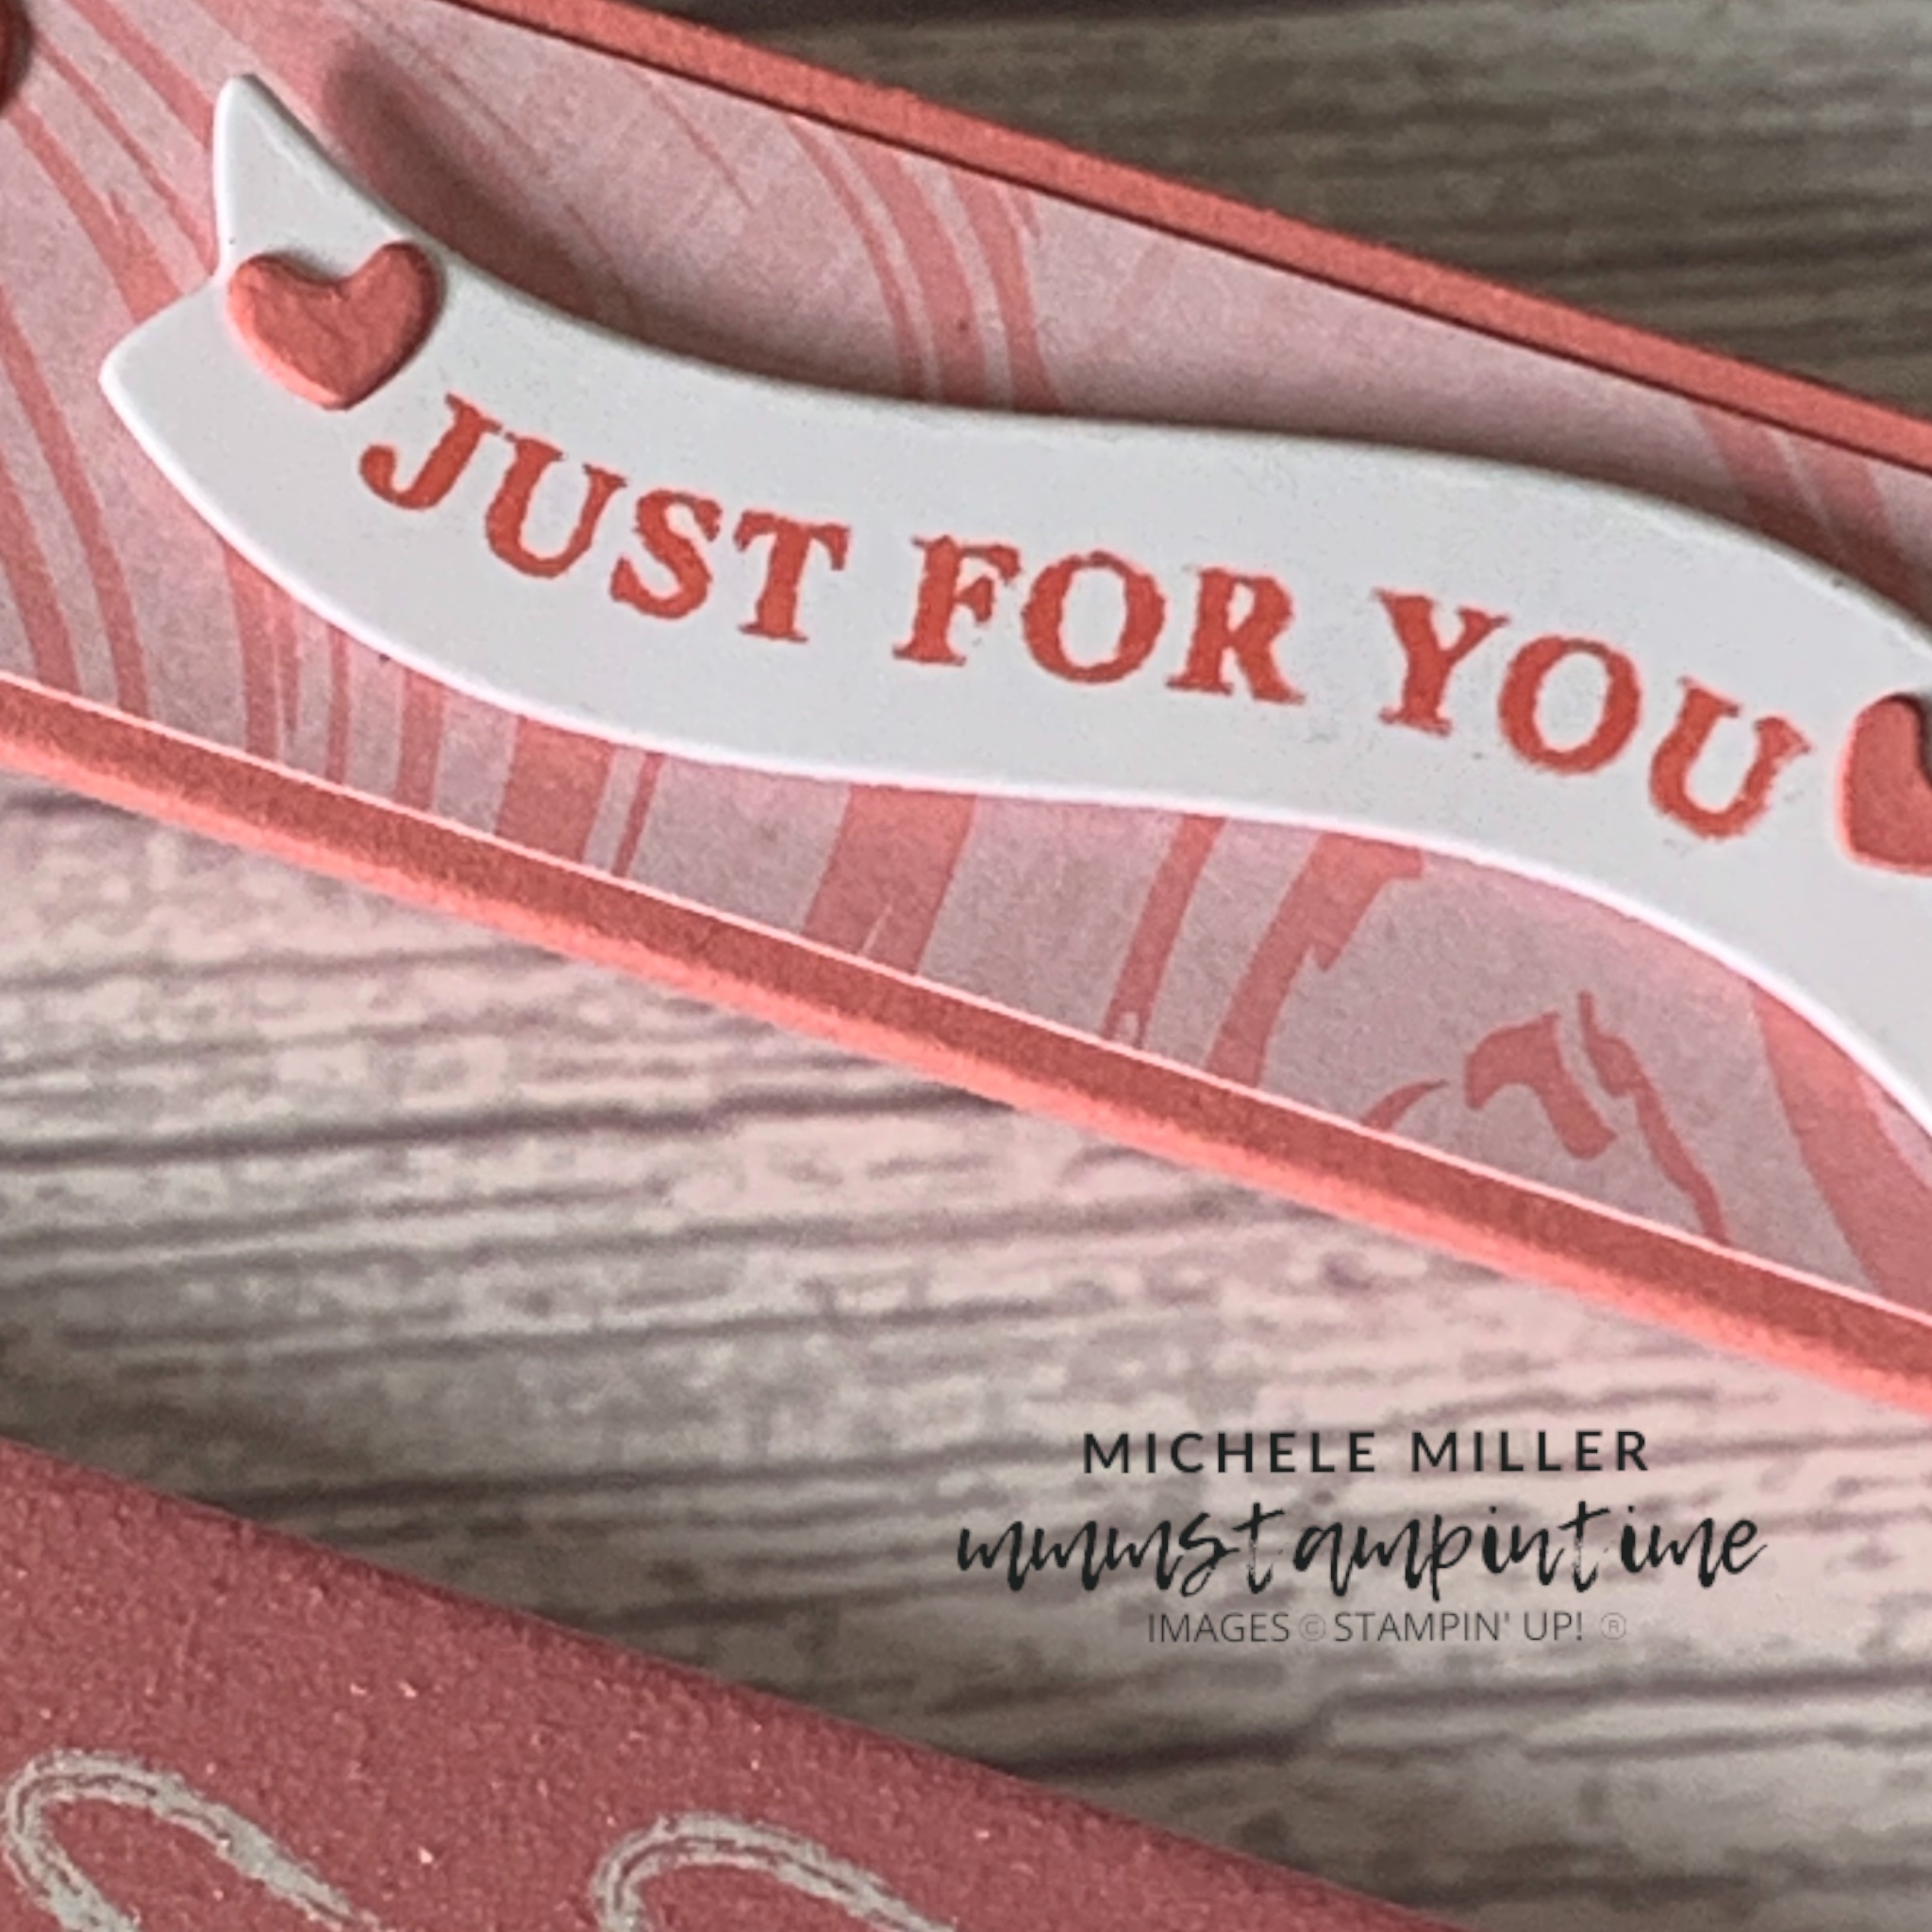
I cut this Flirty Flamingo marbled paper into strips for the front and back of the box.

After adding some Adhesive Sheet to the back of a piece of Flirty Flamingo card stock, I cut out four of these little heart trios and attached them to the front of the gift box.

I cut the curved banner and then stamped the greeting and used Mini Stampin’ Dimensionals to place it on the box. There were some hearts left over after cutting the heart trios, so I used two of the smallest ones and added them to the banner.

This is such a super quick and easy way to take a cute nail file and turn it into a gift

Tomorrow is Friday and I have a great fun fold card to share with you.

Until, then, happy stamping.

If you live in Australia, you can order any of the products I used to make this card by going to my online store. Just click on any of the images below.

Product List
Posted on Leave a comment

TIME FOR ANOTHER PROJECT USING THIS WEEK’S FEATURED PRODUCTS

For this project I am only using the Most Adored Specialty Designer Series Paper, from the January – February Sale-a-bration Brochure. It was designed to coordinate with the Adoring Hearts Bundle.

This DSP also works well with many other stamp sets and I am teaming this paper with the Lifetime of Love Stamp Set from the January – April Mini Catalogue.

As you will see, you can combine them to make a gorgeous wedding card.

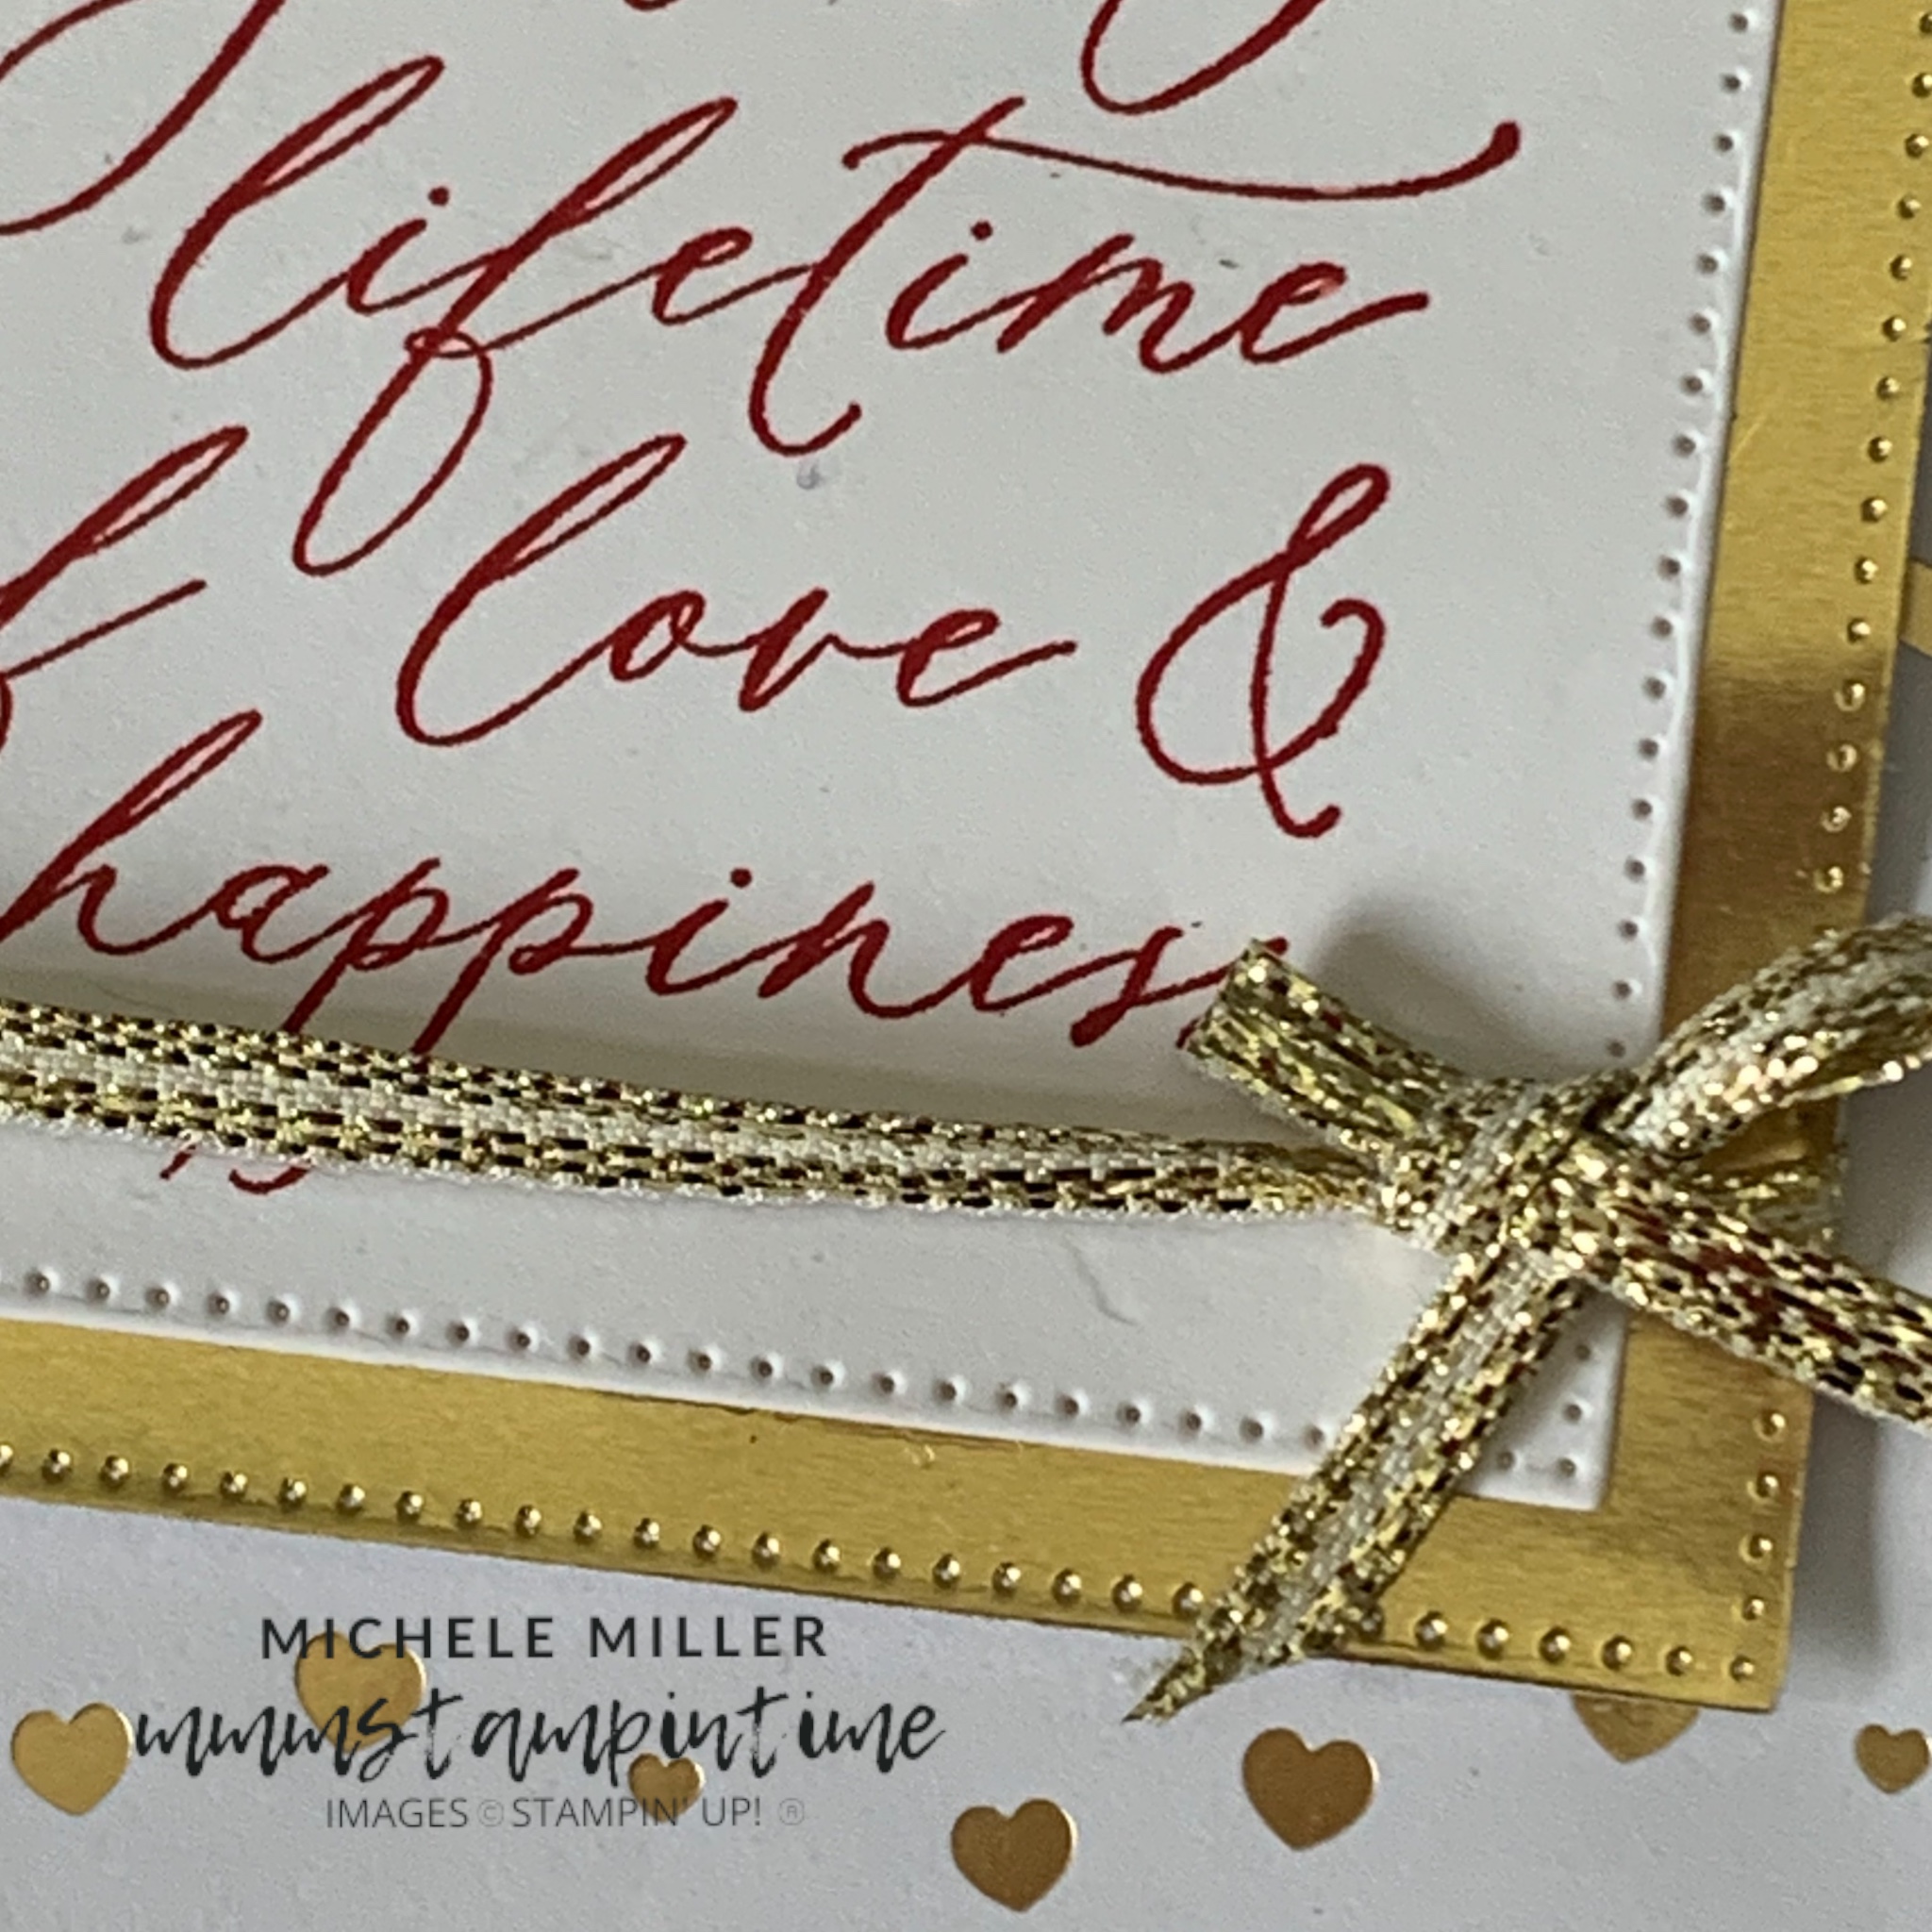
This is quite a quick and easy card to make. I started with a Basic White card base and added a panel of Gold Foil. Then a piece of the hearts DSP was added.

The greeting was stamped using Real Red ink before being cut using one of the square Stylish Shaped Dies.

This was then adhered to a gold square. A length of gold ribbon, from the Gold & Silver Trim bundle, was wrapped around these squares before being tied in a bow.

Stampin’ Dimensionals were used to lift the greeting up from card front.

I sanother greeting inside the card and on the back of the envelope.

I like the understated elegance of this card.

The Lifetime of Love Stamp Set is going to be my new go-to stamp set for wedding cards.

Later today I will post another project created for the first ColourINKspiration Challenge of 2024.

Until then, happy stamping.

If you live in Australia, you can order any of the products I used to make this card by going to my online store. Just click on any of the images below.

Product List
Paper Snips
[103579]
$19.25