Posted on Leave a comment

TODAY IS TUESDAY & IT’S TIME FOR SOME TIPS & TECHNIQUES

Today have two versions of one technique to share with you – SPOTLIGHT AND REVERSE SPOTLIGHT TECHNIQUE.

This technique is designed to highlight a few areas on a card front, spotlighting them with colour against an uncoloured area.

For both cards, I stamped the large double rose image a number of times on a Basic White panel for the card front.

Then I stamped the same image several times to colour them and cut them as the spotlight pieces.

For this SPOTLIGHT card, I used a Pebble Path card base and embossed a Calypso Coral panel with the Basics 3D Crosshatch Embossing Folder.

The embossed layer was adhered to the card base.

I used Calypso Coral and Lost Lagoon Stampin’ Blends to colour some stamped double rose images. Then I used two circles from the Stylish Shapes Dies to cut the spotlights.

Using Multipurpose Adhesive, I was able to position the spotlight areas aligning them precisely to the image.

The greeting is from the Blueberry Bunches Cling Stamp Set. After stamping it onto a piece of Basic White card, I cut it using one of the dies from the Lovely & Sweey Dies.

The greeting had Stampin’ Dimensionals attached to the back before being popped up on the card front.

The card insert and envelope were stamped with the large, double rose image.

To finish the card, I added some Calypso Coral Iridescent Pastel Gems.

The REVERSE SPOTLIGHT card uses the same products.

EDIT: I decided to use this card for my Global Design Project submission this week.

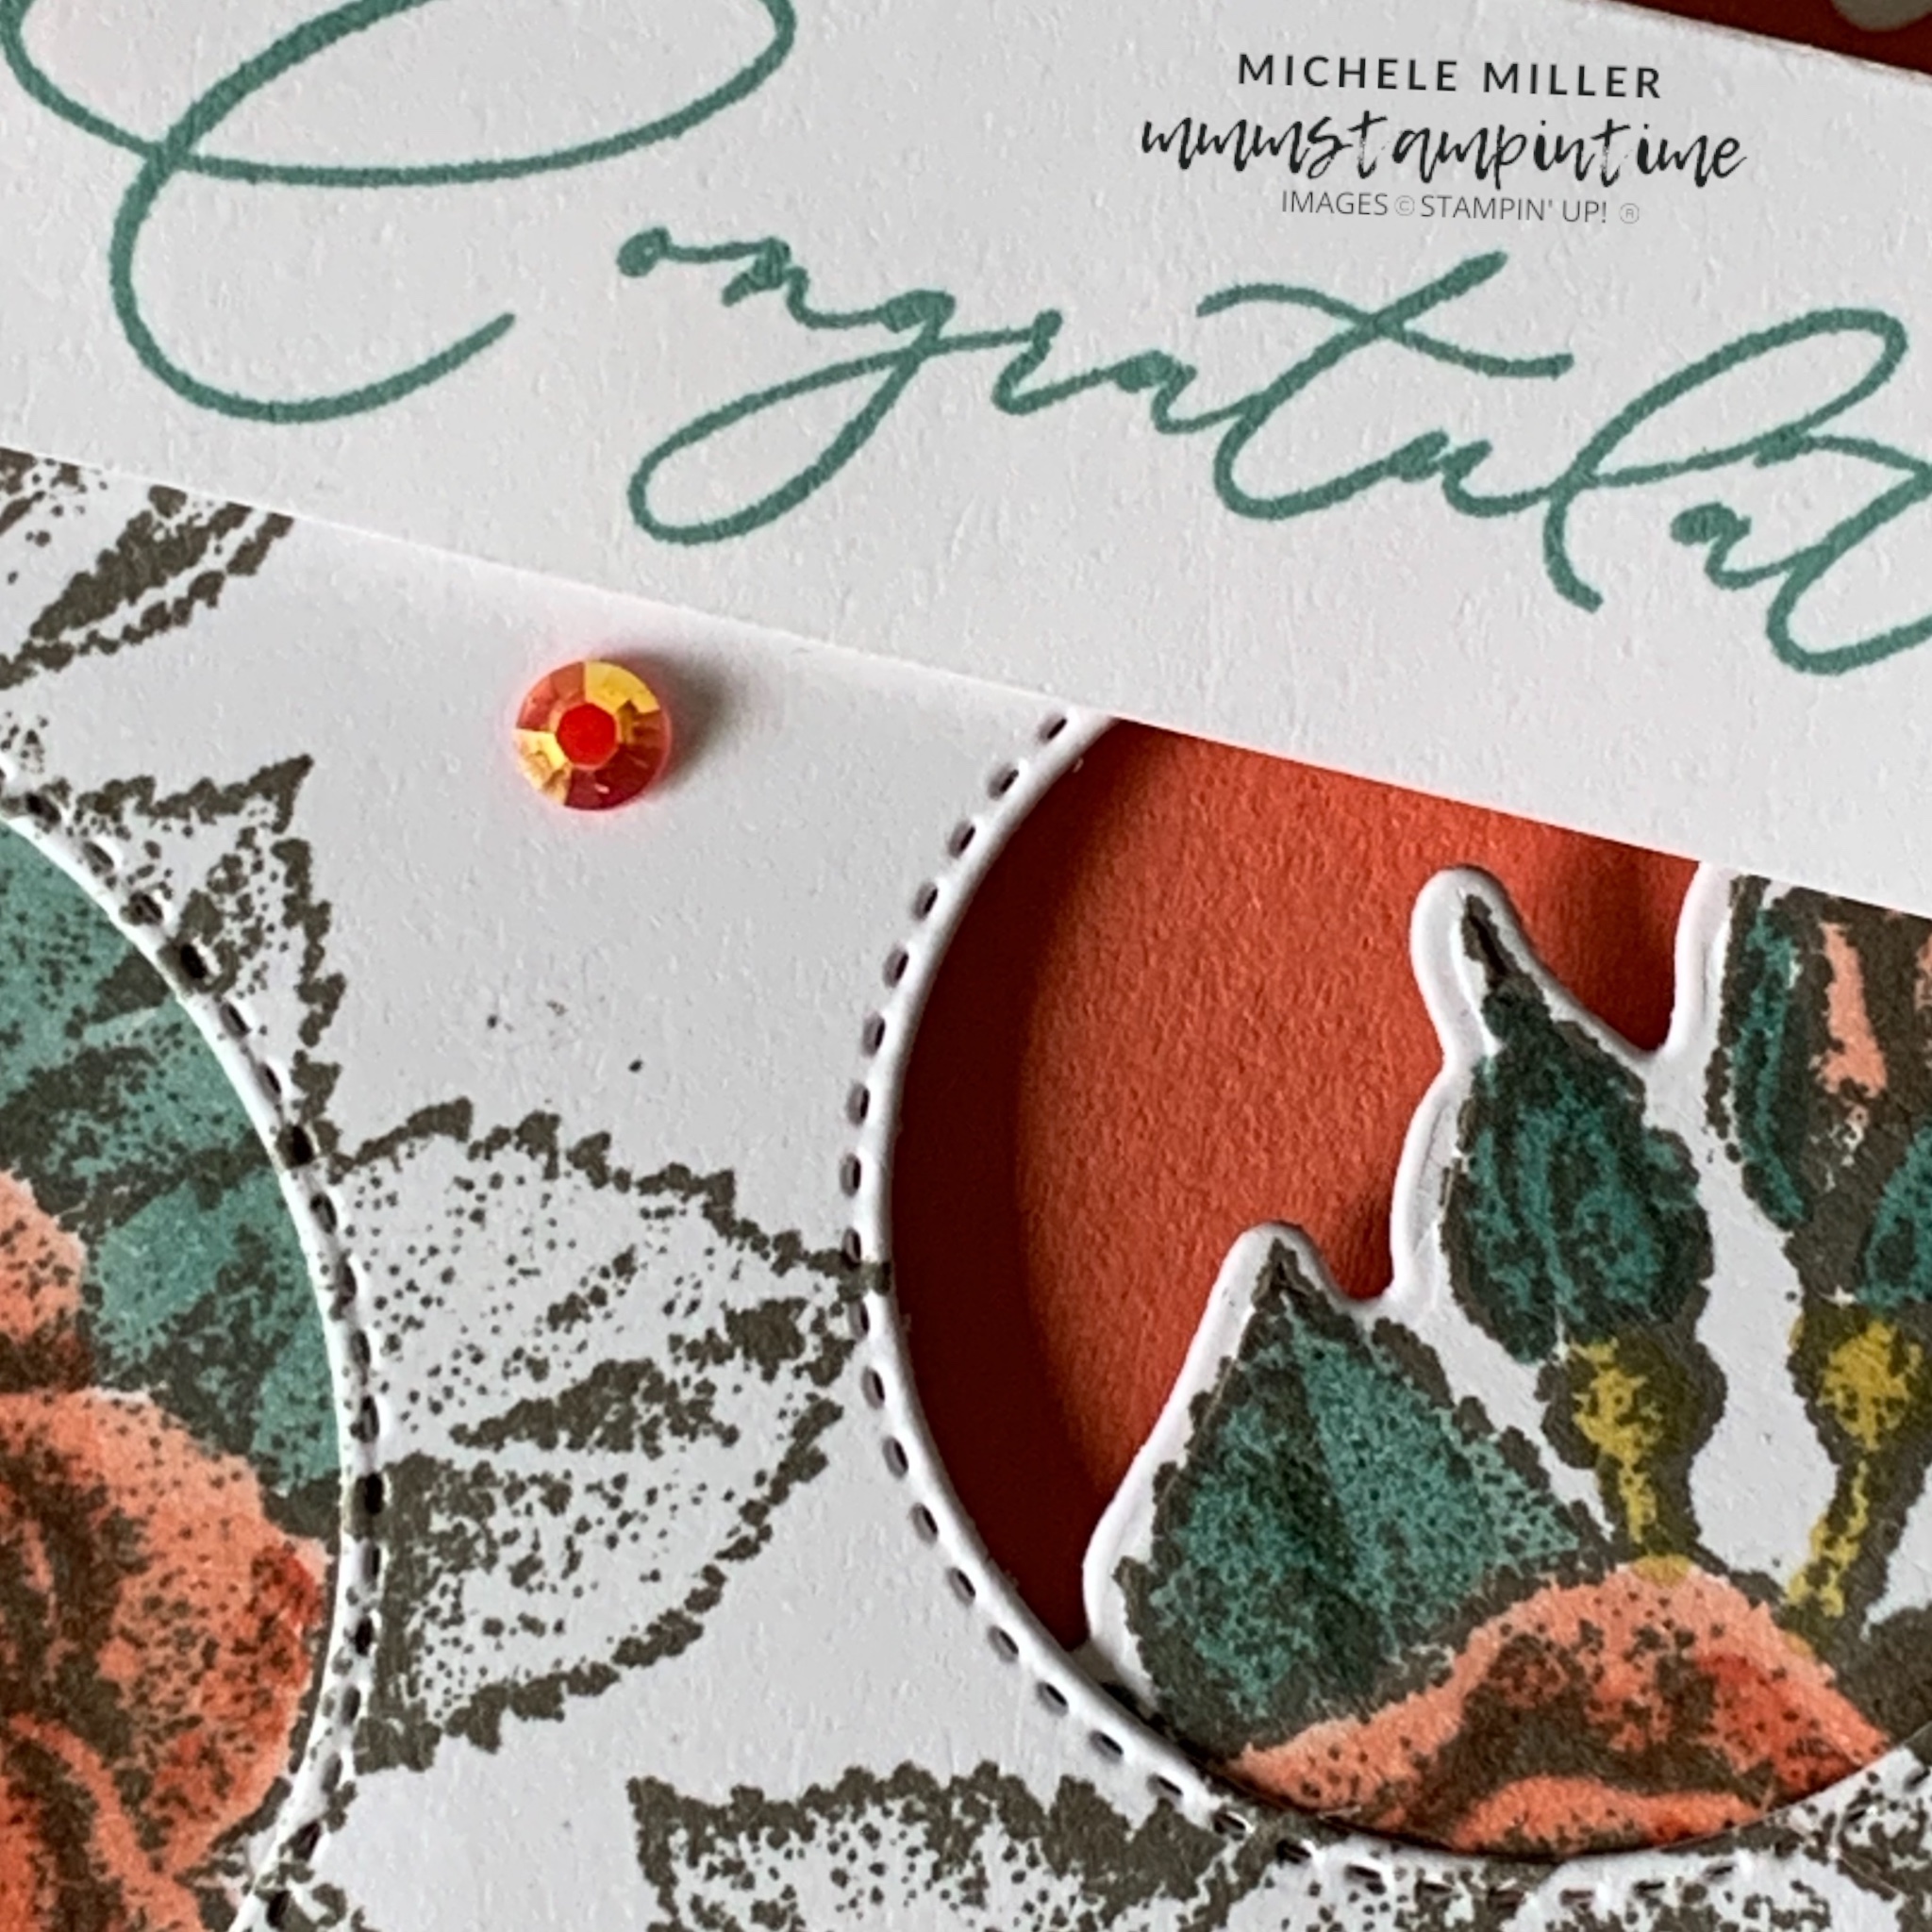
For this card, I stamped the image on the stamped panel and then used two of the circle dies to create the spaces that would have the coloured images appear under.

To create the spotlight images, I stamped and coloured three of the double rose images. These were then die cut because I wanted two of them to allow the Capypso Coral card base to show through.

The spotlight pieces were adhered behind the circle openings.

A length of Calypso Coral Braided Linen Trim was wrapped around the stamped layer and tied in a bow. I used a Mini Glue Dot to hold it in place.

After placing several Stampin’ Dimensionals behind the white panel it was positioned on the card front.

The greeting was stamped, trimmed and placed on the card front using dimensionals.

The small, single rome image was stamped on the card insert and envelope.

Some small, Calypso Coral Iridescent Pastel Gems were added to the card.

Tomorrow I have another card to share with you.

Until then, happy stamping.

If you live in Australia, you can order any of the products I used to make this card by going to my online store. Just click on any of the images below.

Product List
Paper Snips
[103579]
$19.25
Posted on Leave a comment

IT’S MONDAY AND THAT MEANS THAT IT IS TIME TO HIGHLIGHT SOME NEW STAMPIN’ UP! PRODUCTS

This week I am featuring the Stippled Roses Bundle. The Bundle’s product number is 162667 and yours for $94.50AUD.

During January – February, ordering this bundle will qualify you to order Softly Stippled 12″ x 12″ Designer Series Paper for FREE. It is one of the Level 1 products in the Sale-a-bration Brochure. It has 12 sheets: 2 each of 6 double-sided designs.

The gorgeous FREE paper, 162975, incorporates five main colours – Calypso Coral, Lost Lagoon, Pebbled Path, Pool Party and Wild Wheat.

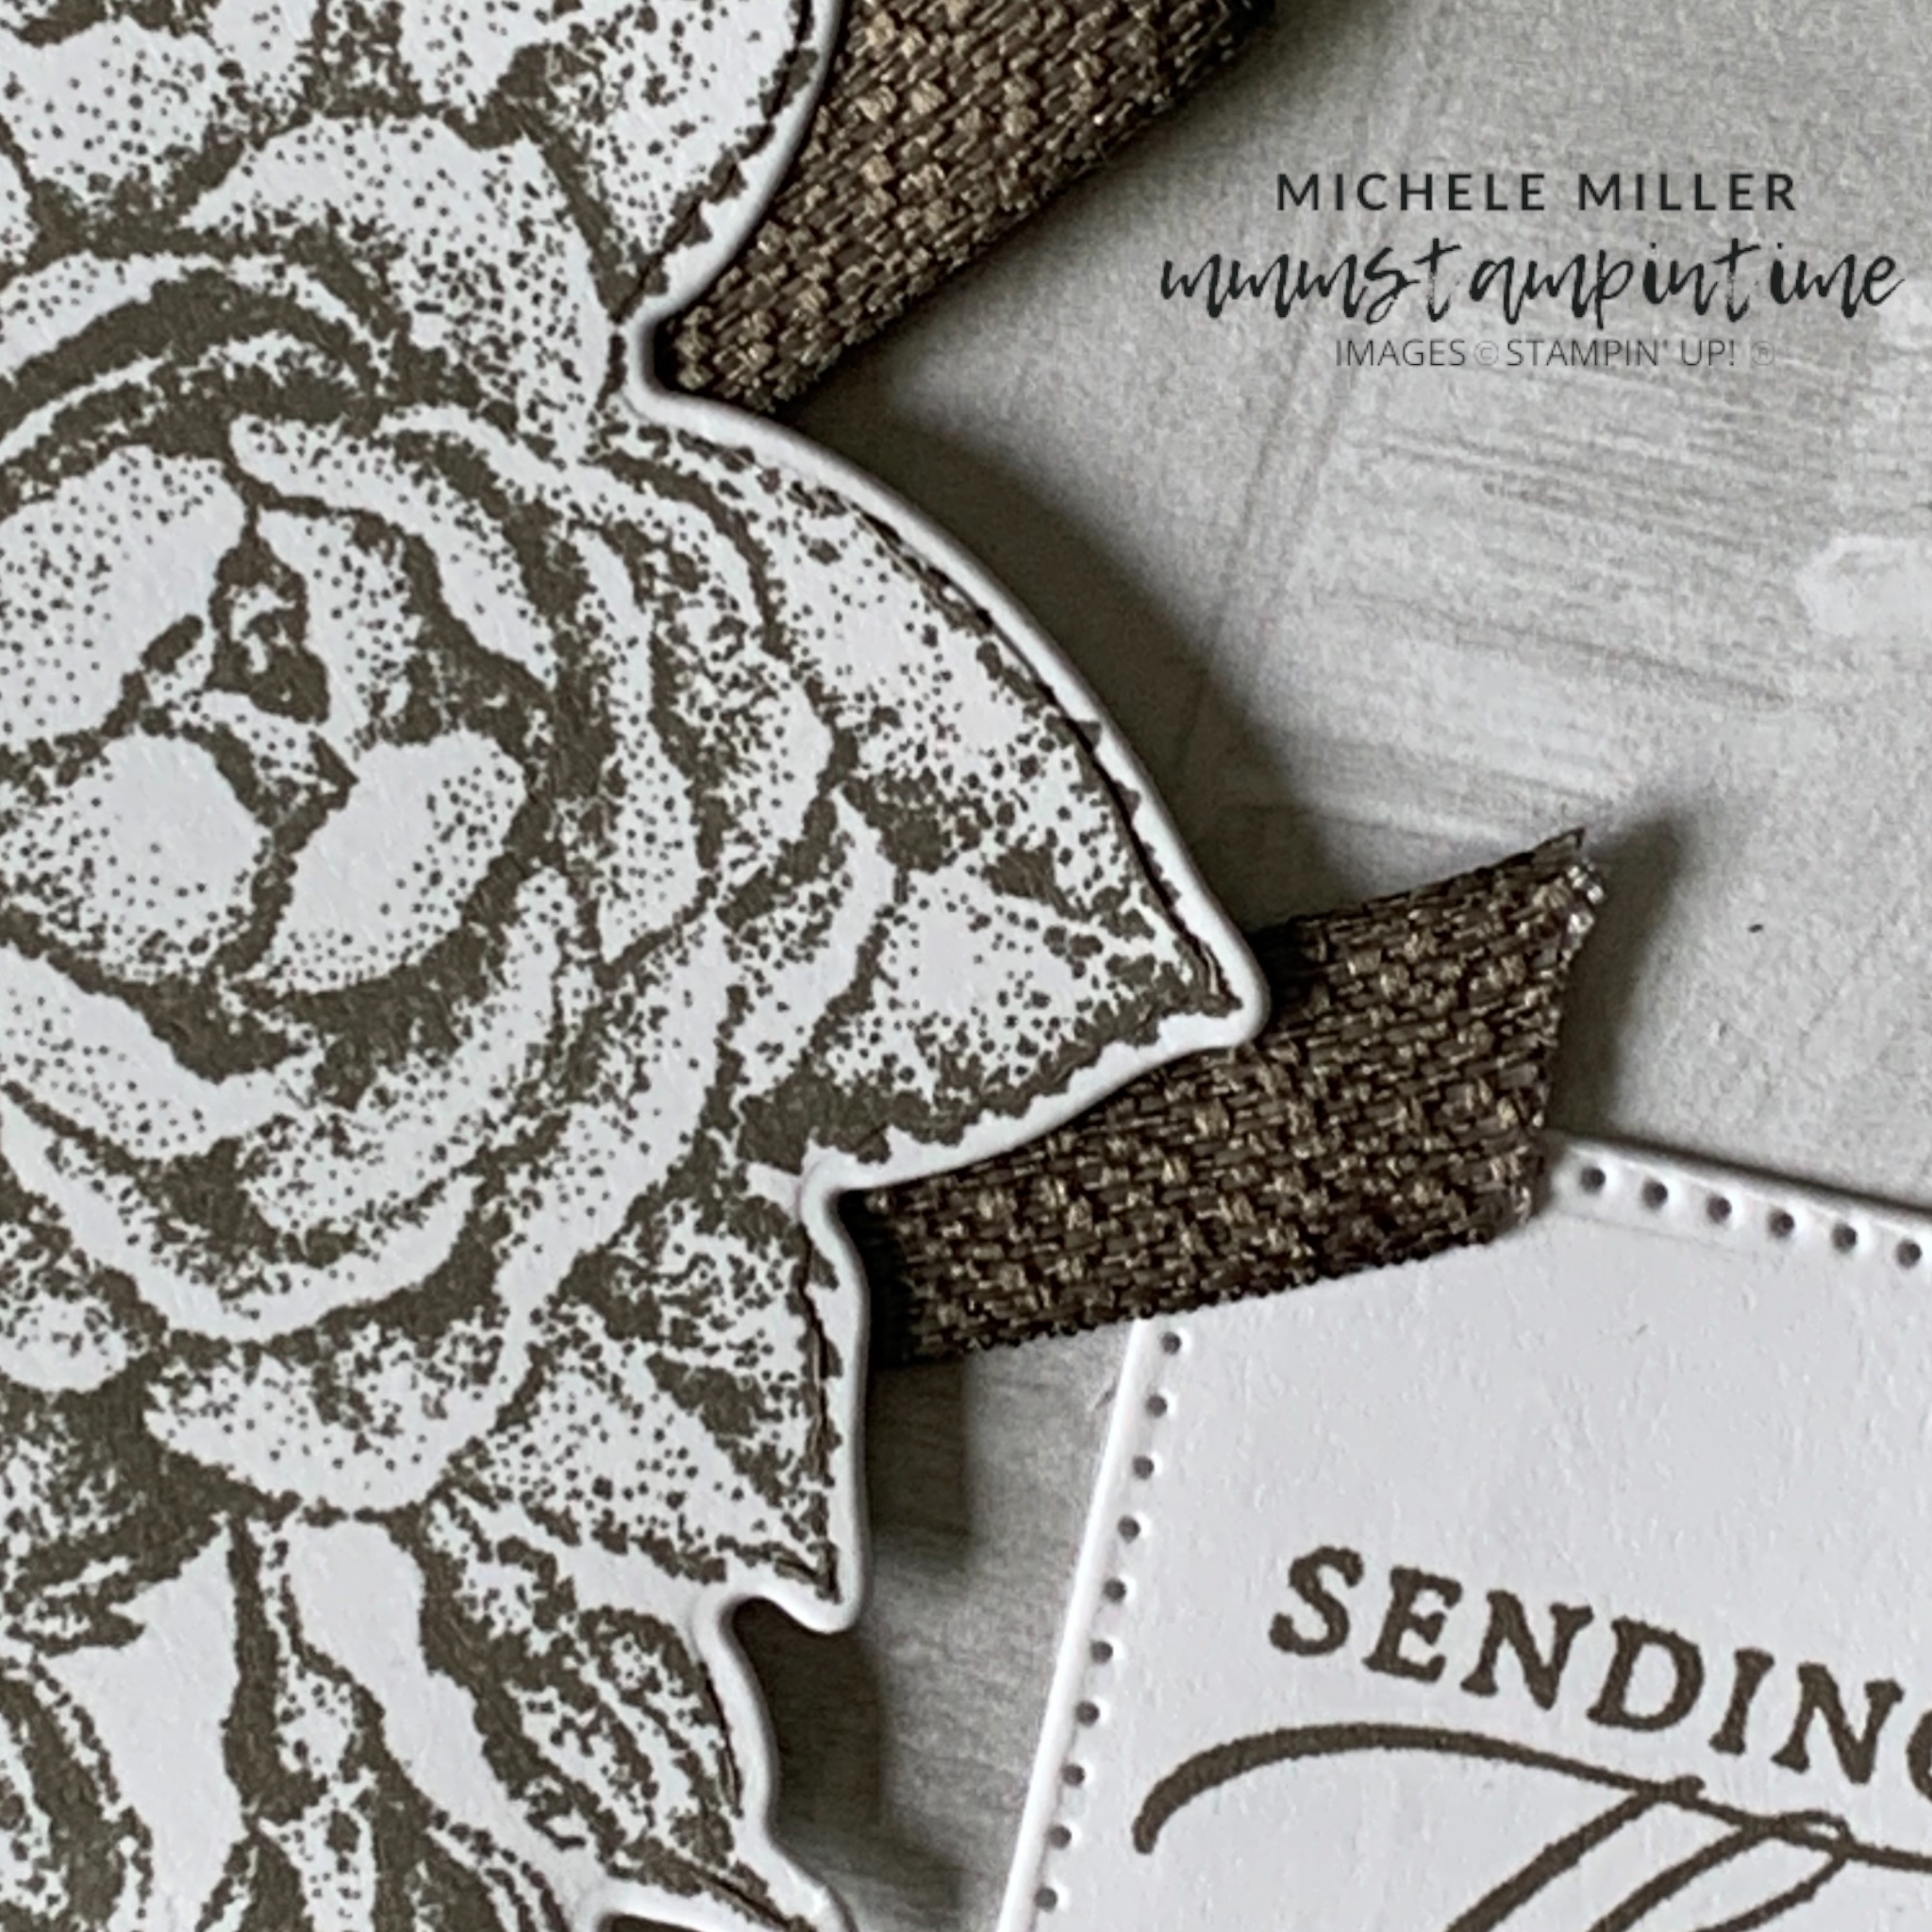
For today’s card I decided to feature Pebbled Path – card base, DSP, ink, ribbon and embellishments.

After folding the card base in half, I adhered the DSP panel to the front.

The double rose image was stamped in Pebble Path before being cut using the coordinating die from the Stippled Roses Dies.

I ran two rows of Stampin’ Seal+ on the back of the die cut roses. The Pebbled Path Textured Ribbon was then ‘woven’ over the adhesive. The ends were trimmed at an angle.

I placed Stampin’ Dimensionals behind the stamped image and popped it on the card front.

The greeting was stamped and then cut using one of the square Stylish Shapes Dies. I used the same die to cut a Pebble Path square. These two squares were adhered in a staggered arrangement, creating the appearance of a shadow. They were then adhered directly on the card front.

The card insert and envelope had the small, single rose stamped on them.

The card was finished with three small Pebble Path 2023 – 2025 In Colour Dots.

Tomorrow is Tips & Techniques Tuesday and I have a great project to share with you.

Until then, happy stamping.

If you live in Australia, you can order any of the products I used to make this card by going to my online store. Just click on any of the images below.

Product List
Paper Snips
[103579]
$19.25
Posted on Leave a comment

STAMPIN’ SATURDAY – TIME FOR SOME MORE SHARING

Today I have a project that I created for this week’s Global Design Project. GDP #427 is a theme challenge.

This challenge is perfect given that I have been featuring the Adoring Hearts Bundle all week.

I decided to create a bespoke 6″ x 6″ card.

I started with a Flirty Flamingo card base because I wanted to use the marbled pink paper from the Designer Series Paper bundle.

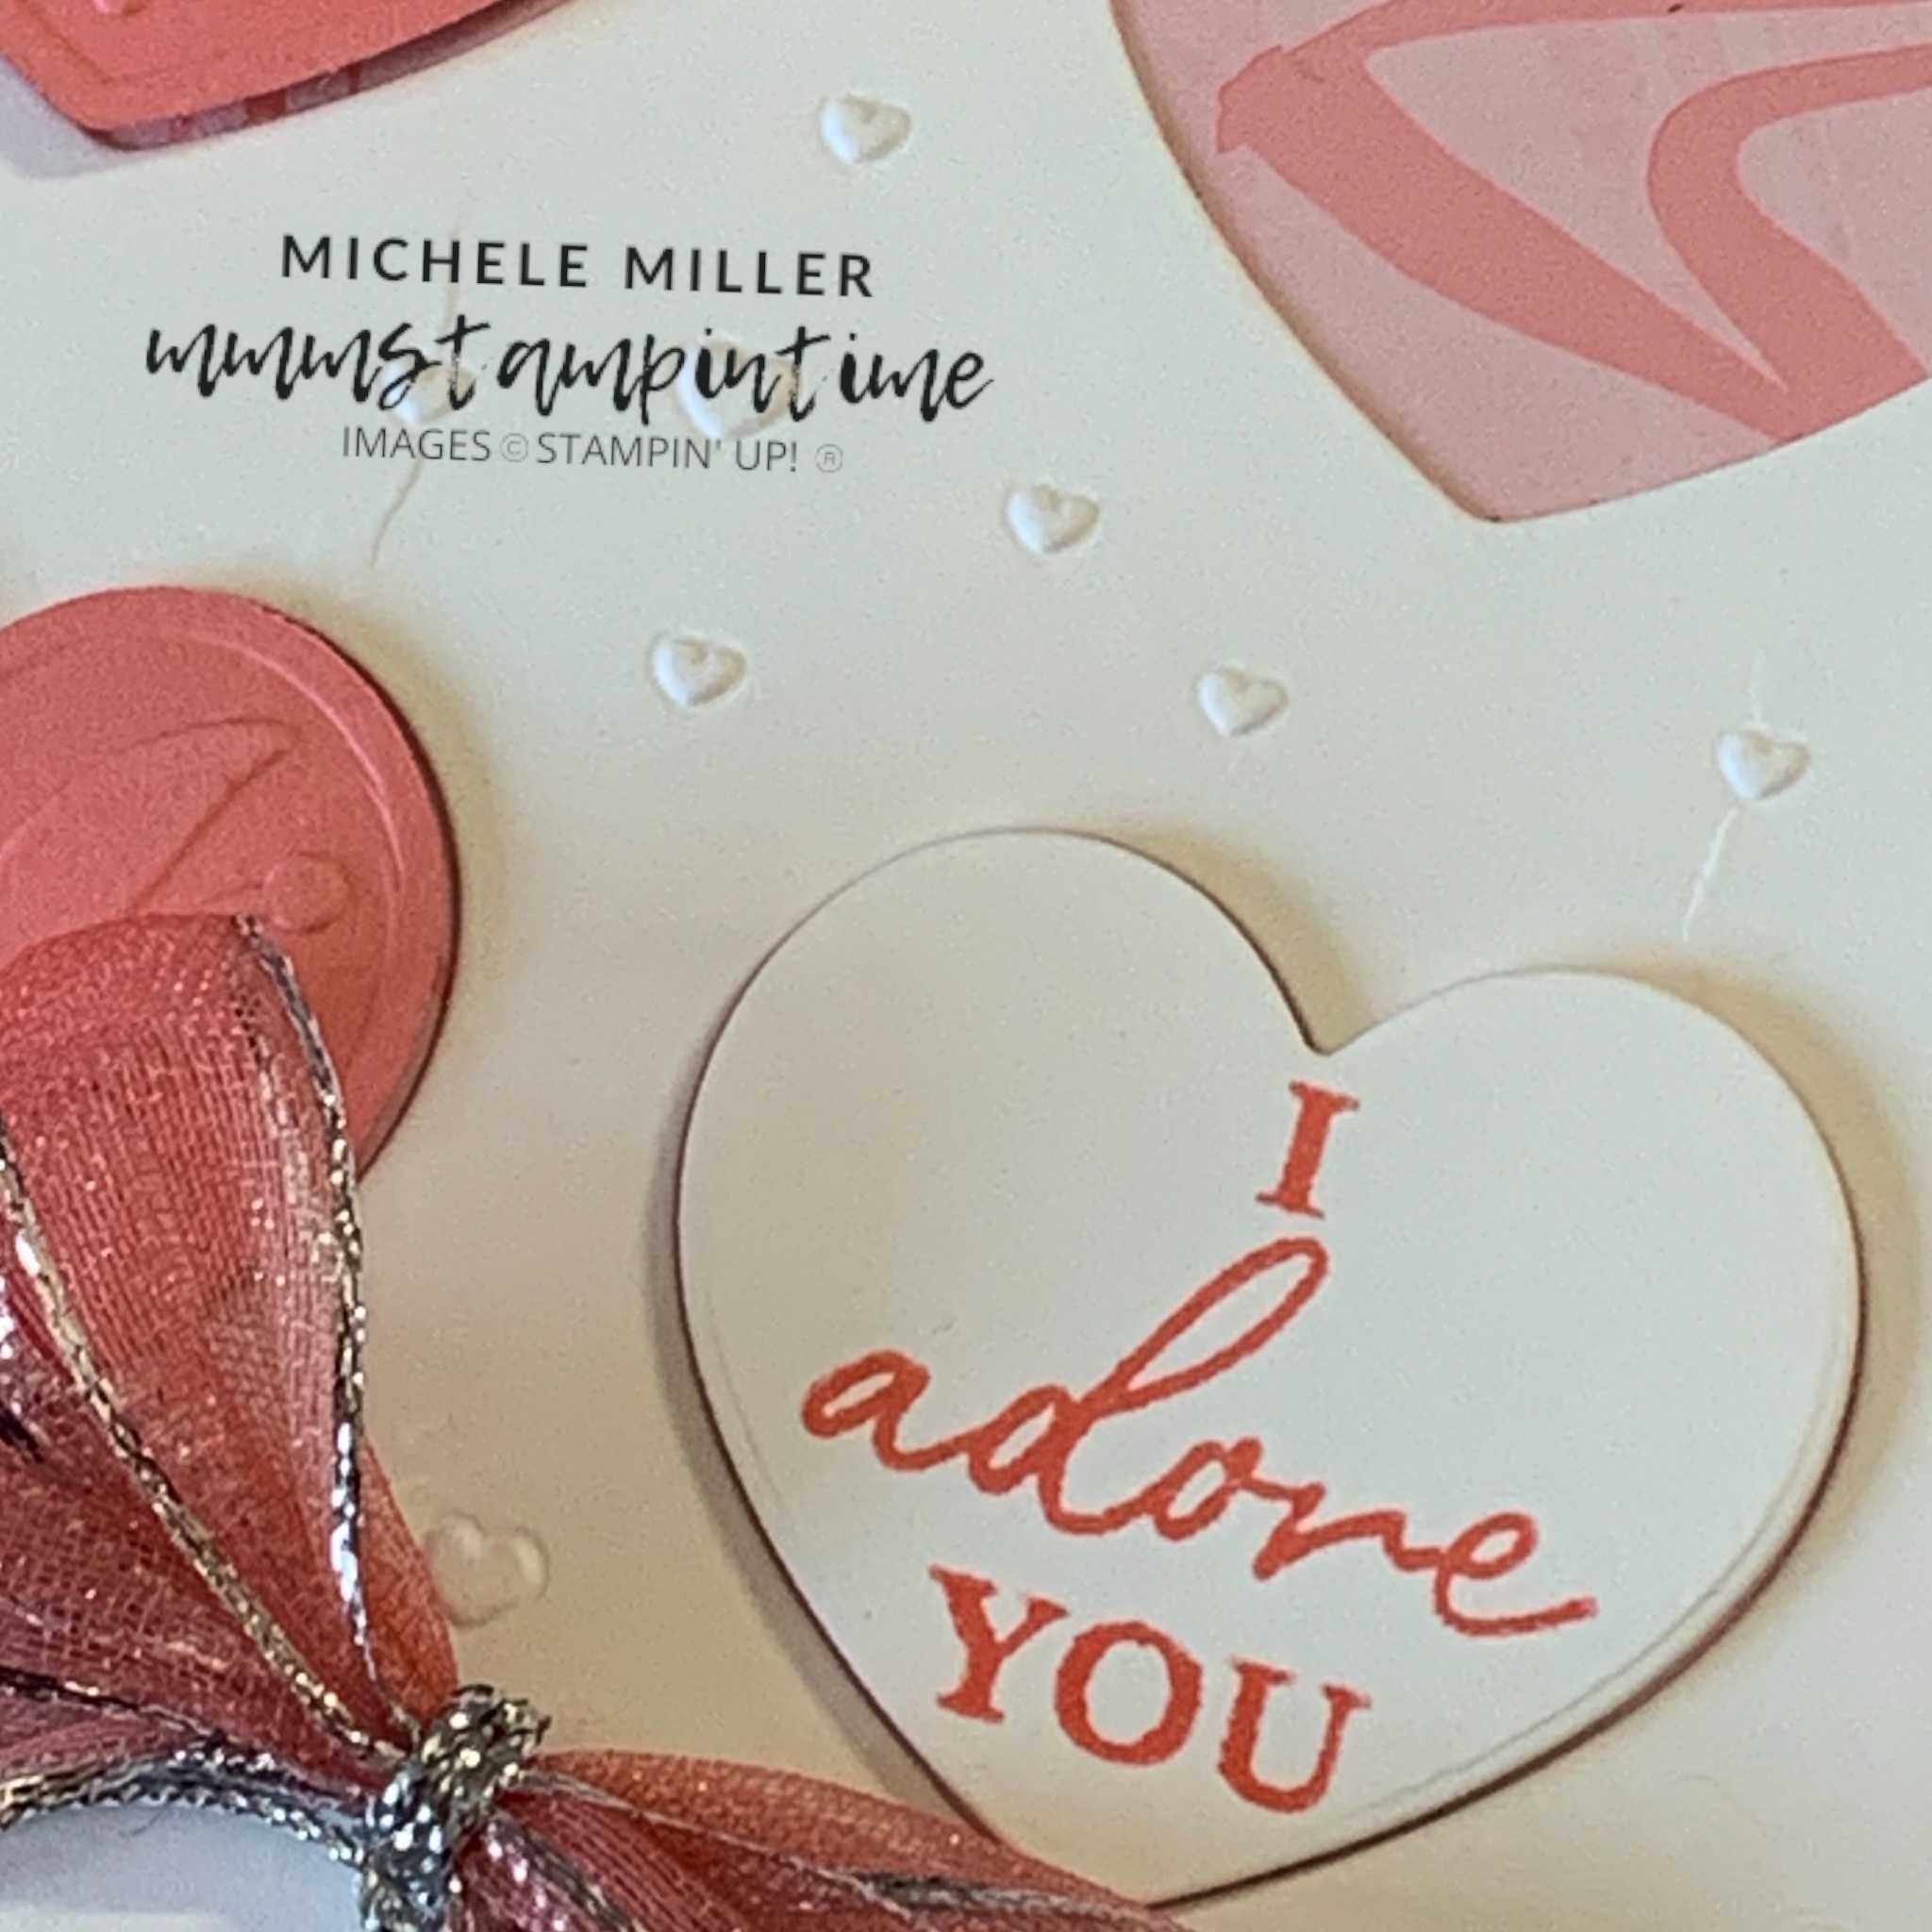
A piece of Thick Basic White card was cut to 5 3/4″ x 5 3/4″ and embossed and die cut using the Adoring Hearts Hybrid Embossing Folder.

The marbeld DSP was adhered behind the die cut white panel. These two layers were then adhered to the card base.

A 6″ x 6″ piece of Flirty Flamingo was also embossed and die cut with the Hybrid Embossing Folder – this gave me nine beautifully embossed and die cut hearts.

I chose four Flirty Flamingo hearts and positioned them in some of the open spaces using Stampin’ Dimensionals to lift them up from the card front.

I also cut a single white heart and stamped the greeting on it usinf Flirty Flamingo ink.

Five, of the nine, die cut heart spaces are filled and the other four reveal the Designer Series Paper.

I used my Dark Flirty Flamingo Stampin’ Blend to colour a length of Silver & White Sheer Ribbon. This coloured ribbon and a length of silver trim, from the Simply Elegant Trim pair, were folded into a multiple layered ribbon. After it was tied off and secured, I secured it to the card front using a Mini Glue Dot.

An other length of coloured ribbon was attached to the card insert, before being adhered in place.

A second 12″ x 12″ piece of the same marbled Flirty Flamingo DSP was used to create a unique envelope for this card.

Tomorrow is Sunday and my day of rest.

On Monday, I will introduce another new Stampin’ Up! bundle to showcase for the week.

Until then, happy stamping.

If you live in Australia, you can order any of the products I used to make this card by going to my online store. Just click on any of the images below.