Posted on Leave a comment

THURSDAY MEANS IT’S TIME FOR A 3D PROJECT

I was so delighted when I found a lavender soap and bath bomb recently. I knew it would be perfect for this week’s 3D project.

Taking measurements to create these simple lidded boxes is always so much fun. When I was a Home Economics teacher I loved using measurements to draft patterns for sewing. I think it’s the challenge of visualising something in 3 dimensions, creating a pattern in 2 dimensions and then seeing it come together and fitting the way you want it to.

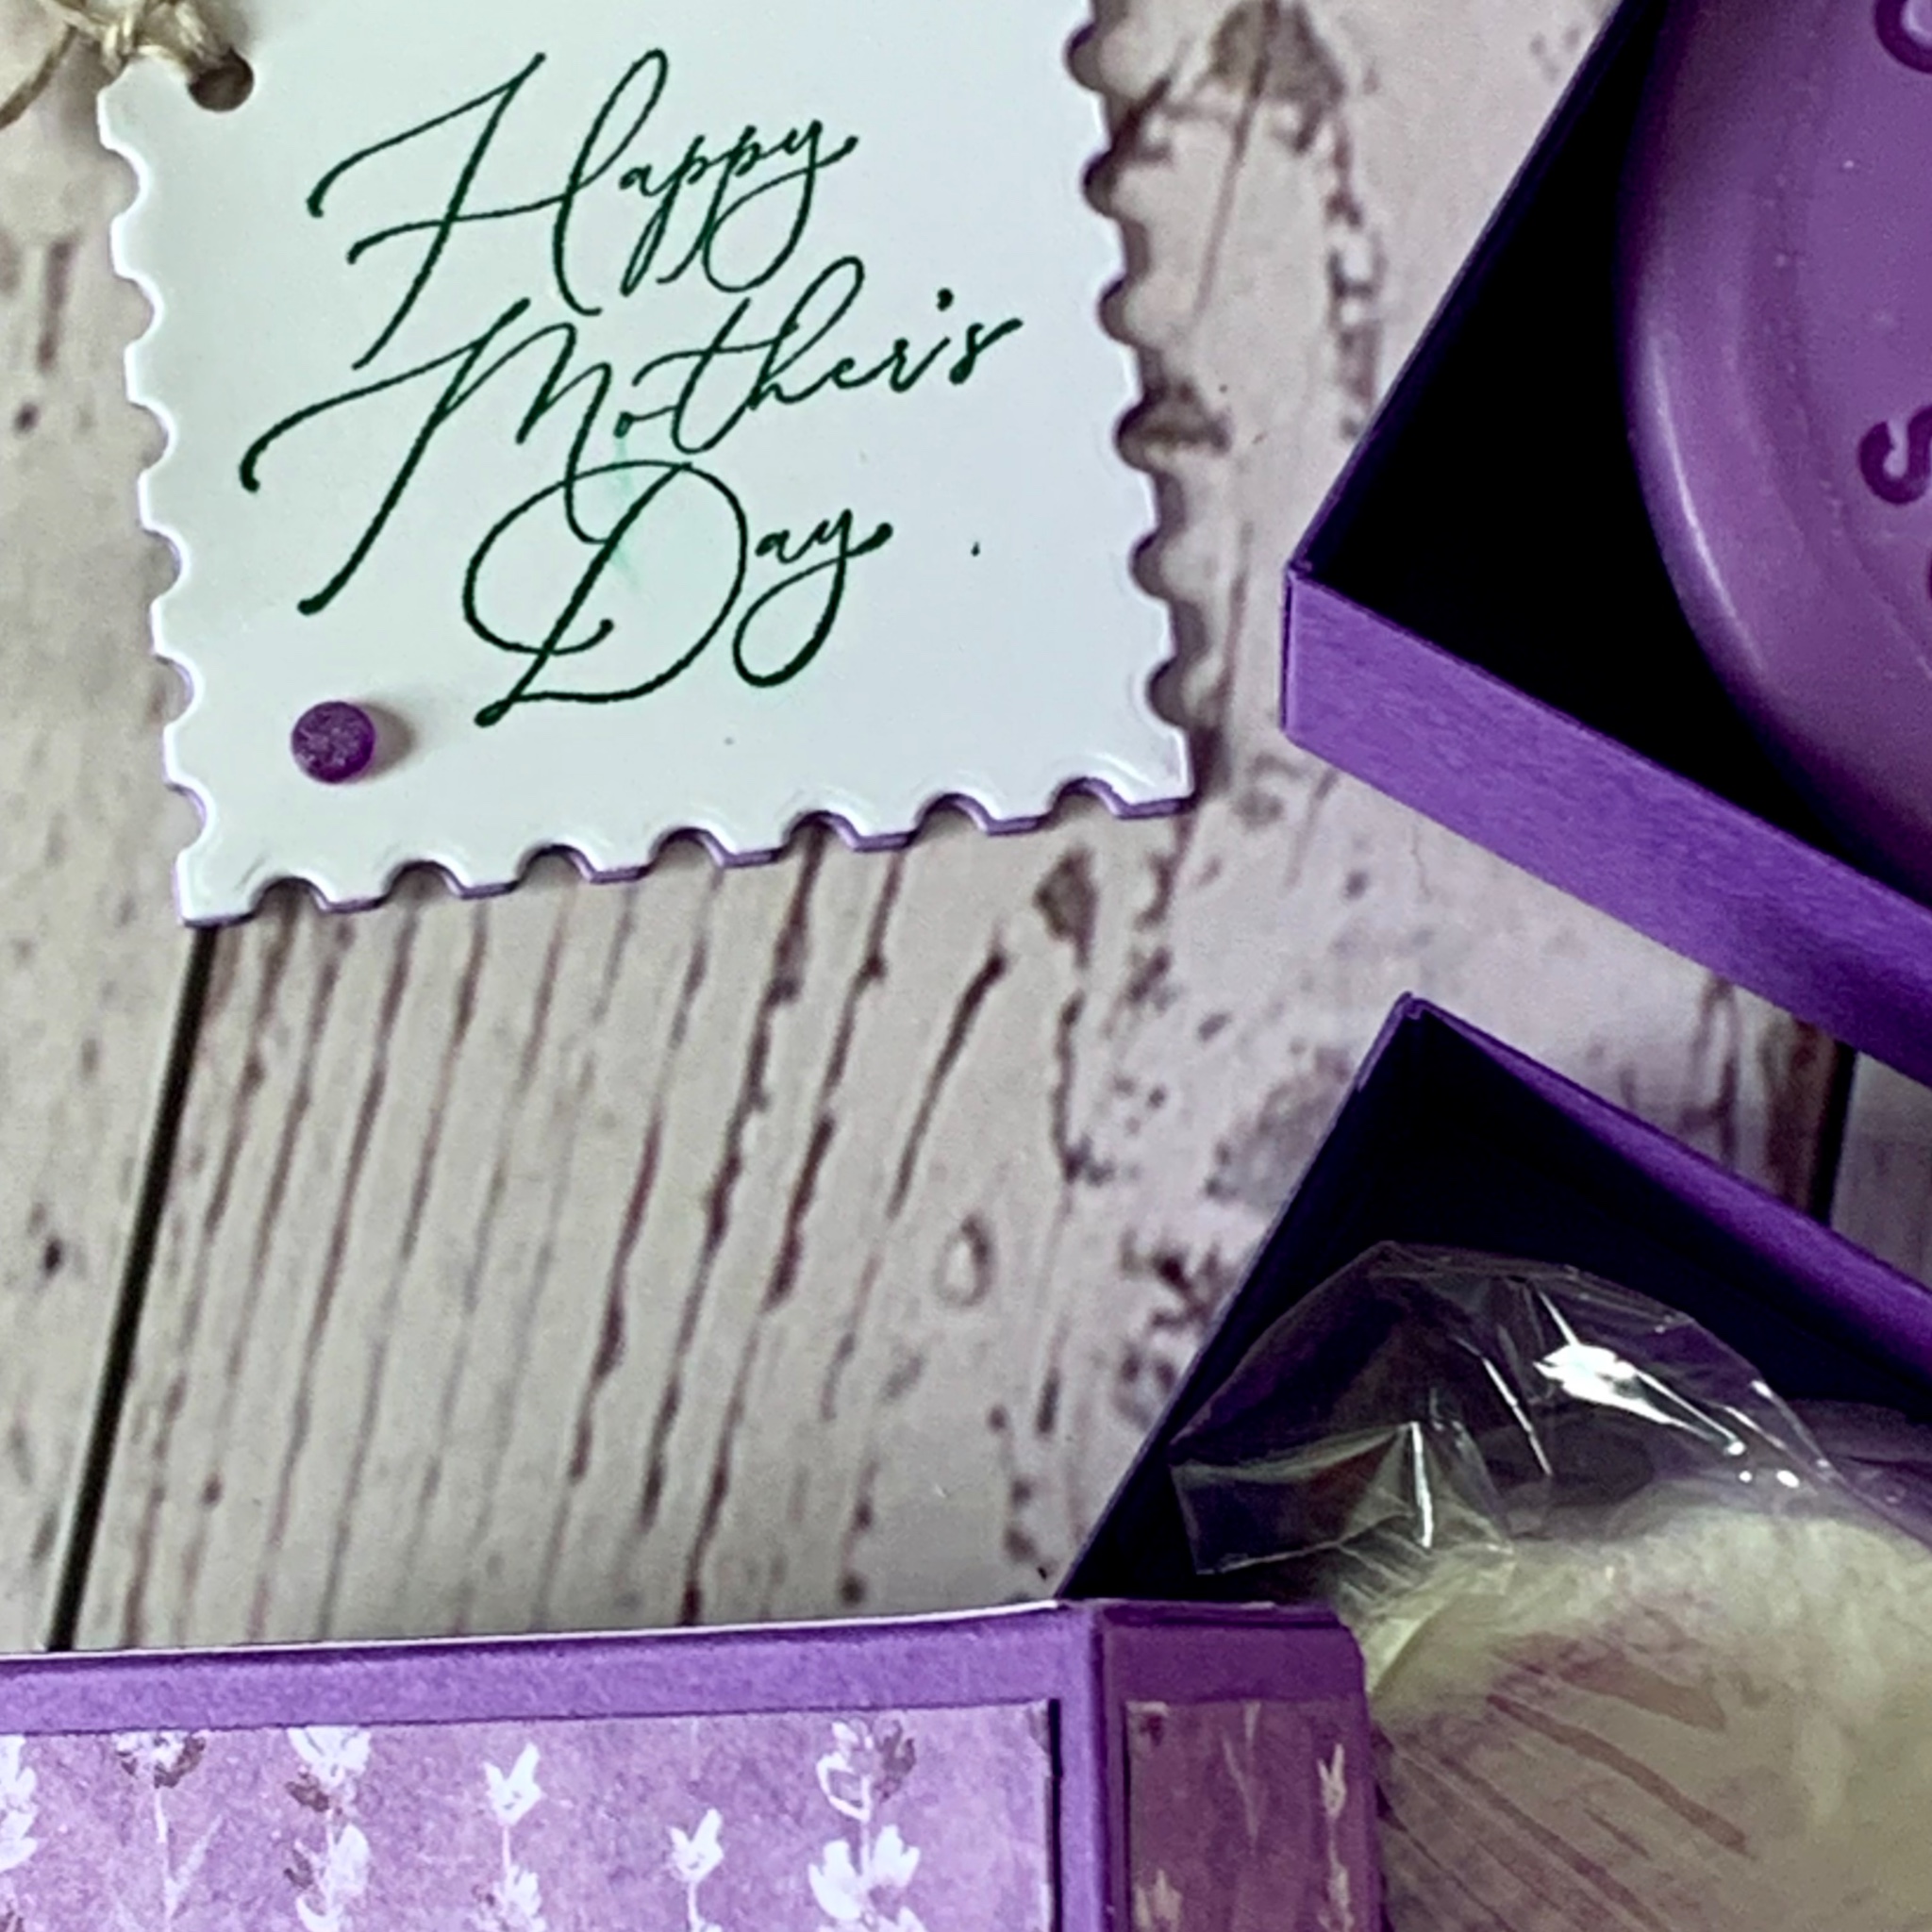
I thought that I’d show you inside the boxes first.

I used Highland Heather A4 cardstock to create the two box bases and their lids.

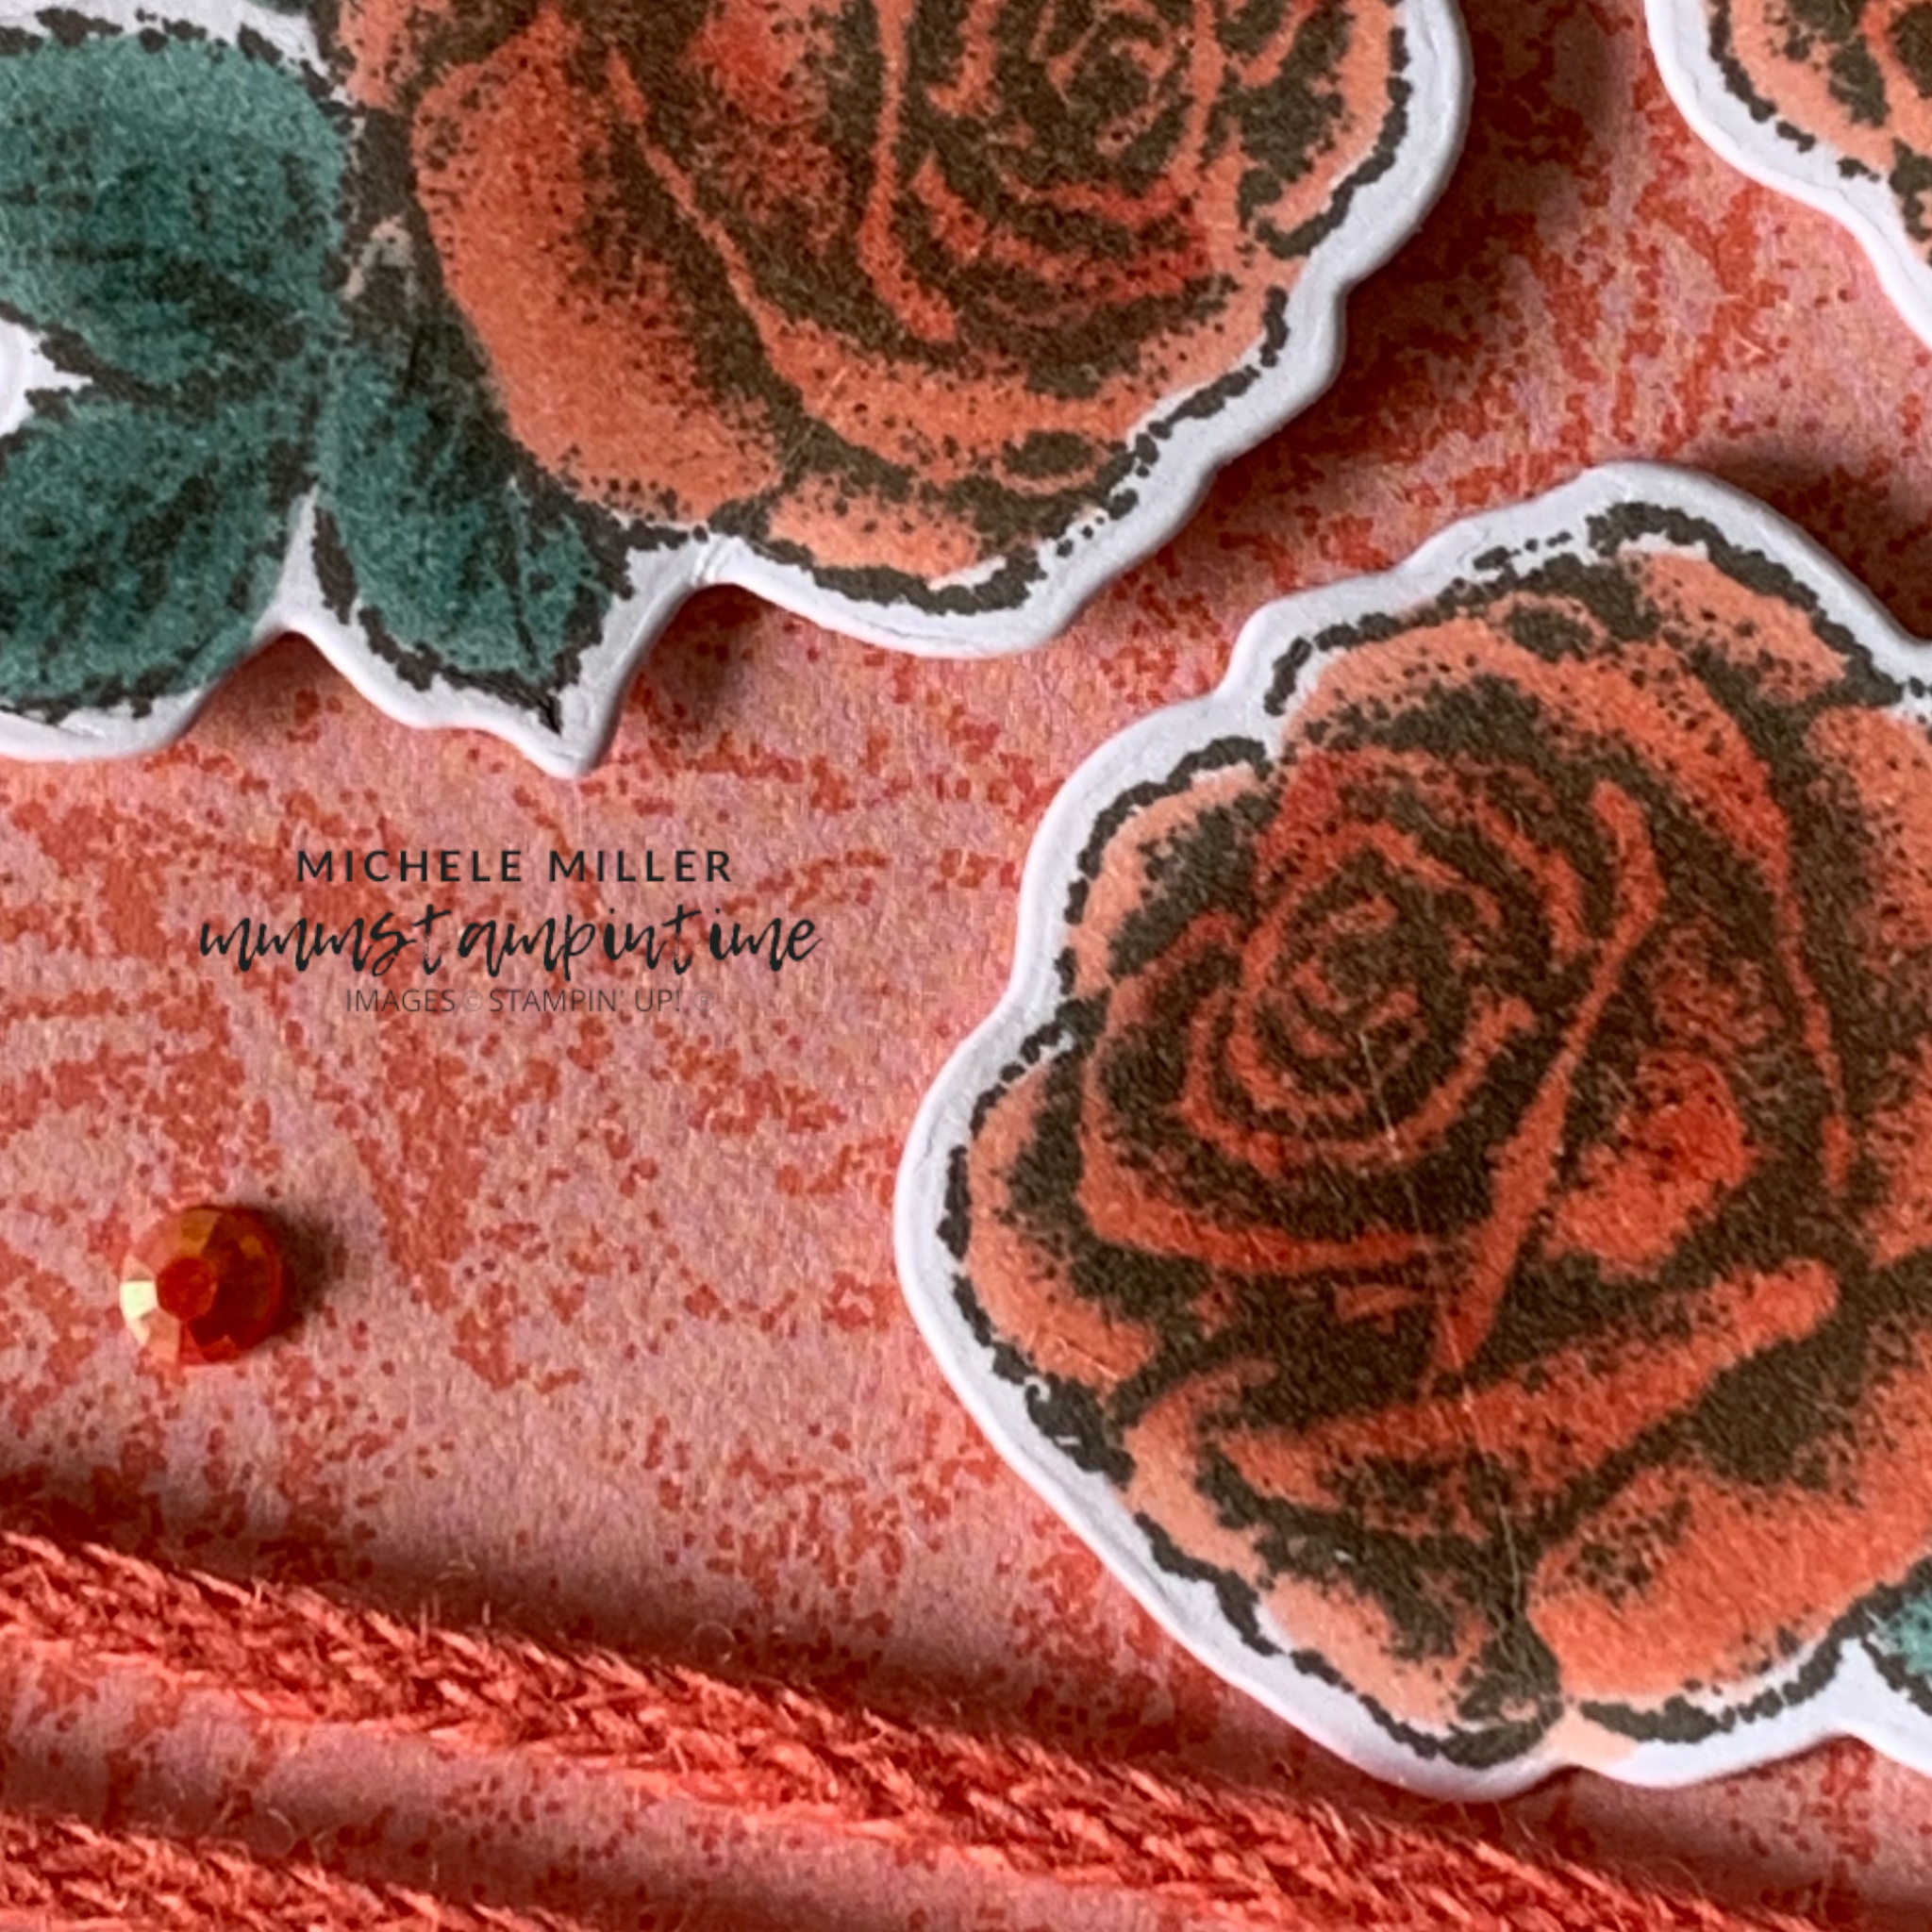
After cutting and scoring the box bases and lids, I carefully cut two of the DSP designs so that all panels were matching on the lid.

The two boxes were stacked and I used a length of Natural Wavy Trim to hold them together. Then I tied them in place.

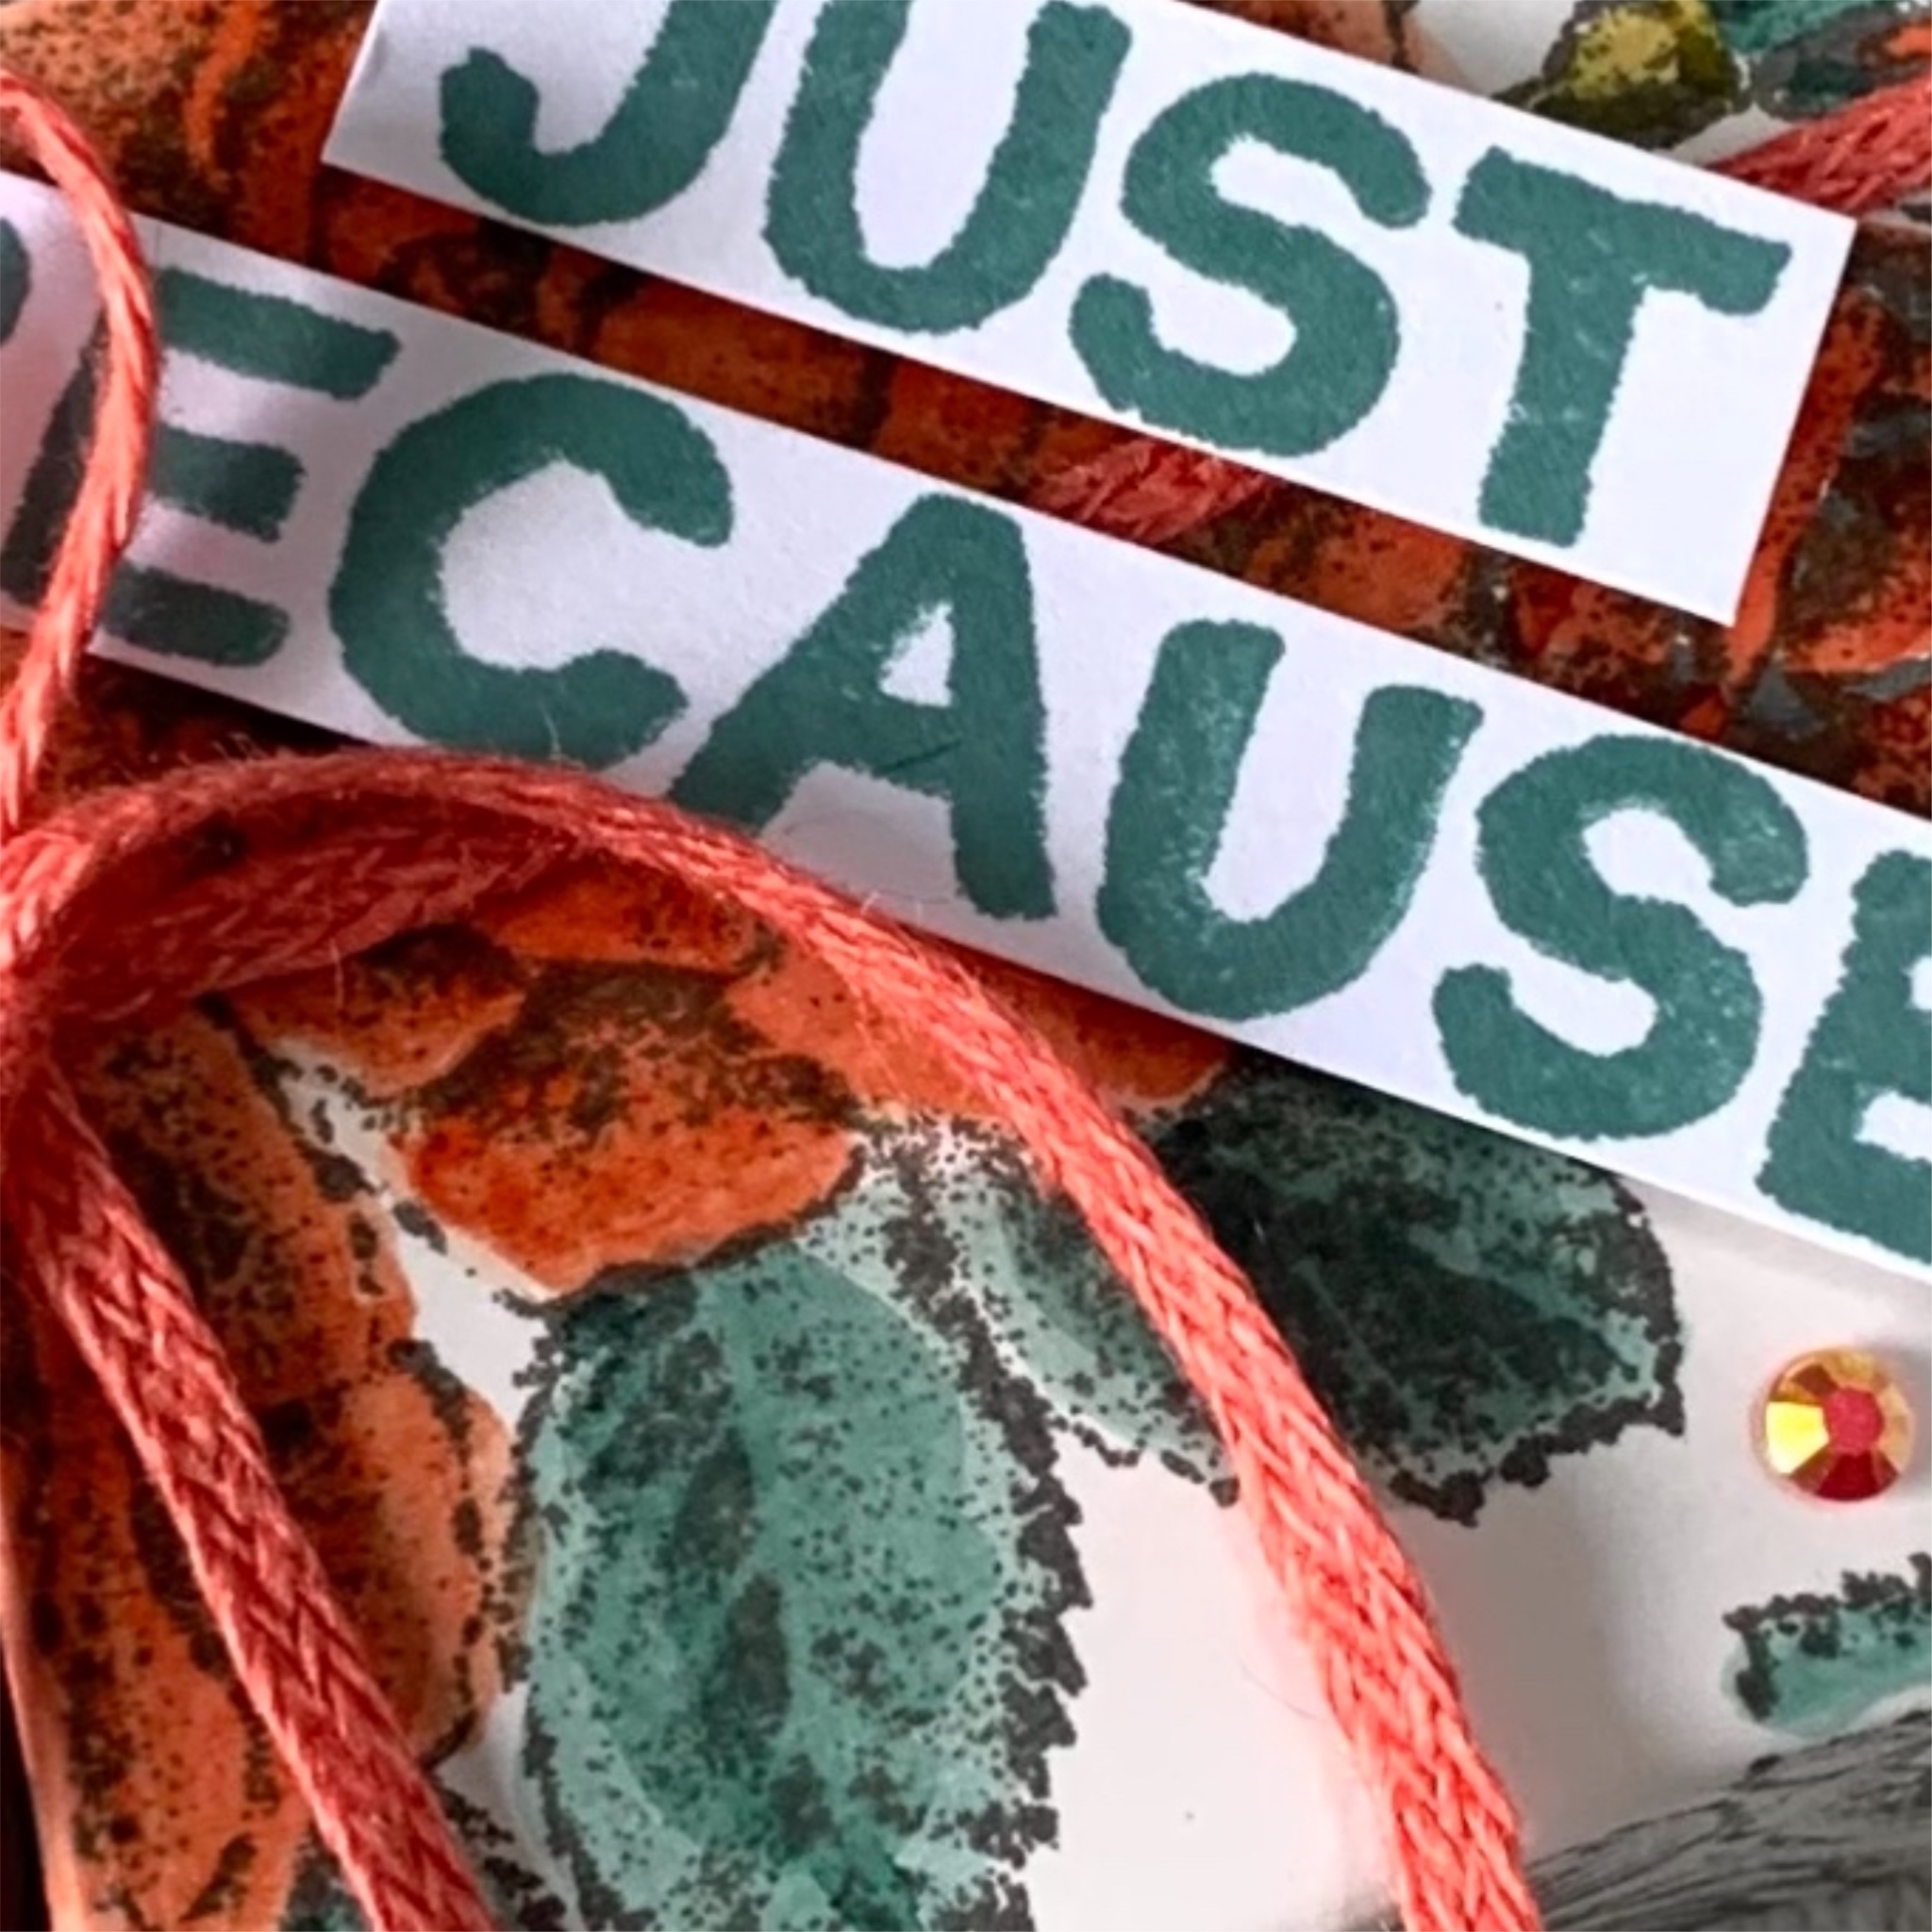
I stamped the greeting using the Stippled Rose Stamp Set and then cut them using larger of the two square postage dies from the Perennial Postage Dies. Another postage square was cut using Highland Heather cardstock.

I punched a small hole in the two postage squares and looped some Linen Thread through the hole. They were then tied onto the Wavy Trim.

To finish the boxes, I added some Purple Fine Shimmer Gems.

I am so happy with these gift boxes and cannot wait to find the right person to gift them to.

Tomorrow I have a Fun Fold card to share with you.

Until then, happy stamping.

If you live in Australia, you can order any of the products I used to make this card by going to my online store. Just click on any of the images below.

Product List
Paper Snips
[103579]
$19.25
Posted on Leave a comment

IT’S FRIDAY & TIME FOR SOME FEATURES AND A FUN FOLD CARD

I can’t believe how quickly Friday has rolled around again.

Before I share the Fun Fold card, I want to highlight some of the features of the Stippled Roses Bundle – this is something I plan to do each Friday.

The Stippled Roses Cling Stamp Set includes three images and four greeitngs/sentiments. I have used all the images this week and they are a large double rose, a single, smaller rose and a long stem of leaves. There are four greetings for different occasions, making this a very versatile set. There a two distinct fonts used, with one greeting using both.

There are eight dies in the Stippled Roses Dies. Three of them coordinate with the stamp images while the others offer some alternate flower and leaf shapes.

And, of course, don’t forget that if you buy this bundle you can also select the coordinating FREE Designer Series Paper from the January – February Sale-a-bration Brochure (while stocks last).

As you have seen during the week, you can very easily use other products you have to enhance the versatility of this bundle.

Today’s Fun Fold card is an oldie but a goodie. Easel cards are fabulous because the stand up so well when you want to display a card that you have received. You actually get 1 1/2 cards on show and a smaller section where that personal message has been written for you. And, of course, it folds down flat to slip inside the envelope.

For this card, I decided to focus on a Calypso Coral palette.

The DSP is gorgeous with its roses design.

For the main panel, I wrapped and secured three lengths of the Braided Linen Trim and had them evenly spaced. This was then adhered to the standing panel of the card base.

The inside of the card was made up of the DSP panel and greeting that you can see. The greeting is from the Softly Said Stamp Set. I added Stampin’ Dimensionals behind the greeting panel to create the ‘stopper’ for the standing panel.

The front of card was decorated with three single roses that were stamped, cut and coloured. Dimensionals ensured they could be popped up on the card to add some depth to the card.

I also added three small Calypso Coral Iridescent Pastel Gems to the card front.

The envelope had the same small rose image stamped on the back.

I will have another project to share with you tomorrow.

Until then, happy stamping.

If you live in Australia, you can order any of the products I used to make this card by going to my online store. Just click on any of the images below.

Product List
Paper Snips
[103579]
$19.25
Posted on Leave a comment

THURSDAY MEANS THAT IT’S TIME FOR A 3D PROJECT

Yes, the title of this post says it all! Today, I have a 3D project to share with you.

What’s even better is that you don’t need to measure and score your own gift box. I am using a wonderful new packaging product that comes cut, scored and with adhesive ready for you to decorate and assemble.

And, that is exactly what I have done for today’s project.

Introducing the Square Pillow Boxes. They come in a pack of 10 – product number 162559 and $14AUD.

For my project, I started by stamping the large double rose image, using Pebble Path ink, all over the box.

Then I started colouring most of the stamped images using Calypso Coral and Lost Lagoon Stampin’ Blends.

After I had finished colouring, I added a small strip of Stampin’ Seal+ onto the back of the box. This is where I secured a length of Calypso Coral Braied Linen Trim. I brought the ends of the ribbon together, ties a bow and trimmed the ends.

The greeting was stamped, trimmed and secured to the top of the box with dimensionals.

The final touch was to add some small Calypso Coral Iridescent Pastel Gems to the box.

This would make a perfect gift box for some jewellery or other small treat.

Tomorrow is Friday and I have a Fun Fold card to share with you.

Until then, happy stamping.

If you live in Australia, you can order any of the products I used to make this card by going to my online store. Just click on any of the images below.

Product List
Paper Snips
[103579]
$19.25