I was delighted to be invited as a Guest Designer for the Colour INKspiration Challenge #111.
It provided me with a great reason to use one of the stamp sets and coordinaitng dies that I have not used yet. My goal is to ensure that I have NO products on my shelves that I have not used before the January – June Mini Catalogue is ‘open for ordering’.
This project is very different to my recent Challenge entries. It is more like a scene and I am very pleased with it. I used the Welcoming Window Bundle.


It has been such a long time since I have used Very Vanilla in a card base rather than Basic White.

I decided to use Crumb Cake as the card base colour. Then I swiped some Crumb Cake ink across the Brick & Mortar Embossing Folder and ran the Very Vanilla card through the Stampin’ Cut & Emboss Machine. This resulted in the colour being transferred onto the cardstock as the brick pattern was embossed.

I used a die from the Window Flower Box Dies to cut out the window pane.
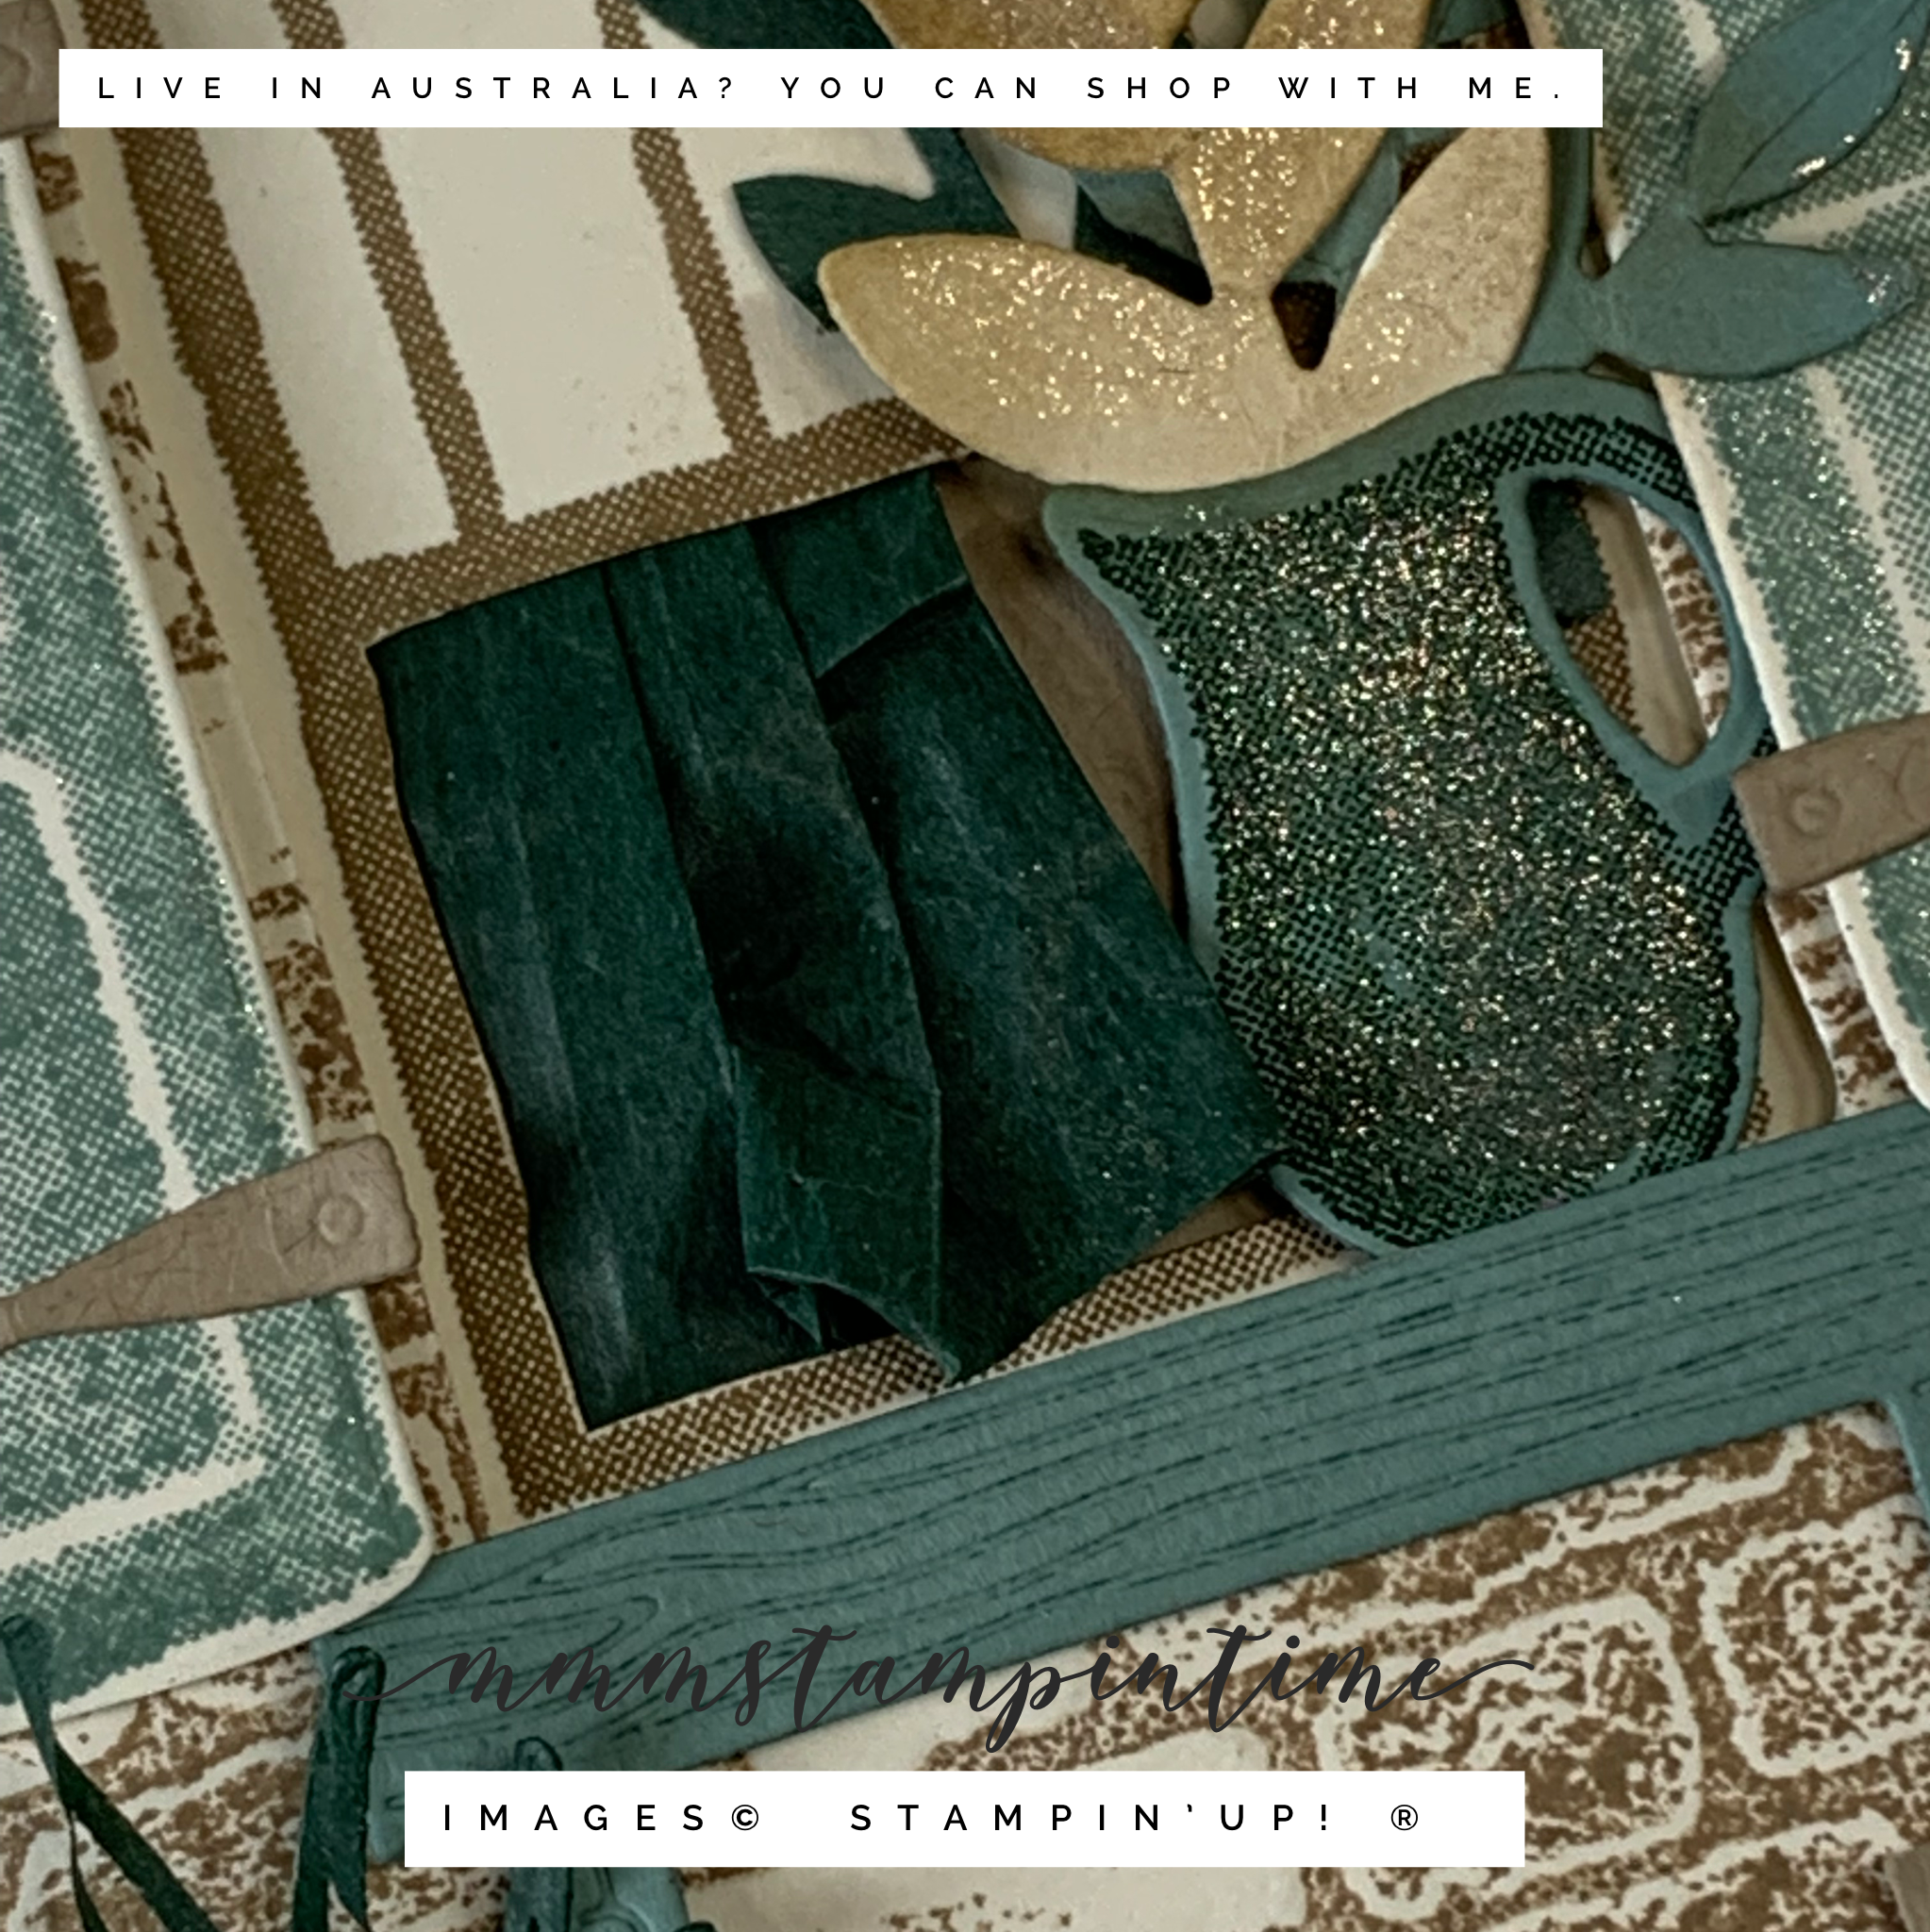
A piece of Very Vanilla cardstock was stamped with the panelled window image. The bottom half of the window was cut away so that I could add some folded Evening Evergreen Cotton Paper to create a curtain.
I stamped and cut the Soft Succulent shutters before attaching them to each side of the window. The shutter latches were cut from Crumb Came card that had Adhesive Sheet attached – this made it so easy to place them on the shutters. Then I added the embossed and cut window box.

I stamped and cut the flower jug and added some die cut leaf stems. I used one of the branches from the Forever Flourishing Dies for these stems.
The pots were die cut and I used a Blending Brush to brush Crumb Cake over them. The jug, pots and shutters had Clear Wink of Stella painted across them.
I used two of the greeting stamps for the sentiment.
The Evening Evergreen plants were cut using a die from the Perfect Plants Dies. I planted them in two of the pots and tucked the third behind one of pots.

I also stamped one of the pots on the card insert and envelope.
Wow – I used three die sets to cut out the various elements that are on the card.
Until next time, happy stamping.

If you live in Australia, you can order any of the products I used to make this card by going to my online store. Just click on any of the images below.

 |  |  |  | |
 |  |  |  |  |
 |  |  | ||
 |  |  |  |  |
 |  |

 Cotton Paper")


")


