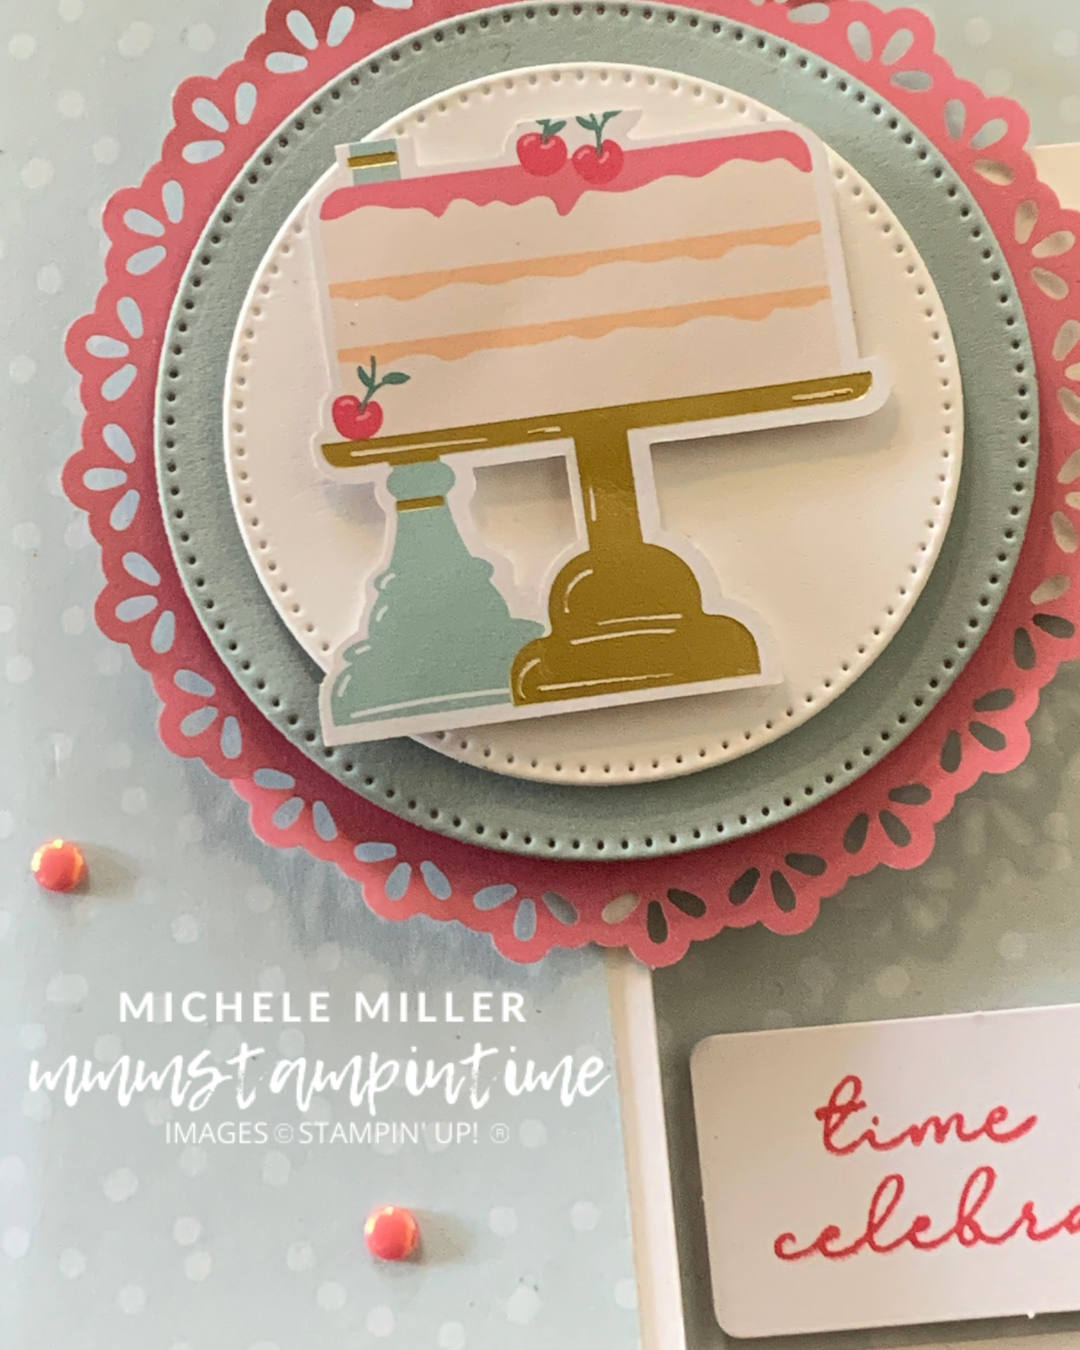
Today I have a Buckle Fun Fold Card to share with you.
I started with a Basic White card base.
After securing the buckle strip I added some panels from one of the Cloud Cover spotted kit cards.

The Strawberry Slush doily element comes from the Birthday Fancy Kit.
I cut Cloud Cover and Basic White circles using the Stylish Shapes Dies. After adding Stampin’ Dimensionals to each of the layers I added a mini magnet to the back of the circles and adhered them to the buckle.
A second magnet was added between the card base and Cloud Cover layer to help ensure the buckle stays closed.
The cake elements were added to the card, as were some Strawberry Slush Flat Pearls.
The greeting was stamped using Strawberry Slush ink.

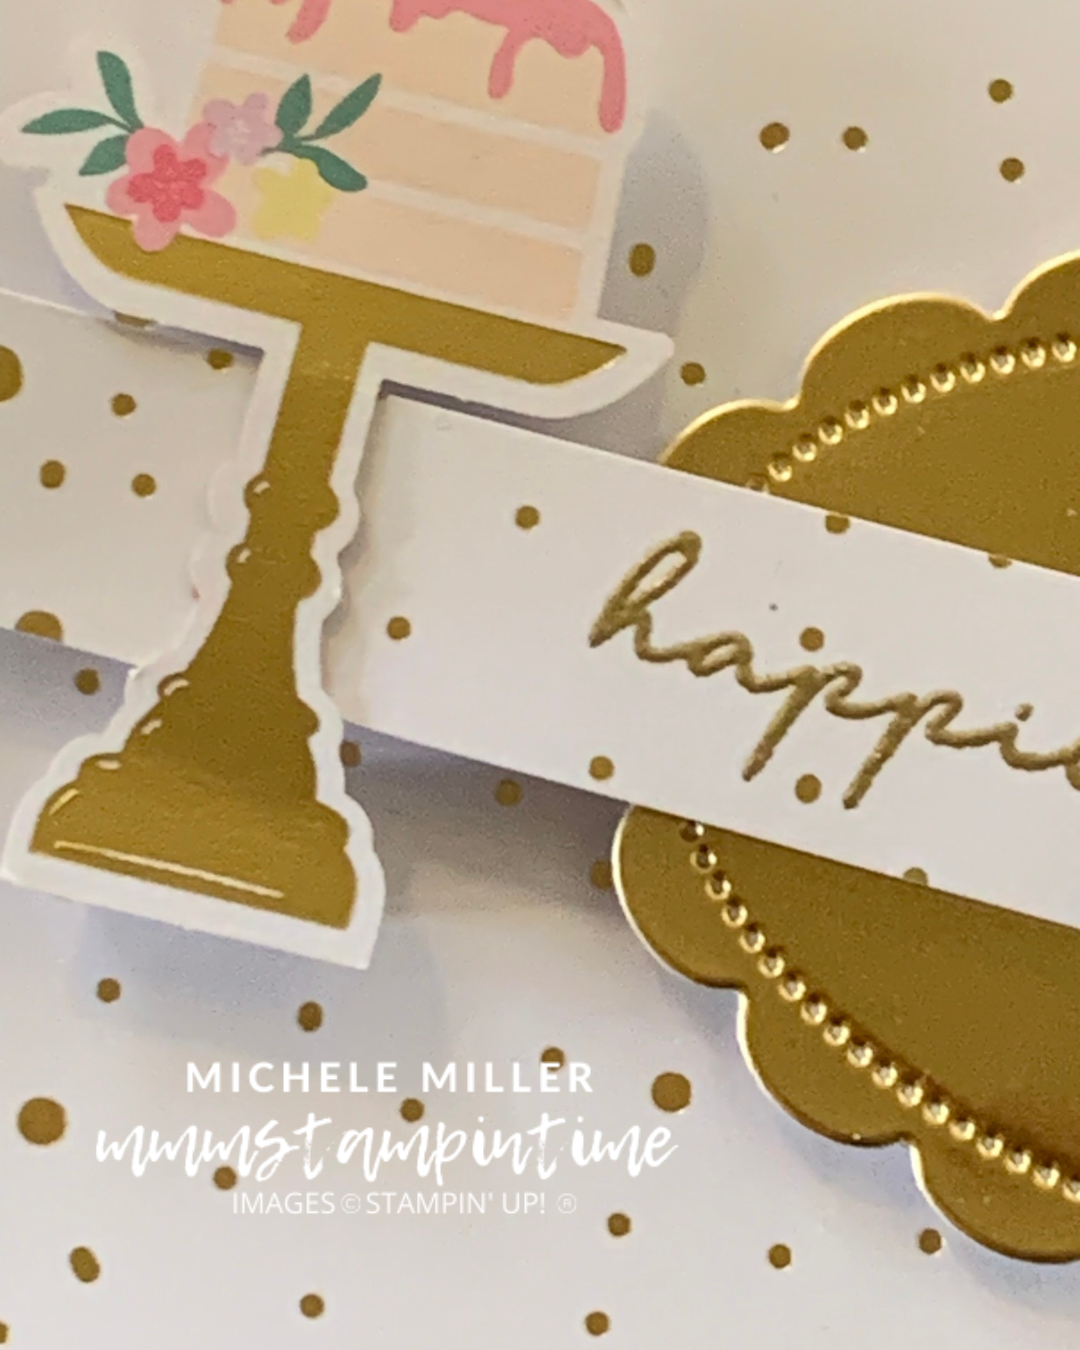
The card insert had a second greeting added as well as a cherry image.

It has been loads of fun creating these projects using the Birthday Fancy Kit.
I have a couple of bonus projects to share with you over the weekend.
Until then, happy stamping and scrapbooking.

If you live in Australia, you can order any of the products I used to make this card by going to my online store. Just click on any of the images below.

![Birthday Fancy Kit (English) [ 166211 ]](https://i0.wp.com/assets1.tamsnetwork.com/images/EC042017NF/166211s.jpg?w=140&ssl=1 "Birthday Fancy Kit (English) [ 166211 ]") | ![2025–2027 In Color™ Flat Pearls [ 165192 ]](https://i0.wp.com/assets1.tamsnetwork.com/images/EC042017NF/165192s.jpg?w=140&ssl=1 "2025–2027 In Color™ Flat Pearls [ 165192 ]") | ![Stylish Shapes Dies [ 159183 ]](https://i0.wp.com/assets1.tamsnetwork.com/images/EC042017NF/159183s.jpg?w=140&ssl=1 "Stylish Shapes Dies [ 159183 ]") | ![Basic White A4 Cardstock [ 166781 ]](https://i0.wp.com/assets1.tamsnetwork.com/images/EC042017NF/166781s.jpg?w=140&ssl=1 "Basic White A4 Cardstock [ 166781 ]") | ![Cloud Cover A4 Cardstock [ 165293 ]](https://i0.wp.com/assets1.tamsnetwork.com/images/EC042017NF/165293s.jpg?w=140&ssl=1 "Cloud Cover A4 Cardstock [ 165293 ]") |
![Multipurpose Liquid Glue [ 110755 ]](https://i0.wp.com/assets1.tamsnetwork.com/images/EC042017NF/110755s.jpg?w=140&ssl=1 "Multipurpose Liquid Glue [ 110755 ]") | ![Stampin' Dimensionals [ 104430 ]](https://i0.wp.com/assets1.tamsnetwork.com/images/EC042017NF/104430s.jpg?w=140&ssl=1 "Stampin' Dimensionals [ 104430 ]") | ![Mini Stampin' Cut & Emboss Machine [ 150673 ]](https://i0.wp.com/assets1.tamsnetwork.com/images/EC042017NF/150673s.jpg?w=140&ssl=1 "Mini Stampin' Cut & Emboss Machine [ 150673 ]") | ![Paper Snips [ 103579 ]](https://i0.wp.com/assets1.tamsnetwork.com/images/EC042017NF/103579s.jpg?w=140&ssl=1 "Paper Snips [ 103579 ]") | |
![Paper Trimmer [ 152392 ]](https://i0.wp.com/assets1.tamsnetwork.com/images/EC042017NF/152392s.jpg?w=140&ssl=1 "Paper Trimmer [ 152392 ]") | ![Basic White C6 Envelopes [ 159235 ]](https://i0.wp.com/assets1.tamsnetwork.com/images/EC042017NF/159235s.jpg?w=140&ssl=1 "Basic White C6 Envelopes [ 159235 ]") |
![Strawberry Slush Classic Stampin' Pad [ 165286 ]](https://i0.wp.com/assets1.tamsnetwork.com/images/EC042017NF/165286s.jpg?w=140&ssl=1 "Strawberry Slush Classic Stampin' Pad [ 165286 ]")



![Unbounded Love Dies [ 163383 ]](https://i0.wp.com/assets1.tamsnetwork.com/images/EC042017NF/163383s.jpg?w=140&ssl=1 "Unbounded Love Dies [ 163383 ]")
![Gold Foil Sheets [ 132622 ]](https://i0.wp.com/assets1.tamsnetwork.com/images/EC042017NF/132622s.jpg?w=140&ssl=1 "Gold Foil Sheets [ 132622 ]")
![Versamark Pad [ 102283 ]](https://i0.wp.com/assets1.tamsnetwork.com/images/EC042017NF/102283s.jpg?w=140&ssl=1 "Versamark Pad [ 102283 ]")
![Metallics Wow! Embossing Powder [ 165678 ]](https://i0.wp.com/assets1.tamsnetwork.com/images/EC042017NF/165678s.jpg?w=140&ssl=1 "Metallics Wow! Embossing Powder [ 165678 ]")
![Embossing Additions Tool Kit [ 159971 ]](https://i0.wp.com/assets1.tamsnetwork.com/images/EC042017NF/159971s.jpg?w=140&ssl=1 "Embossing Additions Tool Kit [ 159971 ]")
![Heat Tool [ 129056 ]](https://i0.wp.com/assets1.tamsnetwork.com/images/EC042017NF/129056s.jpg?w=140&ssl=1 "Heat Tool [ 129056 ]")



![Petal Pink 5/16" (8 Mm) Braided Trim [ 166140 ]](https://i0.wp.com/assets1.tamsnetwork.com/images/EC042017NF/166140s.jpg?w=140&ssl=1 "Petal Pink 5/16\" (8 Mm) Braided Trim [ 166140 ]")




