Posted on Leave a comment

GINGERBREAD MEN CHOCOLATES

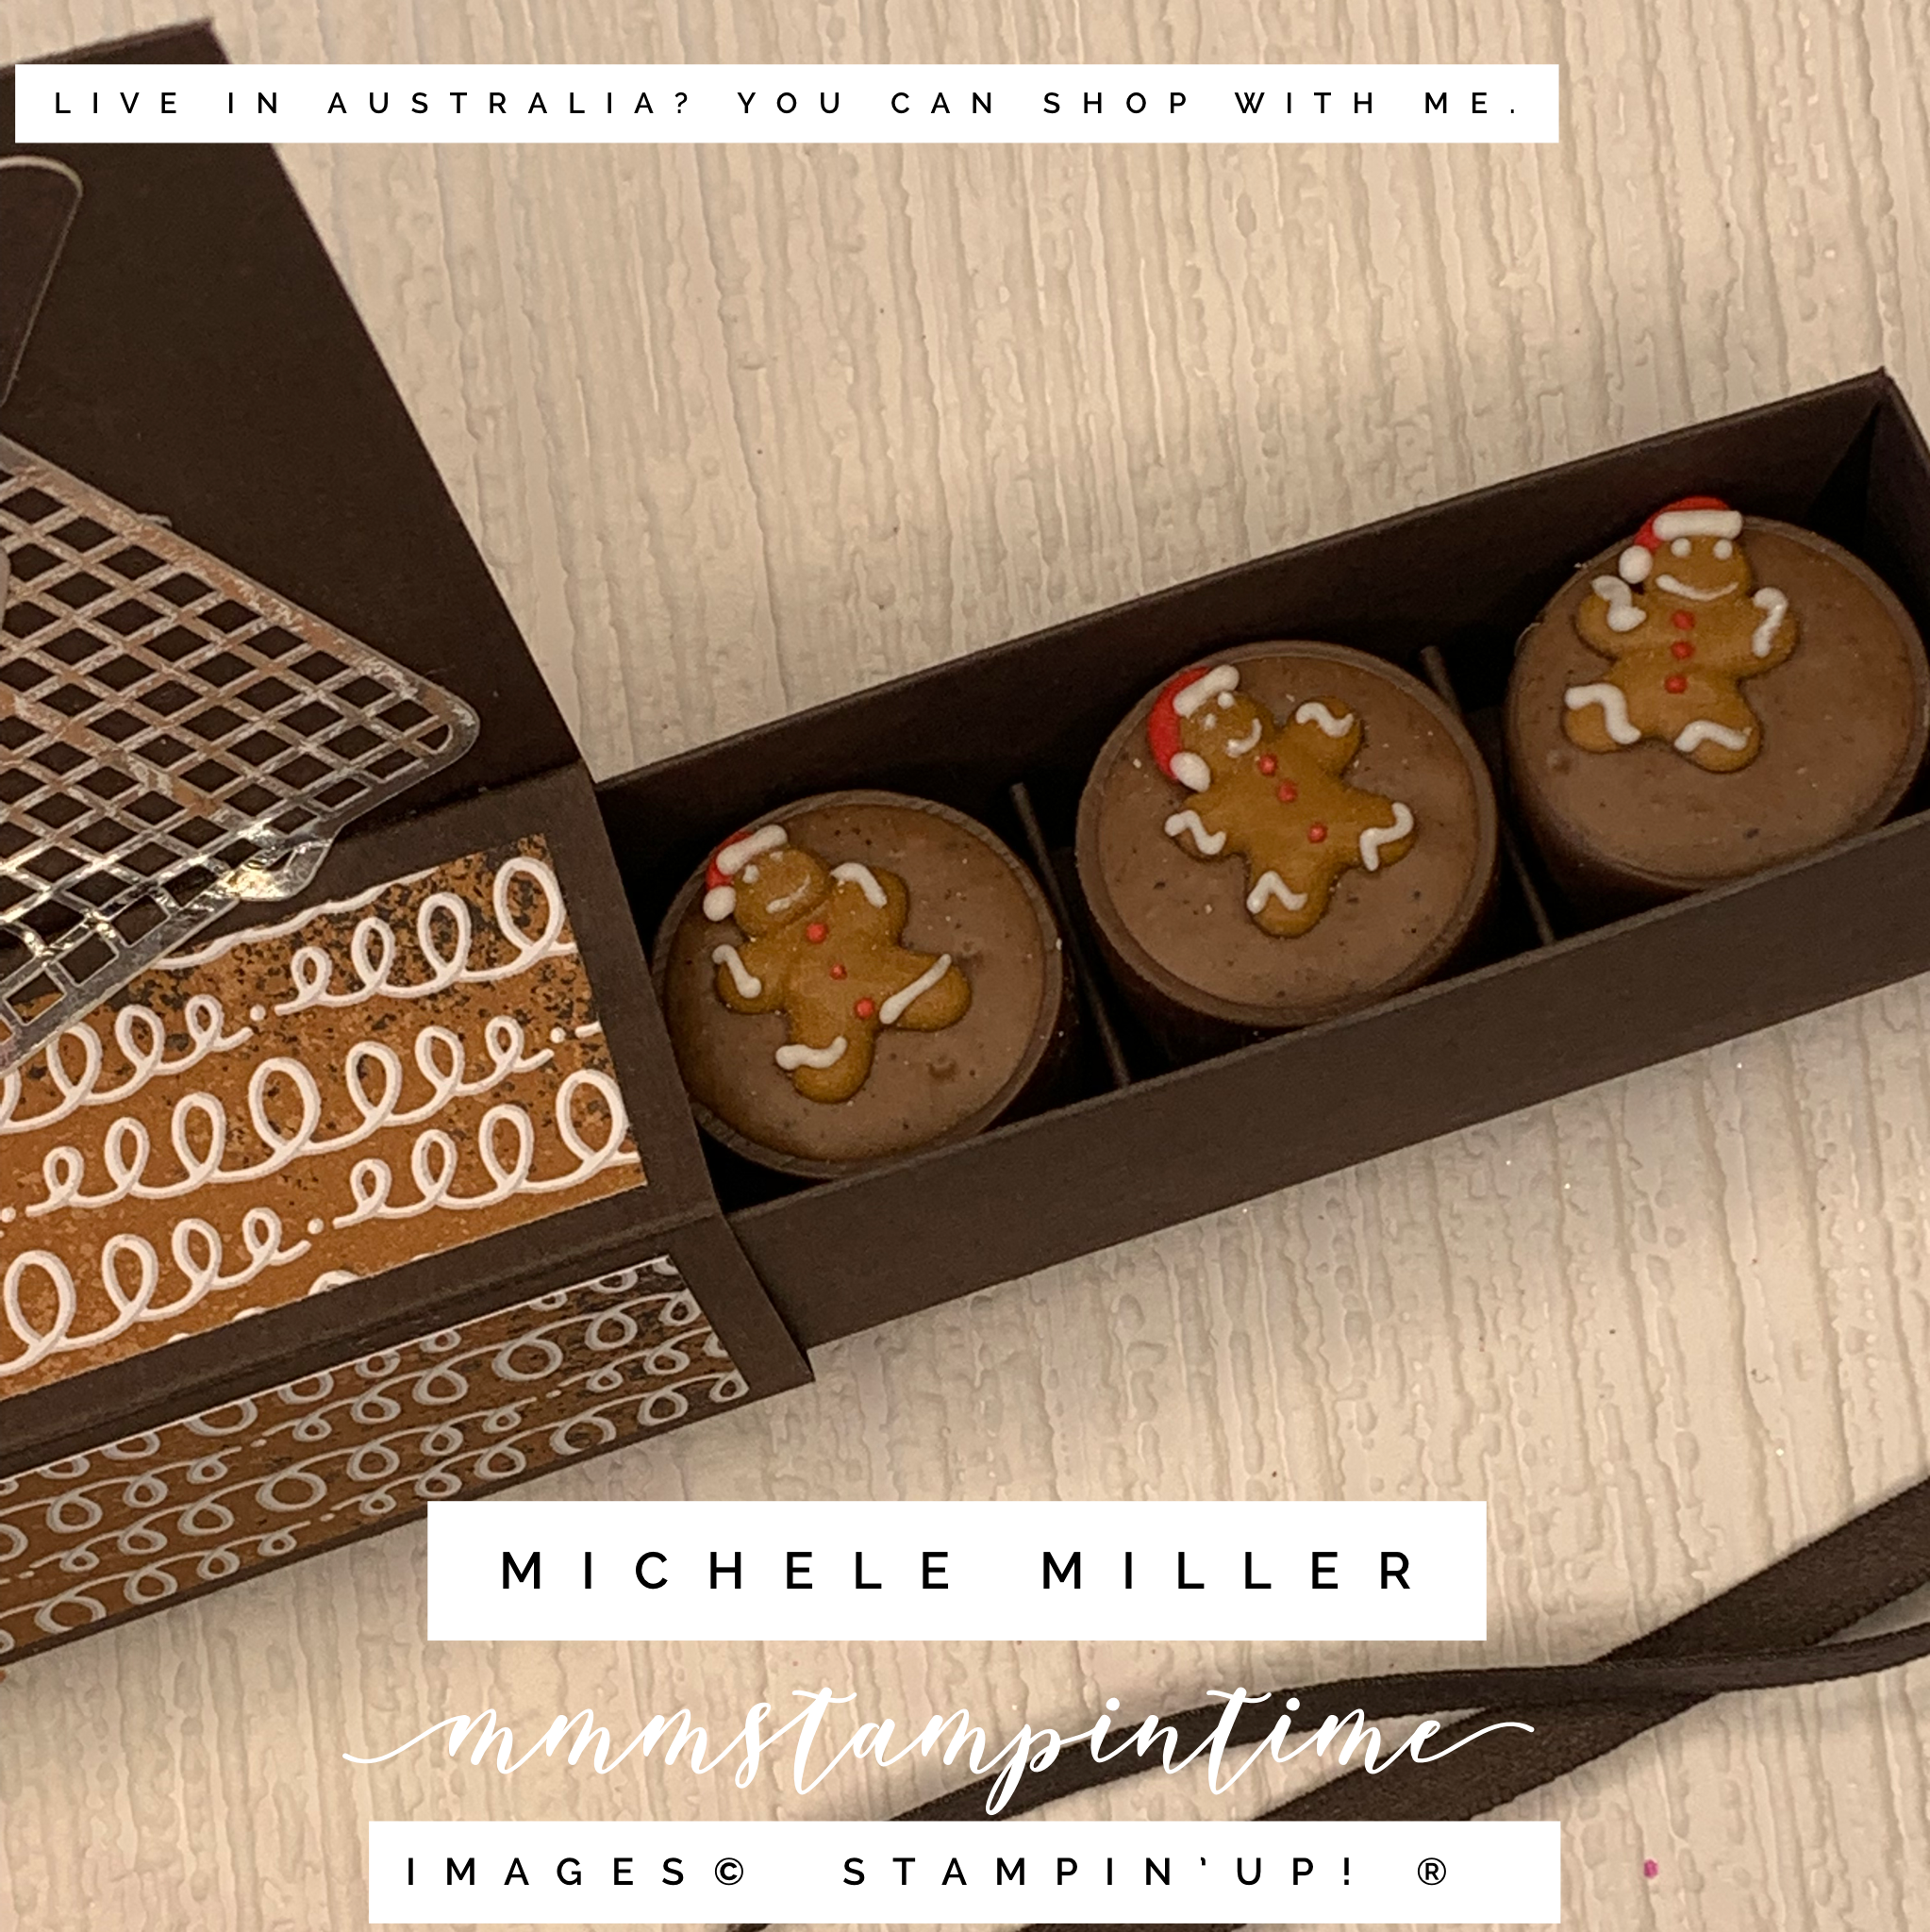
When I was shopping recently I found a packet of cute chocolate cups with teeny, tiny gingerbread men on top. I knew that I had to make a gift box to present them in.

The Gingerbread & Peppermint 6″x 6″ Designer Series Paper and Memories & More Card Pack were perfect for this project.

The packaging was made using a piece of Early Espresso cardstock measuring 9-1/2″x 5-1/2″. It was scored at 1-1/4″, 2-1/2″, 3-3/4″ and 5″ along the long side.

After the score lines were burnished, the first 1-1/4″ scored section was then adhered to the back panel to create the standing background.

I cut two pieces of the DSP, measuring 5-1/2″x 1″, to decorate the top and front of the box.

I used several of the Gingerbread & Peppermint Memories & More Card Pack elements to decorate the background panel.

I made an insert to hold the chocolates and ensured that it would not slide out by securing Early Espresso Faux Suede Trim to the base of the gift box. The Faux Suede Ribbon ties into a bow so easily.

Aren’t the gingerbread chocolates cute?

To make sure they were separated, I created an insert for the box that has 1/2″ uprights between each chocolate. There are 5 chocolates in the box.

I am looking forward to giving this to someone for Christmas. Who would you give this treat to?

I have another Christmas gift box to share with you tomorrow. This is a great time of year for making 3D projects.

Until next time, happy stamping.

If you live in Australia, you can order any of the products I used to make this card by going to my online store. Just click on any of the images below.

Product List
Paper Snips
[103579]
$17.00
Posted on Leave a comment

A DAY LATE

Hello to each of you who have popped by today to see what I have been ‘up to’. Thank you for your interest – it is very much appreciated.

Today’s project is actually a day late. This was meant to be my project for this week’s Freshly Brewed Project blog hop, yesterday. Unfortunately, I wasn’t able to print the photo I needed in time. My new Canon Selphy printer arrived Tuesday and it took me until Wednesday to get it connected and working.

May be an image of coffee cup and text that says 'Freshly Brewed PROJEGTS'

This week’s theme was Creating with Kits. I had chosen the ‘For the Guys’ Card Kit for this blog challenge.

FOR THE GUYS CARD KIT (ENGLISH)

I started by making the cards using the two layouts.

The really great thing about this kit is the variety of greetings you can use for these cards.

After I made the cards and I needed to think about how to use this kit differently, I immediately thought of a holiday Rob and I enjoyed several years ago. After an amazing Alaskan cruise, we returned to Vancouver and drove to Kamloops and across into the Rockies before heading down to Calgary (before flying into Salt Lake City).

The mountains and lake card reminded me of the lakes we visited in the Rockies. So my alternative use for this part of the kit was to create a memory keeping page.

I have kept the layout very true to the original card and simply cut it down to fit into one of the 6″x 8″ pockets for the coordinating album. Then I used the same colours to create my journalling insert. The Playful Alphabet Dies were perfect to cut the title for this page. I used Adhesive Sheets to easily attach the letters to the cardstock.

After printing this photo, of Rob and I, it was adhered to a base layer of coordinating cardstock so that I could journal the date these photos were taken.

These are the stamps that are included in the kit. If you like the idea of creating cards for the men in your, make sure you contact me to find out how to order it (if you live in Australia, of course). This is really a truly versatile kit to make cards for ‘For the Guys’.

How many men are in your life that you could make different cards for?

Make sure you see what my lovely Freshly Brewed friends have been creating:

Happy stamping – using kits!

If you live in Australia, you can order any of the products I used to make this card by going to my online store. Just click on any of the images below.

Product List
Paper Snips
[103579]
$17.00
Posted on Leave a comment

MINI ALBUM

I have had a pack or two of the FLOWERS FOR EVERY SEASON MEMORIES & MORE CARD PACK and the coordinating CARDS & ENVELOPES sitting in my cupboard unused until now.

For this project I used half of the envelopes and Memories and More pack to make a mini album.

I trimmed the envelopes down to 6.25″ x 4″ and kept the flap in tact. On my Facebook Live, yesterday, I shared how I made this album.

If you click on the image below, you can watch the Facebook Live I did on Wednesday showing you how to make it.

The album cover was created using two 6.25″ x 4.25″ pieces of Magenta Madness card stock. These were then covered with some of the FLOWERS FOR EVERY SEASON 6″x 6″ DSP cut to 6″x 4″. A strip of the DSP was also used to create a spine covering, although it was cut in half to allow it ‘stretch’ to the top and bottom of the album. The gap was easily filled with a length of IN COLOUR RIBBON.

When opened, the album reveals the five In Colours.

Each section opens out allowing space for photos to be added and journaling completed.

Each section has a pocket with a piece of Whisper White card stock slipped inside.

I am very pleased with the end result.

Check out my video to see how to make your own.

Thanks for popping by … happy stamping.

These are the products I used to make this project. If you live in Australia, you can order any of them through me.

Product List
Paper Snips
[103579]
$17.00