Hello! Welcome to the latest Colour INKspiration challenge.
This is my first time as a Colour INKspiration Crew member and I am so pleased to be joining such a creative and talented group.

We have this bright, white Christmas tree decorated with shiny baubles, lights and bunches of streamers to inspire you.

I hope that you are INKspired to join the challenge. Start by checking out the Colour INKspiration Crew’s creations in the challenge album on our Facebook page.
To be honest with you, when I first saw this colour palette I felt somewhat apprehensive because it is not my ‘typical’ colour combination and I really wanted to make a totally awesome card for my first time with the crew.
However, when I stepped back and took a deep breath, I started to map out some ideas. I KNEW that I wanted this to be a Christmas project because the inspiration is a Christmas tree and the month is December.
Eventually, I decided to create a Christmas wreath and make a 3D/home decor project. I hope that you like the final result.
The rectangular shaped wreath, from Eden Dies, was cut once each from Pale Papaya and Polished Pink cardstock and several times from White Vellum and Gold Shimmer Vellum. I played around with these die cuts several times until I was happy with the wreath – then I secured the layers using Mini Glue Dots.
Now that I had created the focal point for this project, I began building the other layers.
I added the wreath to a piece of Basic White card stock that has been embossed with the Merriest Melody 3D Embossing Folder. This was then added to. A piece of Black Glitter Specialty Paper.
The striking contrasts between the colours, widths, embossing and bling ensure the wreath is framed in a stunning way.

I had a 9” square display frame to use for the final project. I decided that the Basic White base layer would provide a 1-1/2” border for the Pale Papaya and Polished Pink ‘frames’. The next background layer was cut from a piece of Black Glitter Specialty Paper – a little black with bling!
After all these elements were secured in place, the finishing touches were added.
A Polished Pink bauble, cut from the Gingerbread Dies bauble, was ‘hung’ from the wreath using a length of gold Simply Elegant Trim and a cute bow was tied.
The banner was created by stamping a greeting from the Star are Shining Stamp Set in Pale Papaya on Basic White card stock. The photopolymer stamp was bent slightly to fit the die from the Floral Hearts Dies. A second banner was cut from Pale Papaya using the same Floral Hearts die. Layered together, the Pale Papaya provides a lovely ‘shadow’.
I used my Pale Papaya and Polished Pink Stampin’ Blends to colour the round silver embellishments from the Silver & Clear Epoxy Essentials to create three clusters of three across the wreath.
Remember to use the colours from the challenge – Pale Papaya, Polished Pink, Basic White, Basic Black and Gold. You can also use neutrals such as Very Vanilla, Crumb Cake, Sahara Sand as well as Metallics.
This challenge will run for a little longer than usual, so there is plenty of time for you to create your project and upload it to to the Facebook Colour INKspiration Group.
You do not need to have a blog to participate but if you do make sure link it to your post.
Until next time, happy stamping.

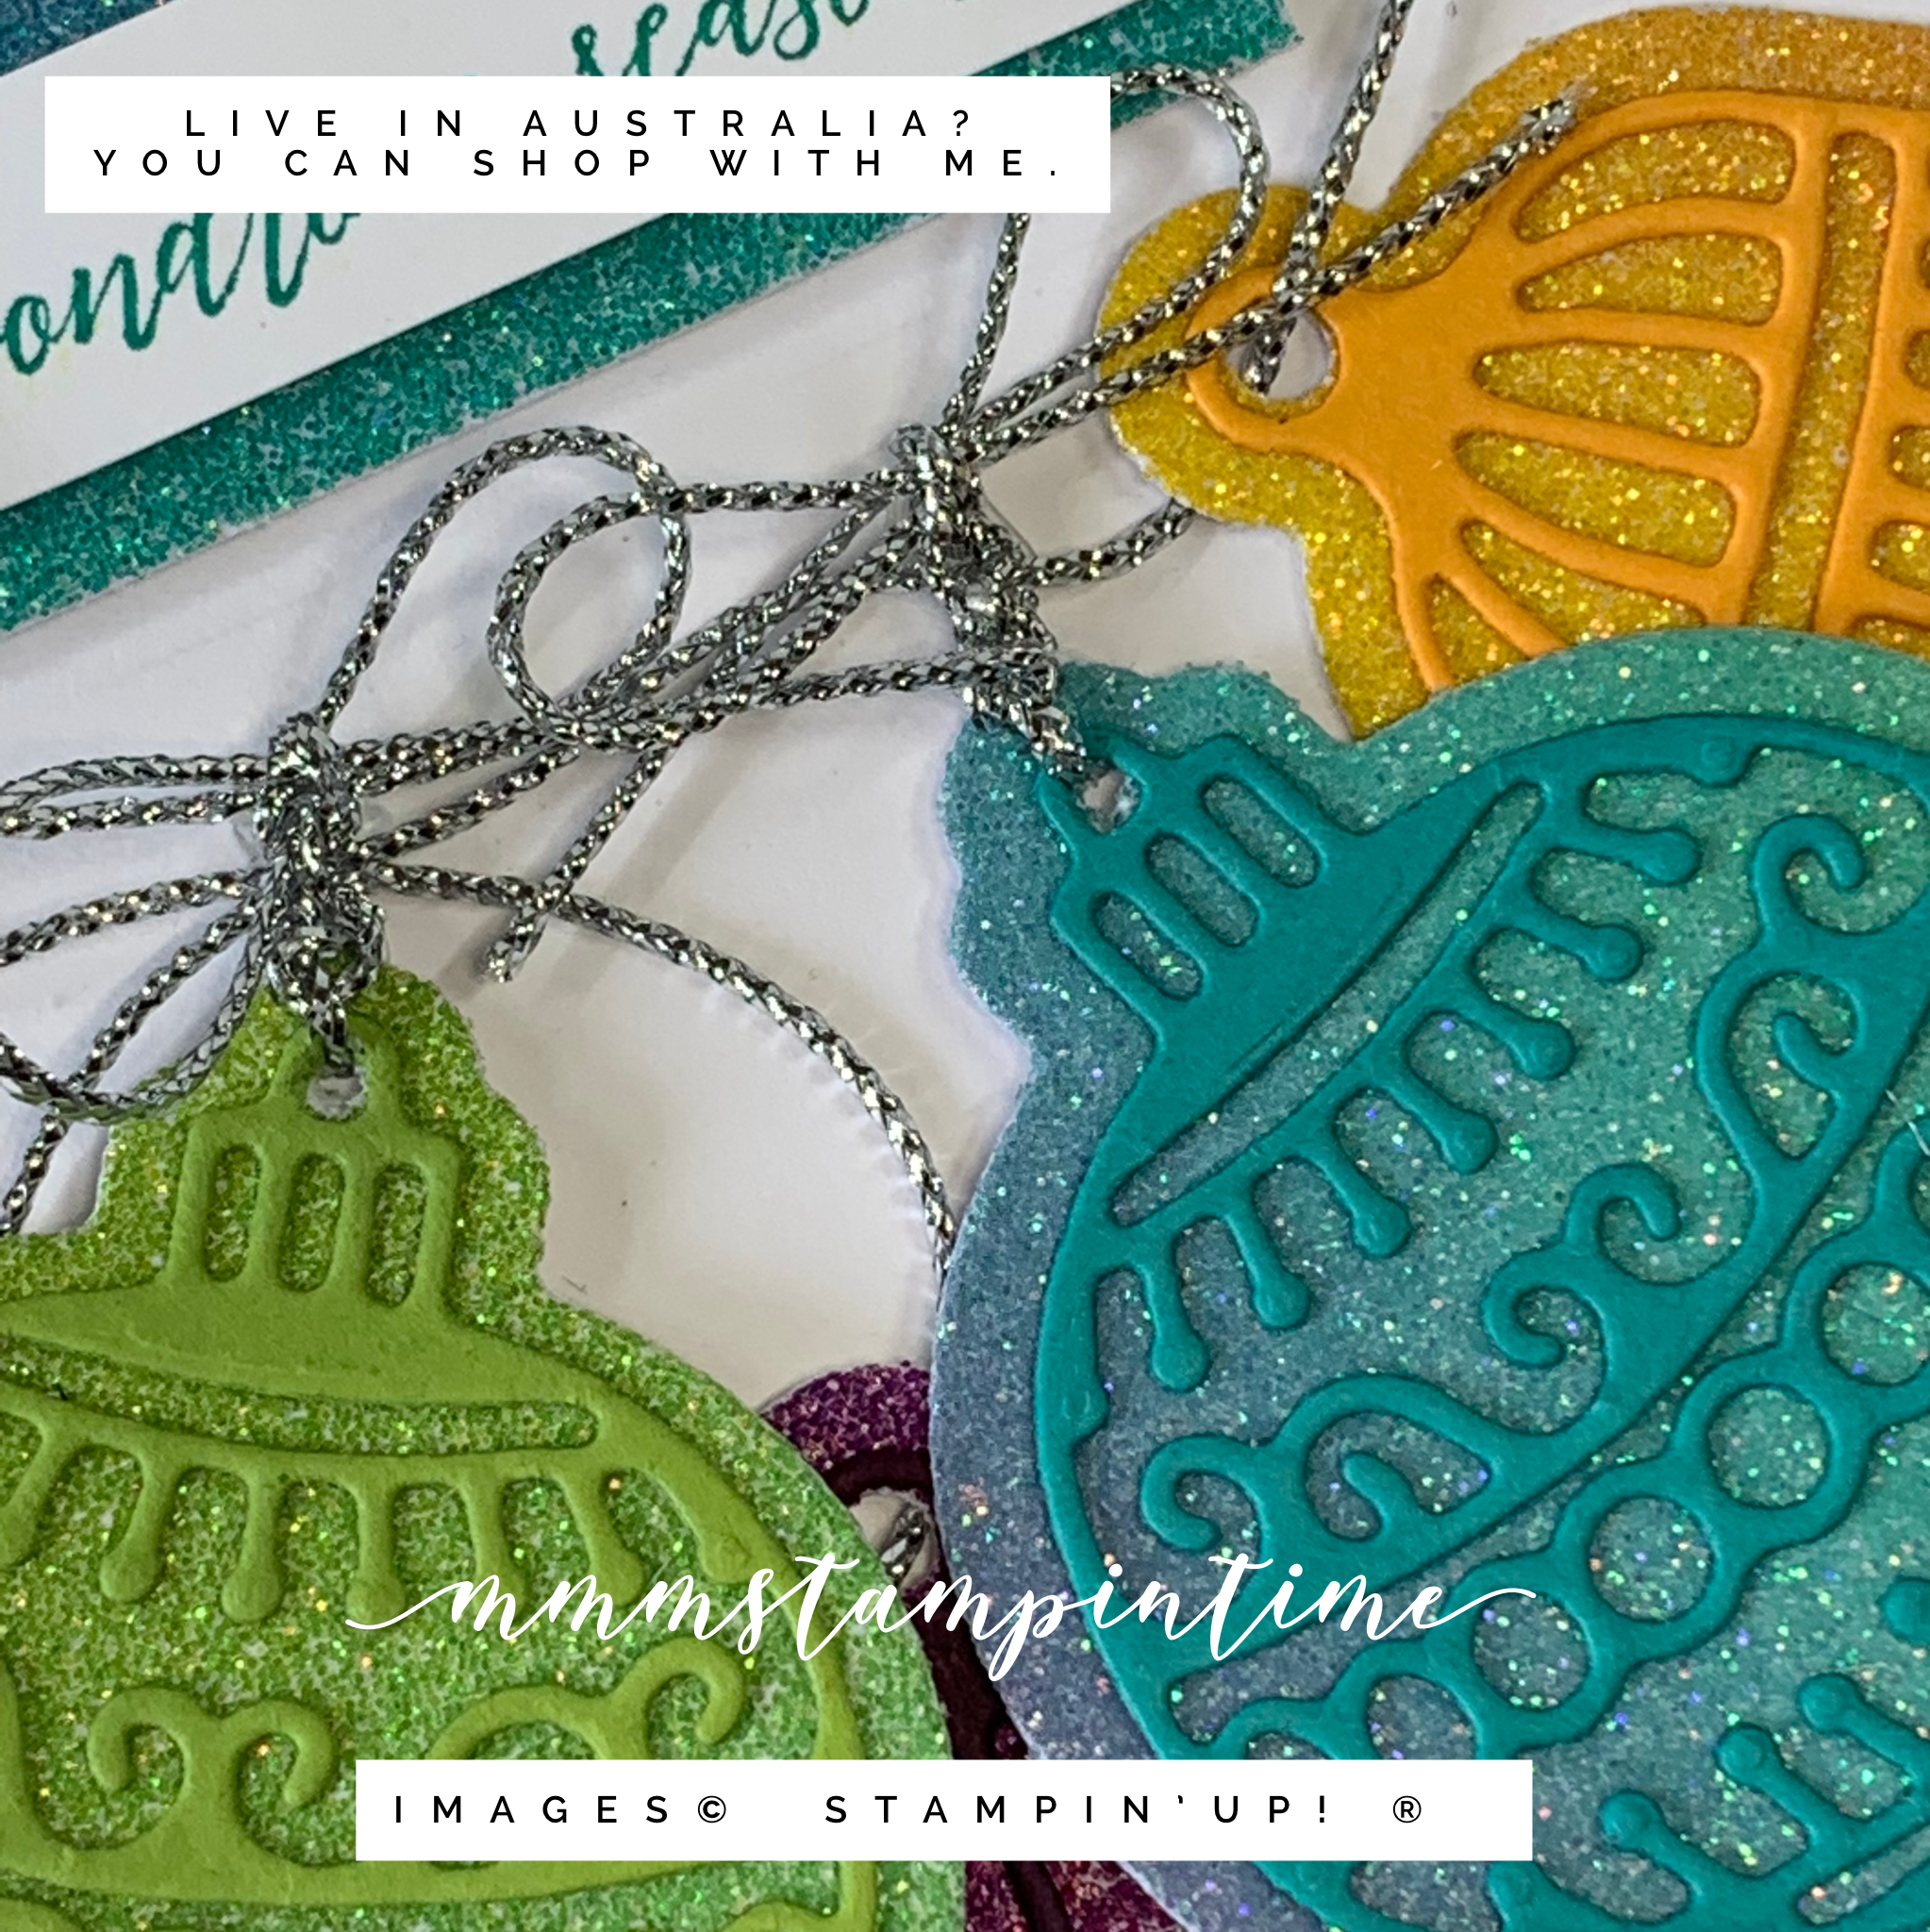
If you live in Australia, you can order any of the products I used to make this card by going to my online store. Just click on any of the images below.

 |  |  | ||
 |  |  |  |  |
 |  |  | ||
 |  |  |  | |
 |  |  |  |  |
")

 Shimmer Vellum")


")


")
")
 Designer Series Paper")


 Envelopes")


