Posted on Leave a comment

TIME TO TRY A NEW TECHNIQUE

Hello to each of you who are popping by today. Welcome!

Well, I had planned to share these projects with you yesterday but somehow I managed to get behind schedule.

this is the first time I have made cards using the ‘curtain fold’ or ‘drapery fold’ technique. It is a great way to showcase the double-sided designs of our Designer Series Papers. For these projects I used the Painted Christmas 12″x 12″ DSP.

The DSP starts as a 12″x 5-1/2″ piece that is cut in half diagonally – Not corner to corner but 1/2″ in from the corner. The paper was then scored at 1″, 3″, 4″, 6″, 7″, 9″, 10″ and 11″. To see how this was done, I made another one of these cards during my Facebook Live – here is a link – https://www.facebook.com/mmmstampintime/videos/2599057596906237.

I stamped a coordinating leaf design on the card front using Evening Evergreen. The folded DSP was then attached to the card front and I added a strip of Evening Evergreen card at the top of the curtain fold.

The greeting, from the Merriest Moments Stamp Set, was stamped in Real Red. The same leaves were stamped on the card insert and envelope. Then I added some Red Rhinestone Basic Jewels to the card front.

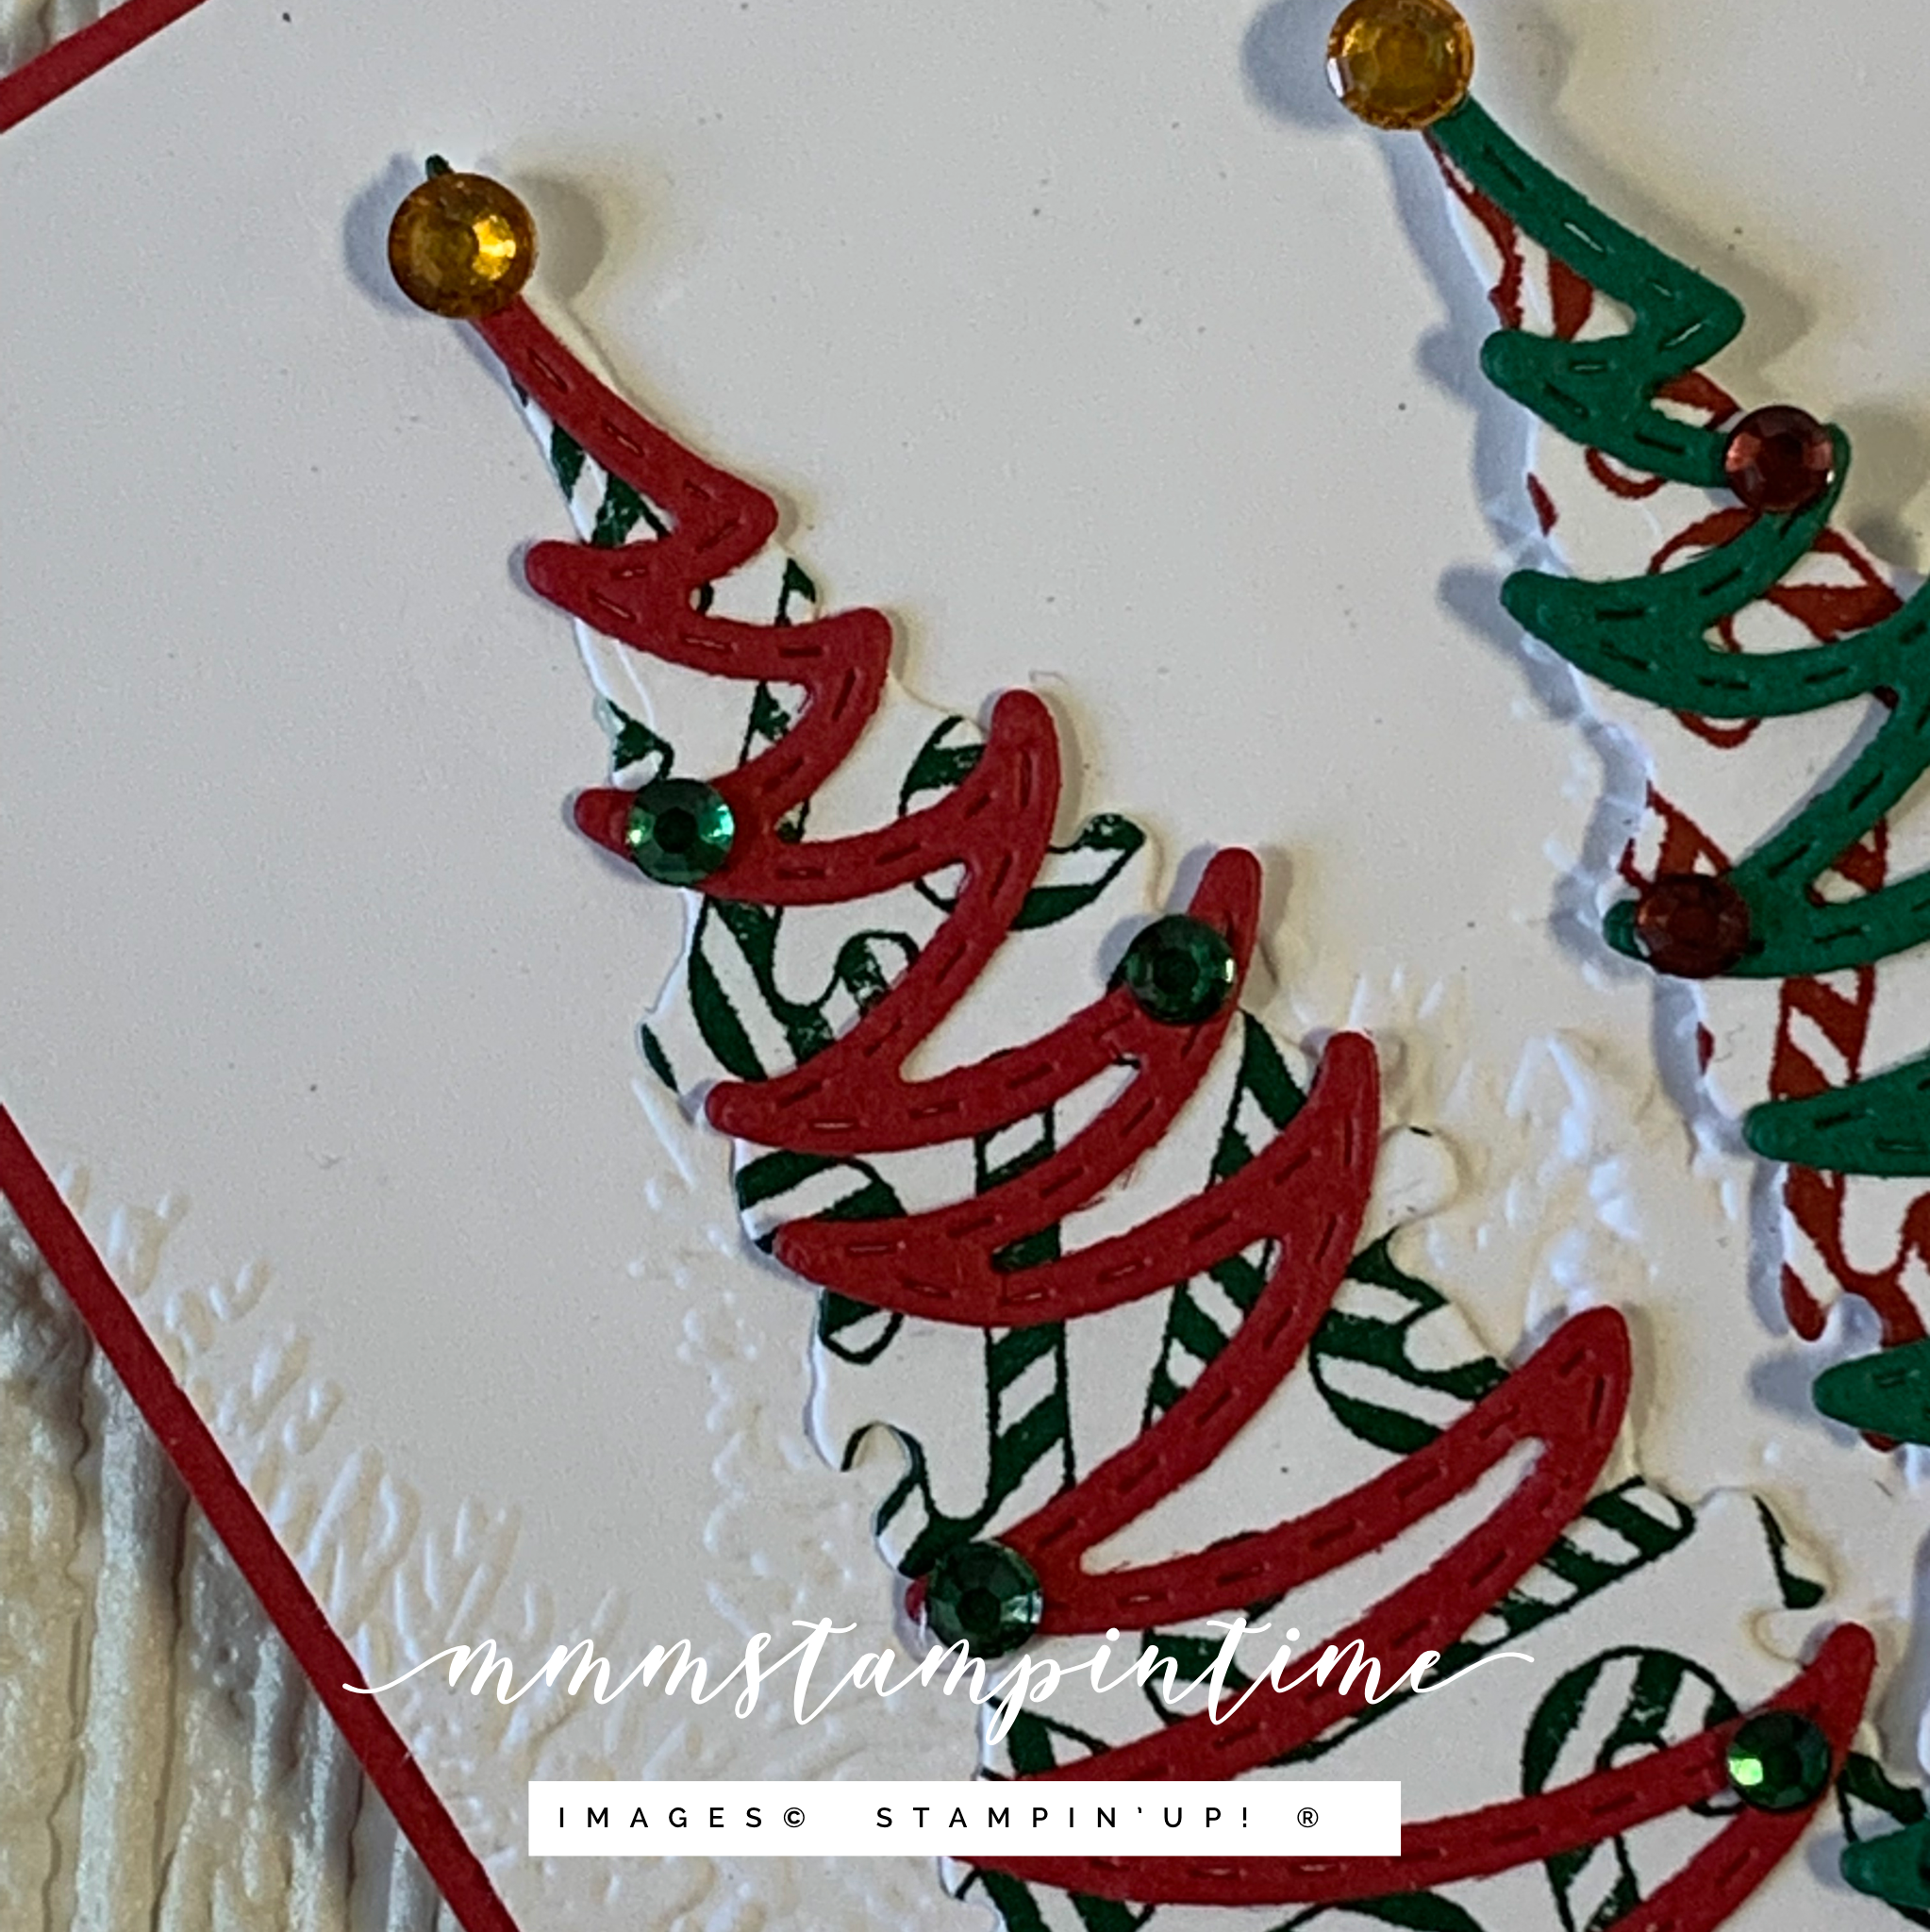
I made three other cards using the products you can see and the other items I have mentioned.

So, what do you think of these four curtain fold Christmas cards?

Until next time, happy stamping.

If you live in Australia, you can order any of the products I used to make this card by going to my online store. Just click on any of the images below.

Product List
Paper Snips
[103579]
$17.00
Posted on Leave a comment

A CANDY CANE KIND OF CHRISTMAS

Hello and welcome to my latest project share. Thanks for popping by.

Today I wanted to share a card I made using the Candy Canes Stamp Set. It is an awesome background stamp with so many cute candy canes flowing in all directions.

I used my Stamparatus to stamp the image in both Real Red and Shaded Spruce. This meant I could achieve a well inked image in both colours. Once the images were stamped I decided to cut Christmas trees.

After I cut the tress, using the Christmas Tree Dies, I also cut the ‘tinsel trims’ and added them to the front of the trees using Adhesive Sheets.

Before I placed these on the front of the card, I used the Evergreen Forest 3D Embossing Folder to add texture to this base layer. The two green candy cane trees were adhered directly on the embossed layer and the red candy cane tree was popped up using Stampin’ Dimensionals.

The Christmas greeting, from the Evergreen Elegance Stamp Set, was stamped on a small piece of Basic White card and it was trimmed down before I added Stampin’ Dimensionals to pop it up.

I stamped the tree on the card insert and envelope. Then I added lots of lovely Holiday Rhinestone Basic Jewels for added Christmas cheer.

I still have more tree dies to play with and have some ideas brewing in my mind. What do you think of my candy cane trees?

Until next time, happy stamping.

If you live in Australia, you can order any of the products I used to make this card by going to my online store. Just click on any of the images below.

Product List
Paper Snips
[103579]
$17.00
Posted on Leave a comment

A HOLLY, JOLLY SANTA

Hello and welcome my friends. I am so pleased that you have popped by today.

I am having so much fun making new projects using the products I have ordered from the July – December Mini Catalogue and Sale-a-bration Brochure.

Today I have another Christmas card to share. This time I have used the Be Jolly Stamp Set.

I went searching for a fun fold card and was inspired by Susan Campfiled’s Crossover Gatefold Card. After a few adjustments to the measurements I chose my colours.

I prepared the Misty Moonlight card base. Then I made the two crossover panels using Basic White, Silver Foil and a piece of Misty Moonlight patterned paper from the Whimsy & Wonder 12″x 12″ Specialty Designer Paper.

Istamped the two Santas, Christmas tree and present sleigh for this card. Then I coloured and fussy cut each of them.

I painted some Craft Stampin’ Ink White Refill onto Santa’s white areas add a little texture and glimmer.

The crossover gatefold card is lots of fun to make – I will definitiely be using this fold more. When the card opens, the second Santa and his gift-filled sleigh are revealed.

The hill image is from the Penguin Place Stamp Set. It wasn’t until I saw this photo that I realised there was a mark and some slight abrasion of the cardstock, so I am definitely redoing the insert.

I may yet add some embellishments to the front of the card – still undecided at this time. The Christmas tree was then stamped on the front of the envelope.

As you can see I have used many Stampin’ Blends colours for this card. Colouring is such a lovely way to pass the time.

Do you enjoy colouring?

Until tomorrow’s post, happy stamping.

If you live in Australia, you can order any of the products I used to make this card by going to my online store. Just click on any of the images below.

Product List
Paper Snips
[103579]
$17.00