Posted on Leave a comment

A DAY LATE WITH THIS PROJECT!

I was having so much fun preparing this project for my Facebook Live that I completely forgot to photgraph and post it. So, I finished the Live this morning and have just taken these photos.

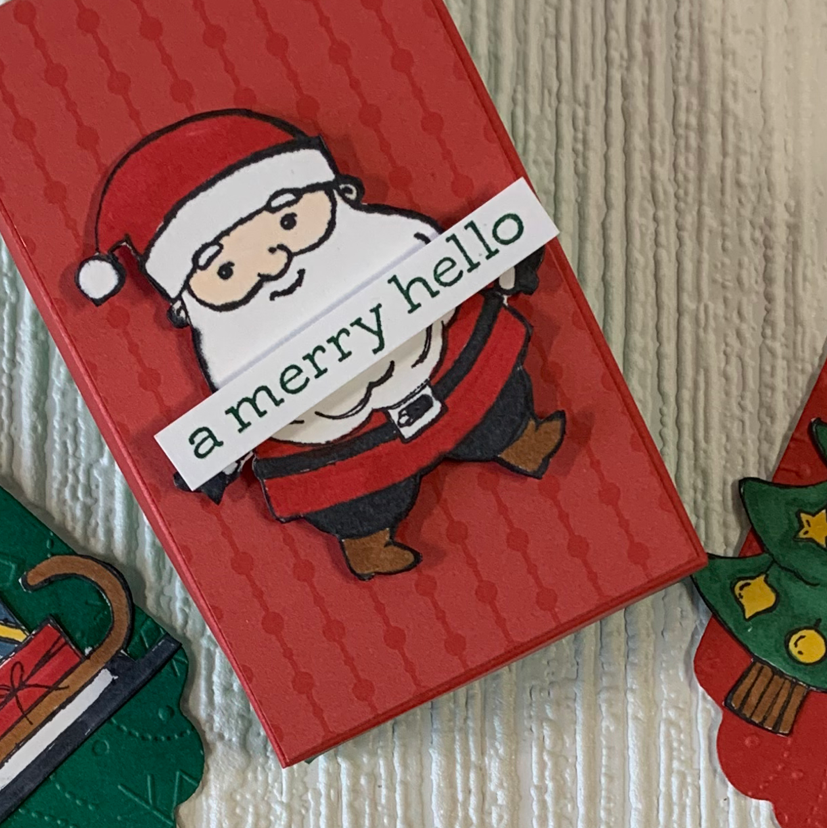
Thanks for popping by to see how cute this gift box is. It is filled with Christmas gift tags. I used the Be Jolly Stamp Set for this project.

The gift box uses Poppy Pararde and Shaded Spruce card, as well as a piece of Designer Series Paper from the Brights 6″x 6″ stack. The box base was cut to 5-3/4″x 4-1/4″ and then scored on all four sides at 1″. The lid was cut to 4-3/4″x 3-1/4″ and scored at ‘a hair’ less than 1/2″.

This Santa image was stamped using Memento Tuxedo Black ink and coloured using Stampin’ Blends – Black, Cinnamon Cider, Petal Pink and Poppy Parade. Santa was then fussy cut and popped up on the lid using Stampin’ Dimensionals.

The greeting, from the Be Jolly Stamp Set, was stamped with Shaded Spruce.

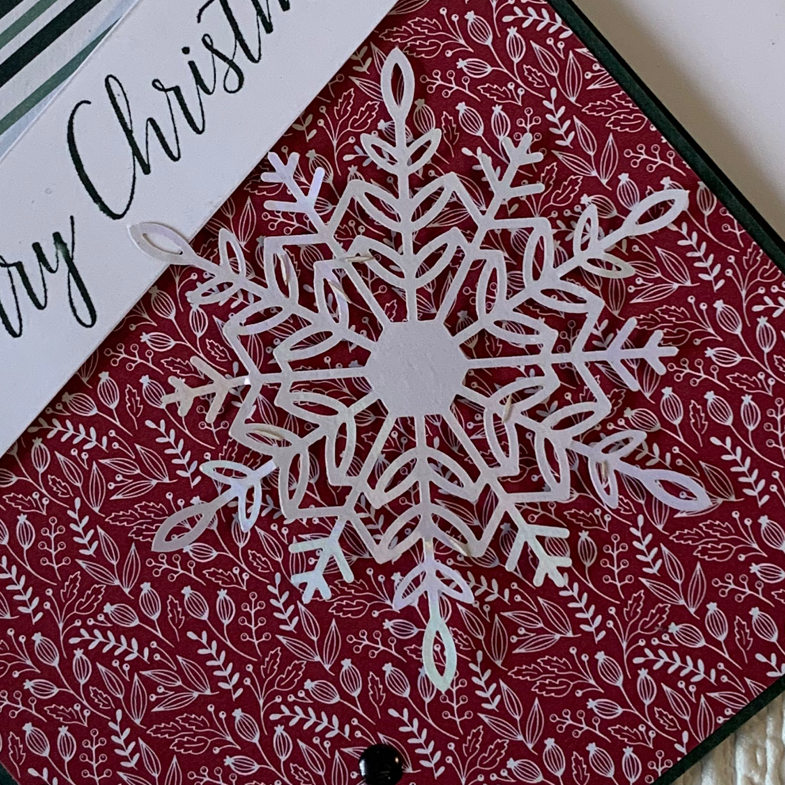
When the lid comes off 12 gift tags are revealed. I used one of the Seasonal Labels Dies to make this tag.

There are four different tags – two Santas, a Christmas tree and Santa’s sleigh. These were all coloured using Stampin’ Blends before being fussy cut. Santa’s beards have Clear Wink of Stella brushed across them.

Some of them have been embossed using the snowflakes Wintry 3D Embossing Folder. The others were stamped with ‘be jolly’ using the Stamparatus to hinge-step stamp the greeting evenly along the tag.

Each coloured tag has a white tag adhered to its back. This piece was stamped with ‘to’ and ‘from’.

Now all I need to do is decide who to give this gift box of tags to.

Until next time, happy stamping.

If you live in Australia, you can order any of the products I used to make this card by going to my online store. Just click on any of the images below.

Product List
Paper Snips
[103579]
$17.00
Stamparatus
[148187]
$85.00
Posted on Leave a comment

WORLD CARD MAKING DAY 2021

Saturday was World Card Making Day and I spent some time making Christmas cards with a friend. They were great simple cards featuring the Tidings of Christmas 6″x 6″ Designer Series Paper from the Annual Catalogue.

Each card has the same layout and greeting just different combinations of the paper and ink colours.

There are six different cards in total. Each card uses one sheet of paper and shows both designs. This is then repeated on the card insert and envelope.

Each card also has three Clear Epoxy Essentials that have been coloured using a coordinating Stampin’ Blend.

Here are the other five cards!

What do you think of these super simple Christmas card?

If you live in Australia, you can order any of the products I used to make this card by going to my online store. Just click on any of the images below.

Product List
Paper Snips
[103579]
$17.00
Posted on Leave a comment

GINGERBREAD SNOWFLAKES

After spending most of Sunday stamping and card making I was left with six projects and a very messy desk! I have shared three of these projects with you already this week. Today’s project is number 4 and it has more features than yesterday’s simple card.

When I decide to make several projects using one suite, in one stamping session, I gather up one or two sheets of the coordinating card stock and the coordinating Classic Stampin’ Pads.

I chose to use an Old Olive base for this card.

Rather than use Cinnamon Cider for the embossed panel, I chose the Kraft 6″x 6″ Paper from the Gingerbread & Peppermint Suite. This panel was cut to 5-3/4″x 2-1/2″ and was run through my Mini Stampin’ Cut & Emboss Machine using the snowflake folder from the Wintry 3D Embossing Folders Bundle.

I tied a loose knot in a length of Cinnamon Cider Ribbon and wrapped it around the embossed panel.

Then I took a sheet of the DSP with the gingerbread snowflakes and cut around several of the snowflakes so that I could cut them out using the coordinating die from the Gingerbread Dies.

The snowflakes had Stampin’ Dimensionals attached to give the card some height. As you can see, the snowflakes were scattered across the card front with some being cut to align with the edges of thecard.

The ‘happy holidays’ greeting is from the Frosted Gingerbread Stamp Set and it was stamped using Old Olive. I trimmed down the greeting and popped it up with a couple of dimensionals.

I stamped the matching snowflake image onto the card insert and envelope using Cinnamon Cider ink.

Then my last step was to add some Silver Epoxy Essentials to the front of the card.

These are most of the products I used for the six projects – so not all of them were used for this card.

Hmmm – I like this card! What do you think?

Until next time, happy stamping.

If you live in Australia, you can order any of the products I used to make this card by going to my online store. Just click on any of the images below.

Product List
Paper Snips
[103579]
$17.00