Posted on Leave a comment

WOW … THREE PROJECTS ON A WEDNESDAY

This is my third and final project for today, but first to post. Wednesday is all about blog hops and challenges. This is my project for this week’s Global Design Project.

It is a colour challenge. This colour combination is fabulous, although a little challenging for the products I am featuring this week.

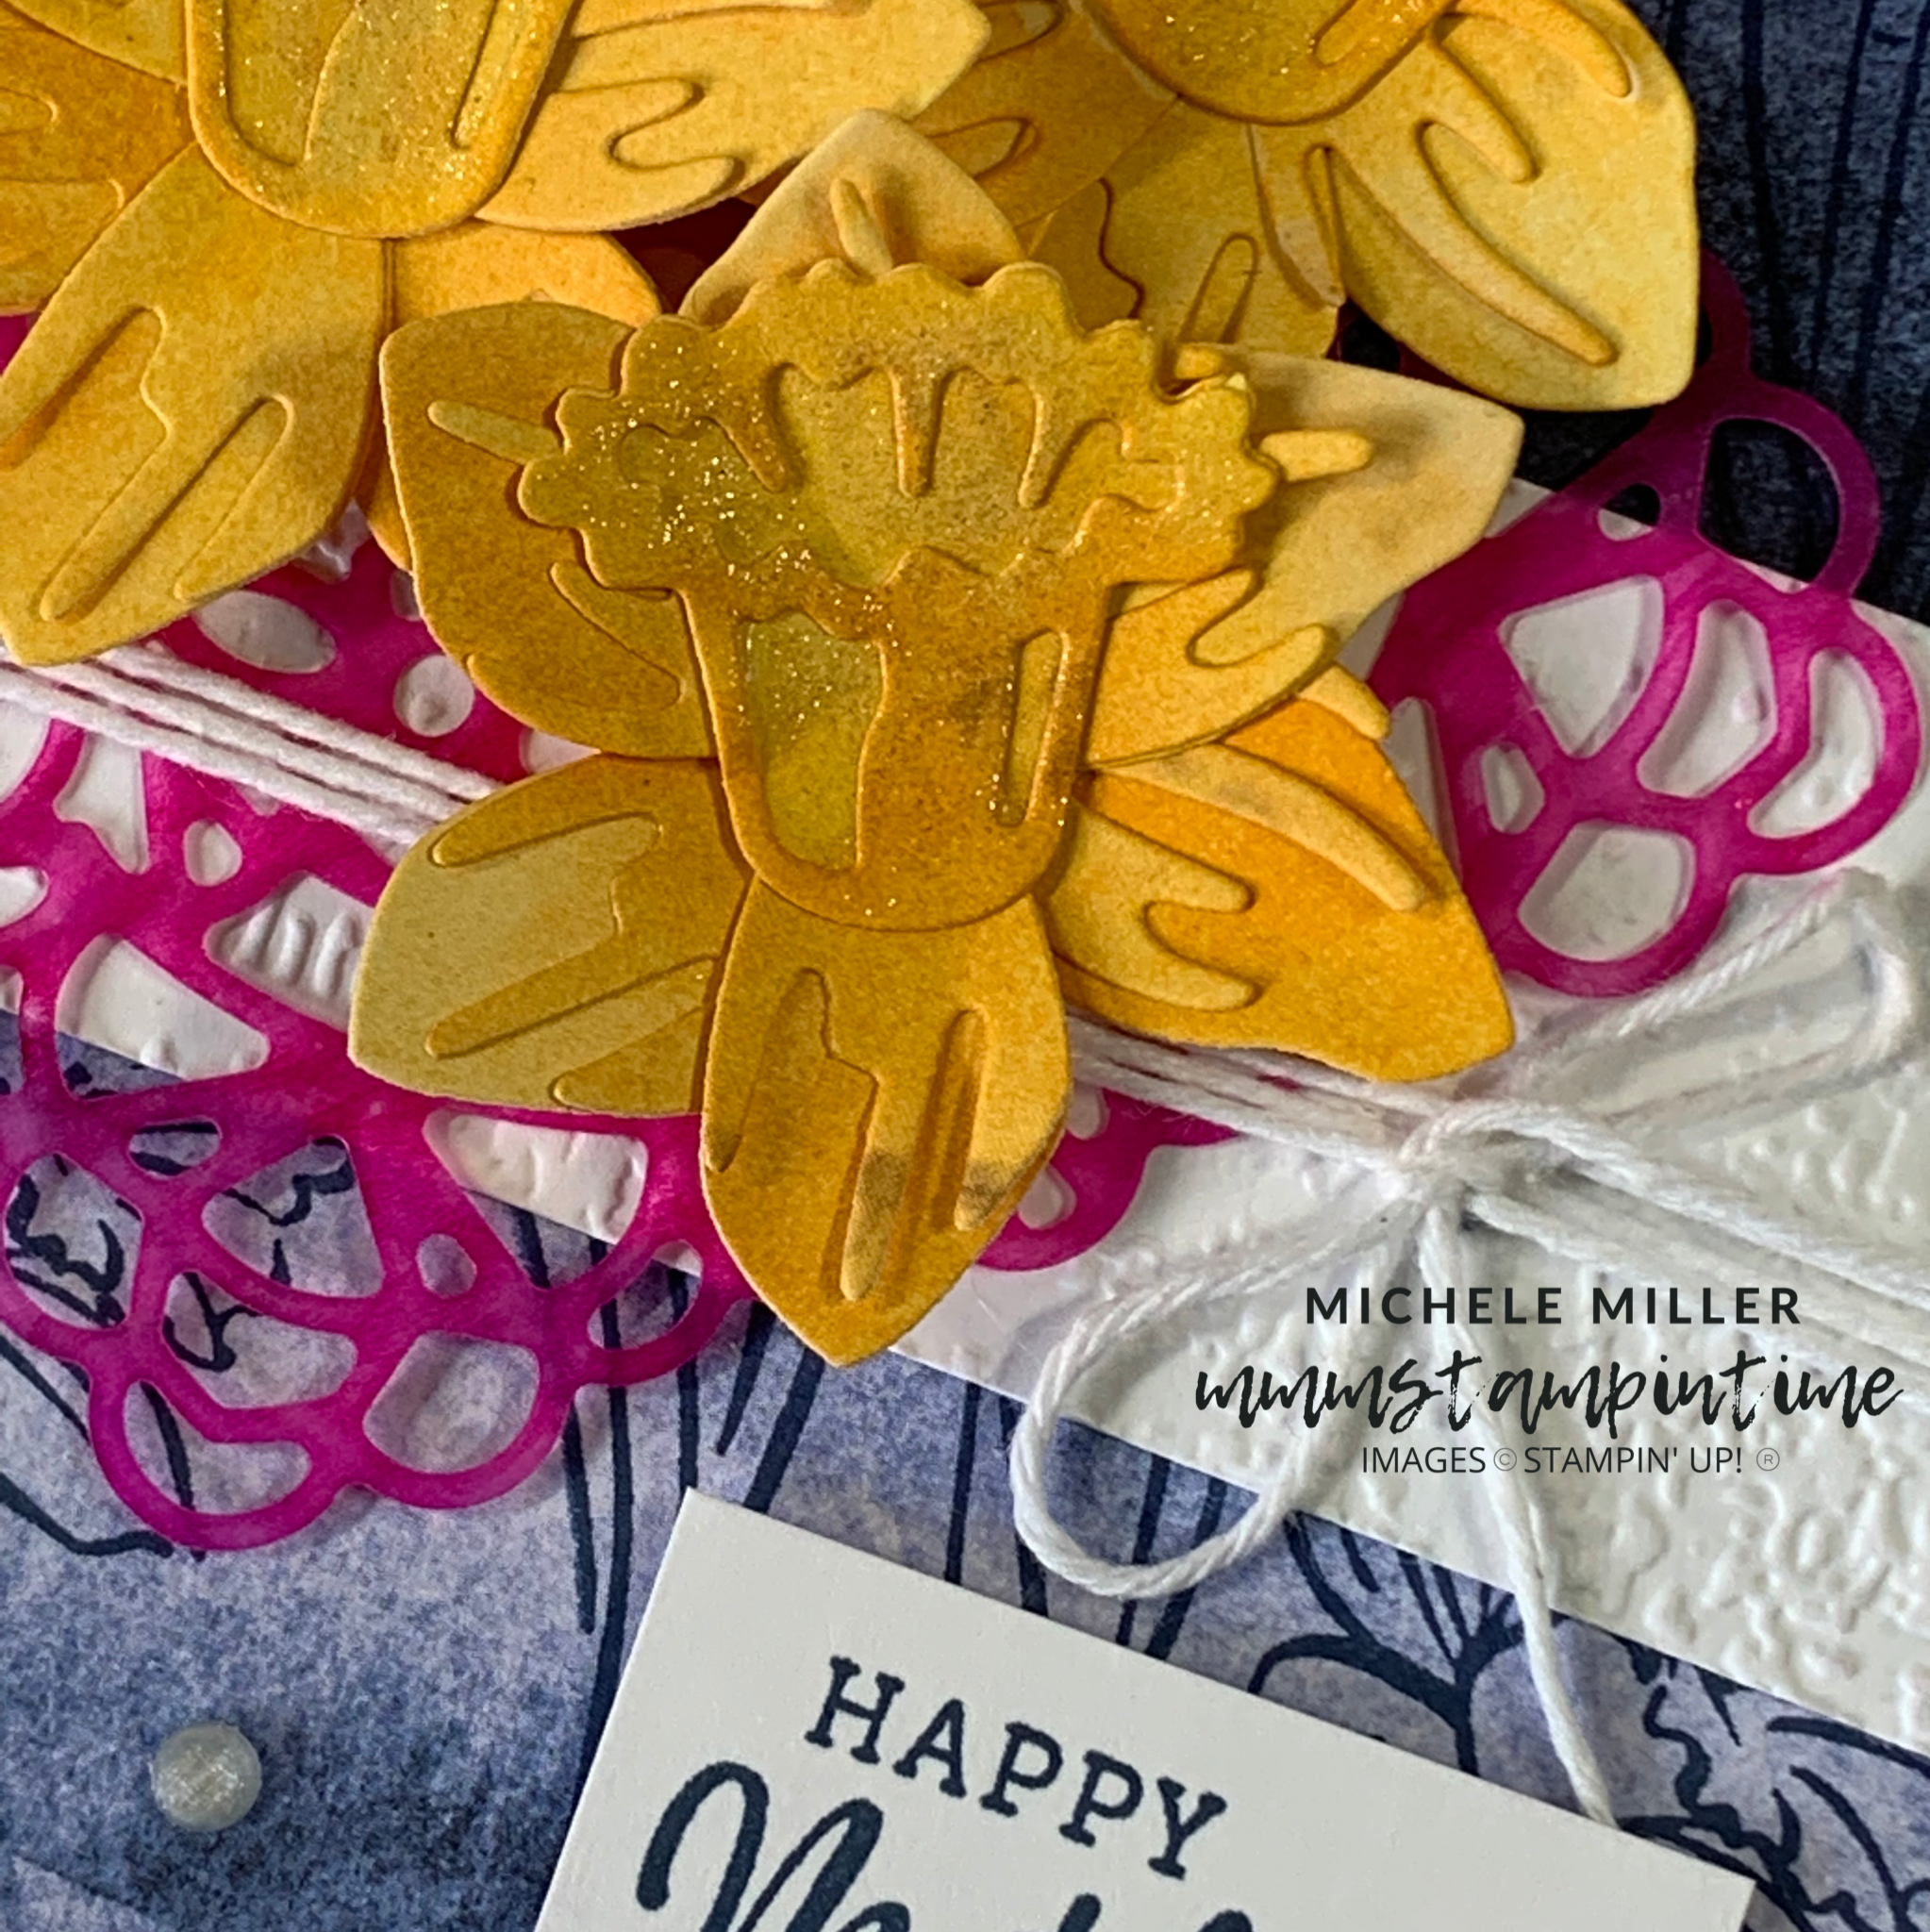
I started by using a technique Patty Bennett shared earlier this week. Using a piece of the Bumblebee Simply Marbleous 6″x 6″ Designer Series Paper, I added Mango Melody across it using a Stampin’ Blend.

This way I was able to have the marble effect from the DSP and the challenge colour ready to use for my project. I used this piece of coloured DSP to die cut the daffodils I used.

The Basic White card base has a slightly smaller panel of Magenta Madness cardstock. This panel then framed the stamped Misty Moonlight paper from the New Horizons 6″x 6″ Designer series Paper. I used the Misty Moonlight ink to stamp the daffodil image across the paper.

The Timetorn Type 3D Embossing Folder was used to emboss a piece of Basic White cardstock. I wrapped some white twine, from the Baker’s Twine Essentials Pack, around the embossed layer several times and tied a bow. Stampin’ Dimensionals were placed under the panel to pop it yp on the card front.

I used the Dark Magenta Madness Stampin’ Blend to colour a Square Vellum Doily. The left hand corner was trimmed away and it was secured under the twine with Stampin’ Seal.

The greeting is from the Daffodil Daydream Stamp Set.

After adding the daffodils to the card, I painted their centres with Clear Wink of Stella.

The daffodil was stamped inside the card and on the front of the envelope. The final step was to add some Elegant Faceted Gems to the front of the card.

A more detailed list of the products I used to make this card is at the bottom of this post.

Tomorrow is 3D Thursday and I’m off to plan my project.

Until then, happy stamping.

If you live in Australia, you can order any of the products I used to make this card by going to my online store. Just click on any of the images below.

Product List
Paper Snips
[103579]
$17.00
Posted on Leave a comment

BIRTHDAY FLOWERS

Hello and welcome to my Wednesday post. Thank you for popping by – whether you’re a first time visitor or have been by before, I am so pleased that you are here.

For this project, I combined the All Squared Away Bundle with the Checks & Dots Embossing Folders, as well as some other new products.

I started by cutting three of the four floral dies in Basic White cardstock. Then I used a Blending Brush to apply some Granny Apple Green ink across each of the squares. I adhered these three squares to the left-hand side of the Basic Black card base.

The next step was to measure the remaining space on the card front. I cut a piece of Pumpkin Pie card stock to those measurements and added texture by using the Checks embossing folder. Then I used one of the Basic Border Dies to cut card, as you can see on the image. Cutting the flower shapes to position over the top of each square was my next task. My favourite flower shape is the one I cut using Real Red cardstock.

The birthday greeting, from the All Squared Away Stamp Set, was stamped in Pumpkin Pie and cut using the Stitched Rectangles Dies. I love knowing that I can create square shapes using the Stitched Rectangles Dies.

I have been using lengths of textured wallpaper for my photo backgrounds for a while now; but, I think it’s time I found some more professional backgrounds. Add that to my list of things to do. I hope to have something new soon.

This card is an interesting combination of curved, straight and angled lines; as well as vivid colours.

What do you think? I would love to hear from you.

Happy stamping.

If you live in Australia, you can order any of the products I used to make this card by going to my online store. Just click on any of the images below.

Product List
Paper Snips
[103579]
$17.00
Posted on Leave a comment

MASKING & BLENDING

I had the BIRDS AND BRANCHES STAMP SET and DIES on my list of products to use this week.

At the beginning of each week I write a list of all the products and projects I want to use and create. It also has all my other Stamin’ Time tasks I want to achieve.

As I looked at the dies, I imagined how I could make a mask and use the new BLENDING BRUSHES to create a sunset image.

The die is reasonably intricate but I was able to achieve the crisp edges of the colouring by using some masking sheets (not a Stampin’ Up!® product, unfortunately).

I used Crushed Curry, Daffodil Delight and Pumpkin Pie.

The branch was cut from a piece of Whisper White cardstock that was popped up onto a piece of FOAM ADHESIVE SHEET. Then I used some of my STAMPIN’ BLENDS to colour it – Mango Melody, Mossy Meadow and Soft Suede. The four circles then had some SHIMMERY CRYSTAL EFFECTS added.

The sentiment is from the BLOOM AND GROW STAMP SET.

The Whisper White card insert was die cut, as was a piece of Pumpkin Pie card for the front of the envelope.

I’m looking forward to use the BLENDING BRUSHES more and developing my techniques when blending.

Thanks for popping by … happy stamping.

These are the products I used to make this card – the new BLENDING BRUSHES are not available until the January to June Mini Catalogue goes live to customers. They come in pack of three for $21, before postage.

If you live in Australia, I would be happy to help you place an order for any of them through me.

Product List
Paper Snips
[103579]
$17.00