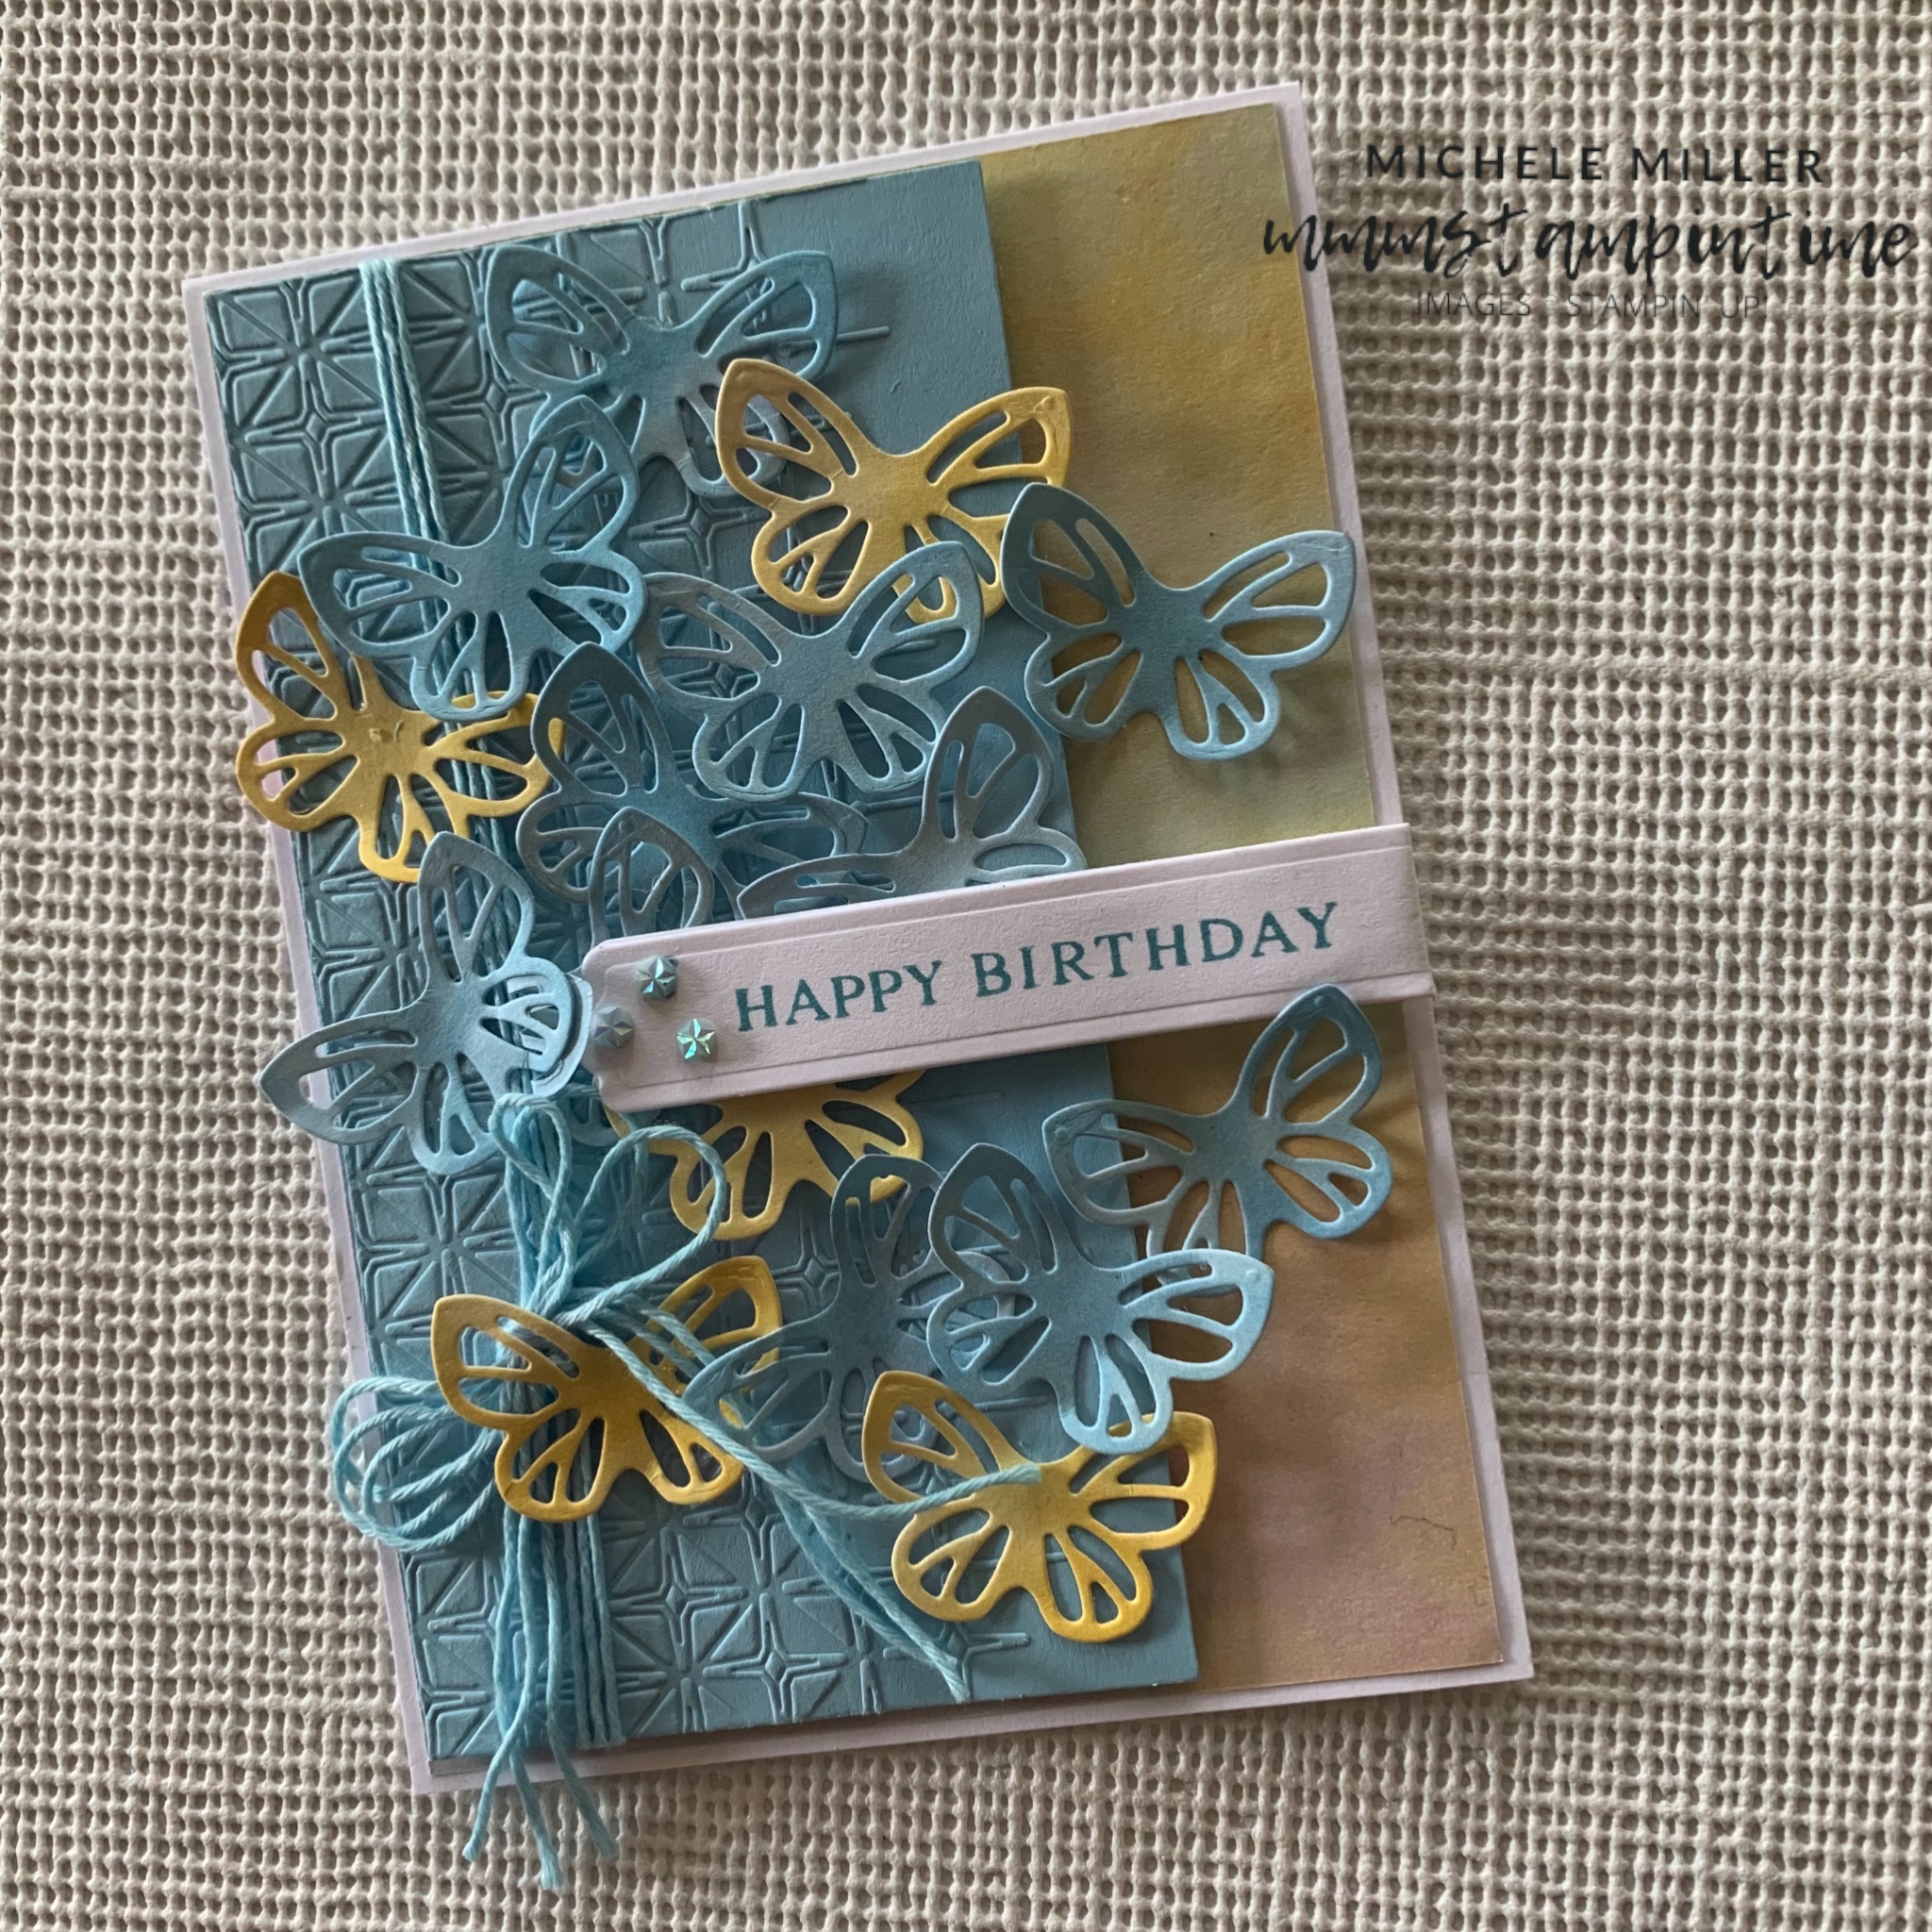
Each Friday I enjoy sharing a Fun Fold card.
Today I have a variation of a Trifold Easel Fun Fold card that was inspired by the ‘pop up’ large butterfly die from the Beautiful Butterflies Dies.
I started with a 12″x 12″ Basic White card that I cut to 5 3/4″ and then scored at 4″ and 8″.
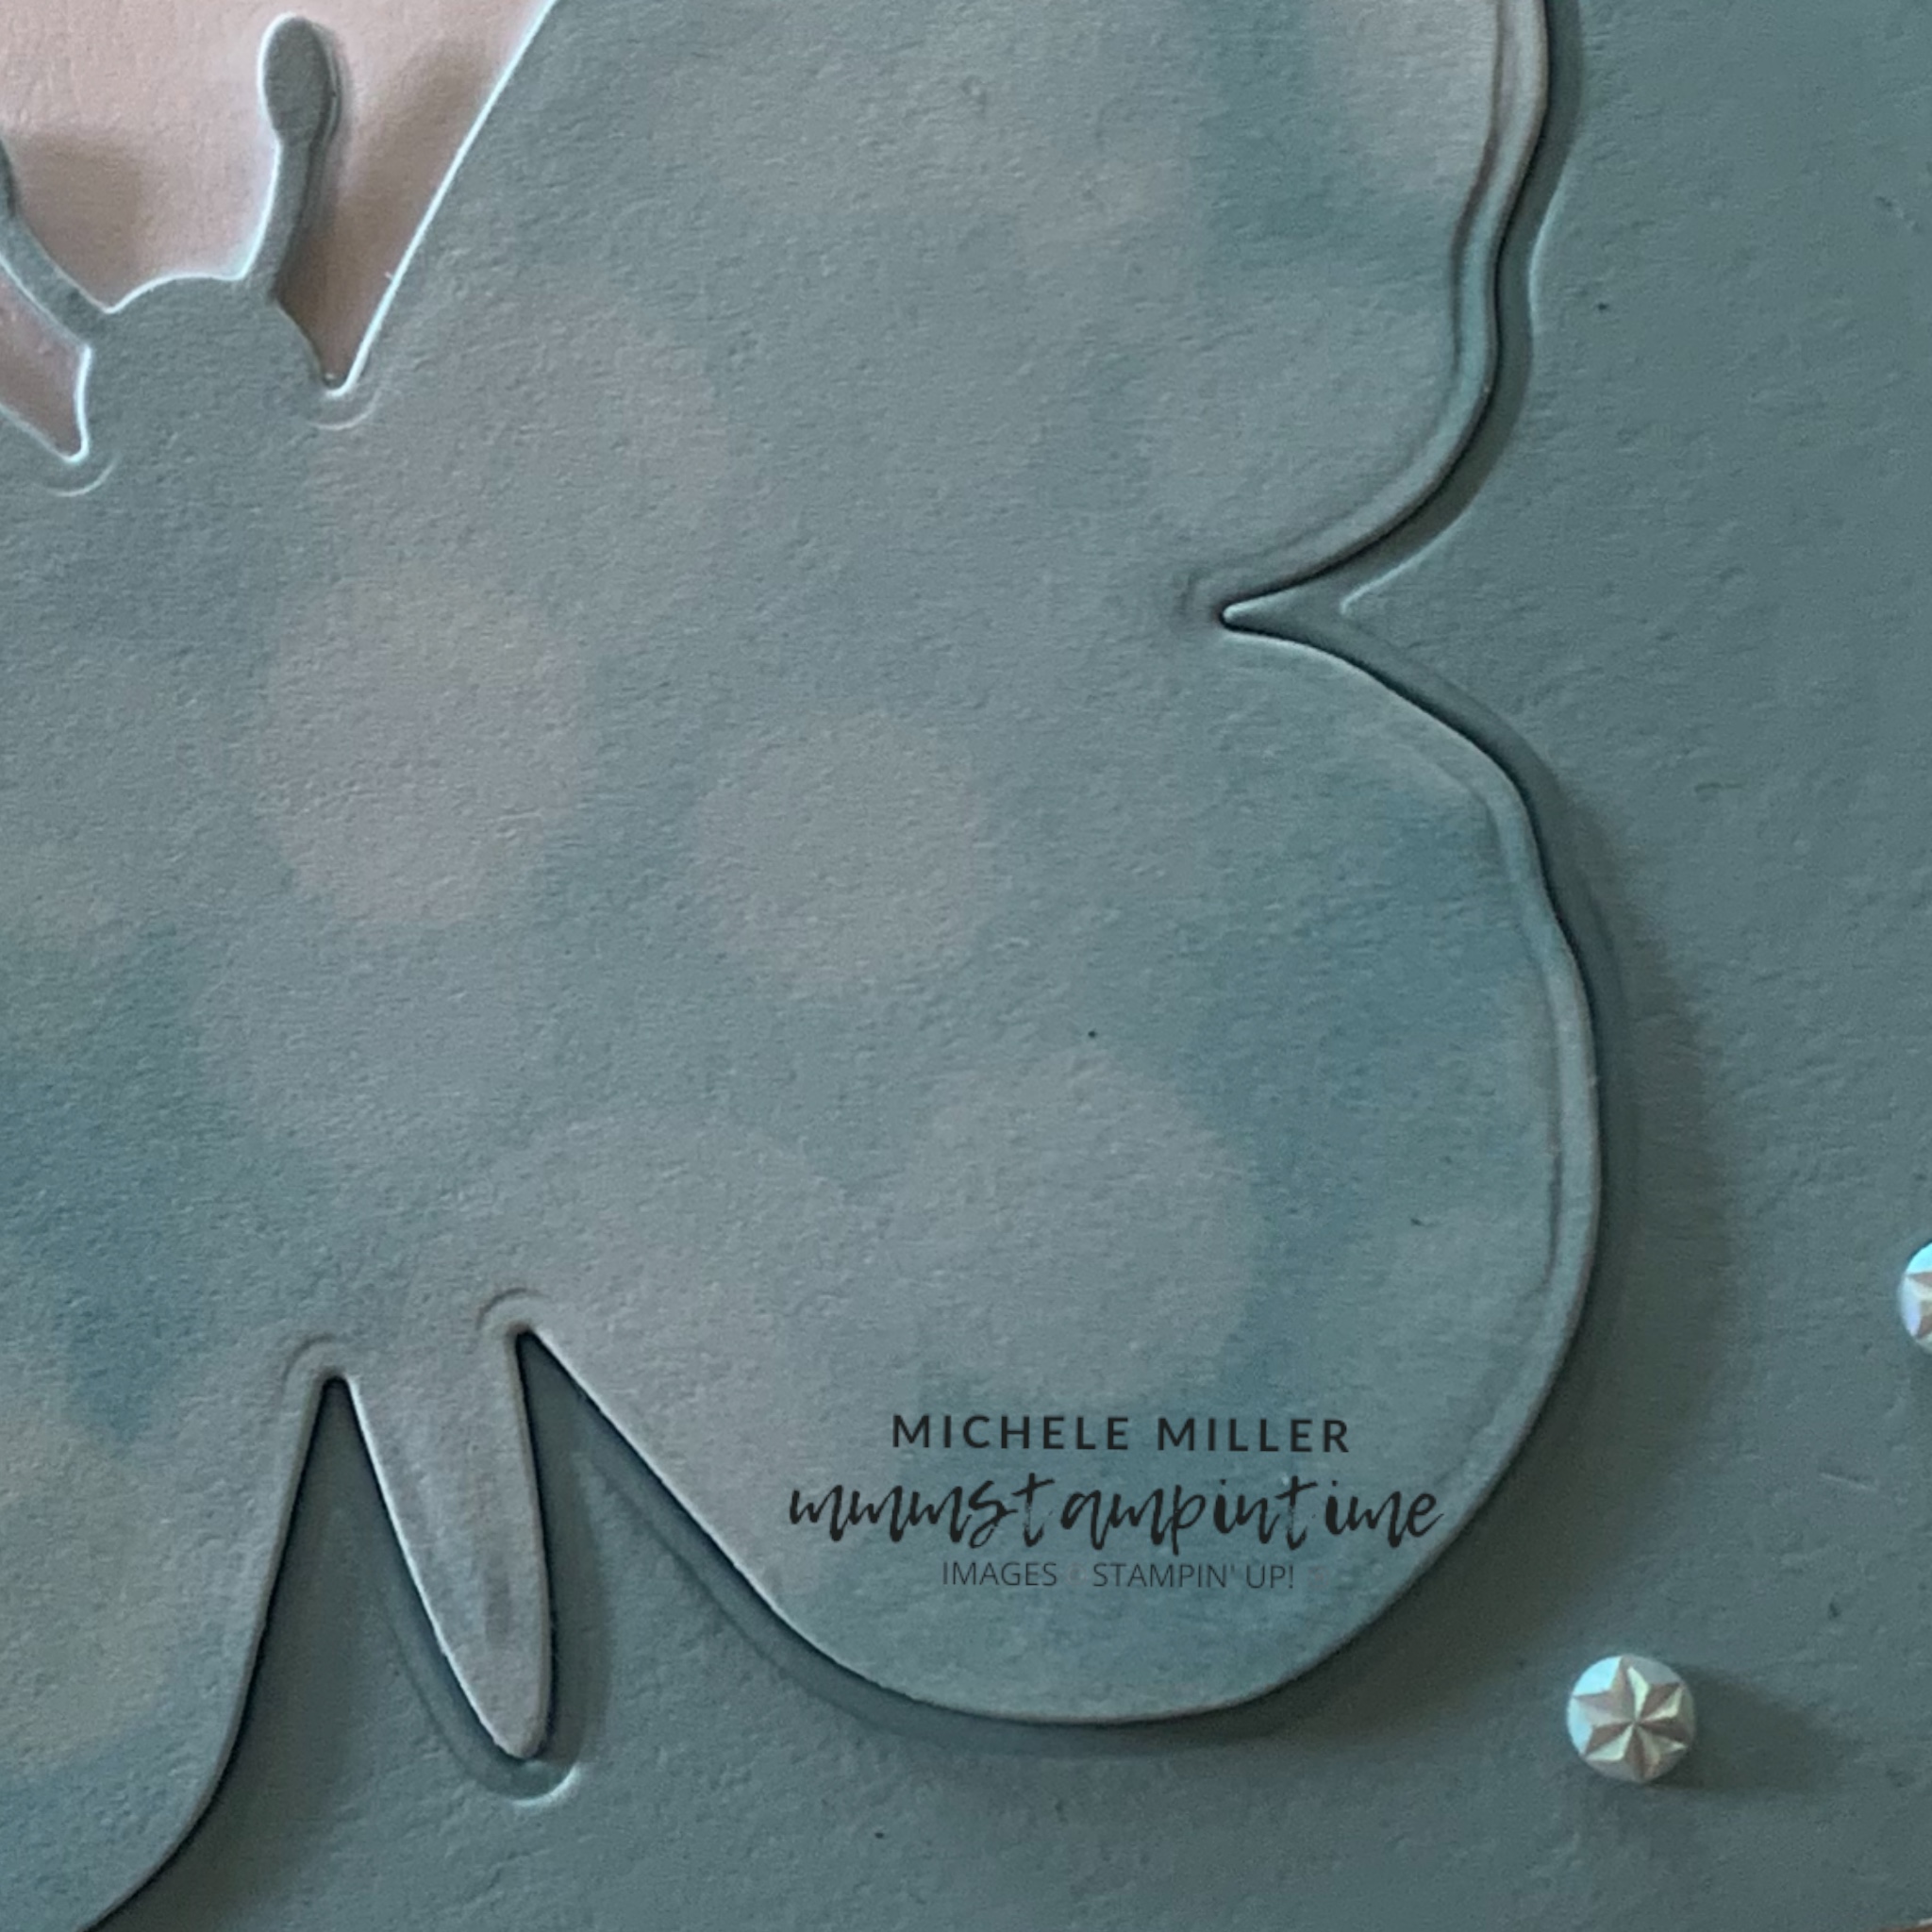
The largest butterfly die in the collection (top right) is designed to cut an upper butterfly layer on a card that flips up leaving a ‘full’ card back.

For this card I cut the butterfly card front although I did not cut away the card around the butterfly.
I cut a piece of Balmy Blue card to add to the card front around the butterfly shape. I also cut a Balmy Blue bokeh butterfly to attach to the butterfly flap.

The front of the card is quite simple. I did colour some Iridescent Faceted Gems with the Dark Balmy Blue Stampin’ Blends pen.
I cut a second bokeh butterfly and placed it inside the first inside layer. This layer folds out to be the bottom of the Easel card.

I cut a third butterfly and placed it in the same place on the ‘inside’ layer.

The third panel had a panel of Balmy Blue and Basic White card added so that someone could write their message to the recipient.
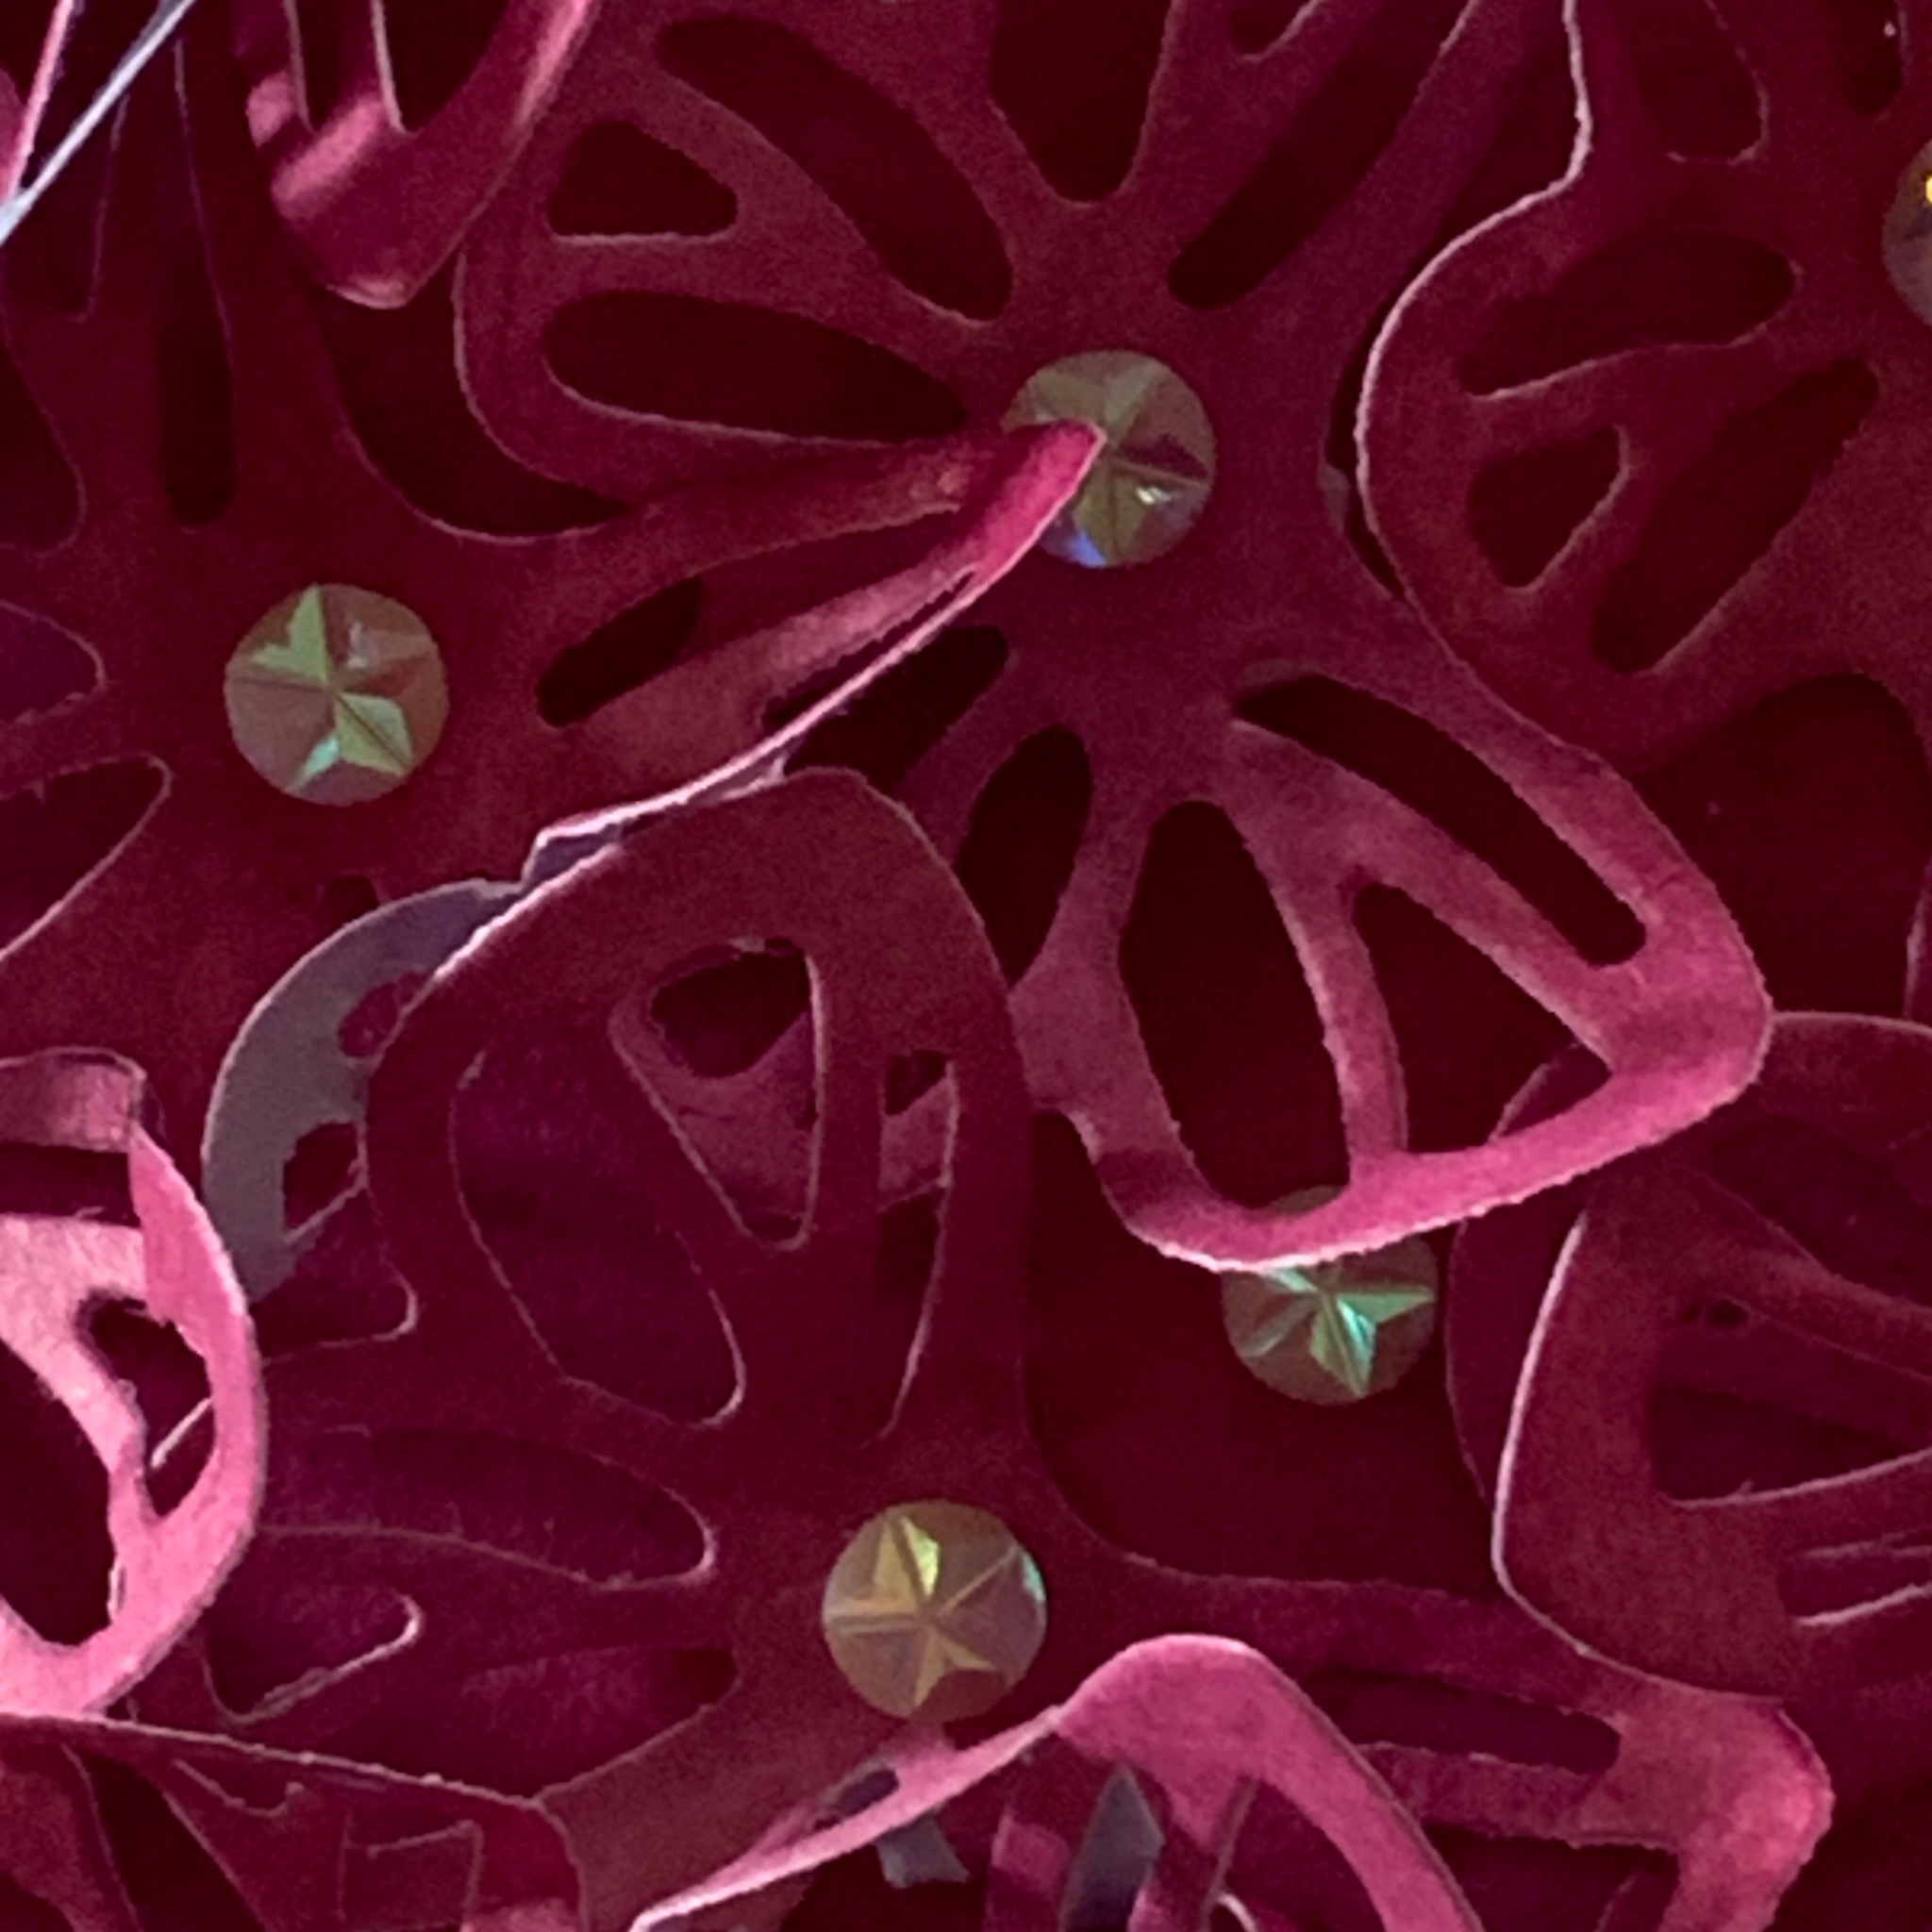
This insert had a splatted image stamped on it twice. The back of the envelope was also stamped with the splatter images.
Finally the greeting was stamped and die cut. After positioning the greeting, as the easel card anchor, I added some coloured Iridescent Faceted Gems.

I’m not quite sure what I will have for you next week but I’m sure that it will inspire you.
Until then, happy stamping and scrapbooking.

If you live in Australia, you can order any of the products I used to make this card by going to my online store. Just click on any of the images below.

![Beautiful Butterflies Bundle (English) [ 164615 ]](https://i0.wp.com/assets1.tamsnetwork.com/images/EC042017NF/164615s.jpg?w=140&ssl=1 "Beautiful Butterflies Bundle (English) [ 164615 ]") | ![Iridescent Faceted Gems [ 163368 ]](https://i0.wp.com/assets1.tamsnetwork.com/images/EC042017NF/163368s.jpg?w=140&ssl=1 "Iridescent Faceted Gems [ 163368 ]") | ![Balmy Blue A4 Cardstock [ 147007 ]](https://i0.wp.com/assets1.tamsnetwork.com/images/EC042017NF/147007s.jpg?w=140&ssl=1 "Balmy Blue A4 Cardstock [ 147007 ]") | ||
![Balmy Blue Classic Stampin' Pad [ 147105 ]](https://i0.wp.com/assets1.tamsnetwork.com/images/EC042017NF/147105s.jpg?w=140&ssl=1 "Balmy Blue Classic Stampin' Pad [ 147105 ]") | ![Bone Folder [ 102300 ]](https://i0.wp.com/assets1.tamsnetwork.com/images/EC042017NF/102300s.jpg?w=140&ssl=1 "Bone Folder [ 102300 ]") | ![Multipurpose Liquid Glue [ 110755 ]](https://i0.wp.com/assets1.tamsnetwork.com/images/EC042017NF/110755s.jpg?w=140&ssl=1 "Multipurpose Liquid Glue [ 110755 ]") | ||
![Stampin' Dimensionals [ 104430 ]](https://i0.wp.com/assets1.tamsnetwork.com/images/EC042017NF/104430s.jpg?w=140&ssl=1 "Stampin' Dimensionals [ 104430 ]") | ![Mini Glue Dots [ 103683 ]](https://i0.wp.com/assets1.tamsnetwork.com/images/EC042017NF/103683s.jpg?w=140&ssl=1 "Mini Glue Dots [ 103683 ]") | ![Paper Trimmer [ 152392 ]](https://i0.wp.com/assets1.tamsnetwork.com/images/EC042017NF/152392s.jpg?w=140&ssl=1 "Paper Trimmer [ 152392 ]") | ![Stampin' Cut & Emboss Machine [ 149653 ]](https://i0.wp.com/assets1.tamsnetwork.com/images/EC042017NF/149653s.jpg?w=140&ssl=1 "Stampin' Cut & Emboss Machine [ 149653 ]") | ![Basic White C6 Envelopes [ 159235 ]](https://i0.wp.com/assets1.tamsnetwork.com/images/EC042017NF/159235s.jpg?w=140&ssl=1 "Basic White C6 Envelopes [ 159235 ]") |
![Beautiful Butterflies Photopolymer Stamp Set (English) [ 164608 ]](https://i0.wp.com/assets1.tamsnetwork.com/images/EC042017NF/164608s.jpg?w=140&ssl=1 "Beautiful Butterflies Photopolymer Stamp Set (English) [ 164608 ]")
![Beautiful Bokeh 6" X 6" (15.2 X 15.2 Cm) Designer Series Paper [ 164607 ]](https://i0.wp.com/assets1.tamsnetwork.com/images/EC042017NF/164607s.jpg?w=140&ssl=1 "Beautiful Bokeh 6\" X 6\" (15.2 X 15.2 Cm) Designer Series Paper [ 164607 ]")
![Basic White 12 X12 (30.5 X 30.5 Cm) Cardstock [ 159231 ]](https://i0.wp.com/assets1.tamsnetwork.com/images/EC042017NF/159231s.jpg?w=140&ssl=1 "Basic White 12 X12 (30.5 X 30.5 Cm) Cardstock [ 159231 ]")
![Balmy Blue Stampin' Blends Combo Pack [ 154830 ]](https://i0.wp.com/assets1.tamsnetwork.com/images/EC042017NF/154830s.jpg?w=140&ssl=1 "Balmy Blue Stampin' Blends Combo Pack [ 154830 ]")


![Basic White A4 Thick Cardstock [ 159230 ]](https://i0.wp.com/assets1.tamsnetwork.com/images/EC042017NF/159230s.jpg?w=140&ssl=1 "Basic White A4 Thick Cardstock [ 159230 ]")
![Berry Burst A4 Cardstock [ 144249 ]](https://i0.wp.com/assets1.tamsnetwork.com/images/EC042017NF/144249s.jpg?w=140&ssl=1 "Berry Burst A4 Cardstock [ 144249 ]")
![Stampin' Seal+ [ 149699 ]](https://i0.wp.com/assets1.tamsnetwork.com/images/EC042017NF/149699s.jpg?w=140&ssl=1 "Stampin' Seal+ [ 149699 ]")
![Mini Stampin' Dimensionals [ 144108 ]](https://i0.wp.com/assets1.tamsnetwork.com/images/EC042017NF/144108s.jpg?w=140&ssl=1 "Mini Stampin' Dimensionals [ 144108 ]")
![Mini Stampin' Cut & Emboss Machine [ 150673 ]](https://i0.wp.com/assets1.tamsnetwork.com/images/EC042017NF/150673s.jpg?w=140&ssl=1 "Mini Stampin' Cut & Emboss Machine [ 150673 ]")


![Glass & Gardens Embossing Folders [ 165597 ]](https://i0.wp.com/assets1.tamsnetwork.com/images/EC042017NF/165597s.jpg?w=140&ssl=1 "Glass & Gardens Embossing Folders [ 165597 ]")
![Baker's Twine Three Color Pack [ 162759 ]](https://i0.wp.com/assets1.tamsnetwork.com/images/EC042017NF/162759s.jpg?w=140&ssl=1 "Baker's Twine Three Color Pack [ 162759 ]")


