So, what’s new with Stampin’ Up!?
Get Notified When Products Are Back in Stock!
One request Stampin’ Up! often hears is, “Can I get notified when an unavailable item comes back in stock?” We are excited to announce that in the next week or so, you will be able to do just that!
If a product is currently unavailable, a box will appear above the product detail where you can request an email notification when/if the product returns. This feature will be available to demonstrators, customers, and guests. If you are logged in as a demonstrator or customer, your email address will automatically populate, with the option to edit it if needed. Guests will need to enter their email address manually.
After your preferred email address is entered, check the box to agree to receive the notification email, then click Notify Me. You will then receive a confirmation email that includes the item number and name of the product you signed up to be notified about. If you change your mind, you can click the unsubscribe button in the confirmation email and it will unsubscribe you only from that specific product notification.
When/if the product becomes available, you will receive a single email notifying you it’s back in stock. The email will include the item number, name, and an image of the product. If the product sells out again, you will need to sign up again to be notified when/if it returns.
We hope this new feature makes shopping even more convenient for you and your customers!
This is such a simple yet very customer friendly upgrade!
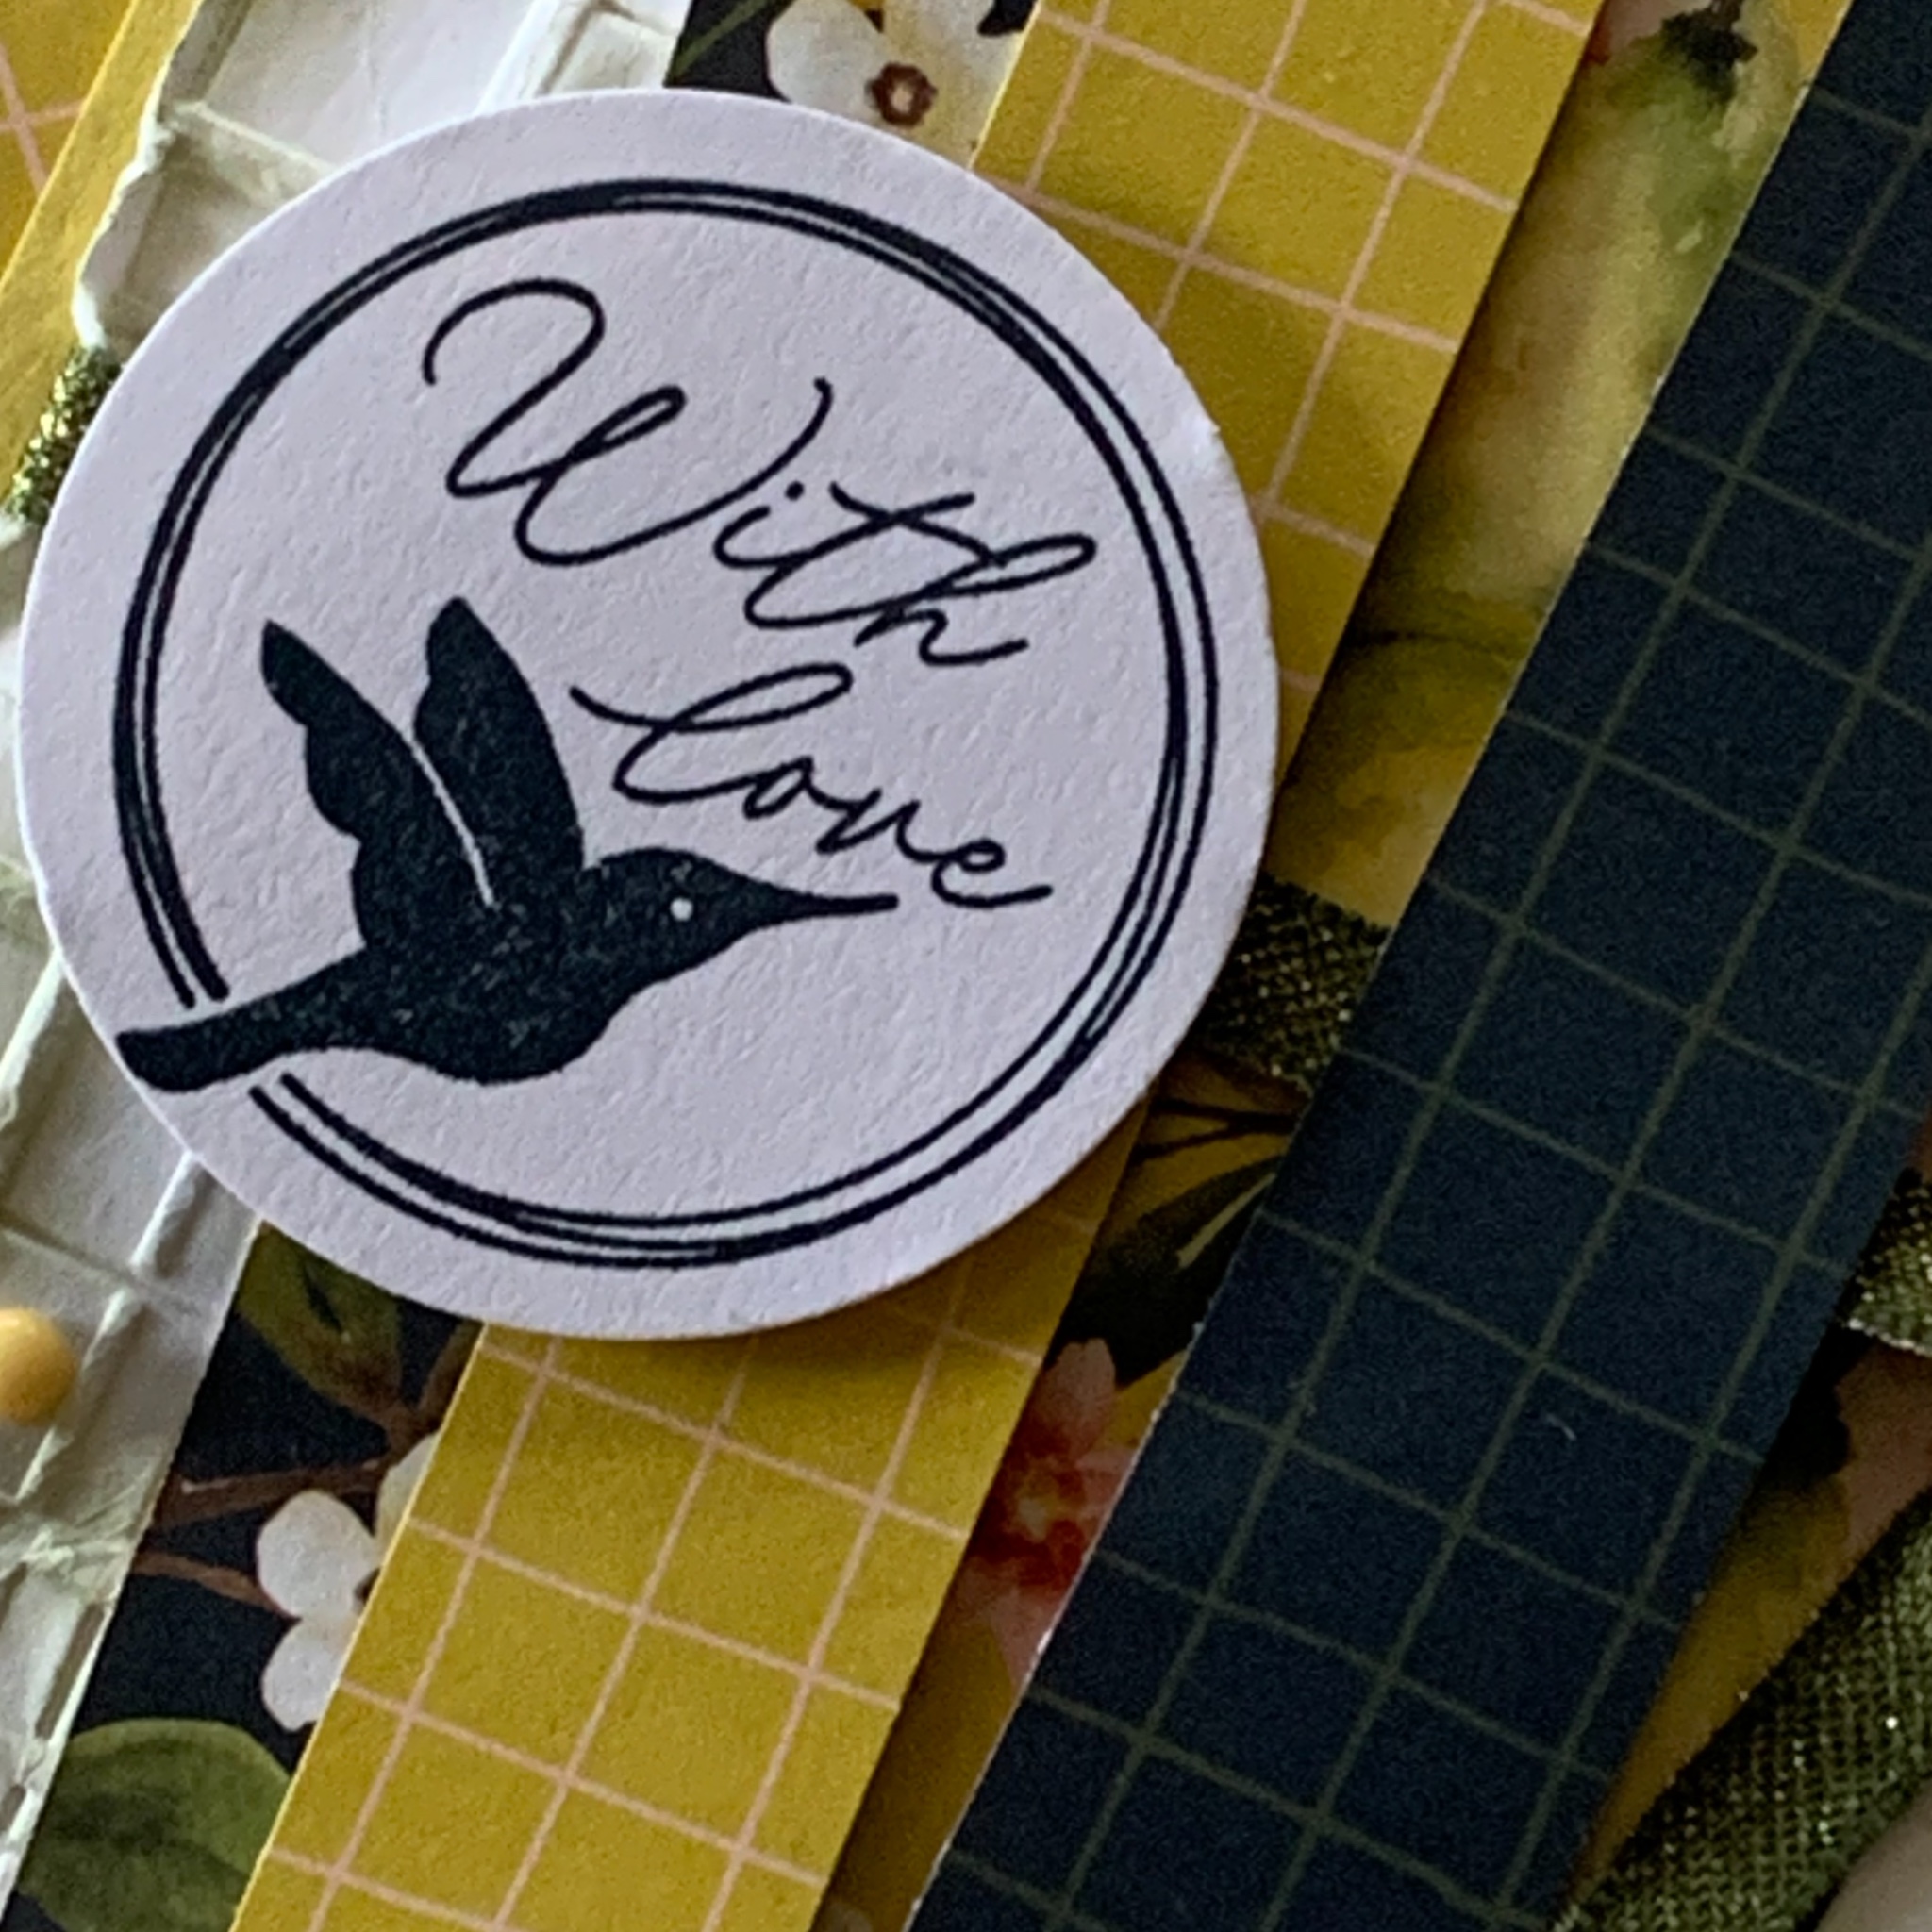
Today’s card features some dry embossing, distressed card edges, blending brush colouring and strips of Designer Series Paper.
I started with a Daffodil Delight card base. Then i added texture to a Basic White panel using the Forever Plaid 3D Embossing Folder.
After embossing the white card, I lightly used a Blending Brush to add some Daffodil Delight ink to it. Next, I used my Paper Snips to distress the outer edges of the card.
Then I added three strips of floral Designer Series Paper directly on to the embossed layer.
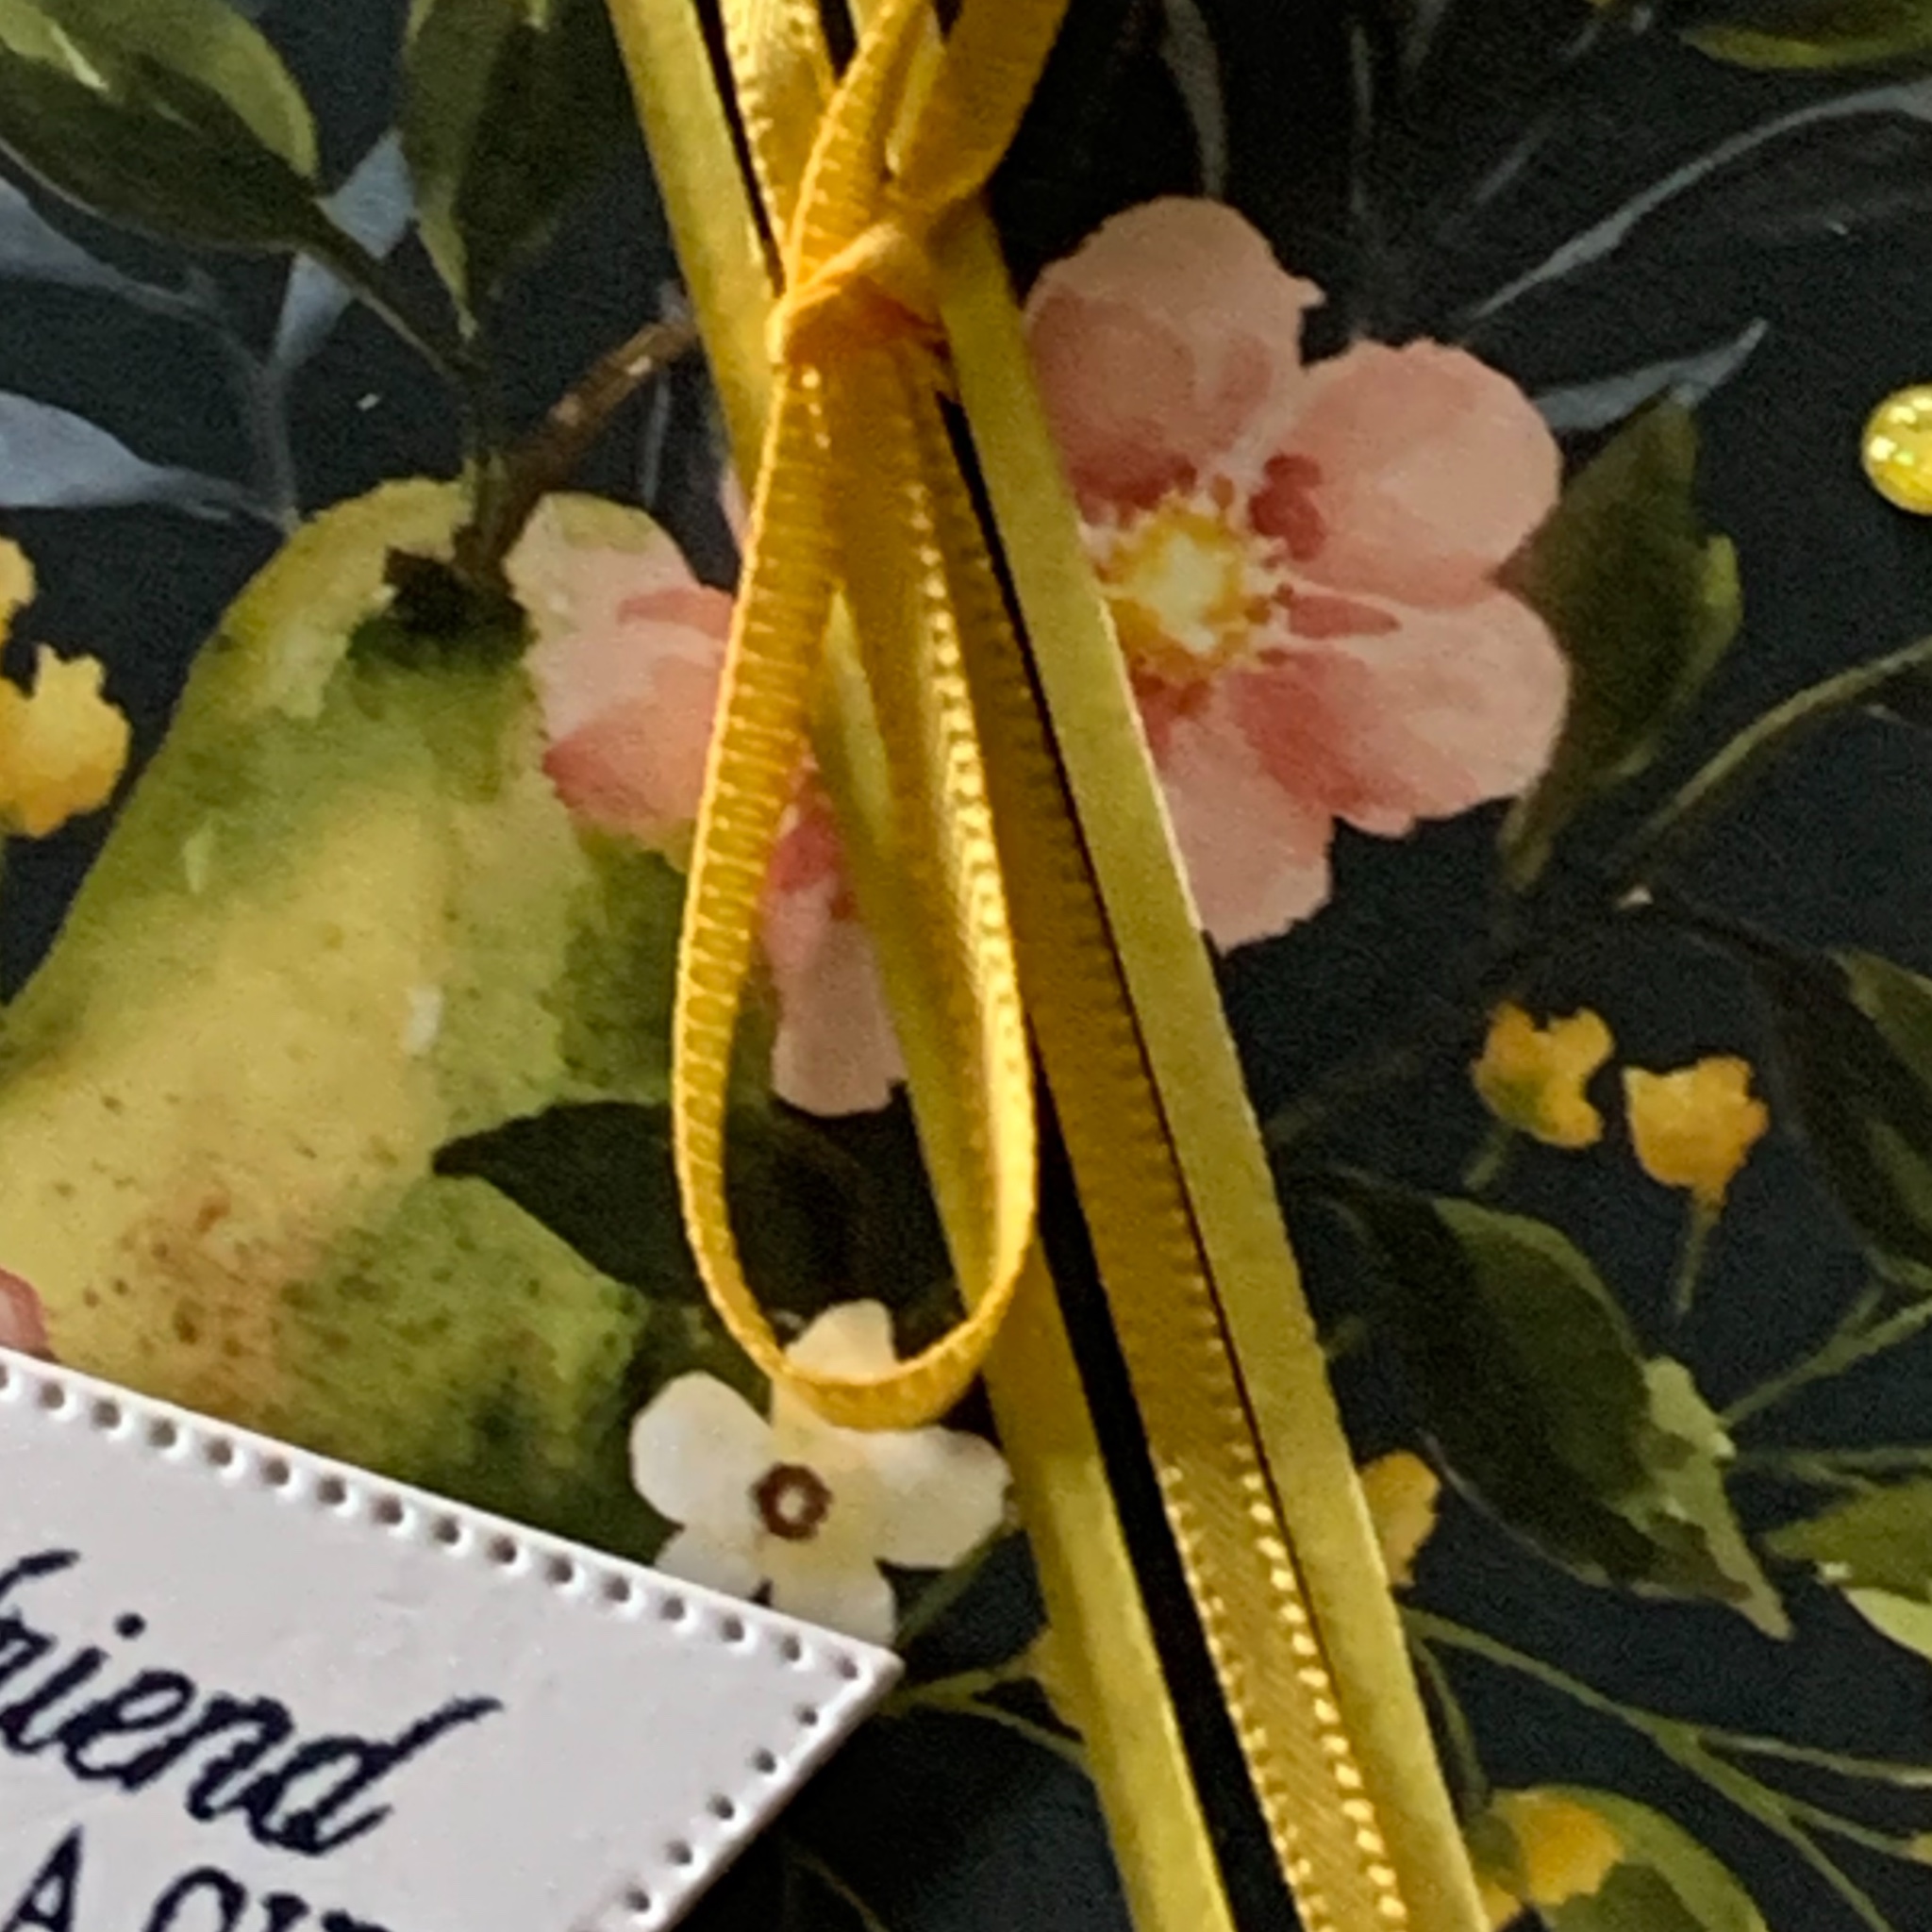
I took a length of the Mossy Meadow & Gold Trim and tied it around the embossed card – no bow, just a knot.
Then I added two checked DSP designs – one in Daffodil Delight and one Secret Sea.
Both the card insert and the back of the envelope had some of the checked Daffodil Delight DSP adhered to them.
I used another new product, the Encircled with Love Stamp Set, to stamp the ‘with love’ greeting. It was punched using the 1 3/4″ circle punch.
Finallt, I added some Daffodil Delight dots from the Muted Palette Dots pack.
Tomorrow, I have a gorgeous 3D gift box to share with you.
Until then, happy stamping and scrapbooking.
If you live in Australia, you can order any of the products I used to make this card by going to my online store. As you read through this post, you will see the products I used for this project. The new Online Exclusive items are available from July 2025.
Product List


![Stylish Shapes Dies [ 159183 ]](https://i0.wp.com/assets1.tamsnetwork.com/images/EC042017NF/159183s.jpg?w=140&ssl=1 "Stylish Shapes Dies [ 159183 ]")
![Basic White A4 Cardstock [ 166781 ]](https://i0.wp.com/assets1.tamsnetwork.com/images/EC042017NF/166781s.jpg?w=140&ssl=1 "Basic White A4 Cardstock [ 166781 ]")
![Daffodil Delight A4 Card Stock [ 121680 ]](https://i0.wp.com/assets1.tamsnetwork.com/images/EC042017NF/121680s.jpg?w=140&ssl=1 "Daffodil Delight A4 Card Stock [ 121680 ]")
![Petal Pink A4 Cardstock [ 147009 ]](https://i0.wp.com/assets1.tamsnetwork.com/images/EC042017NF/147009s.jpg?w=140&ssl=1 "Petal Pink A4 Cardstock [ 147009 ]")
![Secret Sea A4 Cardstock [ 165296 ]](https://i0.wp.com/assets1.tamsnetwork.com/images/EC042017NF/165296s.jpg?w=140&ssl=1 "Secret Sea A4 Cardstock [ 165296 ]")
![Secret Sea Classic Stampin' Pad [ 165285 ]](https://i0.wp.com/assets1.tamsnetwork.com/images/EC042017NF/165285s.jpg?w=140&ssl=1 "Secret Sea Classic Stampin' Pad [ 165285 ]")
![Multipurpose Liquid Glue [ 110755 ]](https://i0.wp.com/assets1.tamsnetwork.com/images/EC042017NF/110755s.jpg?w=140&ssl=1 "Multipurpose Liquid Glue [ 110755 ]")
![Stampin' Dimensionals [ 104430 ]](https://i0.wp.com/assets1.tamsnetwork.com/images/EC042017NF/104430s.jpg?w=140&ssl=1 "Stampin' Dimensionals [ 104430 ]")
![Paper Snips [ 103579 ]](https://i0.wp.com/assets1.tamsnetwork.com/images/EC042017NF/103579s.jpg?w=140&ssl=1 "Paper Snips [ 103579 ]")
![Paper Trimmer [ 152392 ]](https://i0.wp.com/assets1.tamsnetwork.com/images/EC042017NF/152392s.jpg?w=140&ssl=1 "Paper Trimmer [ 152392 ]")
![Mini Stampin' Cut & Emboss Machine [ 150673 ]](https://i0.wp.com/assets1.tamsnetwork.com/images/EC042017NF/150673s.jpg?w=140&ssl=1 "Mini Stampin' Cut & Emboss Machine [ 150673 ]")
![Basic White C6 Envelopes [ 159235 ]](https://i0.wp.com/assets1.tamsnetwork.com/images/EC042017NF/159235s.jpg?w=140&ssl=1 "Basic White C6 Envelopes [ 159235 ]")
![Daffodil Delight 1/8" (3.2 Mm) Satin Ribbon [ 164715 ]](https://i0.wp.com/assets1.tamsnetwork.com/images/EC042017NF/164715s.jpg?w=140&ssl=1 "Daffodil Delight 1/8\" (3.2 Mm) Satin Ribbon [ 164715 ]")
![Petal Pink 3/8” (1 Cm) Scalloped Ribbon [ 164680 ]](https://i0.wp.com/assets1.tamsnetwork.com/images/EC042017NF/164680s.jpg?w=140&ssl=1 "Petal Pink 3/8” (1 Cm) Scalloped Ribbon [ 164680 ]")

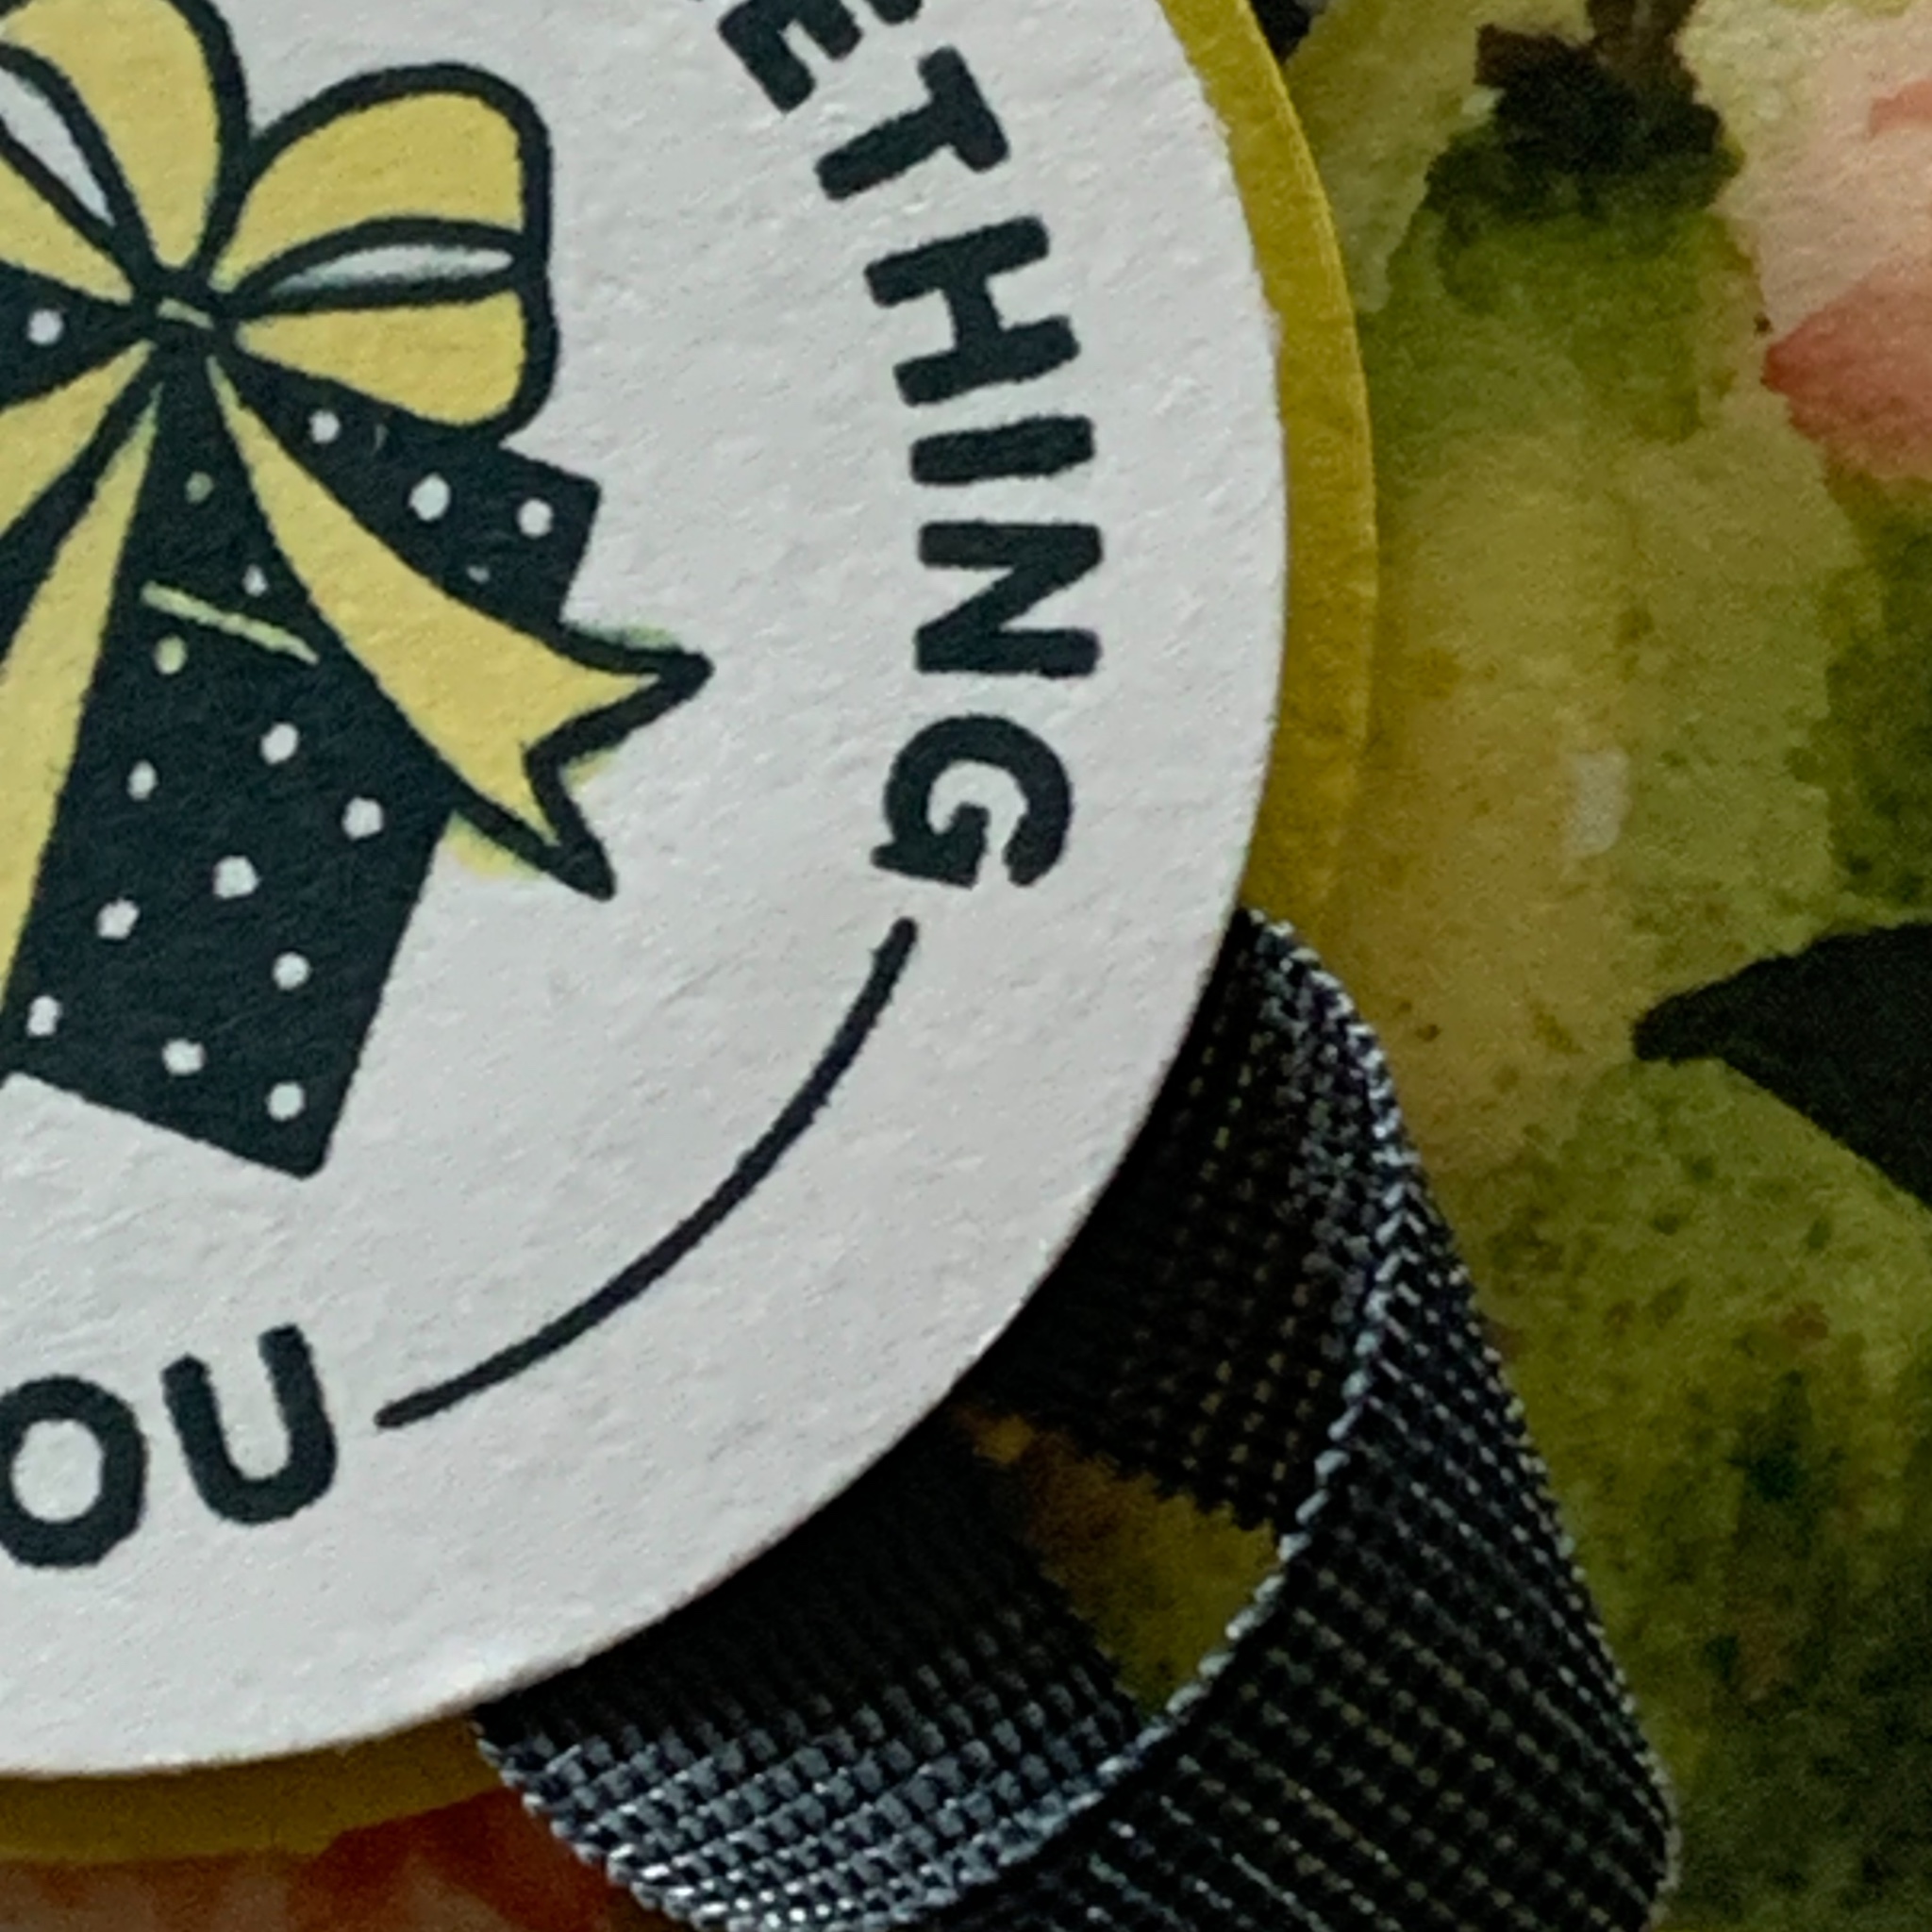


![Encircled With Love Photopolymer Stamp Set (English) [ 165338 ]](https://i0.wp.com/assets1.tamsnetwork.com/images/EC042017NF/165338s.jpg?w=140&ssl=1 "Encircled With Love Photopolymer Stamp Set (English) [ 165338 ]")
![1-3/4" (4.4 Cm) Circle Punch [ 119850 ]](https://i0.wp.com/assets1.tamsnetwork.com/images/EC042017NF/119850s.jpg?w=140&ssl=1 "1-3/4\" (4.4 Cm) Circle Punch [ 119850 ]")
![1 7/8" (4.8 Cm) Circle Punch [ 165259 ]](https://i0.wp.com/assets1.tamsnetwork.com/images/EC042017NF/165259s.jpg?w=140&ssl=1 "1 7/8\" (4.8 Cm) Circle Punch [ 165259 ]")
![Secret Sea 3/8" (1 Cm) Faux Linen Ribbon [ 165273 ]](https://i0.wp.com/assets1.tamsnetwork.com/images/EC042017NF/165273s.jpg?w=140&ssl=1 "Secret Sea 3/8\" (1 Cm) Faux Linen Ribbon [ 165273 ]")
![Melon Mambo A4 Card Stock [ 119980 ]](https://i0.wp.com/assets1.tamsnetwork.com/images/EC042017NF/119980s.jpg?w=140&ssl=1 "Melon Mambo A4 Card Stock [ 119980 ]")
![Daffodil Delight Stampin' Blends Combo Pack [ 154883 ]](https://i0.wp.com/assets1.tamsnetwork.com/images/EC042017NF/154883s.jpg?w=140&ssl=1 "Daffodil Delight Stampin' Blends Combo Pack [ 154883 ]")


![Forever Plaid 3 D Embossing Folder [ 164049 ]](https://i0.wp.com/assets1.tamsnetwork.com/images/EC042017NF/164049s.jpg?w=140&ssl=1 "Forever Plaid 3 D Embossing Folder [ 164049 ]")
![Daffodil Delight Classic Stampin' Pad [ 147094 ]](https://i0.wp.com/assets1.tamsnetwork.com/images/EC042017NF/147094s.jpg?w=140&ssl=1 "Daffodil Delight Classic Stampin' Pad [ 147094 ]")
![Blending Brushes [ 153611 ]](https://i0.wp.com/assets1.tamsnetwork.com/images/EC042017NF/153611s.jpg?w=140&ssl=1 "Blending Brushes [ 153611 ]")
![Mini Glue Dots [ 103683 ]](https://i0.wp.com/assets1.tamsnetwork.com/images/EC042017NF/103683s.jpg?w=140&ssl=1 "Mini Glue Dots [ 103683 ]")
![Stampin' Cut & Emboss Machine [ 149653 ]](https://i0.wp.com/assets1.tamsnetwork.com/images/EC042017NF/149653s.jpg?w=140&ssl=1 "Stampin' Cut & Emboss Machine [ 149653 ]")




