This week I am featuring the Valley in Bloom Suite collection in all my projects.
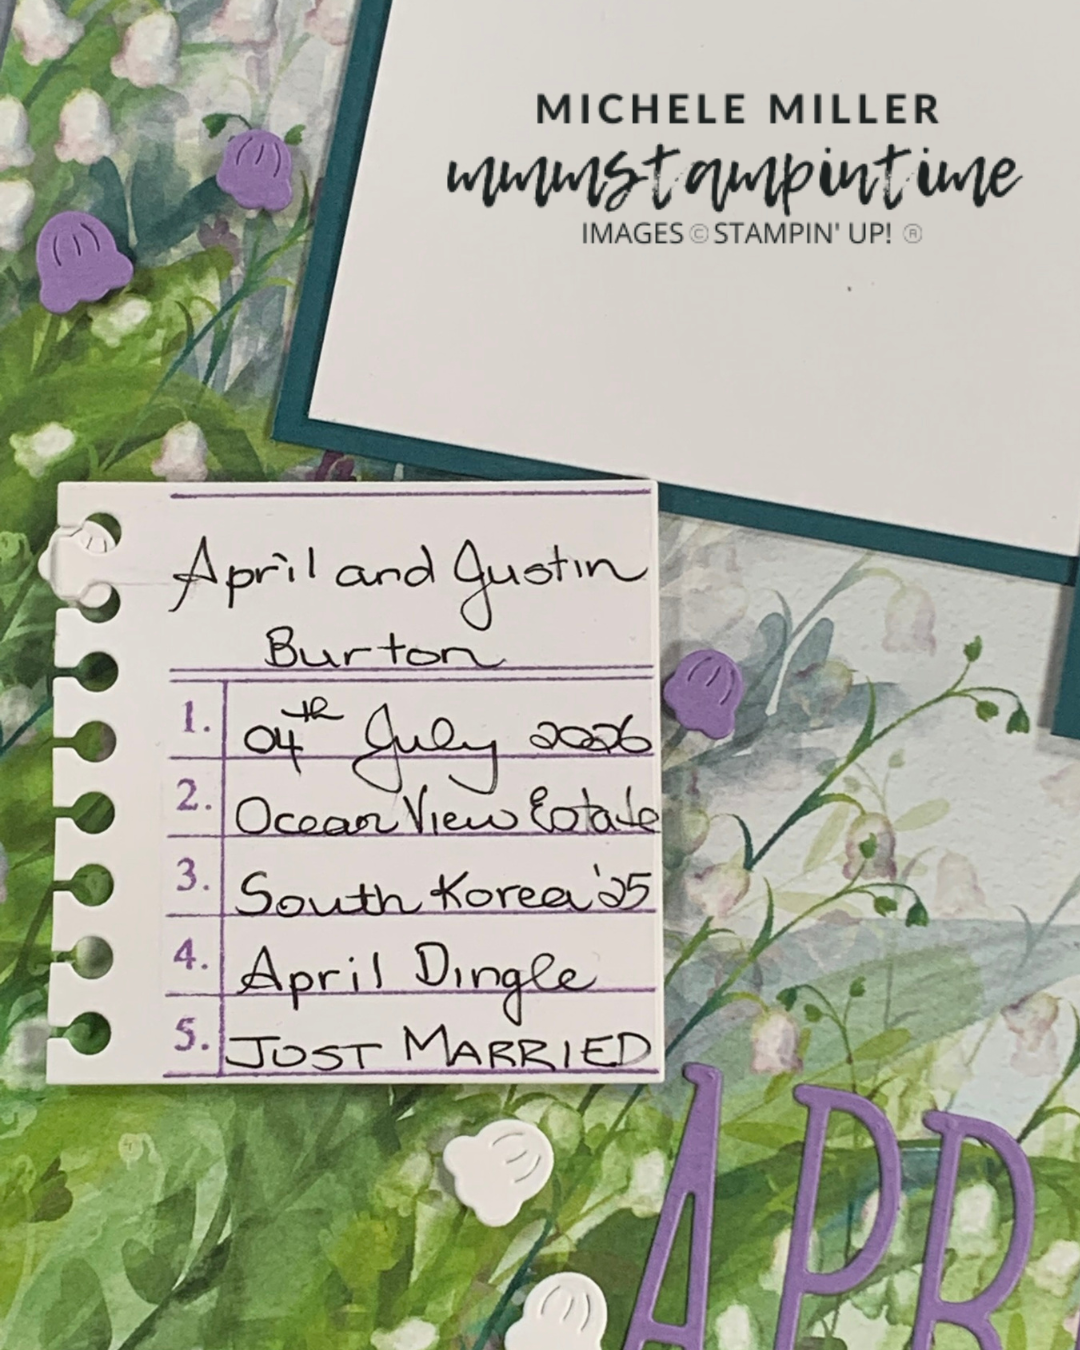
It has been a while since I shared a memory keeping layout. When I saw the Valley in Bloom Designer Series Paper I knew that I wanted to create a page for my daughter’s friend April.
Kate attended April’s wedding in early July and I thought the paper I chose was perfect for this project.
For this layout I added three Pretty Peacock/white photo holders – one 6″x4″ and two $”x3″.
I stamped the numbered notebook image in Highland Heather and die cut it. Both of these are in the Extraordinary Life Bundle. This was then used as a journaling area.
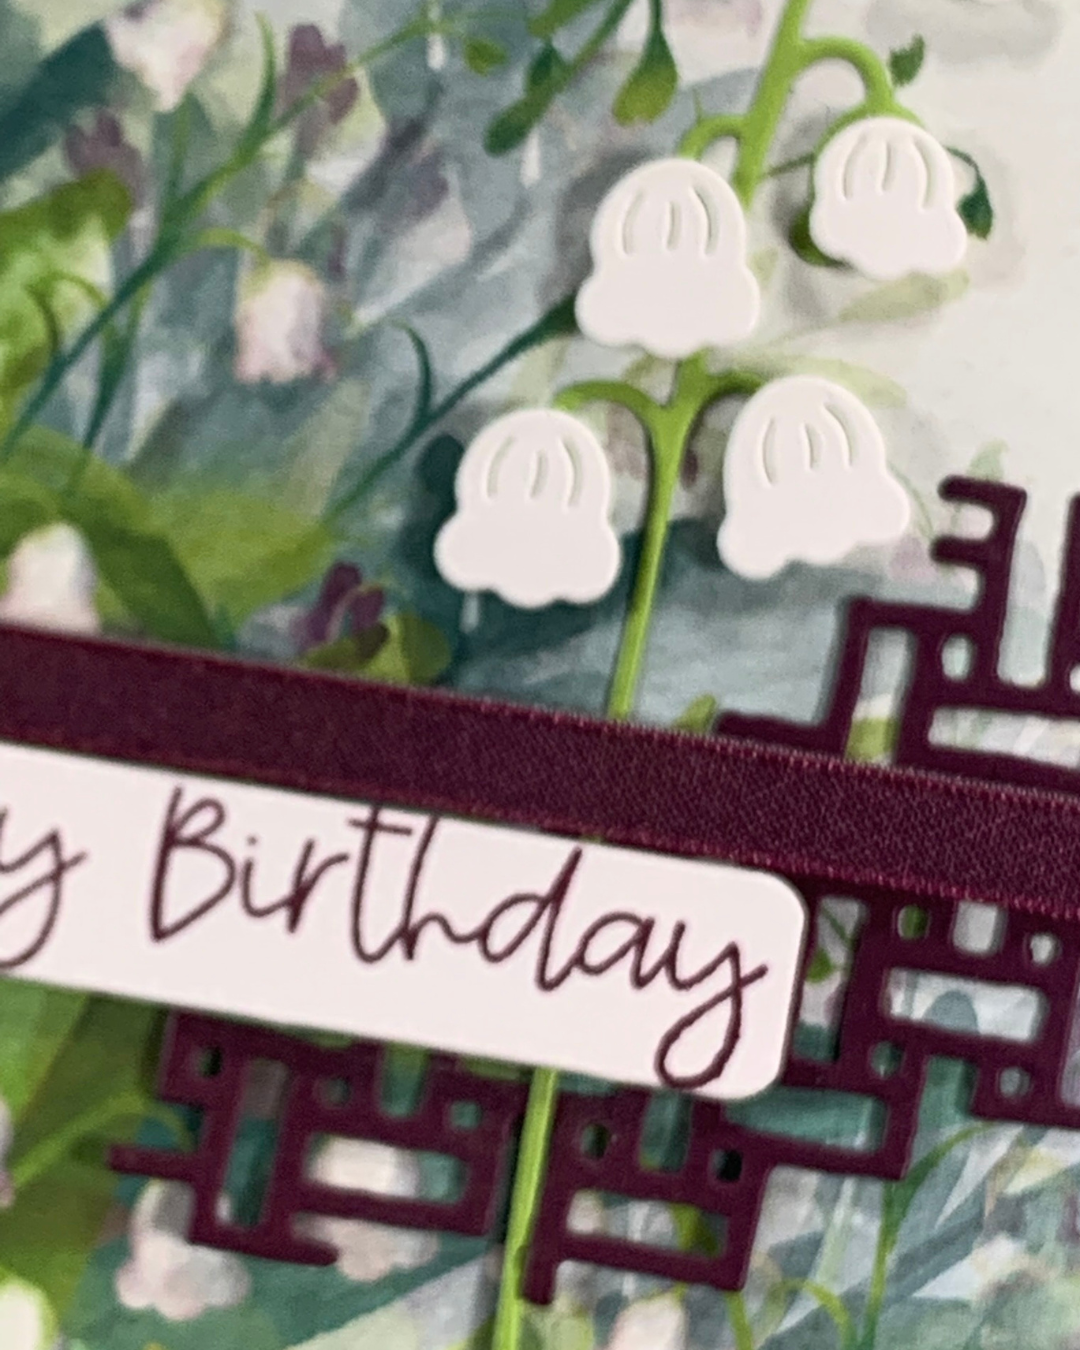
i die cut several small flowers in Highland Heather and Basic White using the Lily of the Valley Dies. The flowers were added to the page using Stampin’ Dimensionals.
Finally, I attached Adhesive Sheets to the back of some Highland Heather card and cut out letters for the title using the Alphabet a la Mode Dies.
After Kate gives her friend this layout, April can choose the photos she wants to add and then pop it in a shadowbox frame.
Although this is a simple layout it is a great way to showcase the design of the paper.
Tomorrow I have a technique card to share with you.
Until then, happy stamping and memory keeping.
If you live in Australia, you can order any of the products I used to make this card by going to my online store. Just click on any of the images below.
Product List


![Lily Of The Valley Dies [ 167942 ]](https://i0.wp.com/assets1.tamsnetwork.com/images/EC042017NF/167942s.jpg?w=140&ssl=1 "Lily Of The Valley Dies [ 167942 ]")
![Basic White A4 Thick Cardstock [ 159230 ]](https://i0.wp.com/assets1.tamsnetwork.com/images/EC042017NF/159230s.jpg?w=140&ssl=1 "Basic White A4 Thick Cardstock [ 159230 ]")
![Blackberry Bliss A4 Cardstock [ 133682 ]](https://i0.wp.com/assets1.tamsnetwork.com/images/EC042017NF/133682s.jpg?w=140&ssl=1 "Blackberry Bliss A4 Cardstock [ 133682 ]")
![Granny Apple Green A4 Cardstock [ 147014 ]](https://i0.wp.com/assets1.tamsnetwork.com/images/EC042017NF/147014s.jpg?w=140&ssl=1 "Granny Apple Green A4 Cardstock [ 147014 ]")
![Multipurpose Liquid Glue [ 110755 ]](https://i0.wp.com/assets1.tamsnetwork.com/images/EC042017NF/110755s.jpg?w=140&ssl=1 "Multipurpose Liquid Glue [ 110755 ]")
![Adhesive Sheets [ 152334 ]](https://i0.wp.com/assets1.tamsnetwork.com/images/EC042017NF/152334s.jpg?w=140&ssl=1 "Adhesive Sheets [ 152334 ]")
![Stampin' Dimensionals [ 104430 ]](https://i0.wp.com/assets1.tamsnetwork.com/images/EC042017NF/104430s.jpg?w=140&ssl=1 "Stampin' Dimensionals [ 104430 ]")
![Paper Trimmer [ 152392 ]](https://i0.wp.com/assets1.tamsnetwork.com/images/EC042017NF/152392s.jpg?w=140&ssl=1 "Paper Trimmer [ 152392 ]")
![Stampin' Cut & Emboss Machine [ 149653 ]](https://i0.wp.com/assets1.tamsnetwork.com/images/EC042017NF/149653s.jpg?w=140&ssl=1 "Stampin' Cut & Emboss Machine [ 149653 ]")
![Valley In Bloom Suite Collection (English) [ 167951 ]](https://i0.wp.com/assets1.tamsnetwork.com/images/EC042017NF/167951s.jpg?w=140&ssl=1 "Valley In Bloom Suite Collection (English) [ 167951 ]")
![Valley In Bloom 12" X 12" (30.5 X 30.5 Cm) Designer Series Paper [ 167935 ]](https://i0.wp.com/assets1.tamsnetwork.com/images/EC042017NF/167935s.jpg?w=140&ssl=1 "Valley In Bloom 12\" X 12\" (30.5 X 30.5 Cm) Designer Series Paper [ 167935 ]")
![Berry Burst 1/4" (6.4 Mm) Shiny Ribbon [ 167126 ]](https://i0.wp.com/assets1.tamsnetwork.com/images/EC042017NF/167126s.jpg?w=140&ssl=1 "Berry Burst 1/4\" (6.4 Mm) Shiny Ribbon [ 167126 ]")
![Blackberry Bliss Classic Stampin' Pad [ 147092 ]](https://i0.wp.com/assets1.tamsnetwork.com/images/EC042017NF/147092s.jpg?w=140&ssl=1 "Blackberry Bliss Classic Stampin' Pad [ 147092 ]")



![Bordered In Beauty Dies [ 167556 ]](https://i0.wp.com/assets1.tamsnetwork.com/images/EC042017NF/167556s.jpg?w=140&ssl=1 "Bordered In Beauty Dies [ 167556 ]")
![Floral Spray 3 D Embossing Folder [ 167946 ]](https://i0.wp.com/assets1.tamsnetwork.com/images/EC042017NF/167946s.jpg?w=140&ssl=1 "Floral Spray 3 D Embossing Folder [ 167946 ]")
![2026–2028 In Color™ Dots [ 167546 ]](https://i0.wp.com/assets1.tamsnetwork.com/images/EC042017NF/167546s.jpg?w=140&ssl=1 "2026–2028 In Color™ Dots [ 167546 ]")
![Peaceful Pine A4 Cardstock [ 167692 ]](https://i0.wp.com/assets1.tamsnetwork.com/images/EC042017NF/167692s.jpg?w=140&ssl=1 "Peaceful Pine A4 Cardstock [ 167692 ]")
![Timid Tiger A4 Cardstock [ 165298 ]](https://i0.wp.com/assets1.tamsnetwork.com/images/EC042017NF/165298s.jpg?w=140&ssl=1 "Timid Tiger A4 Cardstock [ 165298 ]")
![Peaceful Pine Classic Stampin Pad [ 167679 ]](https://i0.wp.com/assets1.tamsnetwork.com/images/EC042017NF/167679s.jpg?w=140&ssl=1 "Peaceful Pine Classic Stampin Pad [ 167679 ]")
![Barely Blush Shimmer Brush [ 167664 ]](https://i0.wp.com/assets1.tamsnetwork.com/images/EC042017NF/167664s.jpg?w=140&ssl=1 "Barely Blush Shimmer Brush [ 167664 ]")


![Extraordinary Life Bundle (English) [ 167719 ]](https://i0.wp.com/assets1.tamsnetwork.com/images/EC042017NF/167719s.jpg?w=140&ssl=1 "Extraordinary Life Bundle (English) [ 167719 ]")
![Extraordinary Life Photopolymer Stamp Set (English) [ 167713 ]](https://i0.wp.com/assets1.tamsnetwork.com/images/EC042017NF/167713s.jpg?w=140&ssl=1 "Extraordinary Life Photopolymer Stamp Set (English) [ 167713 ]")
![Extraordinary Life Dies [ 167718 ]](https://i0.wp.com/assets1.tamsnetwork.com/images/EC042017NF/167718s.jpg?w=140&ssl=1 "Extraordinary Life Dies [ 167718 ]")
![Alphabet à La Mode Dies [ 160750 ]](https://i0.wp.com/assets1.tamsnetwork.com/images/EC042017NF/160750s.jpg?w=140&ssl=1 "Alphabet à La Mode Dies [ 160750 ]")
![Highland Heather A4 Cardstock [ 147010 ]](https://i0.wp.com/assets1.tamsnetwork.com/images/EC042017NF/147010s.jpg?w=140&ssl=1 "Highland Heather A4 Cardstock [ 147010 ]")
![Pretty Peacock A4 Cardstock [ 150886 ]](https://i0.wp.com/assets1.tamsnetwork.com/images/EC042017NF/150886s.jpg?w=140&ssl=1 "Pretty Peacock A4 Cardstock [ 150886 ]")
![Highland Heather Classic Stampin' Pad [ 147103 ]](https://i0.wp.com/assets1.tamsnetwork.com/images/EC042017NF/147103s.jpg?w=140&ssl=1 "Highland Heather Classic Stampin' Pad [ 147103 ]")
![Black .04 Stampin' Journaling Pens [ 166647 ]](https://i0.wp.com/assets1.tamsnetwork.com/images/EC042017NF/166647s.jpg?w=140&ssl=1 "Black .04 Stampin' Journaling Pens [ 166647 ]")




