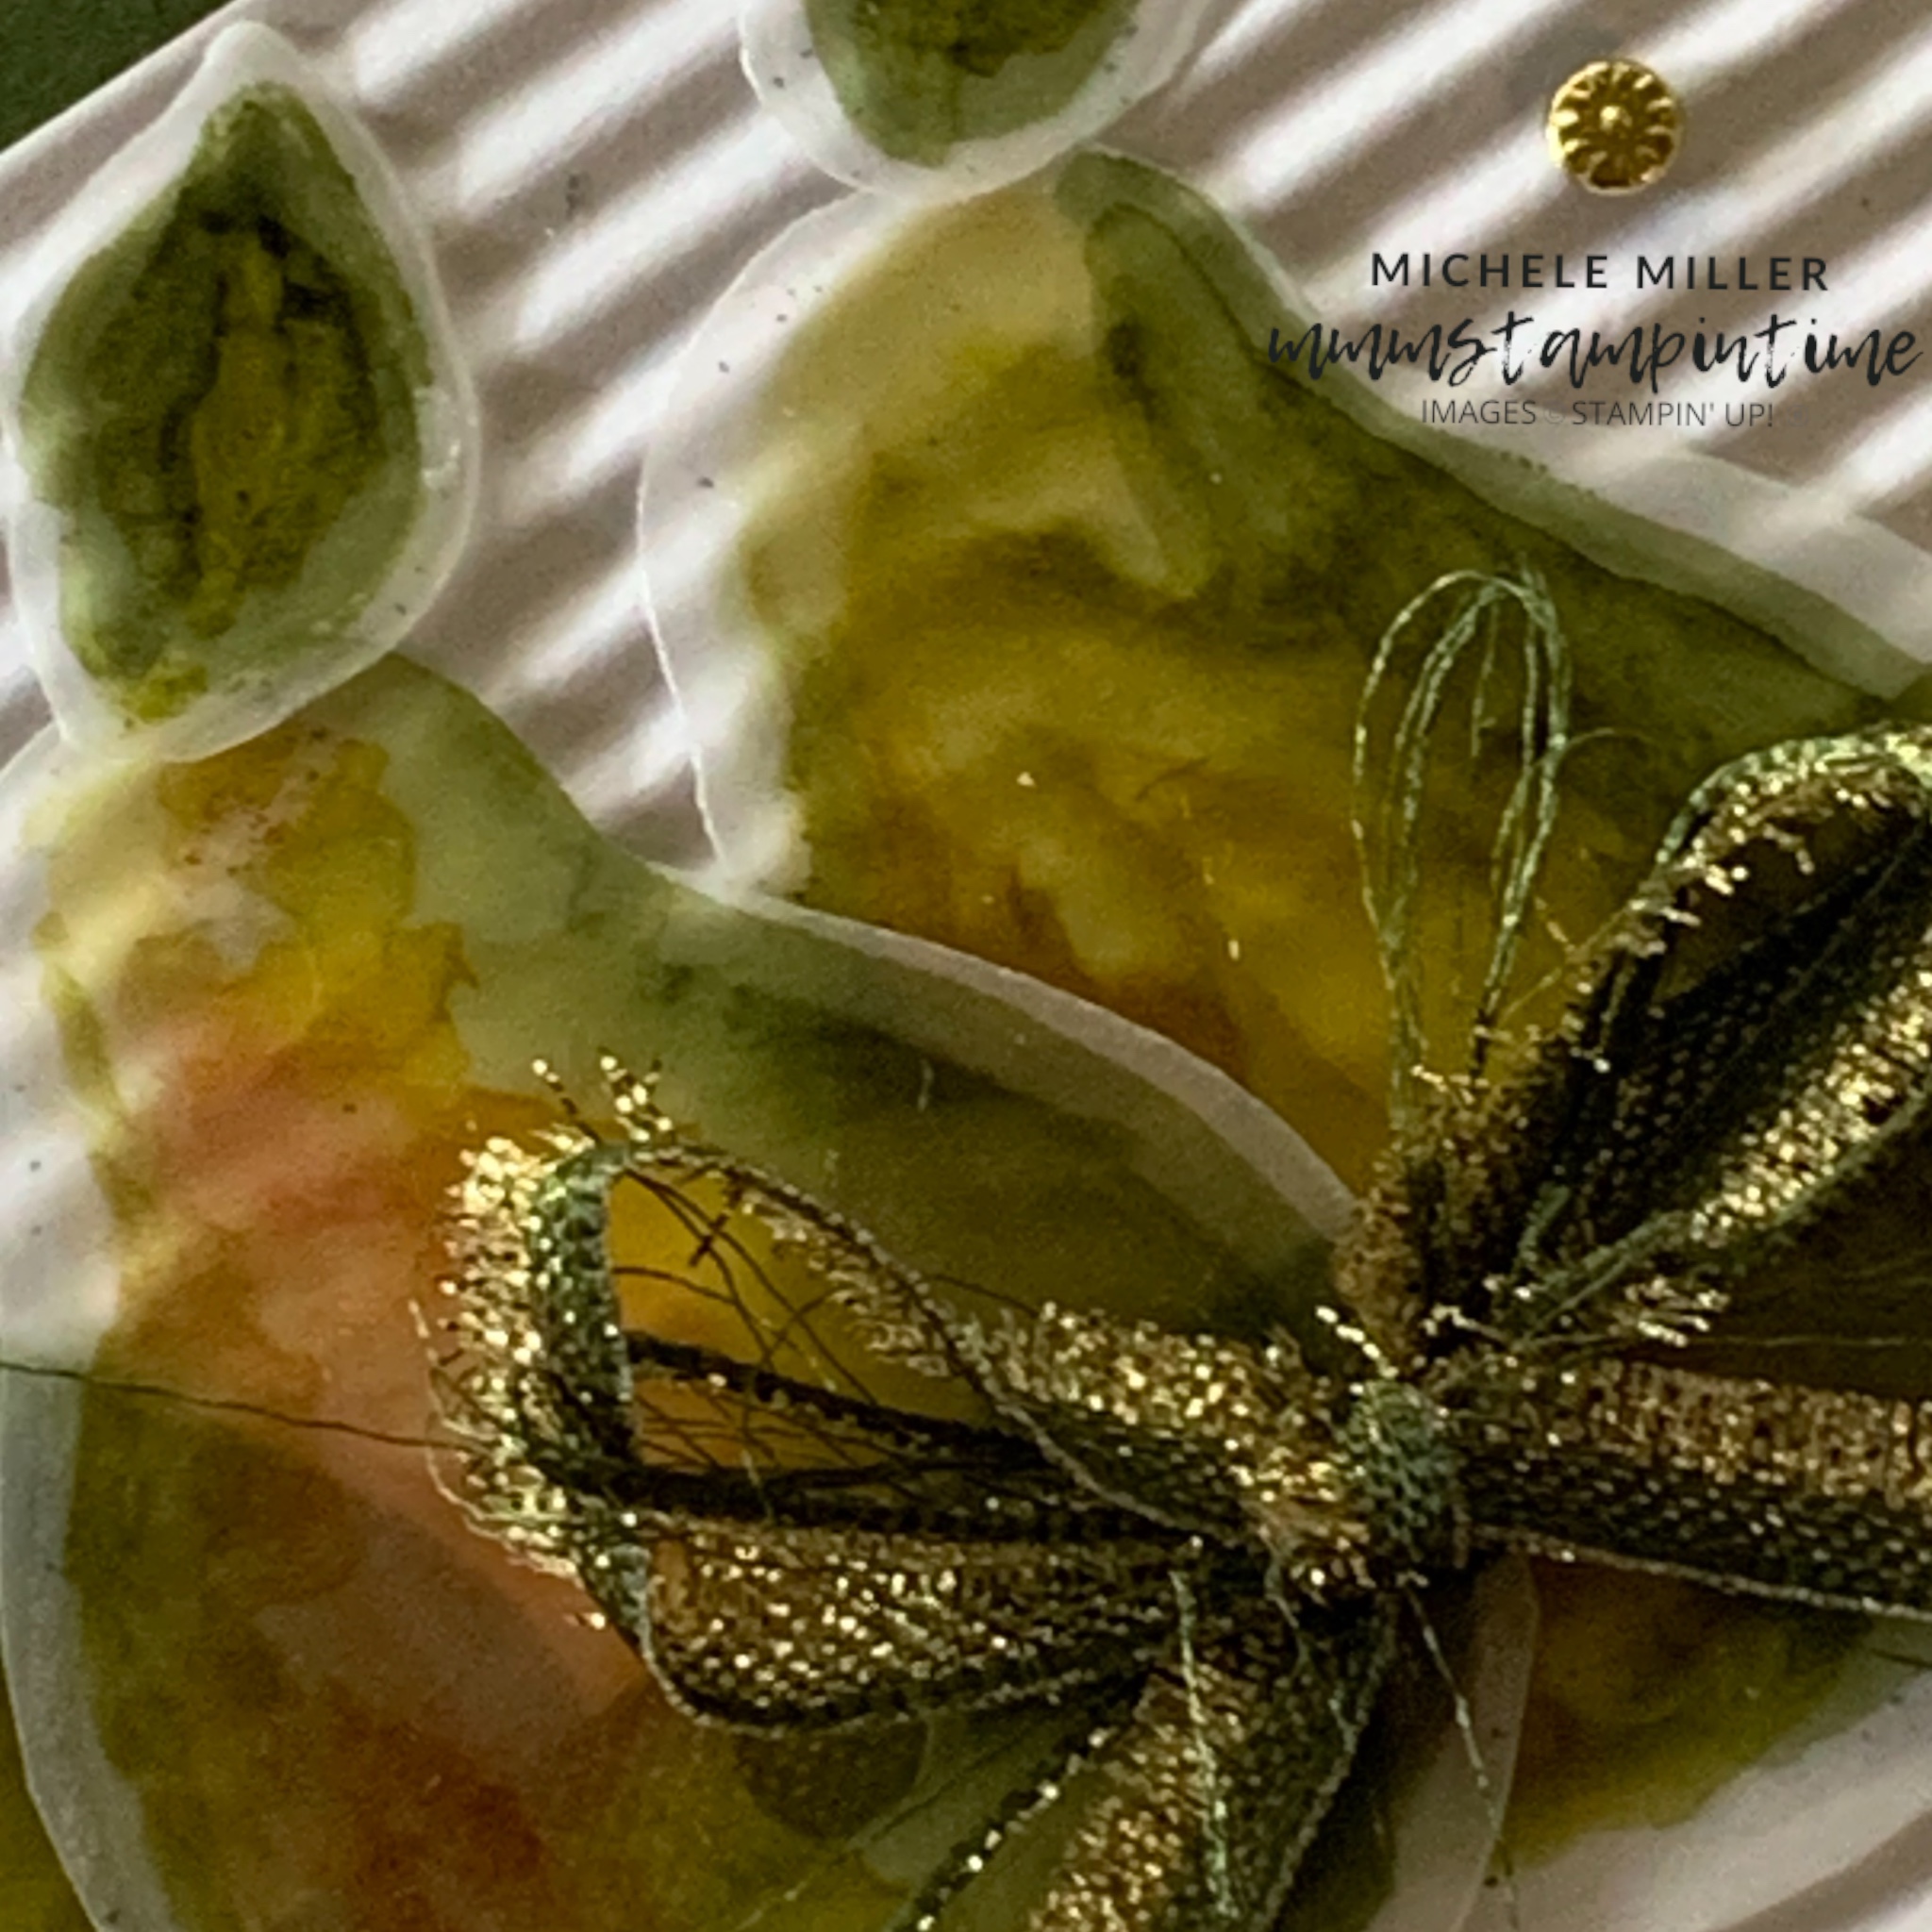
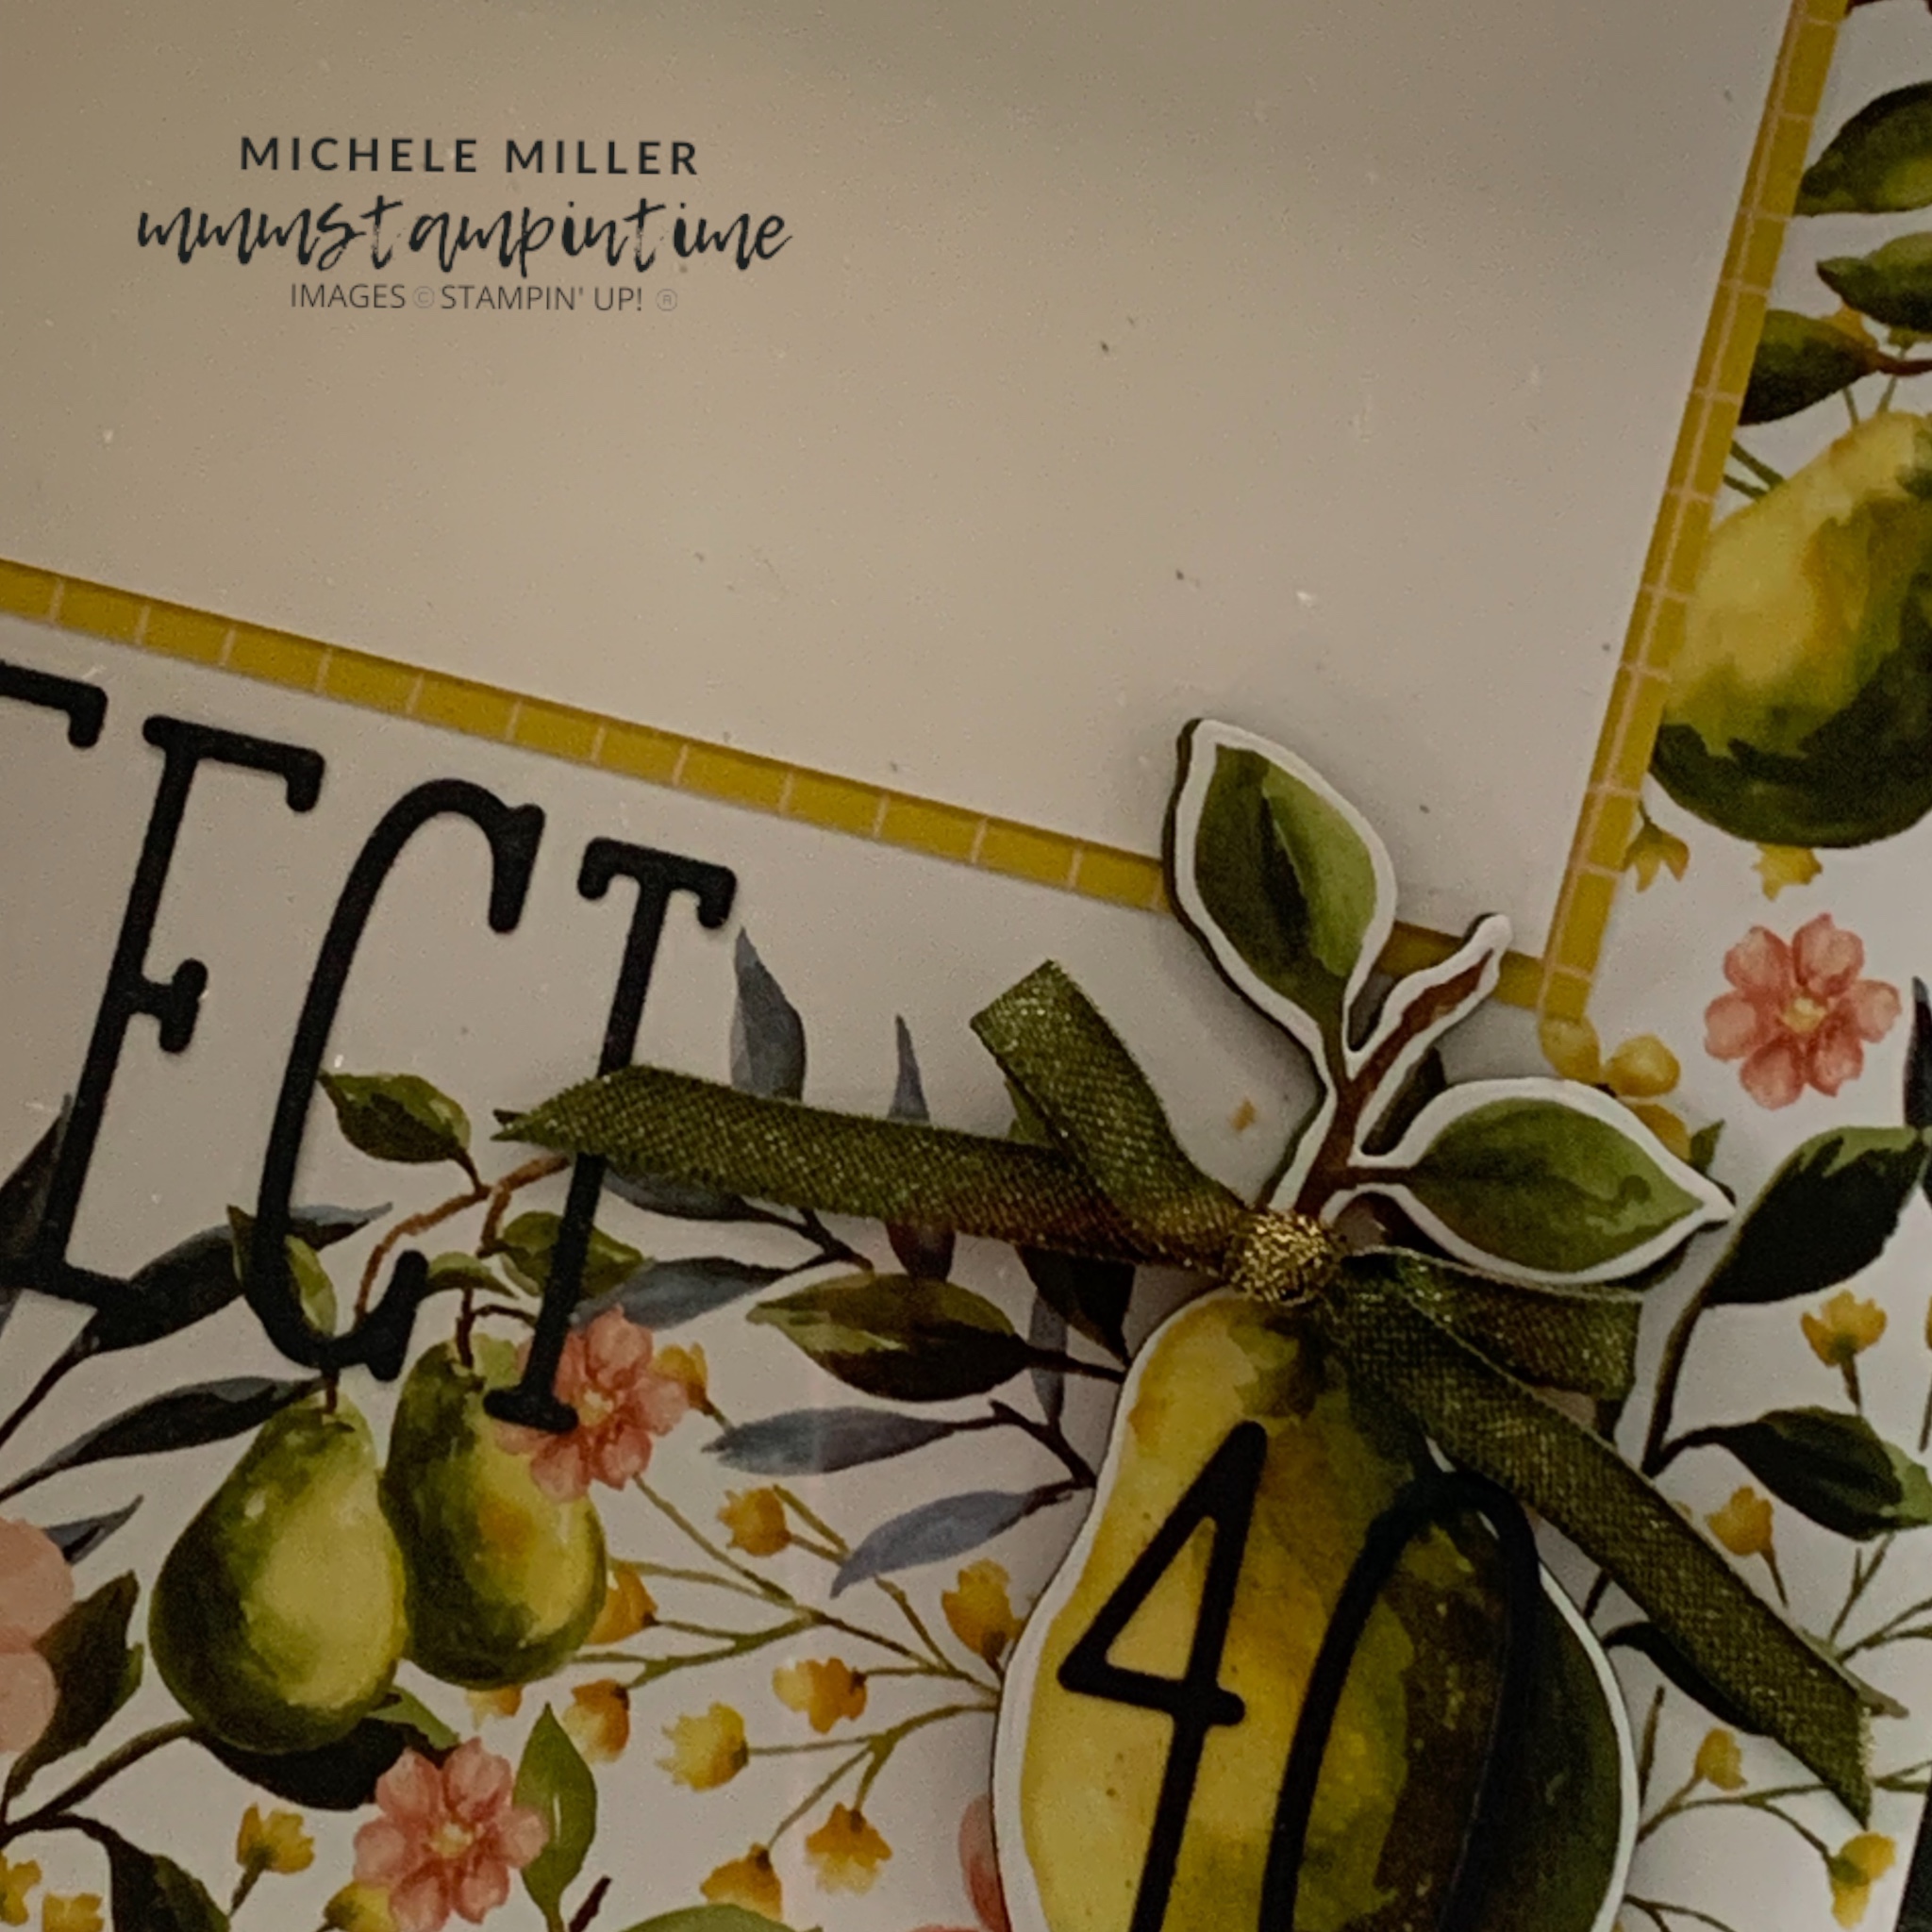
Today I have a card, featuring the soon-to-be-released Painterly Pears Suite Collection, and three great techniques to share with you.
The techniques are: DRY EMBOSSING, HEAT EMBOSSING and ALCOHOL INK COLOURING.

For this card I started with a Mossy Meadow landscape card base.
Then I DRY EMBOSSED a piece of Basic White card using the Mini Corrugated 3D Embossing Folder.
For the five pears and leaves, I stamped the images using Versamark and the clear embossing powder from the Basics WOW! Embossing Powder.
After HEAT EMBOSSING the images, I die cut the shapes.
I coloured each of the pears and leaves using Stampin’ Blends – ALCOHOL INK COLOURING.

I used several Stampin’ Blends to colour each of the pears and leaves – Daffodil Delight, Mossy Meadow, Old Olive and Real Red.
A length of Mossy Meadow & Gold Trim was wrapped around the corrugated white panel. Then, using Mini Glue Dots, I positioned the pears under and above the ribbon. Each of the leaves were then added at the top of each pear.
I took another length of the ribbon and cut it into strips – using the ‘Tammy technique’. These strips were then tied into a bow and secured to the front of the card.
The greeting was stamped and trimmed, with a banner end, before I added it to the card front.
Finally I added some Flower Accents to the card.

The card insert and back of the envelope each had the double pear image stamped.
Tomorrow I have another card project to share with you.
Until then, happy stamping and scrapbooking.

If you live in Australia, you can order any of the products I used to make this card by going to my online store. As you read through this post, you will see the products I used for this project. The new Online Exclusive items are available from July 2025.

![Flower Accents [ 165171 ]](https://i0.wp.com/assets1.tamsnetwork.com/images/EC042017NF/165171s.jpg?w=140&ssl=1 "Flower Accents [ 165171 ]") | ![Basic White A4 Cardstock [ 166781 ]](https://i0.wp.com/assets1.tamsnetwork.com/images/EC042017NF/166781s.jpg?w=140&ssl=1 "Basic White A4 Cardstock [ 166781 ]") | ![Secret Sea A4 Cardstock [ 165296 ]](https://i0.wp.com/assets1.tamsnetwork.com/images/EC042017NF/165296s.jpg?w=140&ssl=1 "Secret Sea A4 Cardstock [ 165296 ]") | ![White Vellum A4 Card Stock [ 106584 ]](https://i0.wp.com/assets1.tamsnetwork.com/images/EC042017NF/106584s.jpg?w=140&ssl=1 "White Vellum A4 Card Stock [ 106584 ]") | |
![Secret Sea Classic Stampin' Pad [ 165285 ]](https://i0.wp.com/assets1.tamsnetwork.com/images/EC042017NF/165285s.jpg?w=140&ssl=1 "Secret Sea Classic Stampin' Pad [ 165285 ]") | ||||
![Multipurpose Liquid Glue [ 110755 ]](https://i0.wp.com/assets1.tamsnetwork.com/images/EC042017NF/110755s.jpg?w=140&ssl=1 "Multipurpose Liquid Glue [ 110755 ]") | ![Stampin' Dimensionals [ 104430 ]](https://i0.wp.com/assets1.tamsnetwork.com/images/EC042017NF/104430s.jpg?w=140&ssl=1 "Stampin' Dimensionals [ 104430 ]") | ![Mini Glue Dots [ 103683 ]](https://i0.wp.com/assets1.tamsnetwork.com/images/EC042017NF/103683s.jpg?w=140&ssl=1 "Mini Glue Dots [ 103683 ]") | ![Paper Snips [ 103579 ]](https://i0.wp.com/assets1.tamsnetwork.com/images/EC042017NF/103579s.jpg?w=140&ssl=1 "Paper Snips [ 103579 ]") | ![Paper Trimmer [ 152392 ]](https://i0.wp.com/assets1.tamsnetwork.com/images/EC042017NF/152392s.jpg?w=140&ssl=1 "Paper Trimmer [ 152392 ]") |
![Stampin' Cut & Emboss Machine [ 149653 ]](https://i0.wp.com/assets1.tamsnetwork.com/images/EC042017NF/149653s.jpg?w=140&ssl=1 "Stampin' Cut & Emboss Machine [ 149653 ]") | ![Basic White C6 Envelopes [ 159235 ]](https://i0.wp.com/assets1.tamsnetwork.com/images/EC042017NF/159235s.jpg?w=140&ssl=1 "Basic White C6 Envelopes [ 159235 ]") |
![Mini Corrugated 3 D Embossing Folder [ 165559 ]](https://i0.wp.com/assets1.tamsnetwork.com/images/EC042017NF/165559s.jpg?w=140&ssl=1 "Mini Corrugated 3 D Embossing Folder [ 165559 ]")
![Daffodil Delight Stampin' Blends Combo Pack [ 154883 ]](https://i0.wp.com/assets1.tamsnetwork.com/images/EC042017NF/154883s.jpg?w=140&ssl=1 "Daffodil Delight Stampin' Blends Combo Pack [ 154883 ]")
![Mossy Meadow Stampin' Blends Combo Pack [ 154890 ]](https://i0.wp.com/assets1.tamsnetwork.com/images/EC042017NF/154890s.jpg?w=140&ssl=1 "Mossy Meadow Stampin' Blends Combo Pack [ 154890 ]")
![Old Olive Stampin' Blends Combo Pack [ 154892 ]](https://i0.wp.com/assets1.tamsnetwork.com/images/EC042017NF/154892s.jpg?w=140&ssl=1 "Old Olive Stampin' Blends Combo Pack [ 154892 ]")
![Real Red Stampin' Blends Combo Pack [ 154899 ]](https://i0.wp.com/assets1.tamsnetwork.com/images/EC042017NF/154899s.jpg?w=140&ssl=1 "Real Red Stampin' Blends Combo Pack [ 154899 ]")



![Alphabet à La Mode Dies [ 160750 ]](https://i0.wp.com/assets1.tamsnetwork.com/images/EC042017NF/160750s.jpg?w=140&ssl=1 "Alphabet à La Mode Dies [ 160750 ]")
![Daffodil Delight A4 Card Stock [ 121680 ]](https://i0.wp.com/assets1.tamsnetwork.com/images/EC042017NF/121680s.jpg?w=140&ssl=1 "Daffodil Delight A4 Card Stock [ 121680 ]")



![Boho Vibes Suite Collection (English) [ 165156 ]](https://i0.wp.com/assets1.tamsnetwork.com/images/EC042017NF/165156s.jpg?w=140&ssl=1 "Boho Vibes Suite Collection (English) [ 165156 ]")
![Sunshine Vibes Photopolymer Stamp Set (English) [ 165146 ]](https://i0.wp.com/assets1.tamsnetwork.com/images/EC042017NF/165146s.jpg?w=140&ssl=1 "Sunshine Vibes Photopolymer Stamp Set (English) [ 165146 ]")
![Sunshine Vibes Dies [ 165151 ]](https://i0.wp.com/assets1.tamsnetwork.com/images/EC042017NF/165151s.jpg?w=140&ssl=1 "Sunshine Vibes Dies [ 165151 ]")
![Boho Vibes 6" X 6" (15.2 X 15.2 Cm) Designer Series Paper [ 165144 ]](https://i0.wp.com/assets1.tamsnetwork.com/images/EC042017NF/165144s.jpg?w=140&ssl=1 "Boho Vibes 6\" X 6\" (15.2 X 15.2 Cm) Designer Series Paper [ 165144 ]")
![Stylish Shapes Dies [ 159183 ]](https://i0.wp.com/assets1.tamsnetwork.com/images/EC042017NF/159183s.jpg?w=140&ssl=1 "Stylish Shapes Dies [ 159183 ]")
![Cajun Craze Classic Stampin' Pad [ 147085 ]](https://i0.wp.com/assets1.tamsnetwork.com/images/EC042017NF/147085s.jpg?w=140&ssl=1 "Cajun Craze Classic Stampin' Pad [ 147085 ]")
![Night Of Navy Classic Stampin' Pad [ 147110 ]](https://i0.wp.com/assets1.tamsnetwork.com/images/EC042017NF/147110s.jpg?w=140&ssl=1 "Night Of Navy Classic Stampin' Pad [ 147110 ]")
![Night Of Navy A4 Card Stock [ 106577 ]](https://i0.wp.com/assets1.tamsnetwork.com/images/EC042017NF/106577s.jpg?w=140&ssl=1 "Night Of Navy A4 Card Stock [ 106577 ]")
![Window Sheets [ 142314 ]](https://i0.wp.com/assets1.tamsnetwork.com/images/EC042017NF/142314s.jpg?w=140&ssl=1 "Window Sheets [ 142314 ]")
![Foam Adhesive Strips [ 141825 ]](https://i0.wp.com/assets1.tamsnetwork.com/images/EC042017NF/141825s.jpg?w=140&ssl=1 "Foam Adhesive Strips [ 141825 ]")
![Mini Stampin' Cut & Emboss Machine [ 150673 ]](https://i0.wp.com/assets1.tamsnetwork.com/images/EC042017NF/150673s.jpg?w=140&ssl=1 "Mini Stampin' Cut & Emboss Machine [ 150673 ]")




