Today I have two projects to share with you. They both use a masking and blending colouring technique … one is a card and the second is a 3D project.
For these projects I wanted to use Masking Paper to create two sunset scenes by adding colour with my Blending Brushes.

When I started to colour these backgrounds, I punched a circle from a piece of Masking Paper. After positioning the masking paper on the Basic White panel, with a piece of grid paper as a guide, I began to add Daffodil Delight ink to colour the setting sun.
TIP: After you add ink to your Blending Brush, start using a circular brushing technique OFF the card stock. This way you will avoid adding a big splotch of colour . Continue using the circular brusging technique and slowly move the brush across the card, building up colour as you go.
I used other layers of Masking Paper to create the rest of my card background.

The Classic Stampin’ Pads that I used to colour the sunset image were (alphabetically) – Cajun Craze, Cherry Cobbler, Crushed Curry, Daffodil Delight, Gorgeous Grape, Pumpkin Pie and Real Red
After I finished blending the sunset background I die cut the ‘shadow’ elements using Basic Black cardstock.
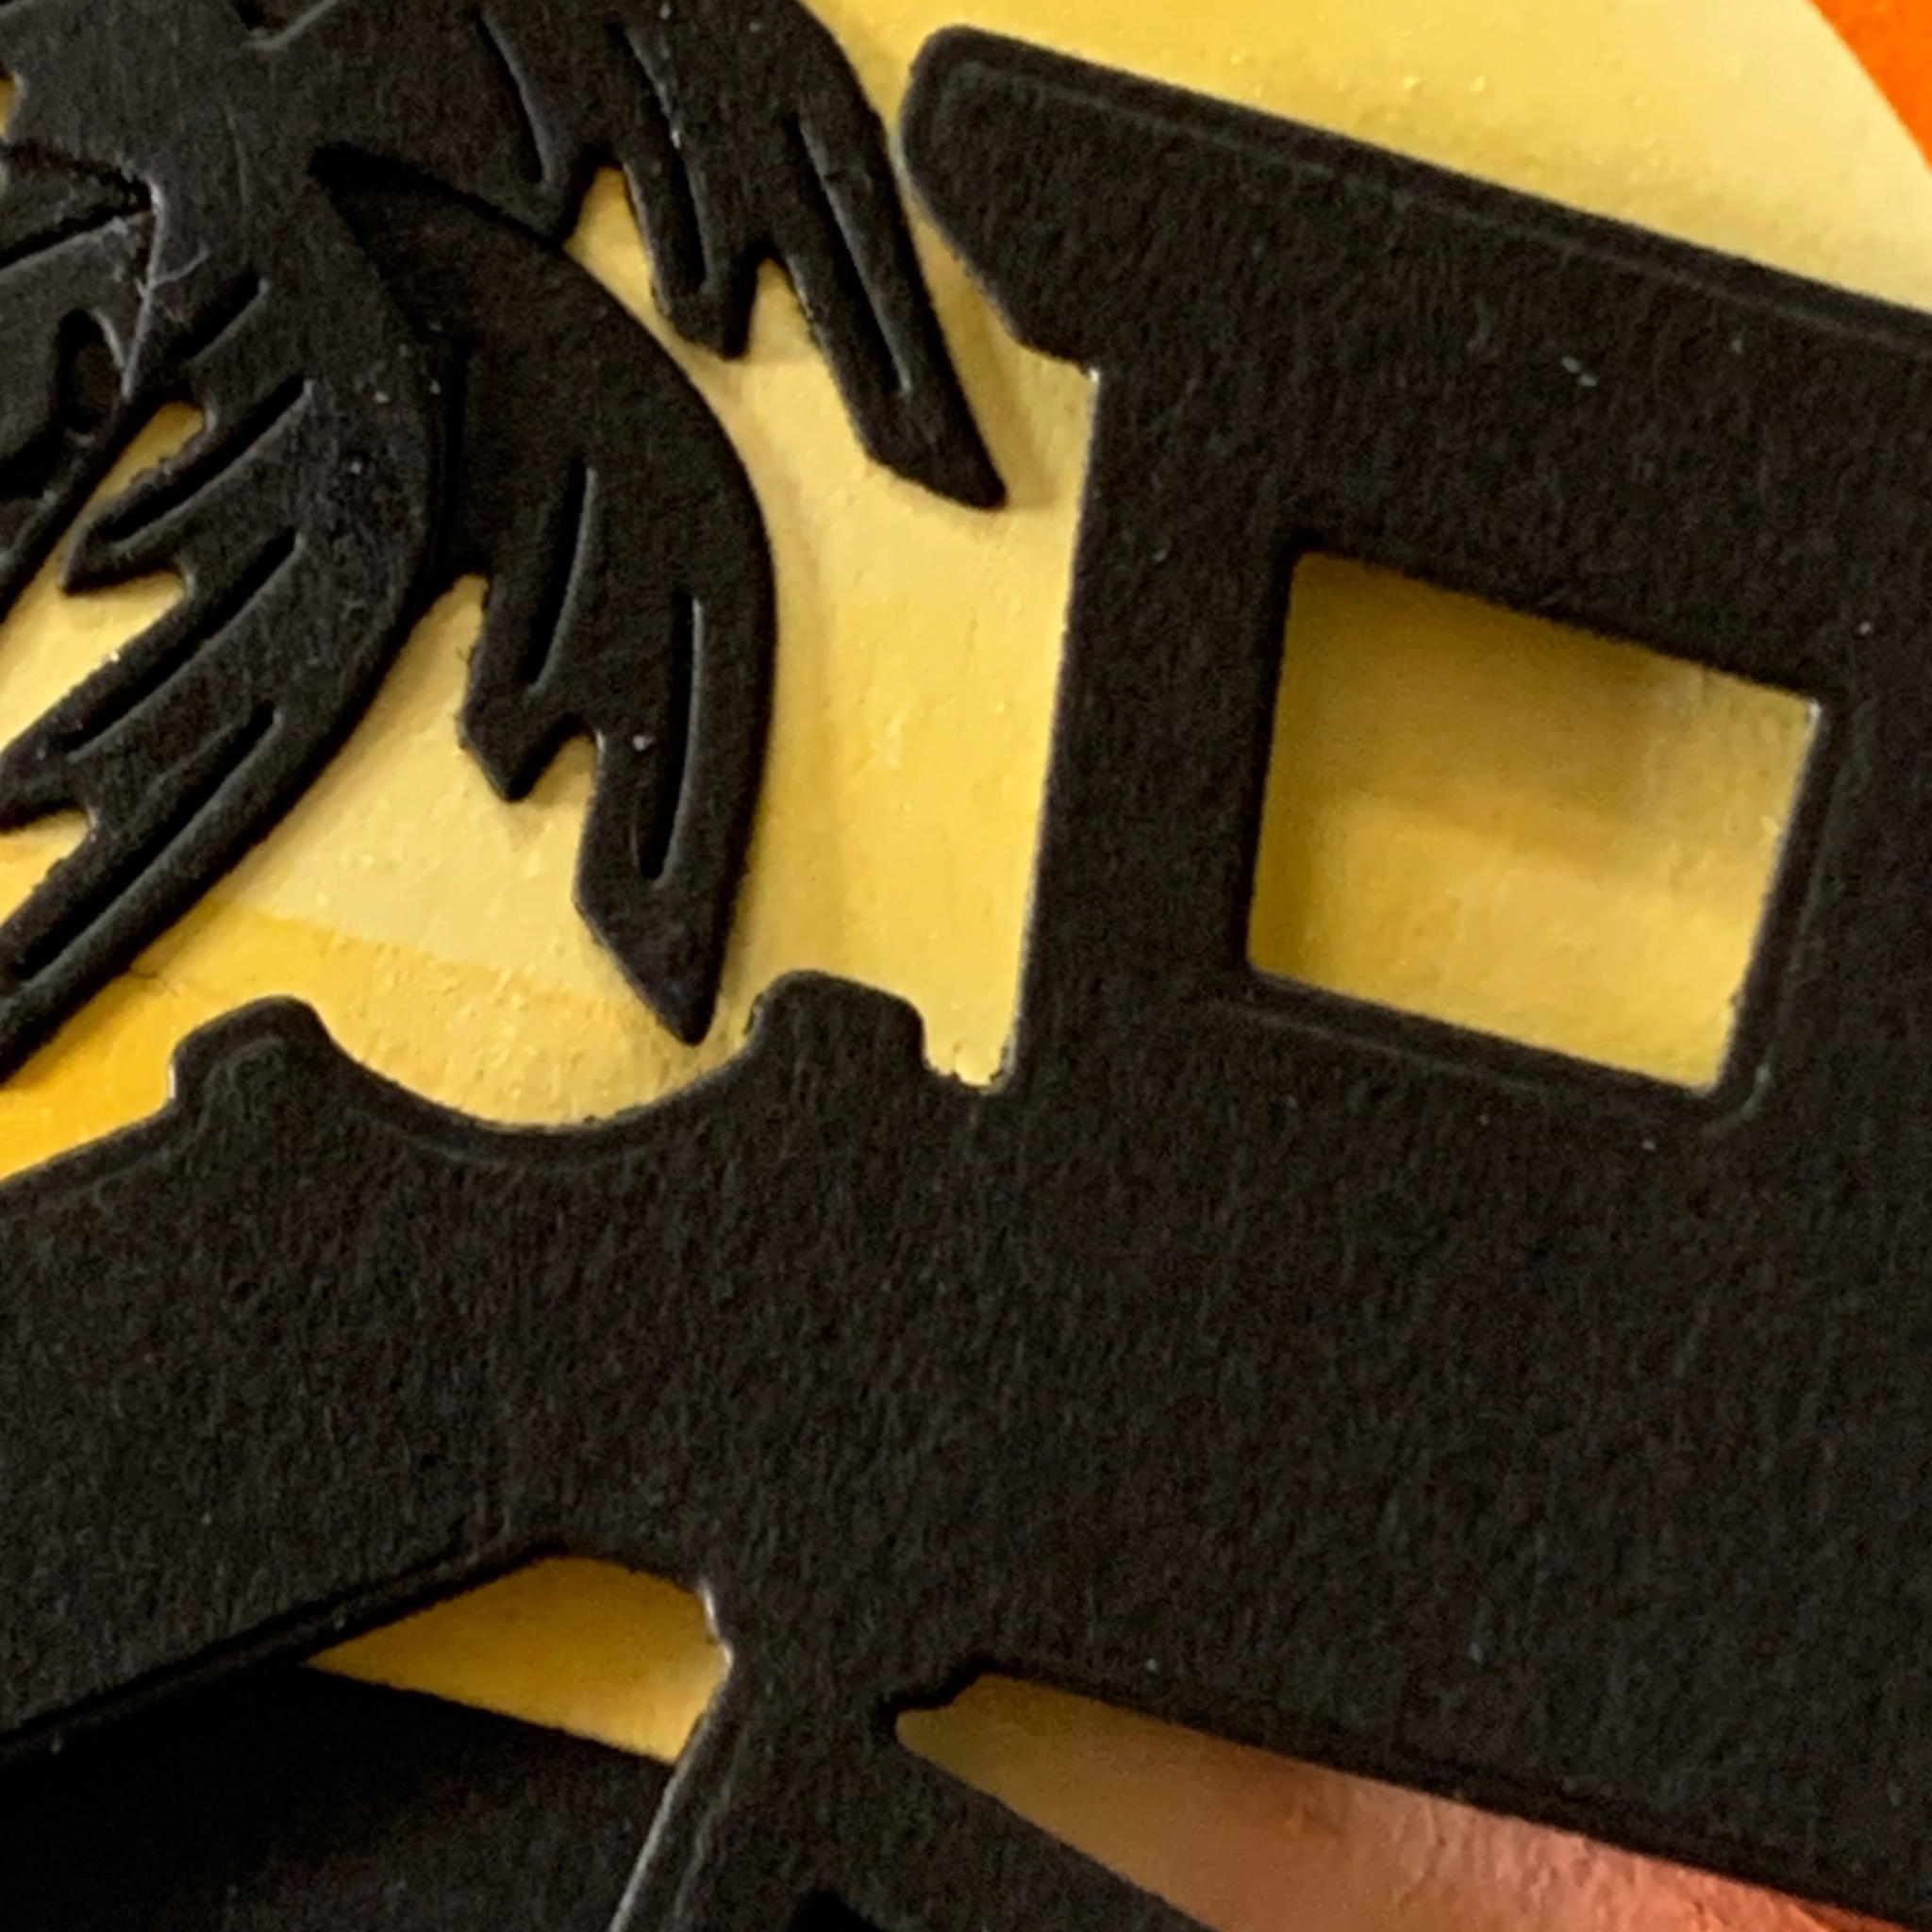
The beach element was created using the wavy die. Then the life savers’ hut was cut from Basic Black card also.
Finally, I die cut the seagulls and palm tree elements in black card as well.
These pieces were then adhered to the front of the card using Multipurpose Adhesive and Stampin’ Dimensionals.

The 3D project I made for todayalso used a sunset brushed scene.
I found a white chocolate and orange sphere that is wrapped in an orange and yellow foil – it looks just like a gorgeous sun.
The gift box I made, for this chocolate, is a perfect fit.

The gift box is made from 12″x 12″ Pumpkin Pie cardstock. After cutting and scoring the box, I used one of the Deckled Circles Dies to cut out two ‘peepholes’.

For the top and the back of the box, I cut some pieces of Gorgeous Grape card and added texture with the circles Cheery Patterns Embossing Folder.

After adhering them in place, I stamped the greeting onto Basic White card and cut it with a smaller Deckled Circles Die. I added a die cut Pumpkin Pie circle under the greeting. Before adding this layered circles to the top of the box, I took some of the blended sunset scraps and created two banner cut strips.


I am so happy with the way my blended sunset scenes turned out.

Tomorrow I have a Fun Fold Card to share with you.
Until then, happy stamping.

If you live in Australia, you can order any of the products I used to make this card by going to my online store. Just click on any of the images below.

") |  |  | |
 Circle Punch") |  |  |  |
 |  |  |  |
 | |||
 |  |  |  |
 |  |  |  |
 |  |  |  |
| |  |  | |
| | | | |
")


