Posted on Leave a comment

IT’S MONDAY & THAT MEANS IT IS TIME TO HIGHLIGHT SOME NEW STAMPIN’ UP! PRODUCTS

This week I am highlighting two sets of products because they coordinate so well.

The first is the Just Kiddin’ Suite Collection.

The second bundle is the Filled with Fun Bundle.

For my first card, I decided to fussy cut some of the images from the designer series paper to create a birthday card.

I started with a Poppy Parade card base.

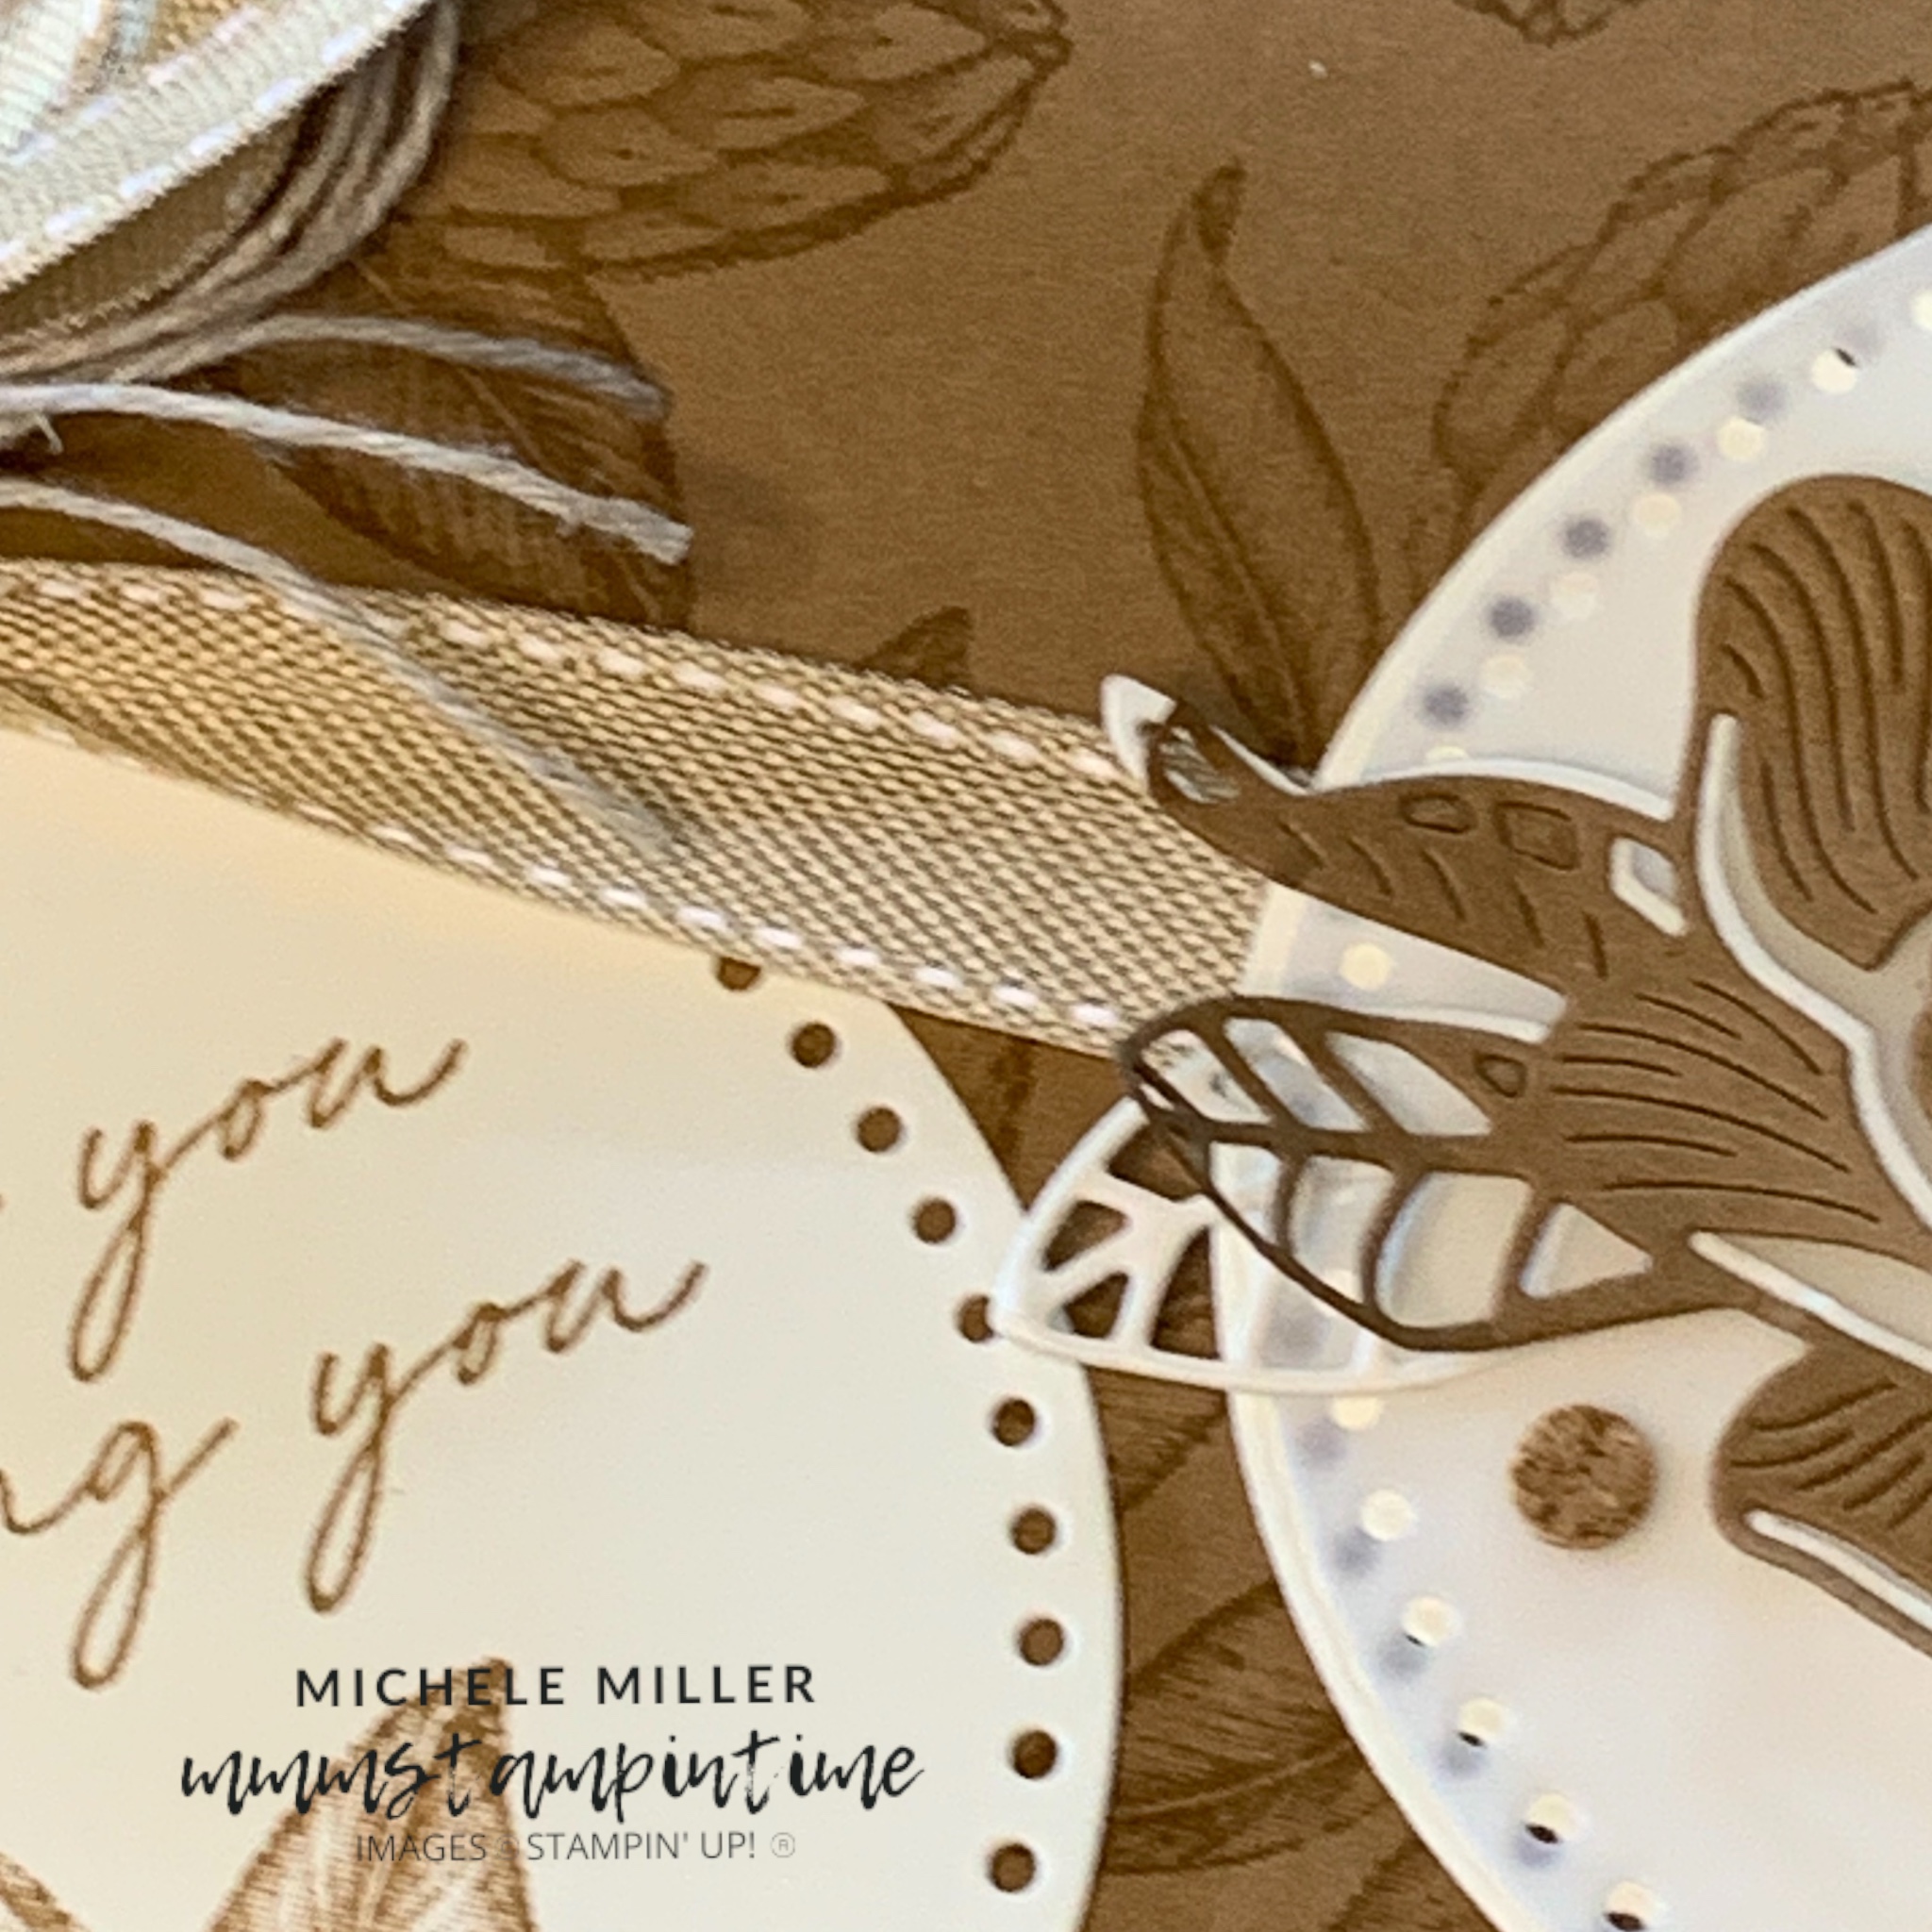
Then embossed Basic White layer, using the soon to be released So Swirly Embossing Folder.

I took a length of white ribbon from the soon to released Petal Pink & White 1/4″ Diagonal Trim and coloured it with the Dark Poppy Parade Stampin’ Blend pen.

The ribbon was wrapped around the embossed layer and secured with Tear & Tape. I used a shirt length of coloured ribbon to tie onto the length of ribbon.

I used Multipurpose Glue to adhere the embossed layer to the card base.

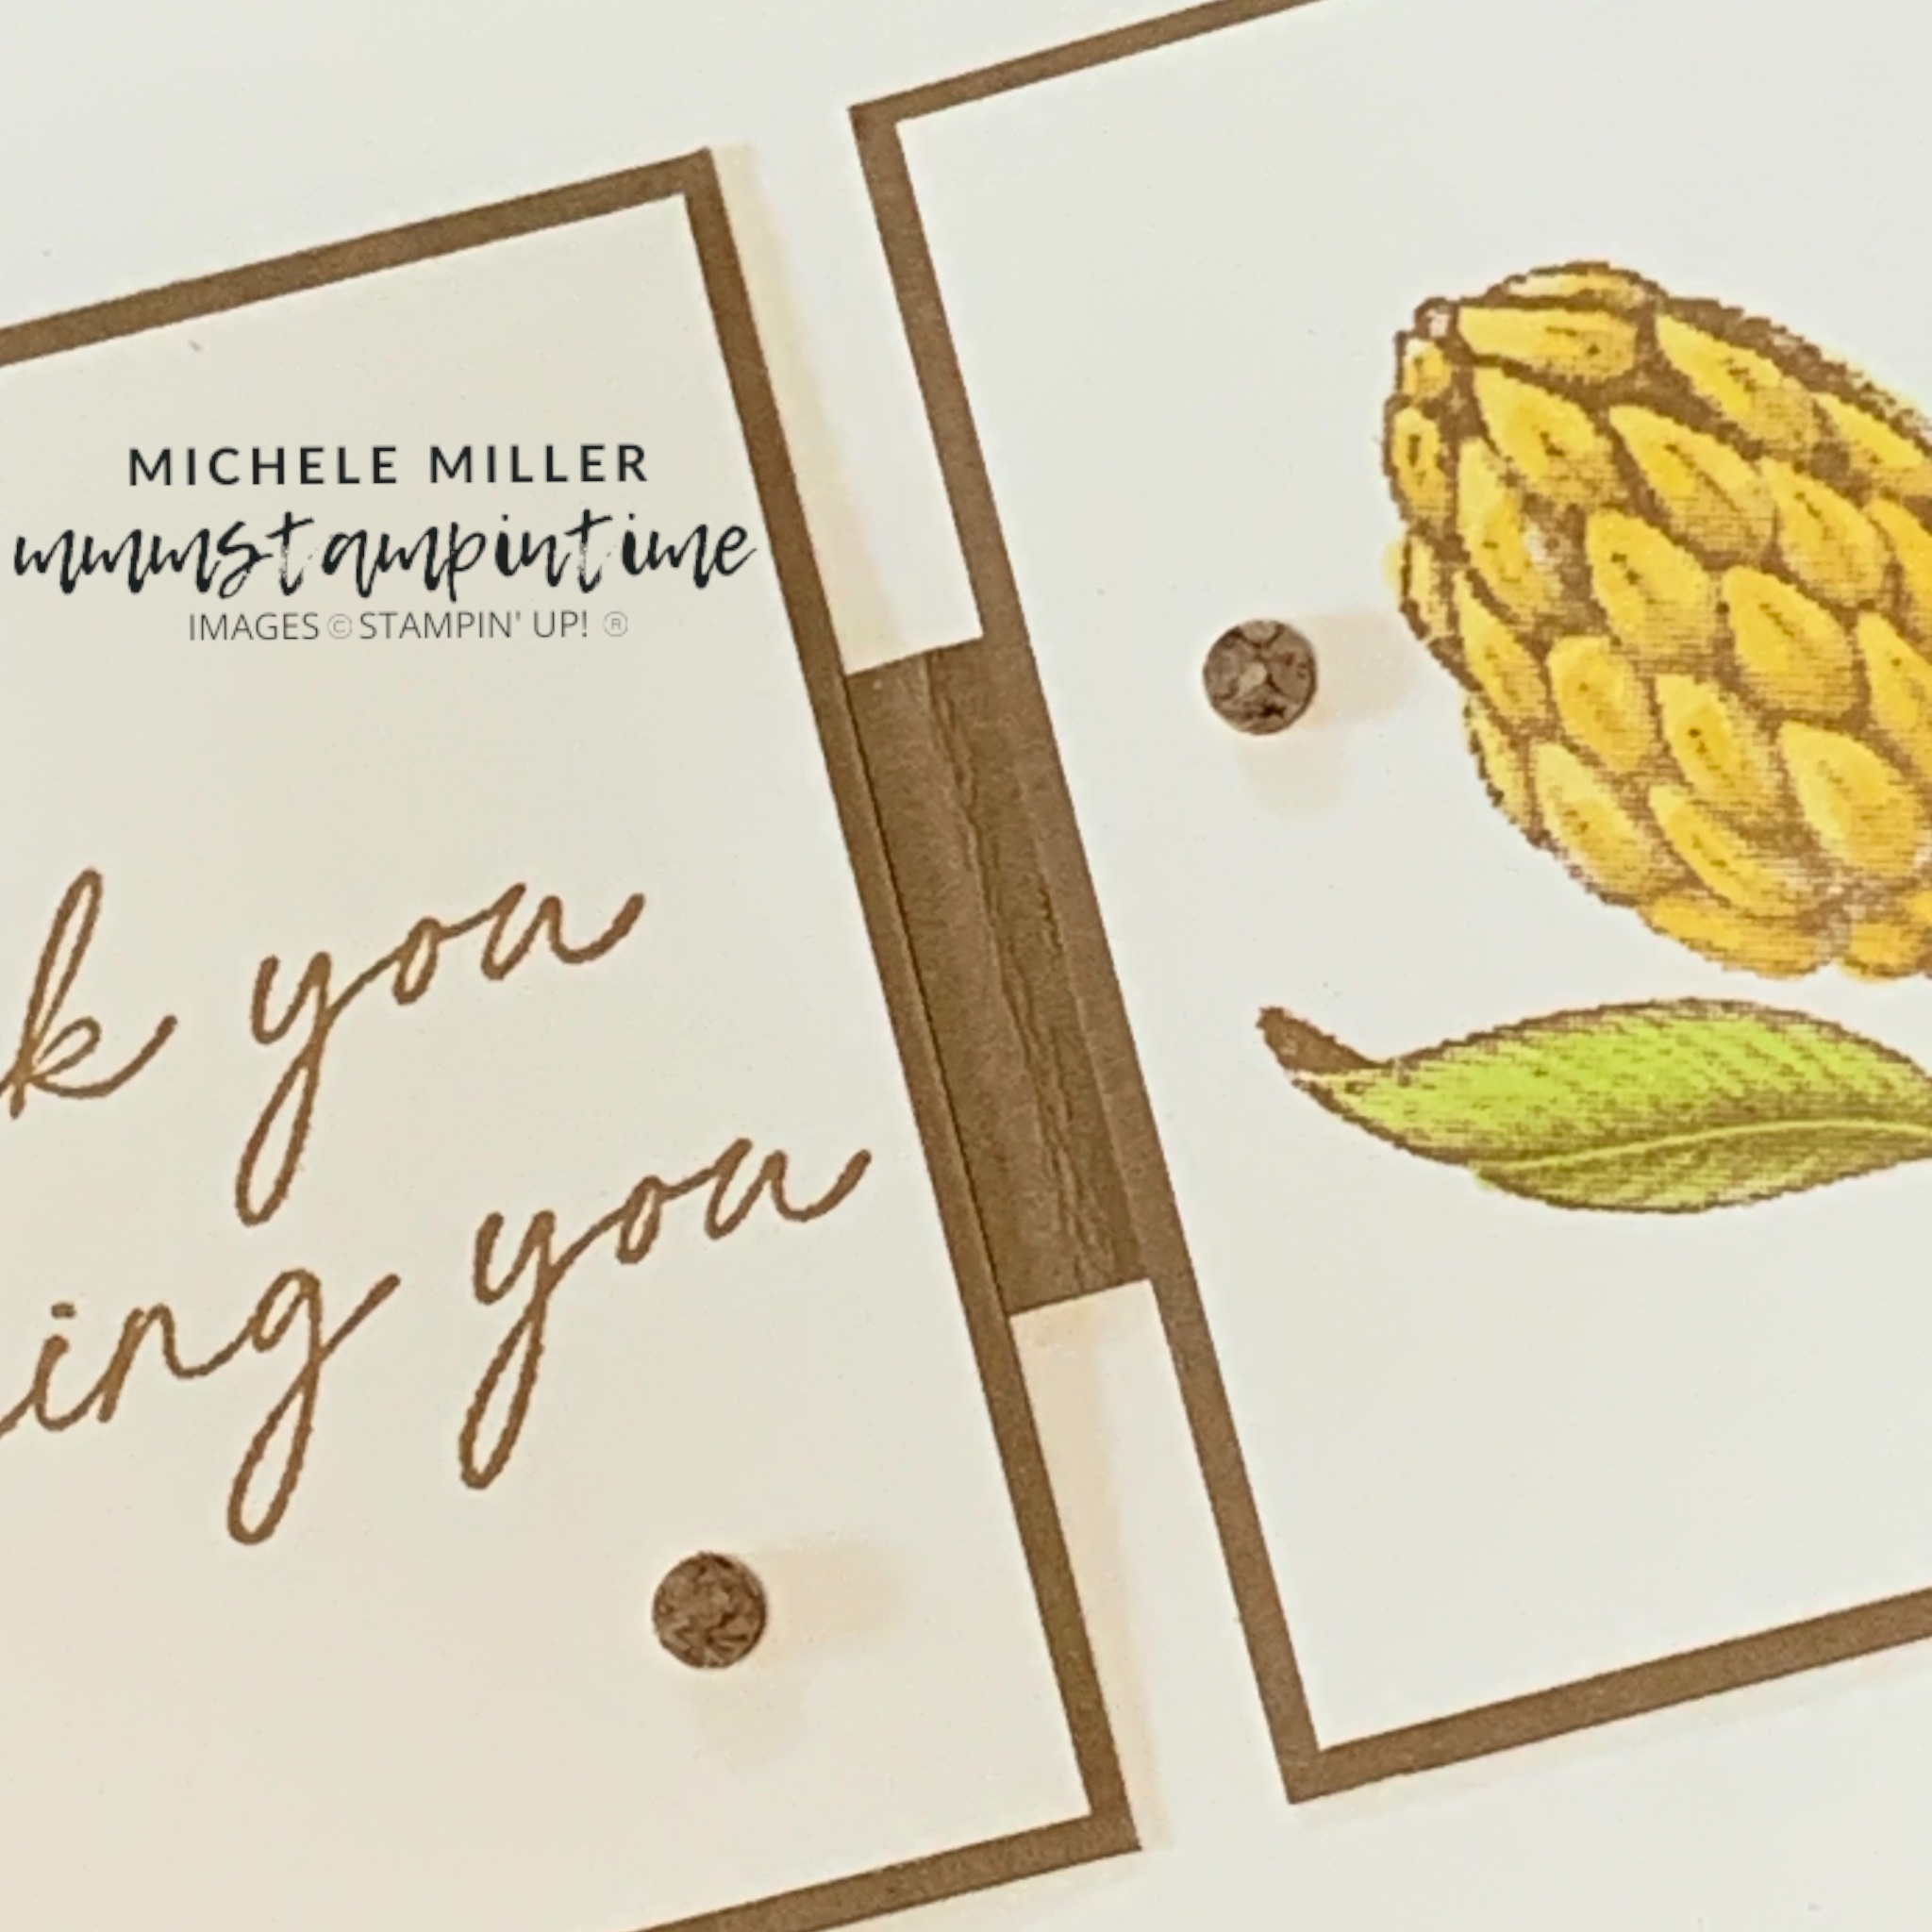
The greeting on the card front was made using the Mini Alphabet Dies, Poppy Parade cardstock and Adhesive Sheets.

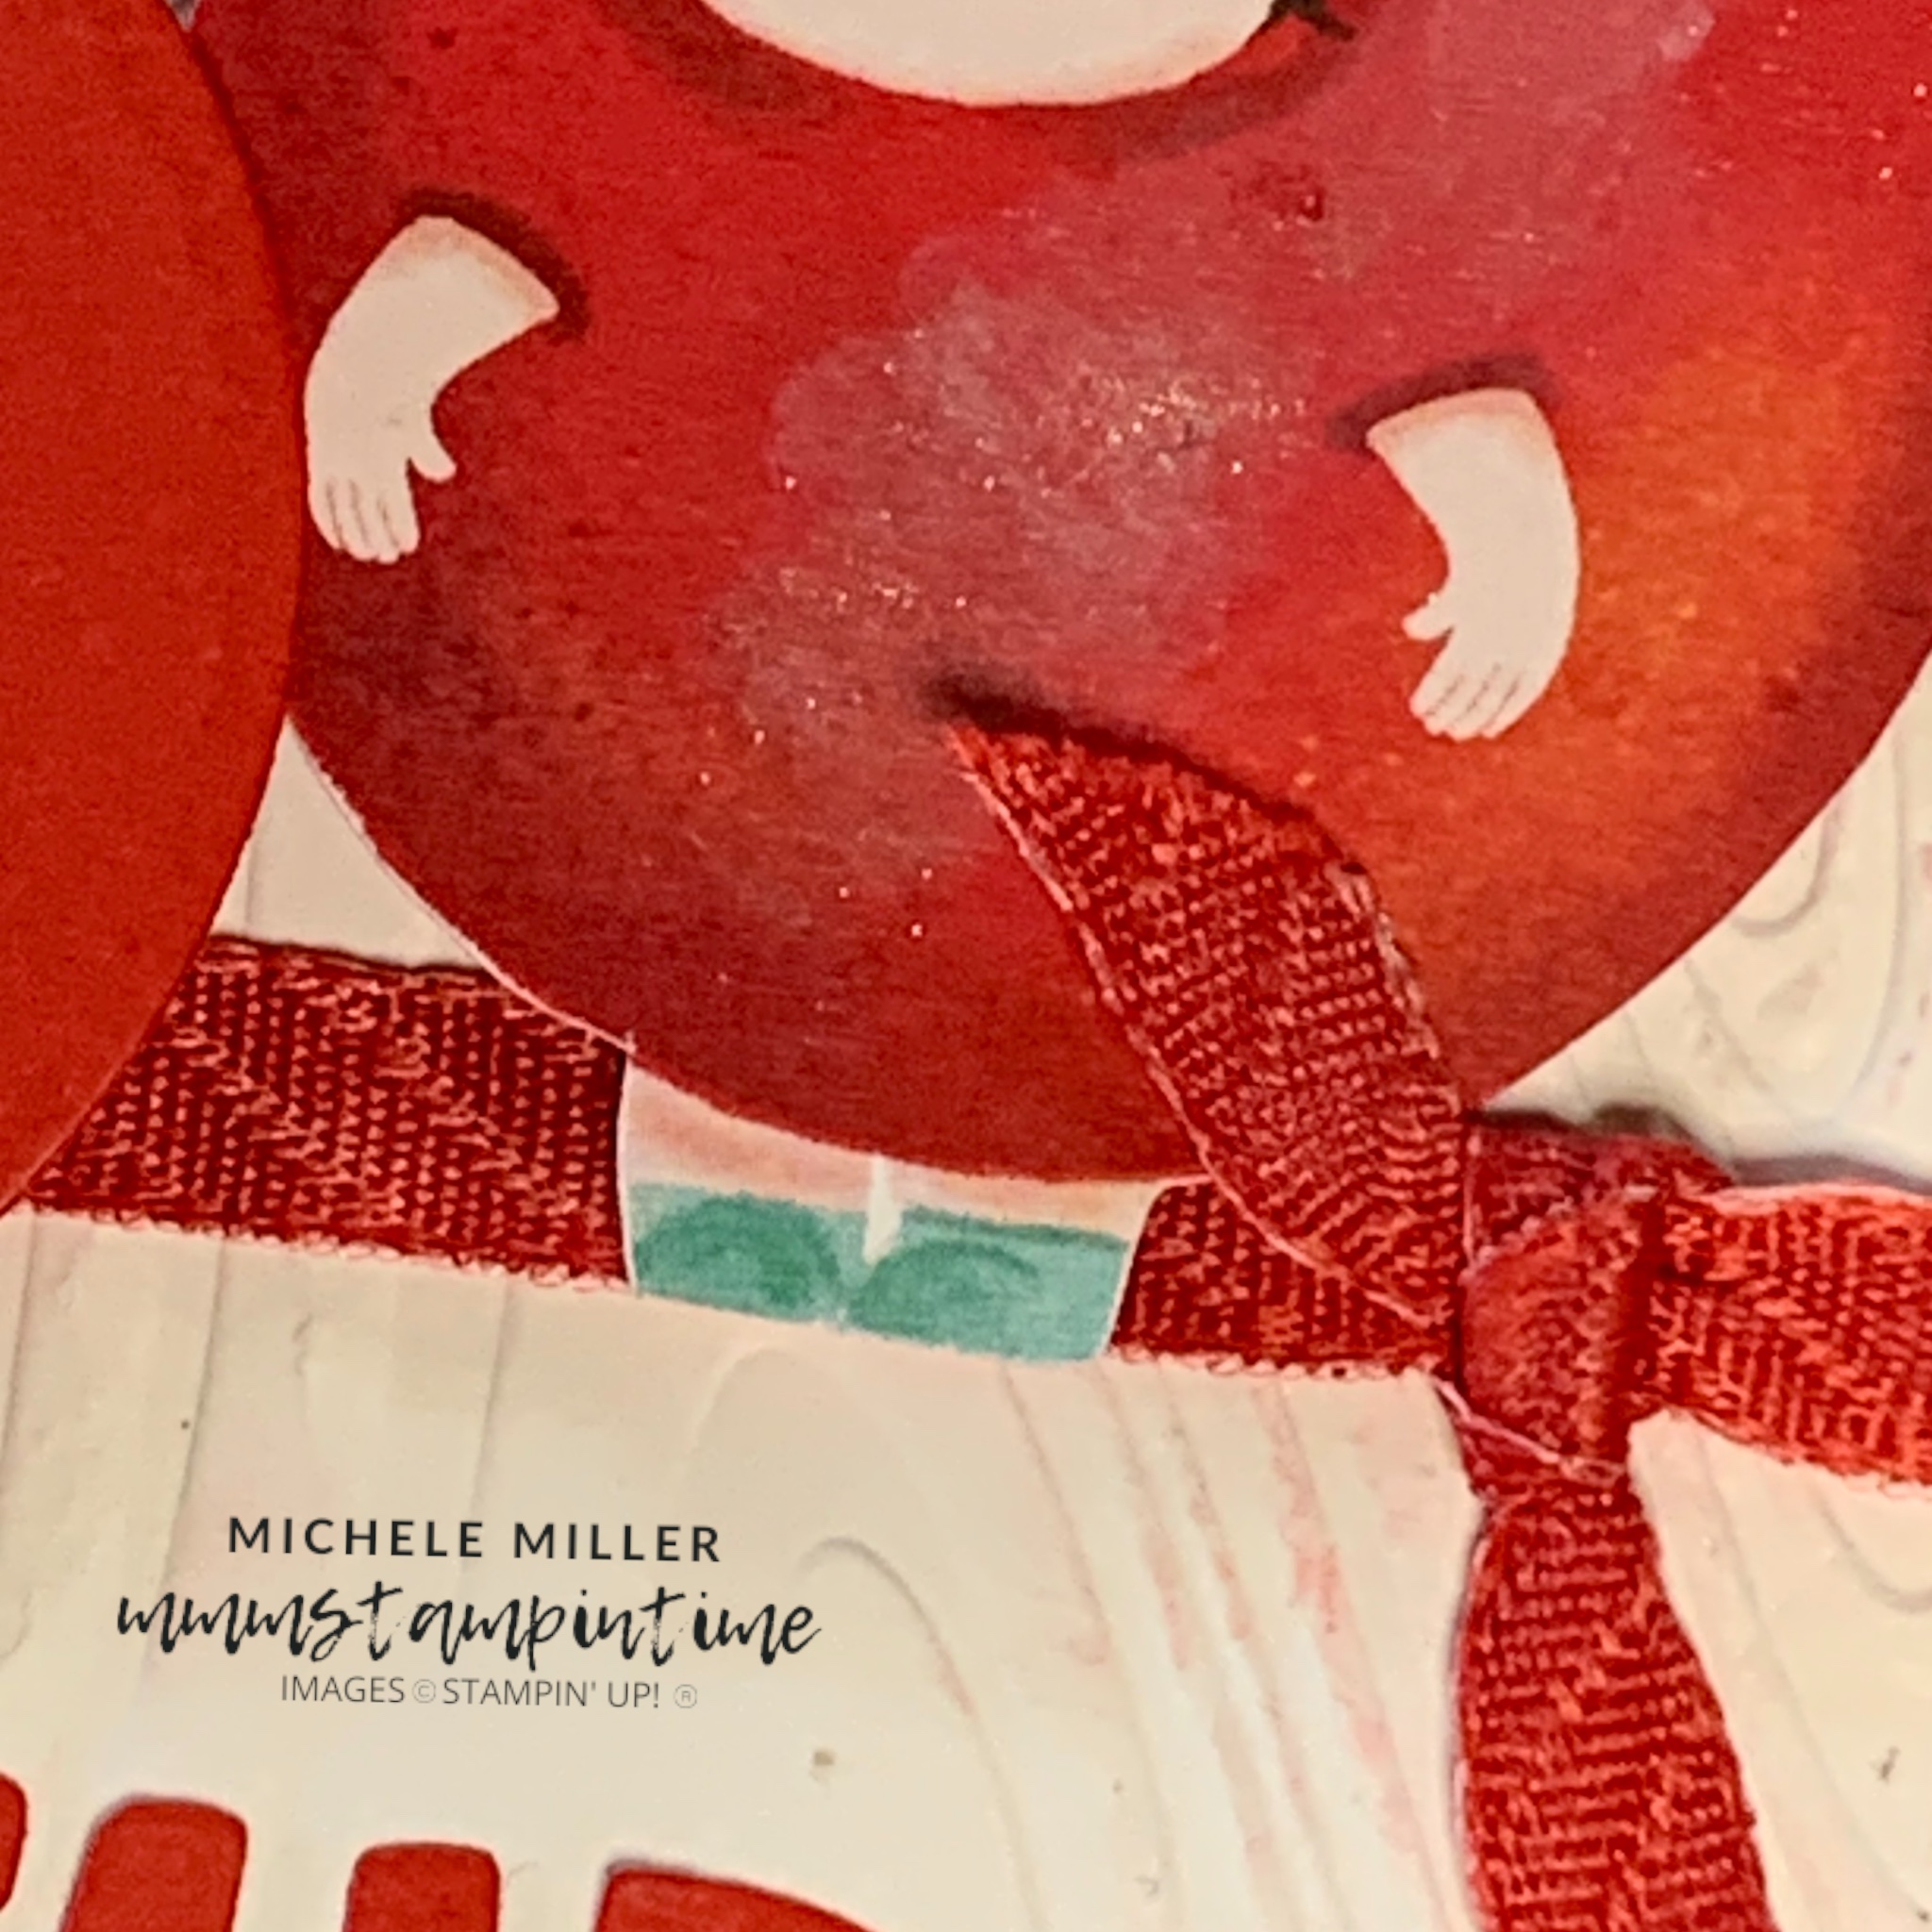
I originally fussy cut three of the little girl wearing an apple costume image and added them to the card front. While waiting to take photos of this project, I tucked the card inside an envelope. It was so humid today that the envelope stuck to the centre front of the card. When I tried to peel it away, the half of the middle apple was torn away. My solution was to use the circle die from the Delightful Doilies Dies set.

I used the Basic White water colour pencil, from Assortment 1, to add some colour to each apple. Then I used my Clear Wink of Stella to wash it over the apple and add some glimmer.

The birthday greeting, from the Kiddin’ Around Stamp Set was stamped for the card insert and envelope.

Tomorrow I have a fun card to share with you.

Until then, happy stamping.

If you live in Australia, you can order any of the products I used to make this card by going to my online store. Just click on any of the images below.

Posted on Leave a comment

IT’S FRIDAY & TIME FOR SOME FEATURES & A FUN FOLD CARD

This week I have featured the Magnolia Mood Bundle.

The cling stamp set has four gorgeous magnolia images and three wonderful greetings.

The coordinating dies make it so easy to cut the floral shapes you want.

This week I have also used:

This set has six versatile greetings.

This bundle helps create amazing texture and shapes.

The perfect stamp set fir upcoming weddings.

I wanted to show just how perfectly different Stampin’ Up! products can work together.

Today I have a w-fold card to share.

When using this die I highly recommend attaching Adhesive Sheets to the back of the card stock before cutting it. This makes attaching the flower far less messy than using glue.

After stamping and trimming the greeting, I added a folded piece of Pecan Pie Centre Stripe Ribbon behind it. Then, with dimensionals behinfd it also, the greeting was popped up on the card front.

I added some Adhesive-backed Cork Rounds to the card front.

Inside the card, I attached an 11 1/2″ x 1″ strip of Pecan Pie card. This strip was folded into four equal panels.

I cut four Pecan Pie squares – 2 5/8″ and four Basic White squares – 2 1/2″.

A greeting was stamped on one white panel and the others were stamped with with the magnolia images and coloured with Stampin’ Blends.

These pieces were then adhered together and attached to the 1″ strip.

I also added some Adhesive-backed Cork Rounds inside the card.

I’m lookng forward to using this fun fold again.

Tomorrow I will have a challenge project to share with you.

Until then, happy stamping.

If you live in Australia, you can order any of the products I used to make this card by going to my online store. Just click on any of the images below.

Product List
Paper Snips
[103579]
$19.25
Posted on Leave a comment

THURSDAY MEANS THAT’S IT TIME FOR A 3D PROJECT

For this gift box I used two A4 pieces of Pecan Pie card stock.

The card used for the lid was stamped with the magnolia bud image in Pecan Pie.

All four sides were scored at 1 7/8″. After burnishing the score lines, with my bone folder, I cut the sides as shown below – just down to the scored line. I also cut away a small wedge on both sides of the flap.

I used Stampin’ Seal+ to adhere the four flaps, creating the gift box lid.

For the gift box base, I used the same process but increased the scoring measurement to 1 1/2″. This means that the lids is slightly larger than the base, allowing for an easy fit.

I used the large circle from the Everyday Details Dies to cut two pieces of Pecan Pie and one White Vellum, for the lid of the box.

For the first circle, I layered the card and vellum layers before I die cut two of the magnolia dies and layered them. Then I placed Stampin’ Dimensionals under the flowers, allowing for a place to run a length of burlap ribbon, from the Real Red & Burlap Ribbon Combo.

I wrapped the ribbon around the box and tied a bow.

For the second circle, I stamped the greeting from the Magnolia Mood Stamp Set and the magnolia bud image.

I threaded a length of Linen Thread through one of the holes in the circle. After untying the bow, I tied the Linen Thread to attach the greeting.

Then I cut three lengths of Linen Thread and added it to the Burlap Ribbon. After carefully tying these lengths into a bow, I teased out the linen threads.

Finally, I added some Cork Rounds to the top of the box.

Tomorrow I have a fun fold card for you.

Until then, happy stamping.

If you live in Australia, you can order any of the products I used to make this card by going to my online store. Just click on any of the images below.

Product List
Paper Snips
[103579]
$19.25