Posted on Leave a comment

I’M RUNNING LATE TODAY!

I decided to make a Mini Christmas Album for my Facebook Live today. So I thought that I would wait until it was finished and share it with you.

You can see how I made it here – just click!

Facebook Icon Symbol - Free vector graphic on Pixabay

The album will be given as a gift for Christmas, filled with messages and gift cards.

I cut 18 pieces of card using the largest of the Scalloped Contour Dies. Using three 1-1/2″x 1/2″ pieces of Basic Black card, I joined each pair of die cut ‘pages’. These pieces of black card were folded in half to create a hinge.

To create the album, each of these hinged pairs were then glued to the back of a pair. The next photo shows you how the album looks.

Each of the eight pages is made up of two of the die cut pieces of card. The Facebook video also shows you the technique I used. By joining two pices of card for each page gives the album greater stability.

Each page then had either a panel of Painted Christmas Designer Series Paper or a panel of Basic White card adhered. These pieces also worked to cover the black hinges.

The white panels provide a place to write your Christmas messages and the pockets are a place to pop a gift card or a tag with more messages.

The pages can be used to attach photos of the person you’re giving it to or can be left so that they can use the album to add photos of their Christmas celebration. The photos would need to be 3″x 2″.

To secure the album I wrapped a length of Real Red Double-stitched Satin Ribbon around the album, securing it at first with some Stampin’ Seal+. Then Iattached a panel of DSP to the front and back pages.

The Christmas greeting, from the Merriest Moments Stamp Set , was stamped and then cut using another of the Scalloped Contour Dies. This was attached to the front of the album.

The front was decorated with stamped and cut elements from the Christmas Season Stamp Set and Seasonal Labels Dies. I popped them on the alum frint using Multipurpose Glue and Stampin’ Dimensionals.

I finsihed the front off with a few Red Rhinestone Basic Jewels.

I am so pleased with the way this Mini Christmas Album has turned out.

Until next time, happy stamping.

If you live in Australia, you can order any of the products I used to make this card by going to my online store. Just click on any of the images below.

Product List
Whisper White Craft Stampin' Pad
Whisper White Craft Stampin’ Pad
[101731]
$14.00
Paper Snips
[103579]
$17.00
Posted on Leave a comment

FRESHLY BREWED PROJECTS BLOG HOP IS BACK

After a short break, the Latte Girls are back blog hopping.

This week’s theme is Christmas Designer Series Paper. This is a great way for us to share ways to use the stunning range of current Christmas Designer Series Paper.

May be an image of coffee cup and text that says 'Freshly Brewed PROJEGTS'

I made a few cards before I chose the one that I liked the most.

The Peaceful Place 12″x 12″ Specialty DSP is a glorious combination of white, grays and silver foil. Although snowflakes are rarely seen in Australia, over the summer months, it is still lovely to use them for cards for Christmas.

For the card base I layered an angled piece of DSP onto a piece of Basic Gray card before adhering this panel on the Smoky Slate card base.

For the panel that is layered up, using Stampin’ Dimensionals, I stamped Noel from the Tidings & Trimmings Stamp Set, on the piece of buffalo checked DSP.

Then I attached this piece to the snowflake DSP and Basic Gray card. A length of Metallic Mesh Ribbon was wrapped and tied around the layered panel.

I added strips of DSP on the card insert and envelope. The final step was to add some silver Metallic Pearls to the front of the card.

I think I will make some more cards similar in style to this one to send to family and friends. What do you think?

Now make sure that you hop over and see what the rest of the Latte Girls have created:

These are the other two cards I made in preparation for this blog hop. I prefer the first card because is more elegant – less busy.

I do like the colours and designs in the Peaceful Prints 12″x 12″ DSP pack but I think that I needed to use them differently. Maybe I should have just left the trees off the card. What do you think?

If you live in Australia, you can order any of the products I used to make this card by going to my online store. Just click on any of the images below.

Product List
Paper Snips
[103579]
$17.00
Posted on Leave a comment

TIME FOR A GLOBAL DESIGN PROJECT COLOUR CHALLENGE

Taking part in regular blog hops and challenges has been a great way for me to try something creatively that I might not have planned myself.

This week’s #GDP313 is a colour challenge. I love colour challenges – and I love this combination! Real Red and Basic Black – too easy. The Sahara Sand is the twist in this colour trio.

To REALLY challenge myself, with these colours, I decided to create a Christmas card. These are not really your “go to” Christmas colours. REal Red is definitely a Christmas colour standard, but Basic Black and Sahara Sand?

So here is what I created.

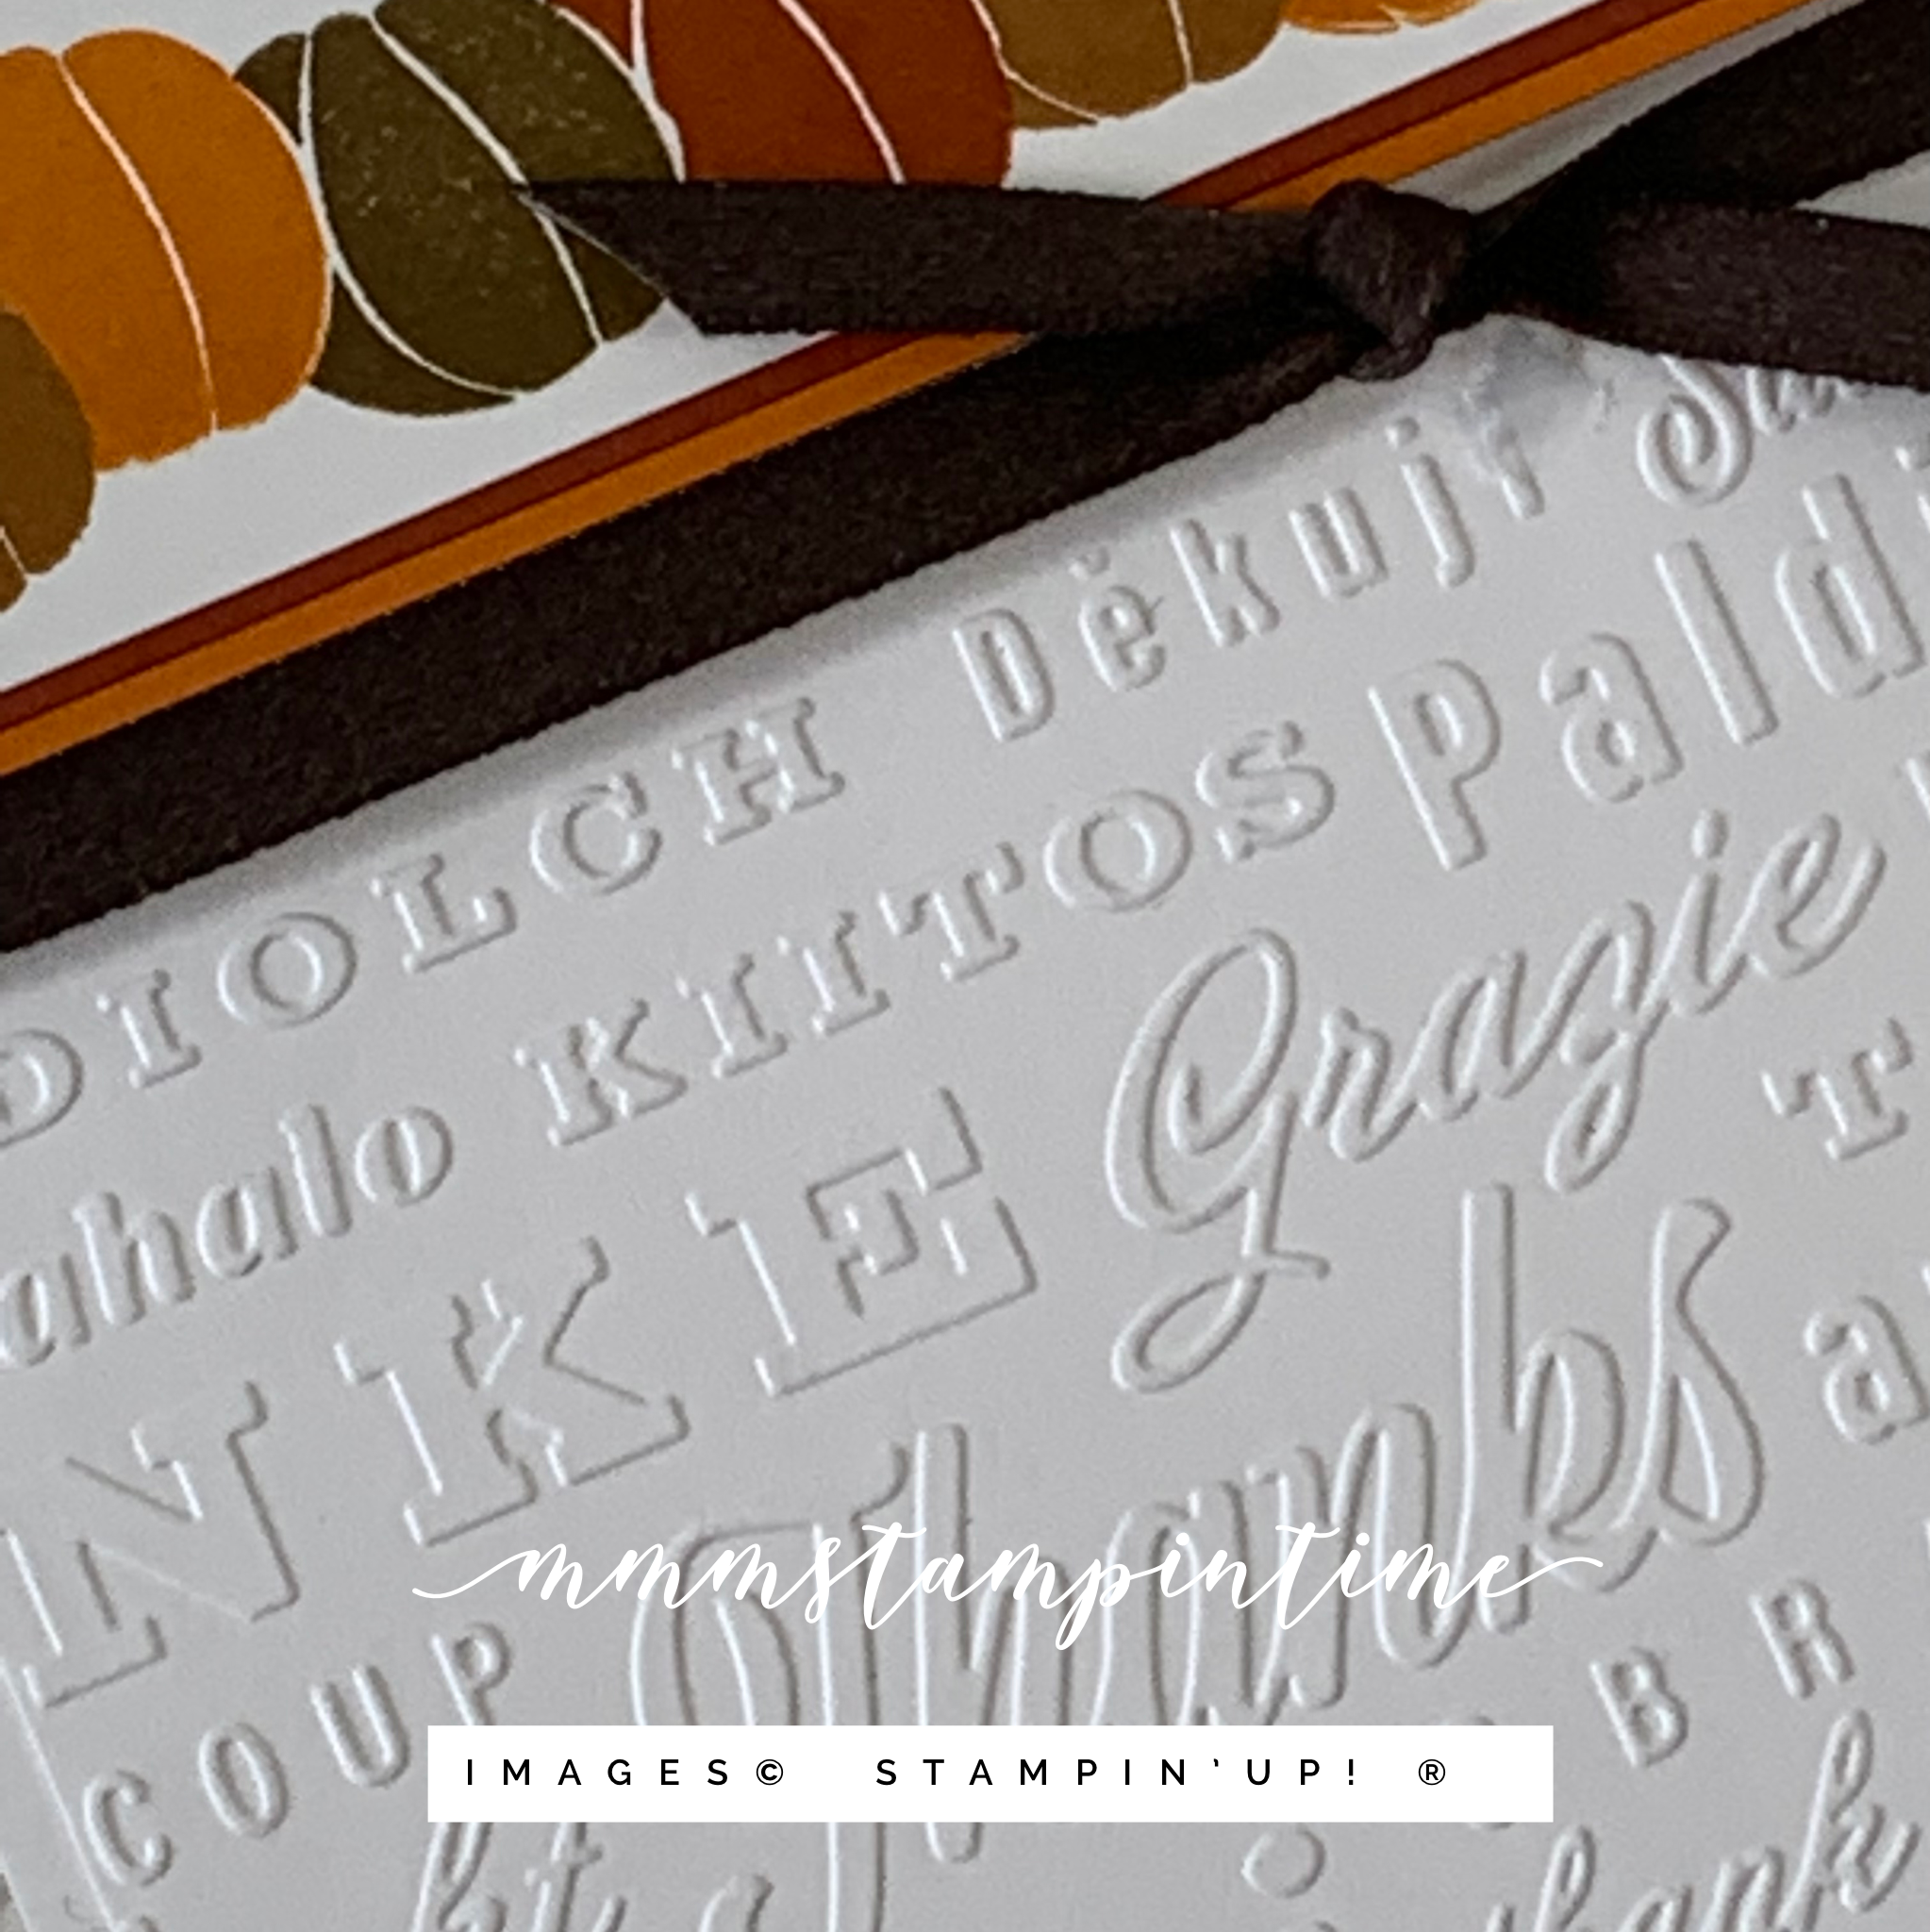
I chose a Sahara Sand card base and added a layer of Basic Black card. The Sahara Sand upper layer had a star cut away from the ‘centre’ using the large star from the Christmas Trimmings Dies. Then I added texture to this layer by running it through my Stampin’ Cut & Emboss Machine using the Timeworn Type 3D Embossing Folder.

This embossed layer was then adhered over the card base and black.

To fill the empty black star space, I took a piece of Real Red card that had some Adhesive Sheet attached and cut the detailed star from the Christmas Trimmings Dies. After removing the cut-away pieces, I peeld away the Adhesive Sheet backing and positioned this intricate start in the black space. I think it is a striking contrast.

The Christmas sentiment is from the Stars Are Shining Stamp Set and is perfect for this card. It was stamped in Real Red ink onto Sahara Sand card. Then I cut around the sentiment using one of the Seasonal Labels Dies. This die is longer than I needed so I cut the sentiment a second and moved the die to make the piece shorter.

For the bow I cut a 2″ piece of card and wrapped some Black & White Gingham Ribbon around it five times. I used a Mini Glue Dot at the start and then the finish to hold the ribbon in place.

Using my dark Real Red Stampin’ Blend, I coloured a length of white baker’s twine from the Baker’s Twine Essentials Pack. After I slipped the wrapped gingham ribbon off the card, I ties the coloured baker’s twine around the middle of the gingham and ties a tight knot and then a bow. With a Mini Glue Dot at the centre back of the bow I then positioned it, as you can see.

After the bow was in place I added Stampin’ Dimensionals to the back of the Christmas greeting and then positioned it.

I stamped the same sentiment on the card insert and added another trimmed Real Red detailed star to the envelope.

The final step was to add some Matte Black Dots to the card front.

This is another card that reminds me how versatile Stampin’ Up!® products are. I have combined different colours, ribbons, embellishment, stamp set and dies for this Christmas card – that is not red, green and white!

What do you think of this unusual Christmas card? I would love to know.

UNtil next time, happy stamping.

If you live in Australia, you can order any of the products I used to make this card by going to my online store. Just click on any of the images below.

Product List
Paper Snips
[103579]
$17.00