Posted on Leave a comment

STEP IT UP SUNDAY – FROM #SIMPLESTAMPING TO ABOVE & BEYOND

Yesterday I shared two #simplestamping cards using the Sale-a-bration Friendly Hello Bundle.

For today’s cards I have used a wider range of tools, techniques and products.

For this card I used my Paper Trimmer to cut 3/4″ strips of the Friendly Hello 12″x 12″ DSP. The DSP strips were adhered to the card front and I used my Grid Paper to help me space them evenly.

To ensure the greeting was stamped clearly, I used my Stamparatus so that I could ink the stamp as many time as needed. After trimming the Basic White cardstock, I added Stampin’ Dimensionals to give it height.

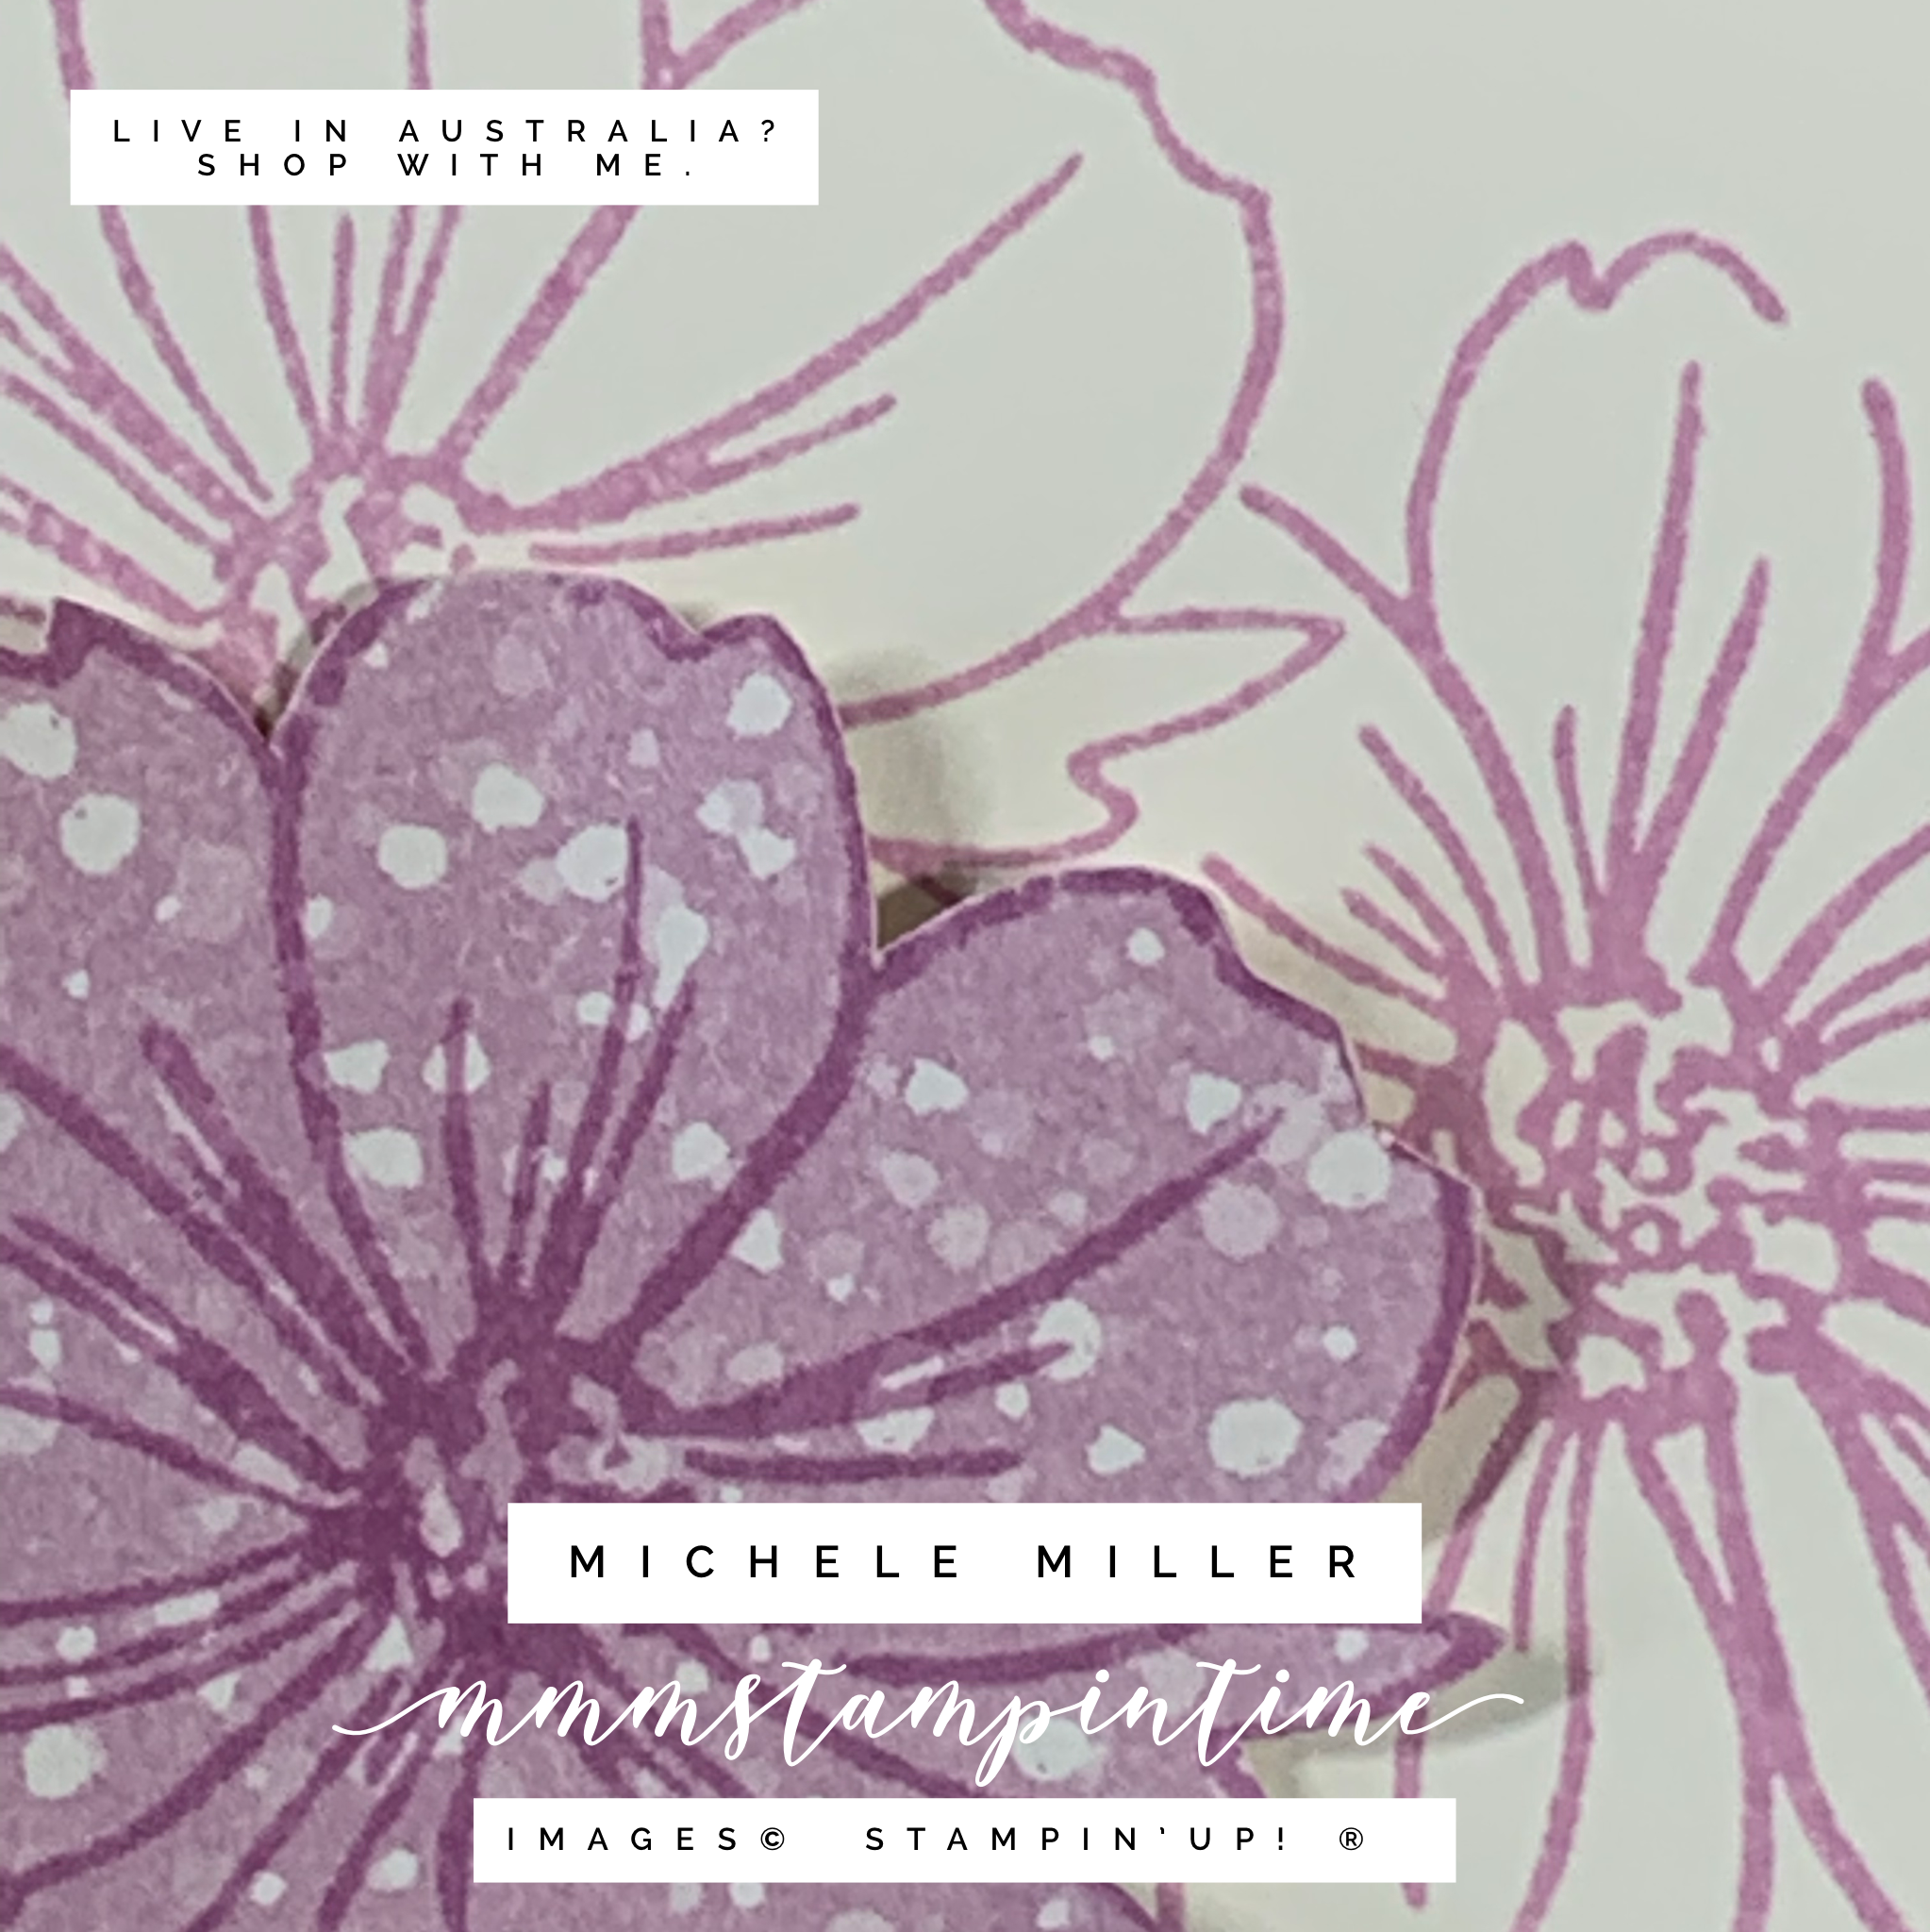
I stamped the flowers directly onto the DSP and fussy cut them before popping them up with dimensionals. The flowers also had some Clear Wink of Stella added to the centres.

The flowers were also stamped inside the card and on the front of the envelope. The final touch was to add some 2021 – 2022 In Colour Jewels to the sentiment panel.

The next card steps things up even more, with more layers and elements.

I took a 4-7/8″x 3-3/8″ piece of Fresh Freesia cardstock and ran it through my Mini Stampin’ Cut & Emboss Machine using the new Stripes 3D Embossing Folder.

Before attaching this embossed layer to the card front, I wrapped a length of white Baker’s Twine, from the Essentials Pack, and tied a bow.

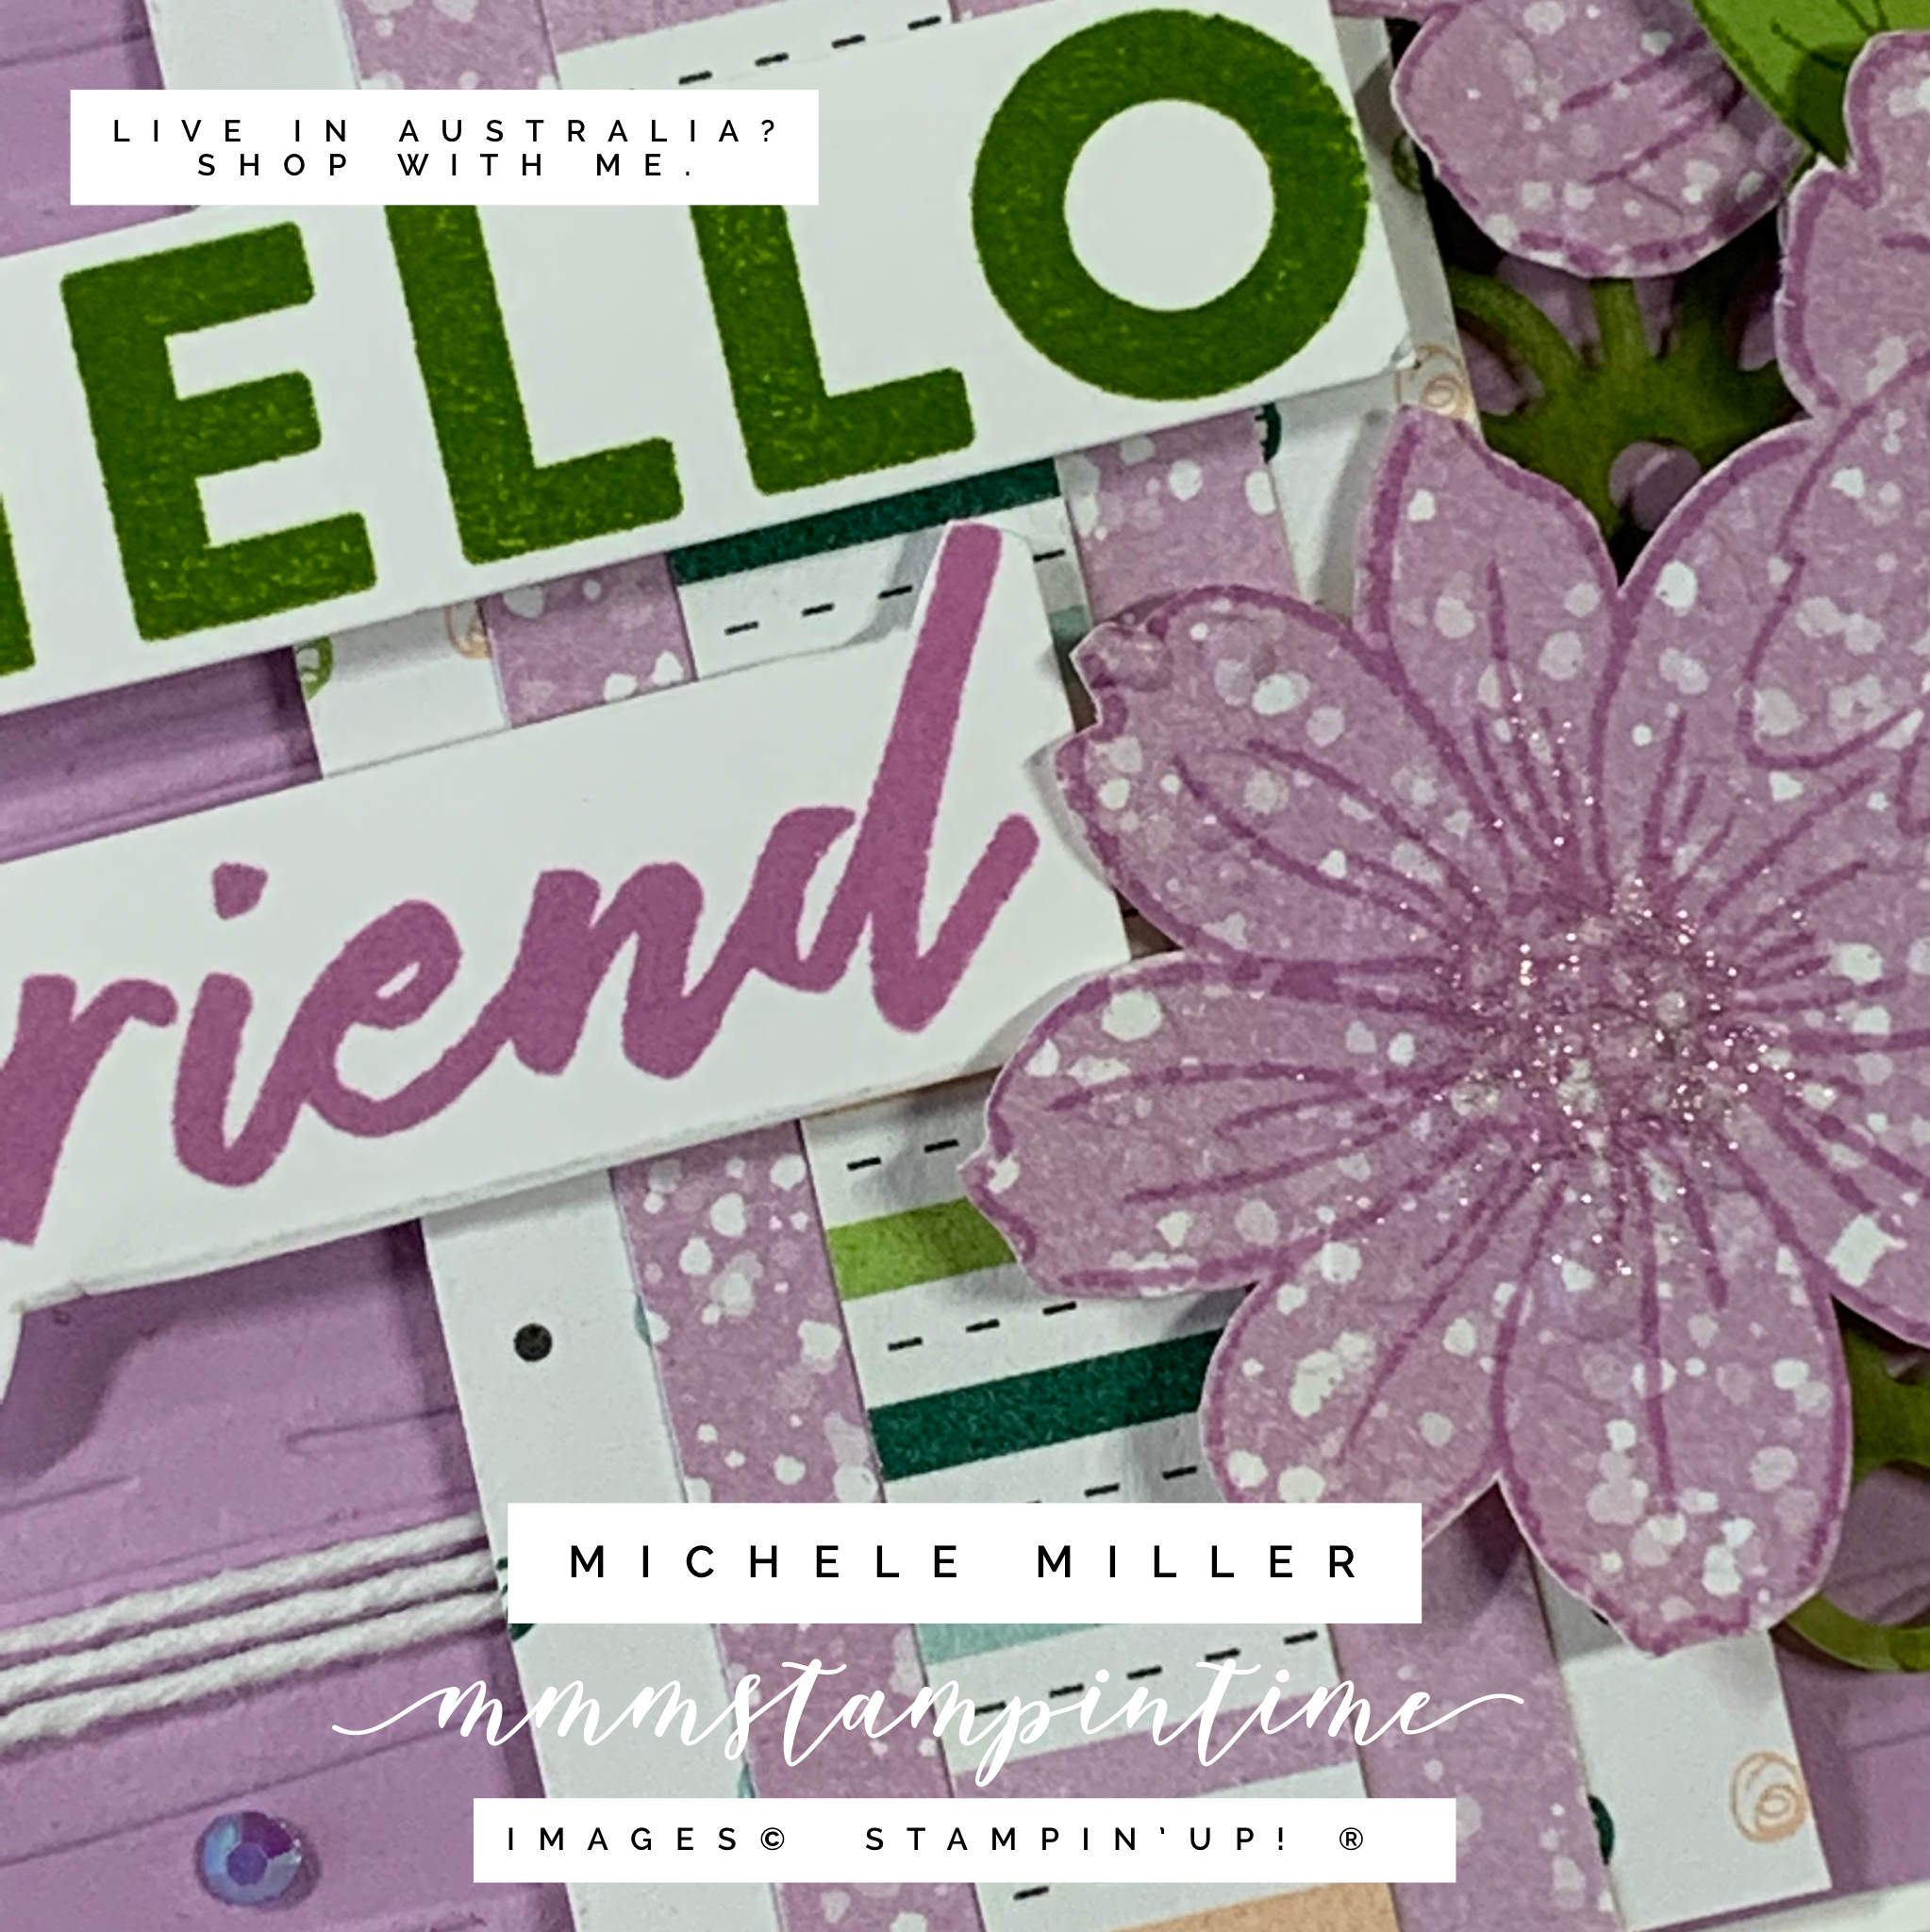
Three strips of DSP (1-1/2″, 1″ and 1/2″) were cut and layered before I placed a piece of Granny Apple Green coloured Square Vellum Doily under it. Then I popped it up, on the card front, using Stampin’ Dimensionals.

As with all the previous cards, I stamped and fussy cut the flowers before using dimensionals to place them across the card front. Then I painted some Clear Wink of Stella in the centre of the flowers. I also stamped and fussy cut the leaves to tuck in behind the flowers.

The greeting was stamped in Fresh Freesia and Granny Apple Green using the Stamparatus for a really clean image. The words were then trimmed down so that I could one in each colour.

Last but not least, I added some of the Fresh Freesia 2021 – 2023 In Colour Jewels for some bling.

Tomorrow is Memories on Monday.

Until then, happy stamping.

If you live in Australia, you can order any of the products I used to make this card by going to my online store. Just click on any of the images below.

Product List
Paper Snips
[103579]
$17.00
Posted on Leave a comment

SIMPLY SATURDAY MEANS IT’S TIME FOR SOME #SIMPLESTAMPING

I have really enjoyed my first week of creating and sharing projects in 2022. My new ‘schedule’ seems to be working well so far but I am reviewing and may refine some aspects as time goes by.

Saturday is my starting day. I choose the products that I am going to feature during the week. This week I am featuring a FREE bundle from the January 4 to February 28 Sale-a-bration Brochure.

The Friendly Hello Bundle is yours, FREE, with a $180 AUD order.

FRIENDLY HELLO BUNDLE (ENGLISH)

I find photopolymer stamp sets perfect for #simplestamping because it is so easy to see where you are placing an inked image.

My #simplestamping projects were made using Basic White Notecards and Envelopes because many people new to card making have limited tools and products.

For my Simply Saturday projects, I featured the Fresh Freesia elements of this suite.

STAMPS, INK & PAPER – I stamped the floral image several times before adding the sentiment to the card front.

I stamped the same floral image onto a piece of coordinating Friendly Hello 12″x 12″ Designer Series Paper. One of the flowers was then fussy cut and adhered to the front of the card.

For all my projects, today and tomorrow, I stamped the same floral image inside the card and on the front of the envelope.

This is such a great #simplestamping card – notecard & envelope, one stamp set, one colour inkpad, a small piece of Designer Series Paper and one acrylic block,a pair of paper snips and mutlipurpose glue.

Then I decided to take this card up one more step.

I cut a piece of the same design from the Friendly Hello 12″x 12″ DSP and stamped the same floral image and sentiment directly onto the paper.

A fussy cut flower was also added to the front of the card.

Here is a close up of the fussy cut flower. I would usually add some Clear Wink of Stella to the centre of the stamped flowers but for someone new to card making, #simplestamping acknowledges these newer crafters might have fewer supplies.

Today I shared my Simply Saturday projects. Tomorrow, I will share my Step It Up Sunday cards.

Until then, happy stamping!

If you live in Australia, you can order any of the products I used to make this card by going to my online store. Just click on any of the images below.

Product List
Paper Snips
[103579]
$17.00
Posted on Leave a comment

FUN FOLD FRIDAY

The heading says it all – each Friday, I will share a ‘new’ Fun Fold card. I have been compiling a list of as many card folds as I can and there are lots of them. Some of themI haven’t made before.

Today’s card is a Double Dutch Card and it is the first time I have made one. I looked at several templates and then created my own set of measurements to make sure that my card would fit well in a C6 envelope.

When the card goes into the envelope it measures 5-3/4″x 4-1/4″ or 14.7cm x 10.7cm.

I started with a piece of 12″x 12″ Real Red cardstock. Here is a diagram to illustrate how to cut and score the cardstock.

After cutting and burnishing the card base, I cut the Basic White layers and Designer Series Paper layers.

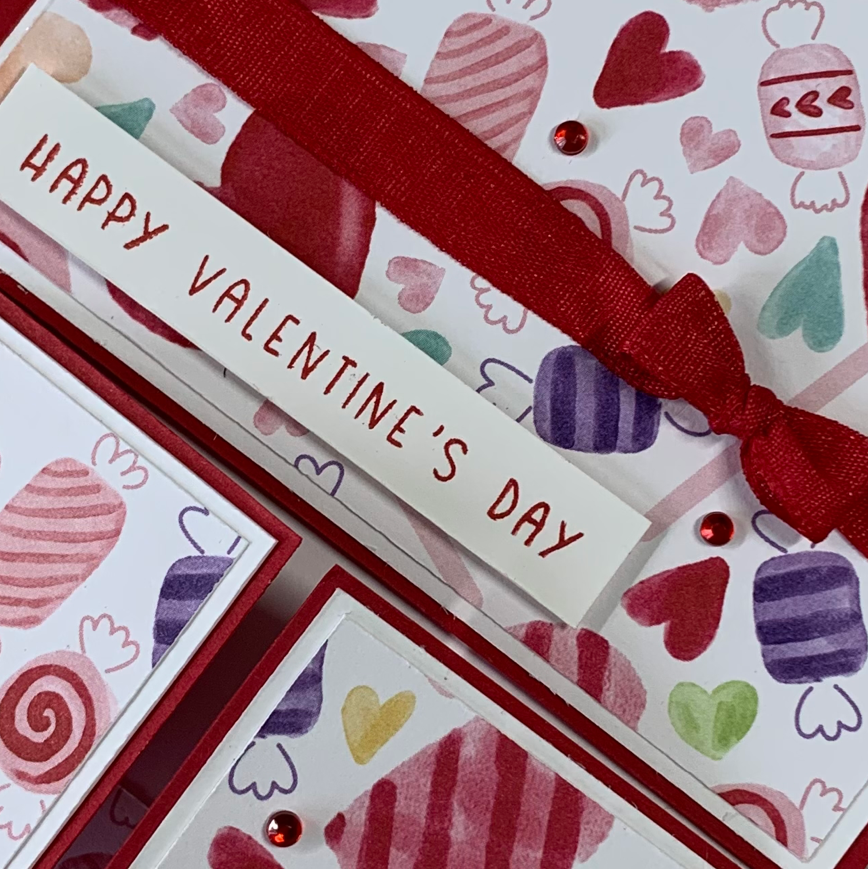
Before attaching the main panel, I tied a bow and wrapped a length of Real Red Faux Linen Ribbon around it. I used Tear & Tape to secure the ribbon in place.

The sentiment was stamped using Real Red ink and was cut into a thin strip. I used a number of Stampin’ Dimensionals to pop the greeting up.

I added a strip of DSP to the card insert and added a second sentiment to the inside of the card.

The finishing touch for this card was to add some Red Rhinestone Basic Jewels.

The card looks great opened out fully.

It has been a fun week making projects using the Sweet Talk Product Suite.

I wonder which new products I will use for next week’s projects?

Until then, happy stamping.

If you live in Australia, you can order any of the products I used to make this card by going to my online store. Just click on any of the images below.

Product List
Paper Snips
[103579]
$17.00