Posted on

WELCOME TO WONDERFUL WEDNESDAY

I have adapted my idea for my Wednesday posts. Rather than ‘What’s New’, I think Wonderful Wednesday will give me wider scope for things to share with you.

For my first Wonderful Wednesday post, I want to share some cards that I made using a 6″x 6″ One Sheet Wonder layout. I was inspired by Kelly Kent’s layout and adapted it to suit the card base measurements that I use.

I cut a piece of the FREE Sale-a-bration Friendly Hello 12″x 12″ Designer Series Paper to 6″x 6″. Then I cut each of the wonder layout pieces.

Each of the letters A to D indicate the four cards these cut pieces will be used on.

Here is Card A. It is a #simplestamping card – just stamp, ink and paper.

I have not embellished this card – it is so super quick and easy to make. The strip of DSP is 5-3/4″x 1-1/2″ and has been adhered ont oa piece of Basic White cardstock measuring 5-3/4″x 1-3/4″.

The sentiment, from the Friendly Hello Stamp Set was stamped onto a piece of Basic White cardstock before being trimmed down to the size you can see. This piece was then popped up onto the card front using Stampin’ Dimensionals.

Card B uses the 3″x 3″ square of DSP.

It has been adhered to a piece of Basic White cardstock measuring 4-1/4″x 3-1/4″. This makes it look like it is a Poloroid style image.

The greeting was stamped onto the ‘poloroid’ section. I used the dark Granny Apple Green Stampin’ Blend to colour some of the diamond shaped Silver & Clear Epoxy Essentials to add to the front of the card.

Card C uses the three 3″x 1″ DSP strips.

These three strips were adhered to a 3-3/8″x 3-3/8″ square of Basic White cardstock before being attached to the card front.

The sentiment was stamped and cut using one of the Hippo & Friends Dies. It was also popped up using dimensionals.

I used the dark Granny Apple Green Stampin’ Blend to colour some of the round shaped Silver & Clear Epoxy Essentials to add to the front of the card.

Card D uses the four 1-1/2″x 1-1/2″ DSP pieces and they were adhered to a piece of Basic White cardstock measuring 3-3/8″x 3-3/8″.

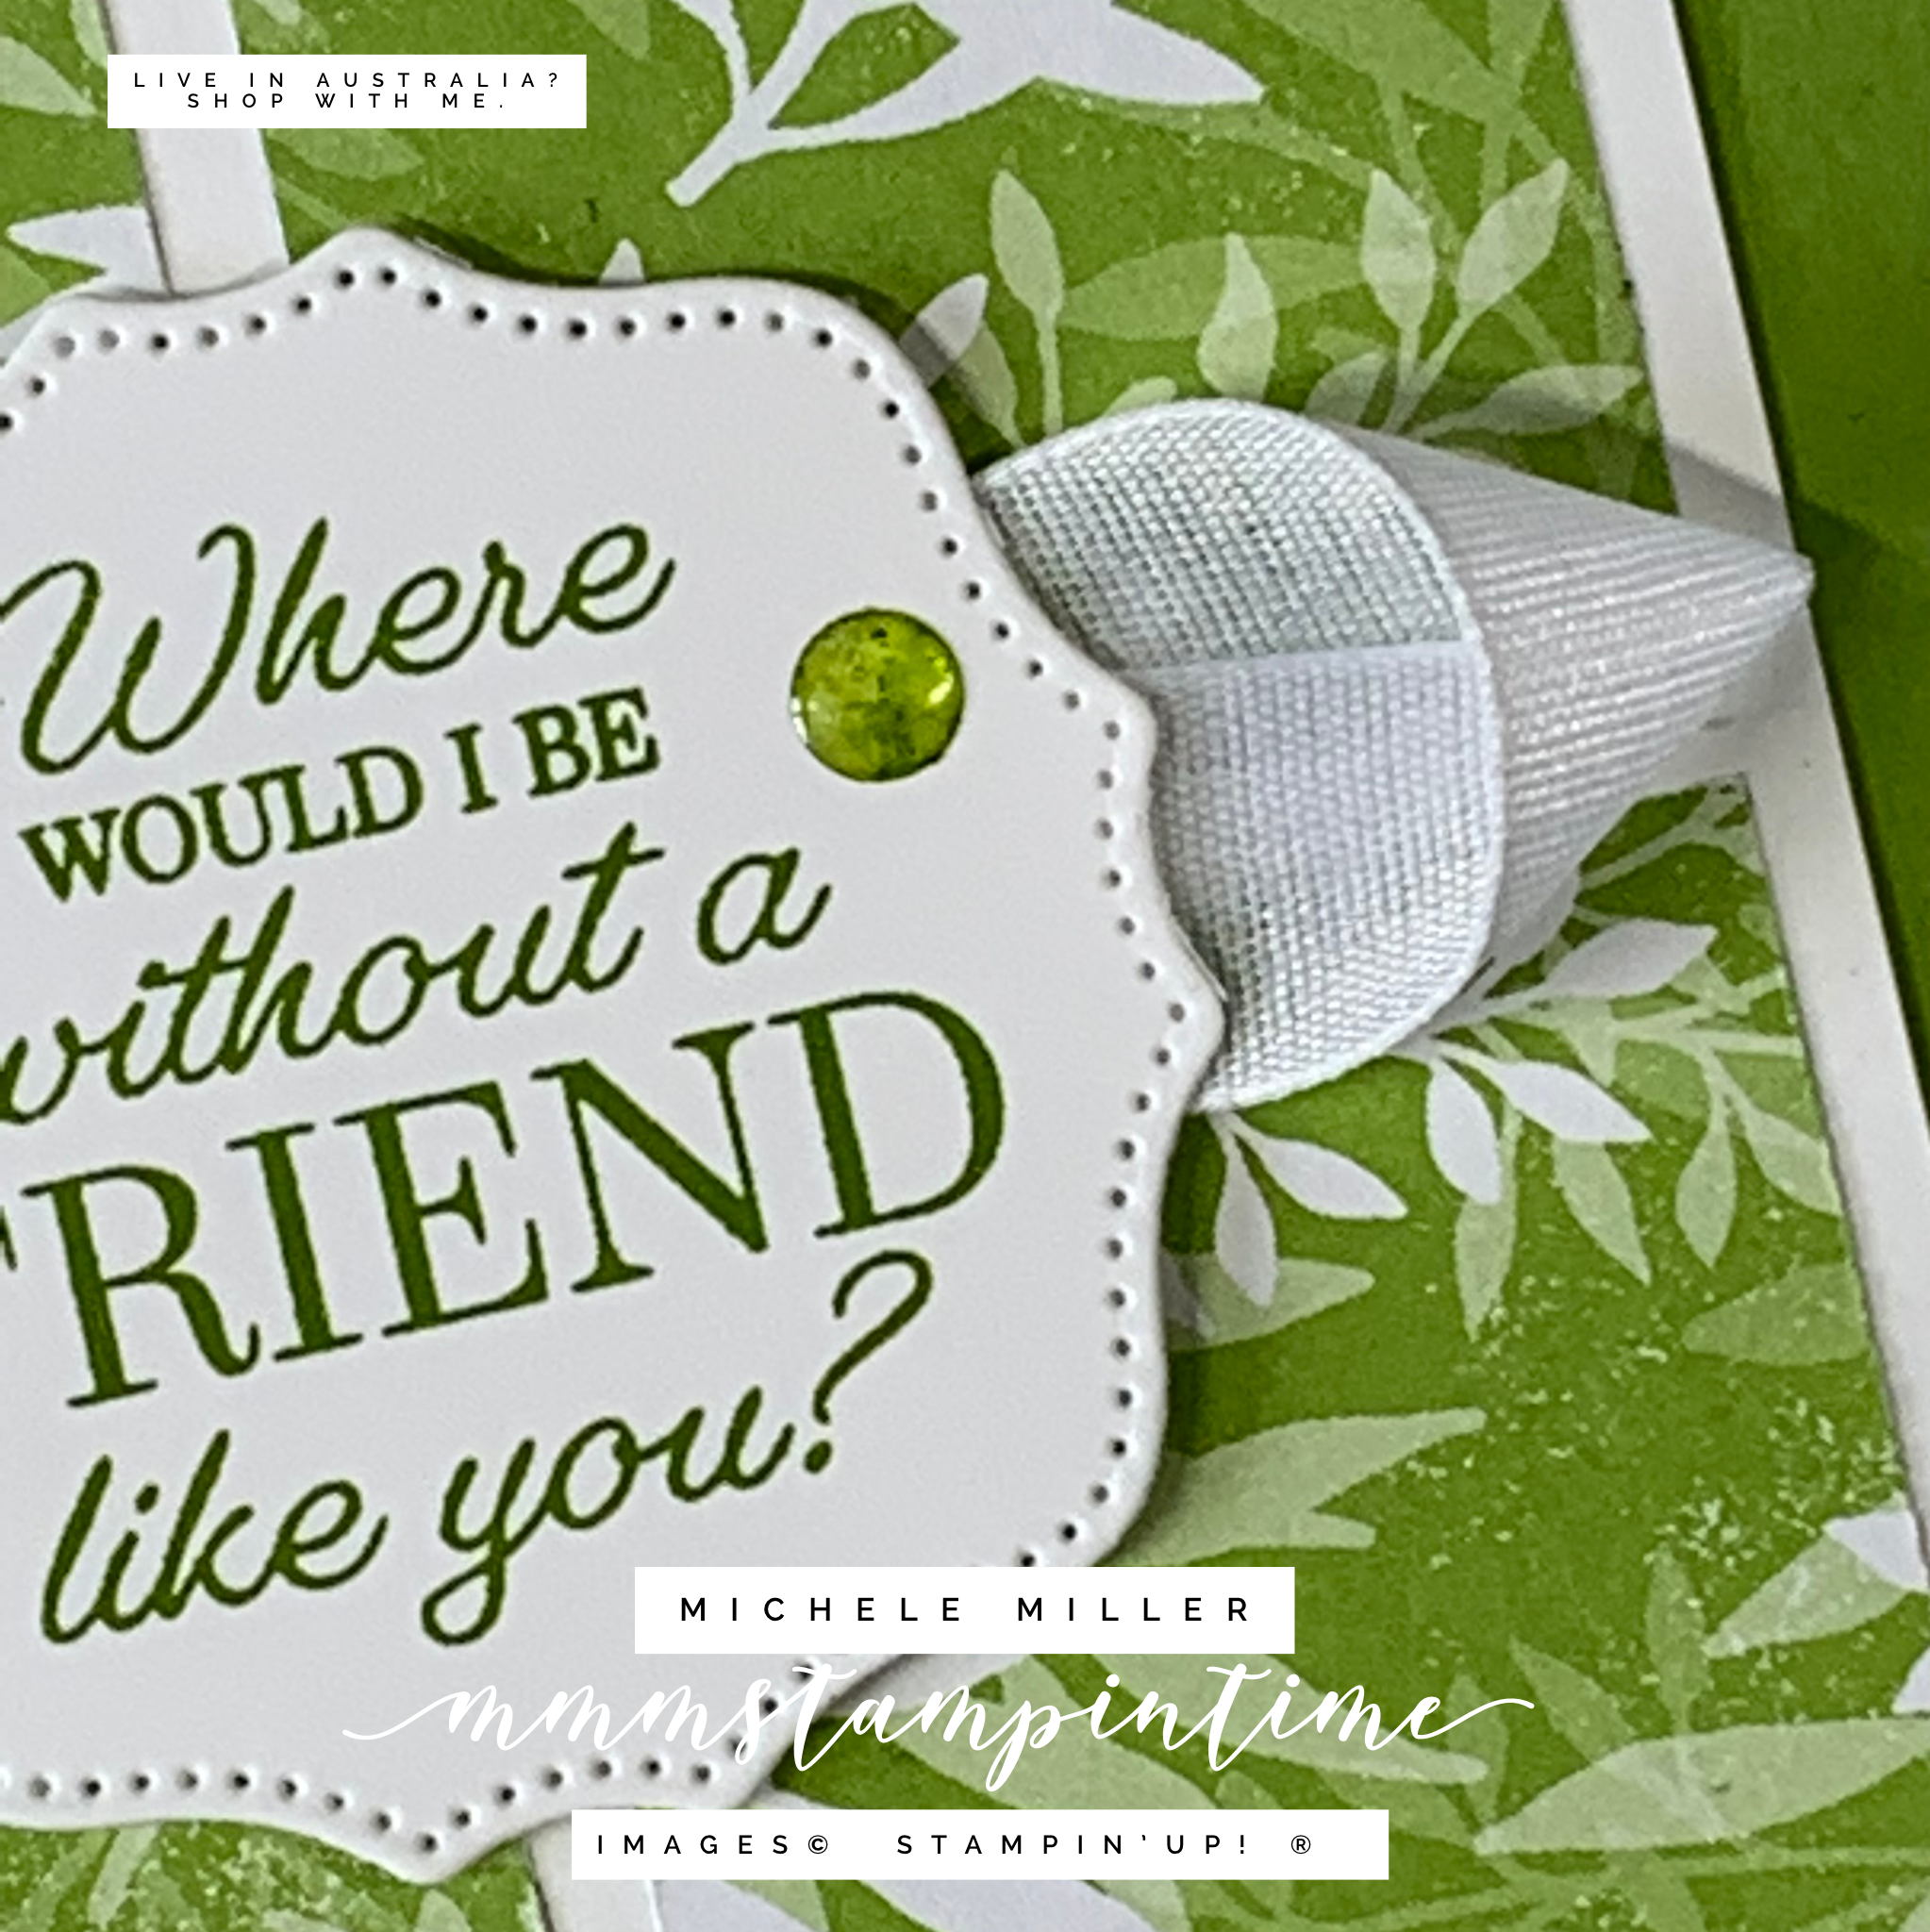
The sentiment, also from the Friendly Hello Stamp Set, was stamped and then cut using one of the Hippo & Friends Dies.

I added a twisted length of white Faux Linen Ribbon, from the Flowers for Every Season Ribbon Combo Pack, and attached it to the back of the sentiment panel. Another Blends coloured embellishment was added to the card front.

This is a super quick and easy One Sheet Wonder layout to use to create four amazing cards.

There are many more One Sheet Wonder layouts and I will share them with you over the coming months of Wednesdays.

Tomorrow is 3D Thursday and I have a great gift box to share with you.

Until then, happy stamping.

If you live in Australia, you can order any of the products I used to make this card by going to my online store. Just click on any of the images below.

Product List
Paper Snips
[103579]
$17.00
Posted on Leave a comment

TECHNIQUE TUESDAY – TIME TO SHARE A NEW TECHNIQUE EACH WEEK

Today’s technique is an oldie but a goodie. I’m sure that most of you will have used this in the past.

It’s time to SPOTLIGHT an area of the Friendly Hello Designer Series Paper. This DSP and the coordinating Friendly Hello Stamp Set are available for you to select this FREE bundle if you place a minimum $180 AUD order during Sale-a-bration.

I started by stamping the bird image onto a piece of Basic White cardstock using Black Tuxedo Memento ink. Using the second largest Layering Circles Die I cut the image out.

I cut a piece of DSP for the card front and then aligned the die cut circle over the the bird image on the piece of DSP. Two pieces of Post-it tape was used to hold it in place. Then I tucked a Post-it note under the circle so that I could stamp the Fresh Freesia flower, Granny Apple Green leaves, Shaded Spruce splatter and buds.

Then I used Stampin’ Blends to colour the bird image.

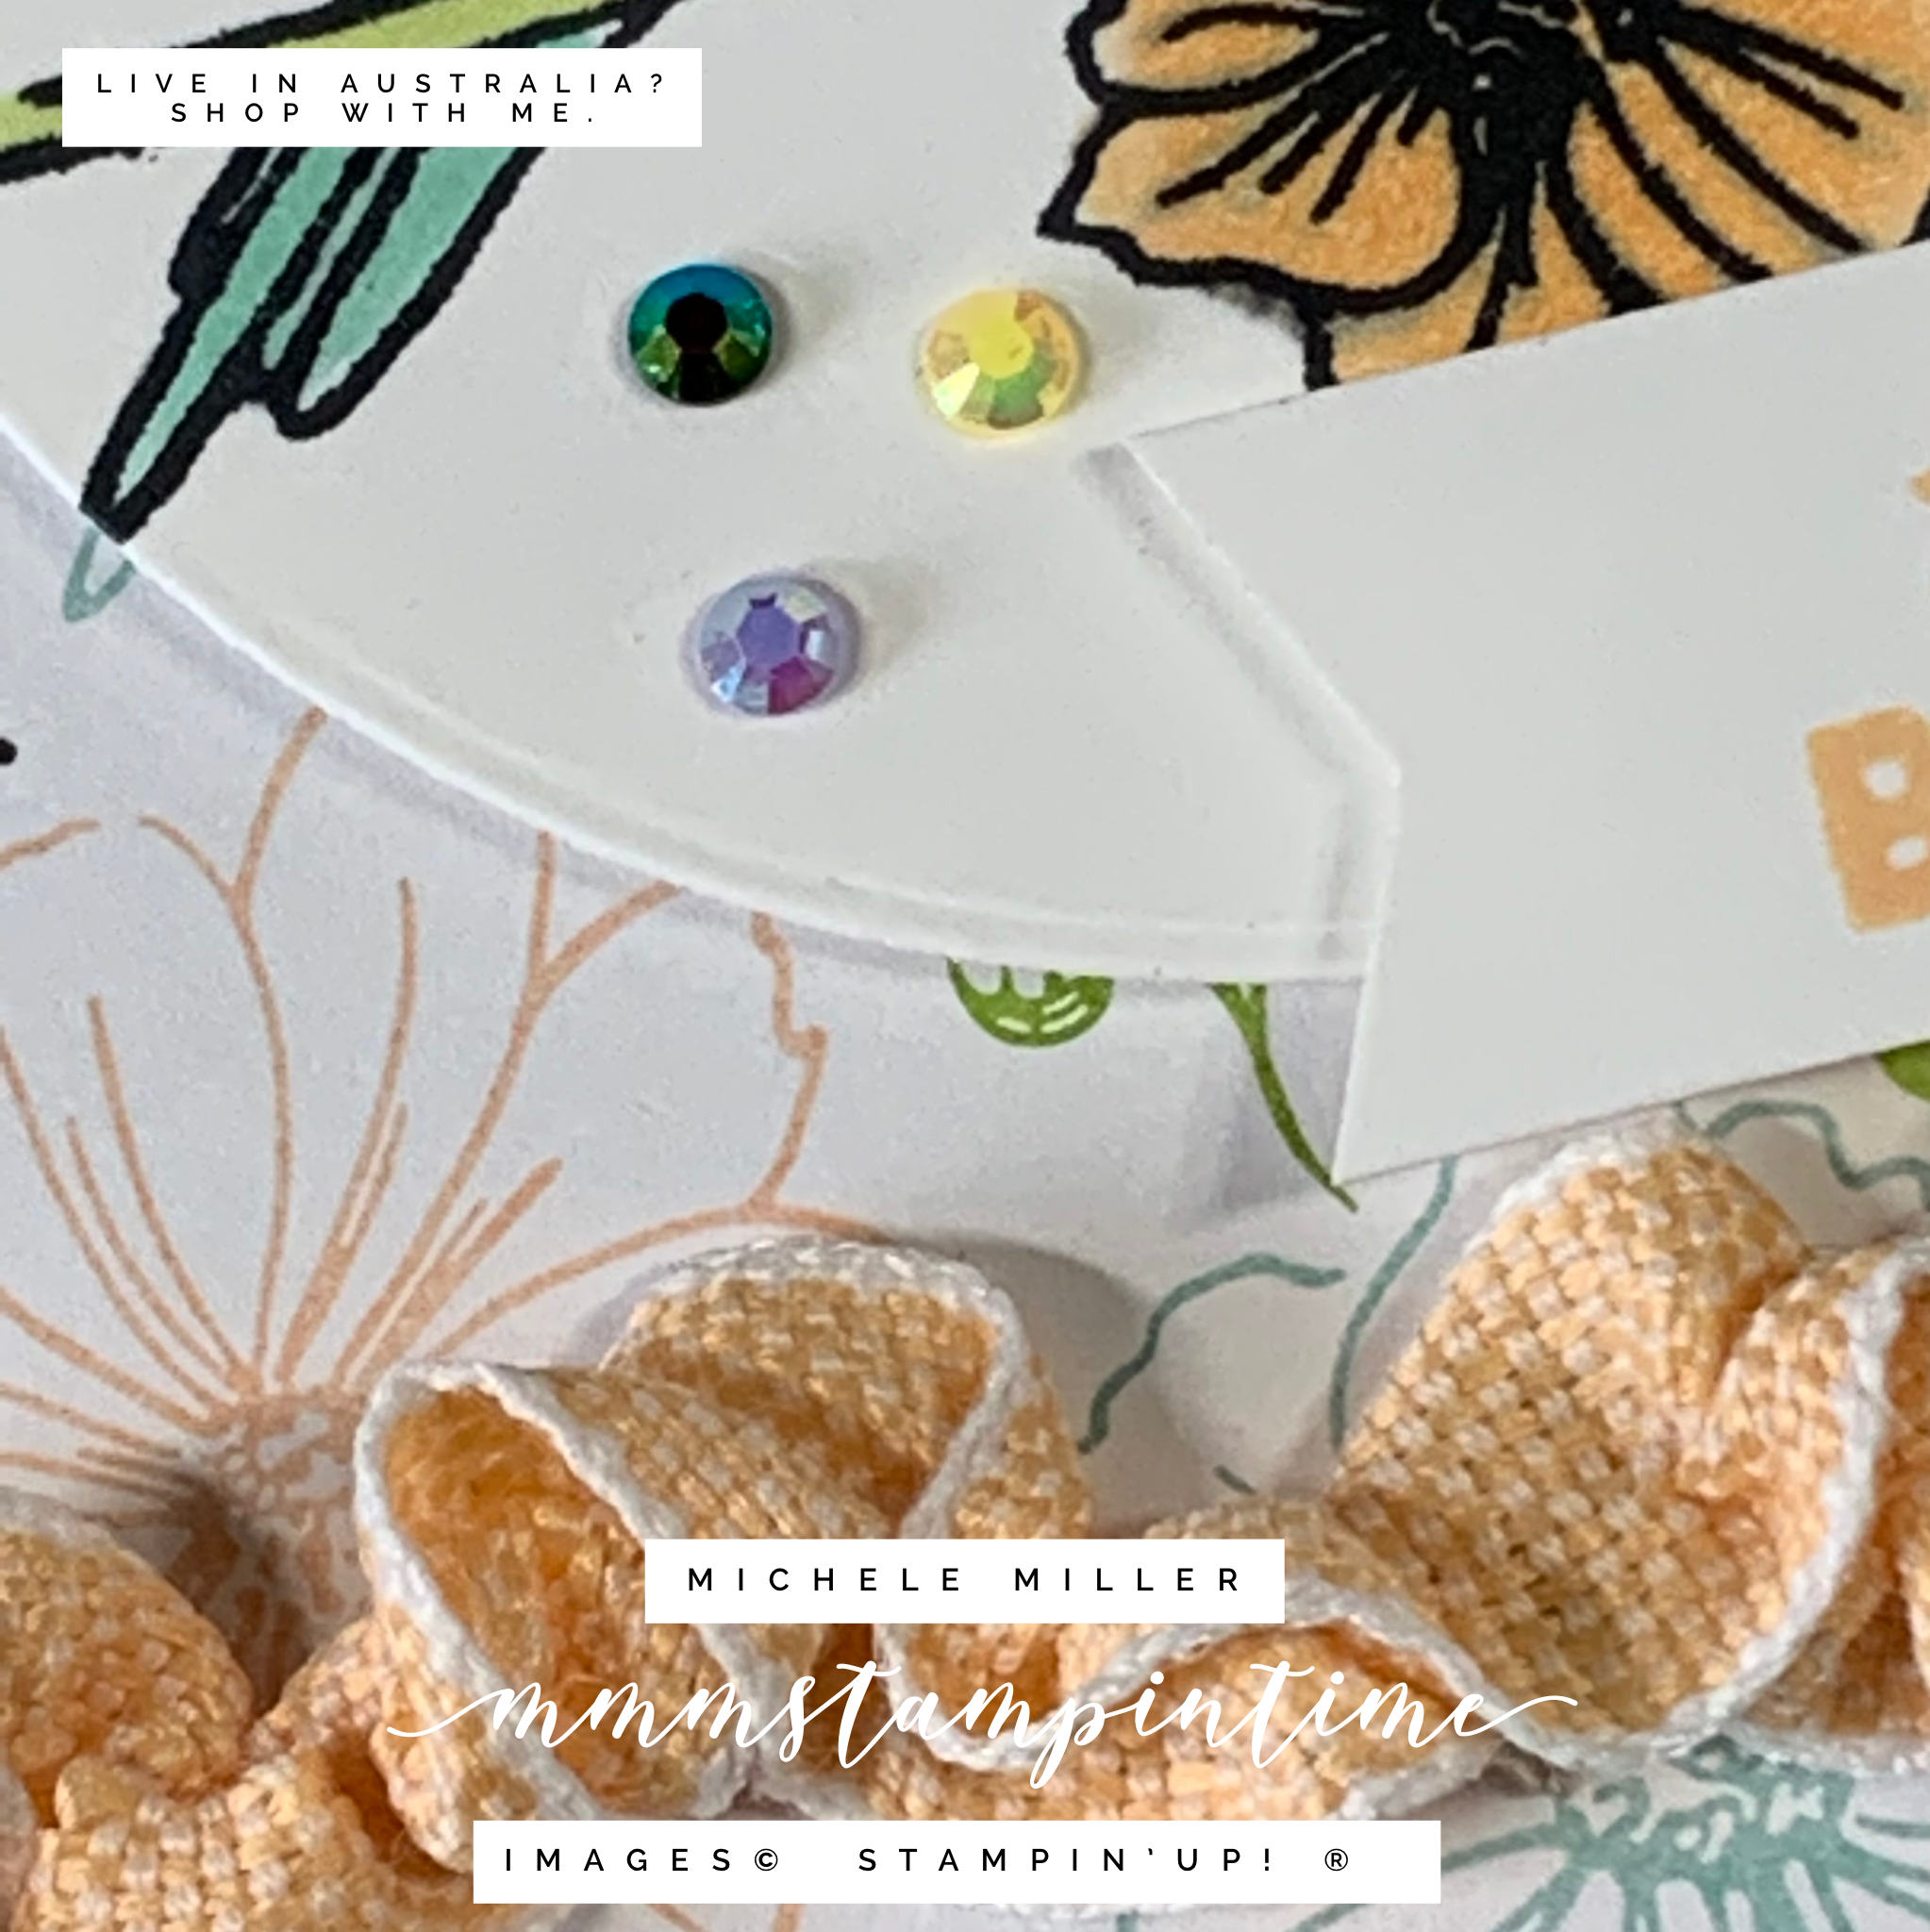
I took a length of Pale Papaya and White Woven Ribbon and pulled up a couple of threads to create a ruched ribbon. I wrapped and secured this behind the DSP layer and adhered it to the card front.

After adding Stampin’ Dimensionals to the back of the circle layer, I positioned it carefully over the bird image on the DSP layer.

I stamped the bird image on the card insert and the front of the envelope.

The usual, final step was to add some embellisments to the front of the card. The 2021 – 2023 In Colour Jewels were perfect for this card.

I think that I will use this card for a Coffee & Card class.

Tomorrow is Wednesday and I have something new to announce.

Until then, happy stamping.

If you live in Australia, you can order any of the products I used to make this card by going to my online store. Just click on any of the images below.

Product List
Paper Snips
[103579]
$17.00
Posted on Leave a comment

MEMORIES ON MONDAY – IT’S SCRAPBOOKING TIME

Monday is the day to share some Memory Keeping with you. Today I have two 12″x 12″ layouts that I made to start journalling our recent trip to Tasmania.

After we arrived in Hobart, we collected our rental car and drove to our first destination. We booked a cabin at a little place called Bronte Park. It was established in 1963 and was once a thriving community for people working on the Tasmanian Hydro Electric Commision’s Tungatinah Scheme and Nive River Scheme. The area is popular for trout fishing. For us, the attraction was its close proximity to the southern edge of the Cradle Mountain – Lake St Clair National Park.

Whoops – I need to work on taking straighter photos of these pages!

On our first full day we drove the Lake St Clair National Park and spent the morning walking along the western track alongside the lake. We then took a different track back to the National Park Visitor Centre. As we arrived back it started to rain heavily. It was a perfect time to enjoy a coffee and treat in the restaurant of the Lake St Clair Lodge.

The first time I visited Tasmania was in 1982 as part of a school bus trip for my senior class. I remember it being much colder then.

For the first page, I used a 12″x 12″ sheet of Pacific Point cardstock and two pieces of Friendly Hello Designer Series Paper. I chose the Pacific Point because the colour matches the photos.

I secured Adhesive Sheet to a piece of Basic White cardstock and die cut the letters and numbers for the page title.

Before I adhered the photos into place, I stamped the cascading leaves using one of the stamps from the Friendly Hello Stamp Set. I used Pacific Point ink and then I coloured the leaves using the white Watercolour Pencil from Assortment 1.

Walking alongside the lake and then through the ancient rainforests was a great way to put my new knees to the test – and, they held up pretty well. The variety of trees, ferns and flowers was simply stunning.

The following day we drove to Derwent Bridge to visit ‘The Wall’. The Wall is the work of sculptor Greg Duncan. He started working on the wall in 2005. It is 3 metres high, over 100 metres in length and sculpted from Huon Pine.

Carving the dream - ABC News

After The Wall we drove out to Franklin River Nature Trail and enjoyed walking along this important Tasmanian river.

We spent our last day in Bronte Park visiting Lake King William. We also went back to Lake St Clair to explore the eastern side of the lake.

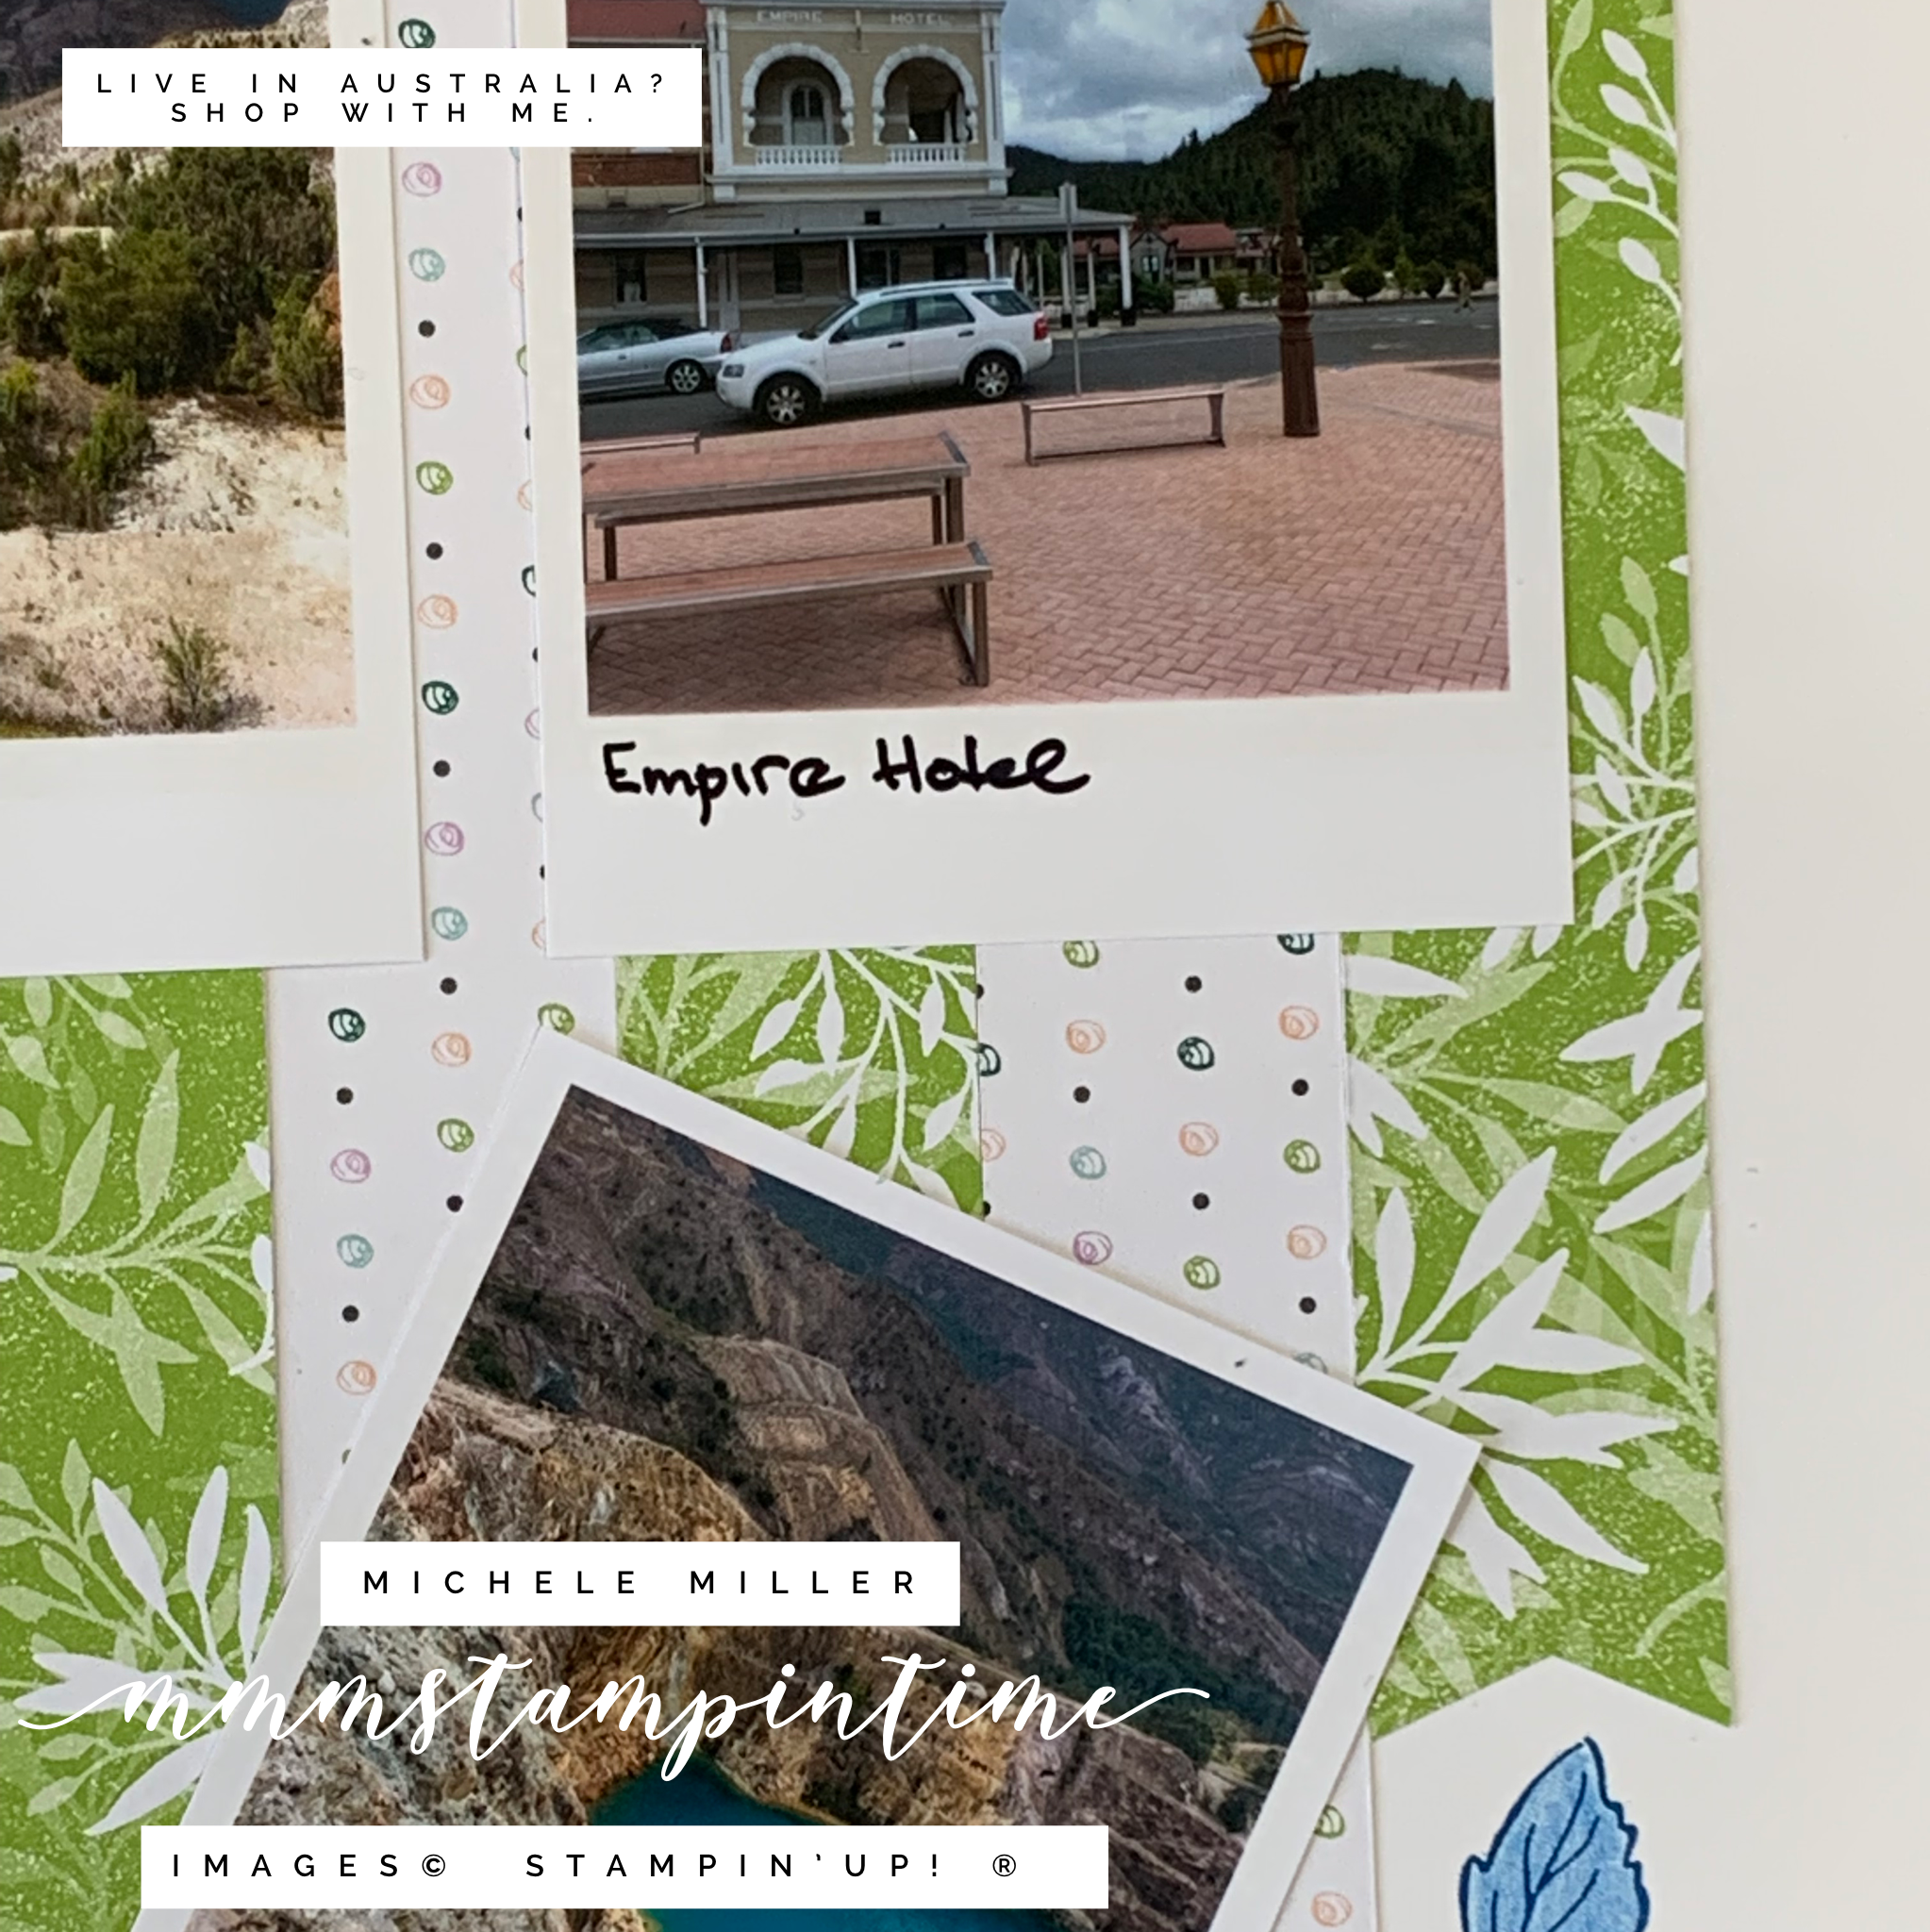
For this page I cut 1″ strips of the Freindly Hello DSP and used the Banners Pick a Punch to cut the banner ends in each piece.

I repeated the stamped and coloured leaves from the first page on the second, all using Pacific Point ink. The clusters of blue leaves, on Basic White background, were coloured with the Pacific Point Watercolour Pencil from Assortment 1.

After we left Bronte Park, we headed to Strahan via Queenstown.

Queenstown was founded as the result of the discovery of alluvial gold and later copper in the second half of the 1800s. The stark environment is the result of 40 years of tree removal for use in the smelters and the smelter fumes. The heavy annual rainfall alos contributed to the erosion that can be seen.

As I mentioned last week, it has been a long, long time since I have done any scrapbooking. I am really enjoying making it a weekly feature of my routine. Who knows, I might even catch up on all the photos that haven’t been scrapped yet.

Tomorrow is Technique Tuesday. Until then, happy stamping.

If you live in Australia, you can order any of the products I used to make this card by going to my online store. Just click on any of the images below.

Product List
Paper Snips
[103579]
$17.00